Create a cute Crochet Bee Amigurumi quickly using easy steps that bring this charming handmade toy to life with vibrant colors and soft yarn.
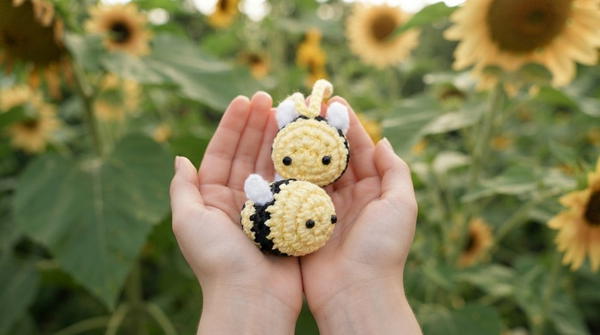
Small, soft toys made with yarn are very popular. One of the most charming is the Crochet Bee Amigurumi. This little bee has a round body with bright yellow and black stripes. Its tiny white wings and friendly eyes make it look warm and cheerful. Because it is small, it fits easily in your hand.
Mini Crochet Bee Amigurumi Free Pattern Ideal for Keychains
The colors used are bright and clear, giving the bee a lively appearance. The soft yarn adds a gentle feel, which makes it safe and pleasant to touch, especially for children. Details like little antennae and a smiling face make the bee feel full of personality.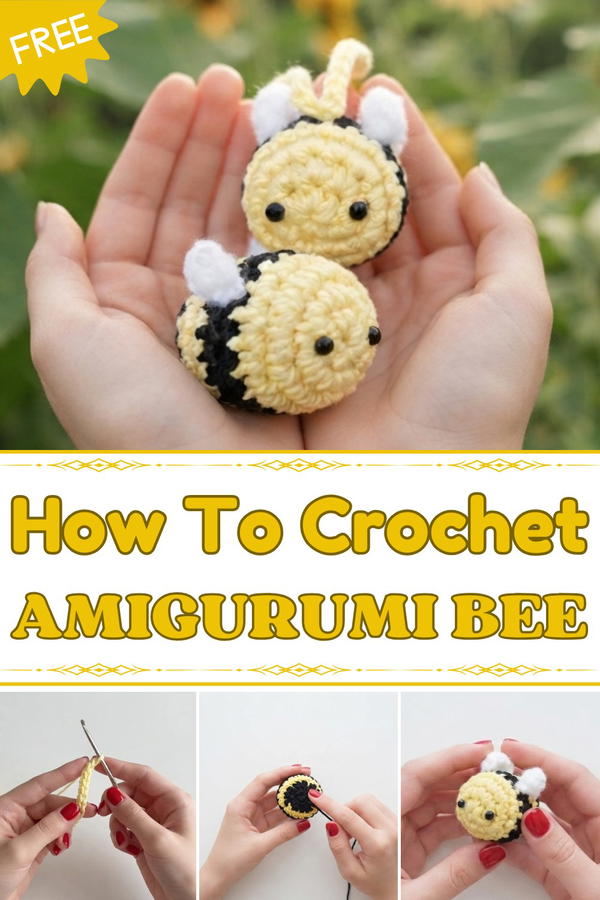
This toy is simple to work on and does not take much time. It uses basic crochet stitches and shapes, making it a good option for those building their skills. Also, it is quick to finish, so you can enjoy the process without a long wait.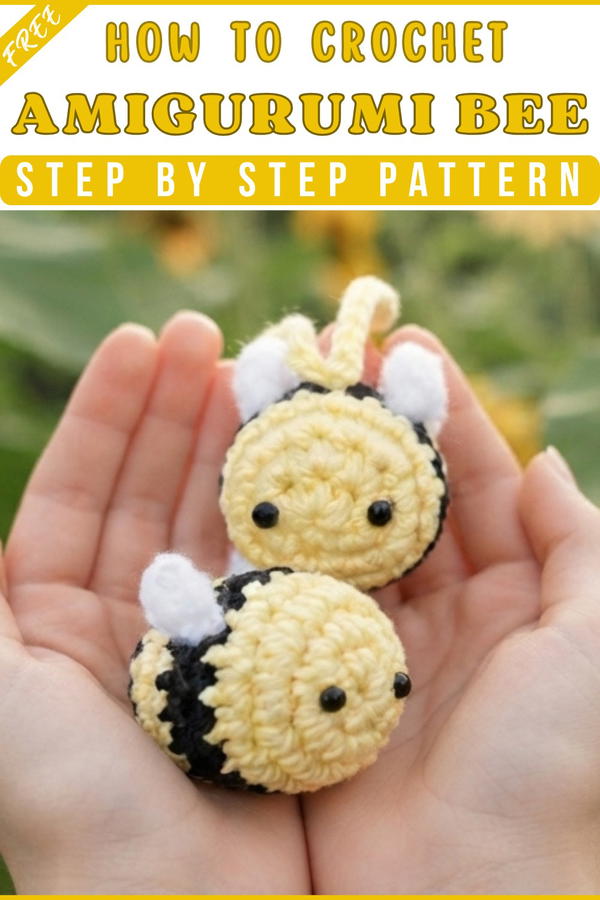
Moreover, the little bee has many uses. It can be a cute gift for friends or family. It works well as a decoration on shelves, desks, or in children’s rooms. You can also attach it to keychains, bags, or even use it as a playful zipper pull. Changing yarn colors lets you create different styles to fit any taste.
In short, the amigurumi is a delightful and easy-to-make toy. It combines bright colors, soft texture, and a friendly face that brings joy wherever it is placed.
Mini Bee Amigurumi Keychain Crochet Pattern
This pattern will guide you through making a mini-sized bee amigurumi keychain. This cute little bee toy is crocheted using yellow, black, and white yarn, perfect for beginners as the steps are shown slowly and clearly.
Quick Overview of Pattern
- Begin with the head and body using yellow yarn in the magic ring method.
- Increase rounds to shape the round body.
- Alternate yellow and black yarn rounds to create the bee stripes.
- Decrease rounds to taper the body.
- Stuff the amigurumi with dacron for firmness.
- Crochet the wings separately with white yarn.
- Assemble and sew wings onto body.
- Attach 4 mm safety eyes or beads.
- Finish by closing the hole securely.
Notes
- Stitch markers are essential to mark rounds and help track your progress.
- The magic ring method is recommended for a tight, hole-free start.
- Invisible decrease technique is used for neat shaping.
- Color change technique ensures clean stripes without gaps.
- Thread tails can be tucked inside or sewn to secure.
- Use dacron for stuffing to maintain shape and softness.
Skill Level
Beginner-Friendly
Basic skills used are:
- Magic ring (MR)
- Single crochet (sc)
- Increase (inc)
- Invisible decrease (dec)
- Changing yarn colors
- Sewing and finishing
Materials
- Yellow cotton yarn suitable for size (e.g., Wolowo Limit Cotton)
- Black cotton yarn
- White cotton yarn for wings
- 4 mm doll eyes (stick-on preferred)
- 3 mm crochet hook (Rose size 5)
- Stitch marker or safety pin
- Dacron stuffing
- Sewing needle
- Scissors
Measurements / Sizing
- Finished bee approximately 5-6 cm in length.
- Body circumference expands up to 18 stitches before tapering.
- Wings sized proportionally (~2-3 cm wide).
Gauge
- Gauge is not critical; maintain consistent tension for even shaping.
- Aim for tight stitches to avoid gaps that would show stuffing.
Stitch Abbreviations
- MR = Magic Ring
- ch = chain
- sc = single crochet
- inc = 2 sc in one stitch
- dec = invisible decrease (front loops only)
- sl st = slip stitch
Special Stitches
- Magic Ring: Starting round conducted by making a loop adjustable ring for the first stitches.
- Invisible Decrease:The invisible decrease is a special crochet technique commonly used in amigurumi for smooth, seamless shaping. Unlike the standard decrease, this method works through the front loops of two consecutive stitches, producing a less noticeable reduction and maintaining a neat, even surface. It prevents unsightly gaps or bumps, making the finished toy look more professional. Using the invisible decrease results in a polished, well-shaped amigurumi every time.
- Color Change: Technique to change yarn colors at the end of a stitch to keep clean stripes.
Crochet Guide
Round 1:
Make a MR, crochet 6 sc into the ring. (6)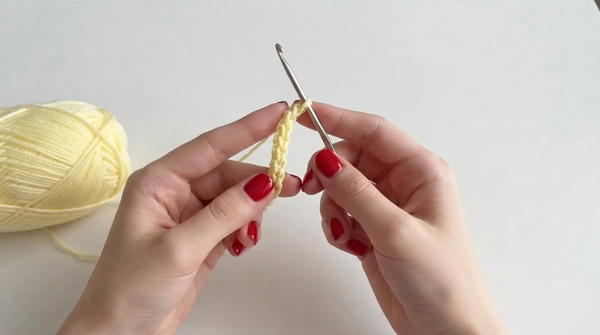
Pull tail to close tightly.
Round 2:
Inc in each stitch around. (12)
Mark the last stitch.
Round 3:
(1 sc, inc) repeat 6 times. (18)
Round 4:
(2 sc, inc) repeat 6 times. (24)
Round 5:
(3 sc, inc) repeat 6 times. (30)
Round 6:
(4 sc, inc) repeat 6 times. (36)
Rounds 7-8:
Single crochet in each stitch. (36)
Round 9:
Change yarn color to black. Single crochet all stitches. (36)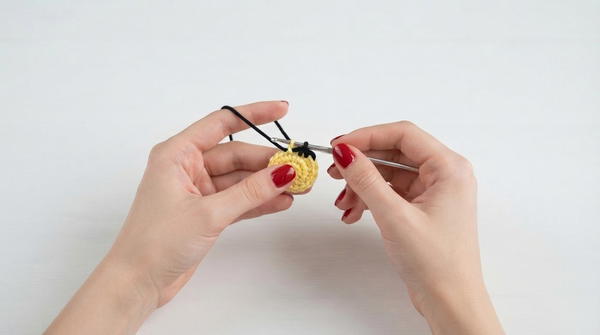
Round 10:
Black yarn, single crochet all stitches. (36)
Round 11:
Change yarn to yellow, single crochet all stitches. (36)
Rounds 12-13:
Alternate black and yellow yarn; single crochet around. (36 each round)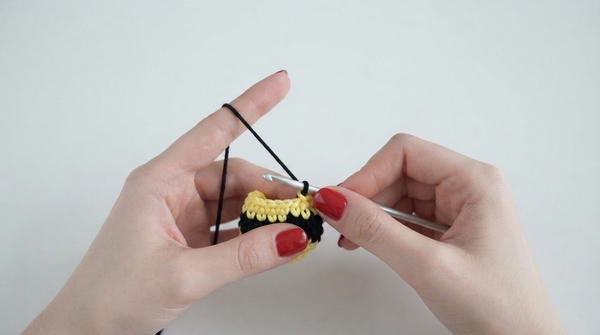
Round 14:
(4 sc, dec) repeat 6 times. (30)
Round 15:
(3 sc, dec) repeat 6 times. (24)
Stuff body with dacron.
Round 16:
(2 sc, dec) repeat 6 times. (18)
Round 17:
(1 sc, dec) repeat 6 times. (12)
Round 18:
dec all around 6 times. (6)
Pull thread tight to close remaining hole.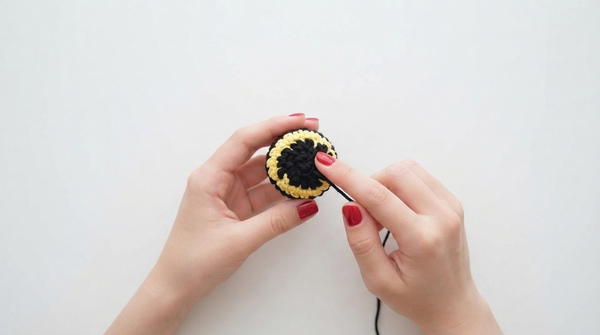
Wings (Make 2) – White Yarn
Round 1:
Make MR, 6 sc in ring. (6)
Pull tail to close tightly.
Round 2:
Single crochet all stitches. (6)
Fasten off.
Assembly
- Sew wings symmetrically onto body.
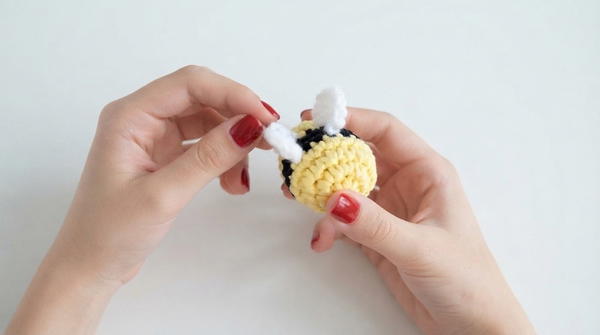
- Attach 4 mm safety eyes.
- Weave in yarn ends inside body.
- Attach keychain ring (optional).
Finished Size
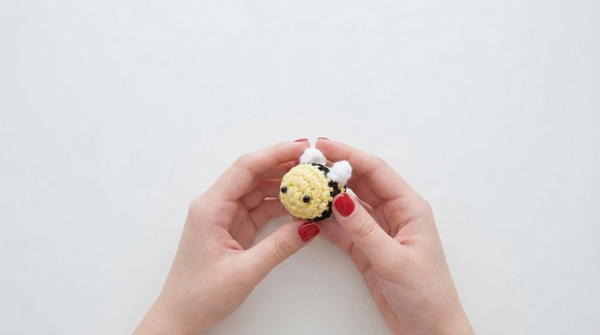
- Approximate length: 5-6 cm
- Approximate width with wings: 4 cm
Why I Love This Mini Bee Amigurumi Project
I love this mini bee amigurumi project because it is adorable, quick to make, and perfect for beginners or experienced crocheters alike. The project allows you to practice essential amigurumi techniques like magic rings, color changes, and shaping while creating something practical and sweet—a charming keychain or thoughtful gift. The cheerful colors and simple assembly make it a joy to complete, and seeing the finished bee instantly brightens my day. Each tiny detail, from the stripes to the wings, adds character and cuteness. I also enjoy how customizable it is, letting me express creativity with different yarns and colors.
Conclusion
You have now mastered basic amigurumi techniques including the magic ring, working in continuous rounds, color changes, and seamless sewing of tiny parts. This bee can be used as a keychain, bag charm, or cute desk companion. Share your finished bees with friends, and don’t forget to practice making more in different colors and sizes.