 Mint Design Blog



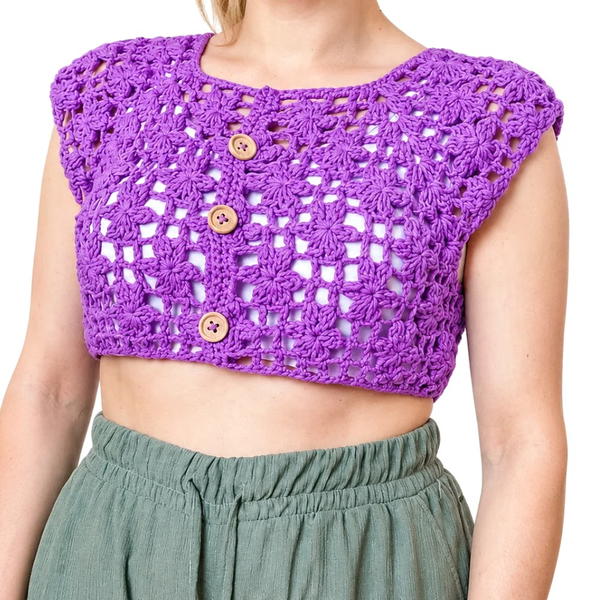
Pair this crochet crop top with shorts that sit high on the waist for the beach or wear it over a fitted dress for a little handmade texture on a day out.
Packing for a beach day often means fitting a change of clothes into a bag that is already full. A crochet crop top can do double duty over swimwear and with the shorts you plan to wear afterward. Its short hem leaves the waistband visible and keeps the layer from covering too much of the outfit. That small area of crochet is enough to show the stitches clearly next to plain fabric.
Short Crochet Top to Wear With High-Rise Bottoms
For a beach outfit, try it over your swimsuit with a sarong tied at the hip. Once you head into town, slip it over a fitted tank dress and you have a different way to wear the same piece. The break between the crochet and the dress falls near the waist, which helps the short layer stand out. A plain dress also shows where individual stitches catch the light when you walk.
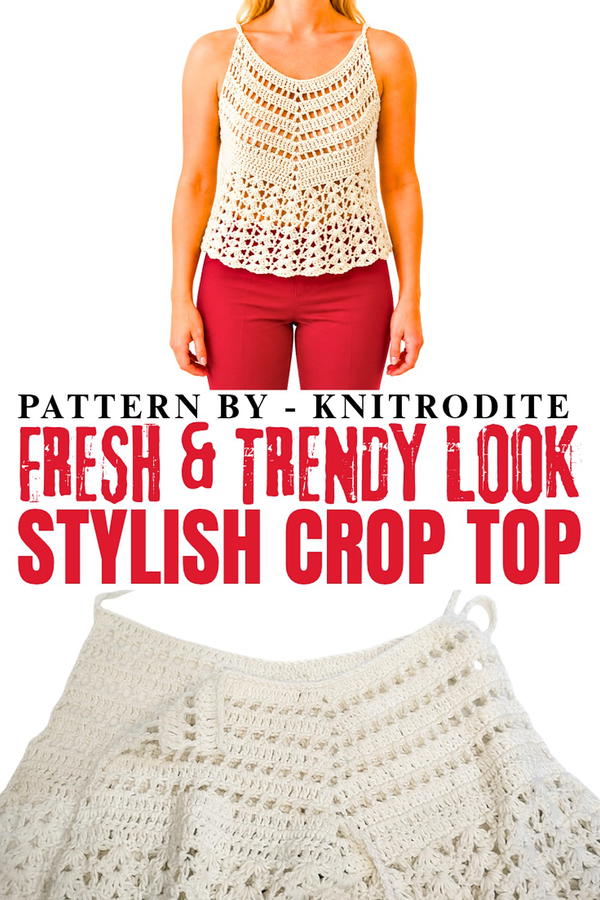
The length is worth thinking about when you pick what goes underneath. Shorts with a low waist leave more of a gap, while a skirt that sits higher can meet the hem. Even two pairs of shorts that fit equally well can sit at different points on the waist. Once you find a combination you like, the top can stay in your regular warm weather rotation with sandals and whichever bottoms you already wear most.
Crochet Style on the Channel
Short tops, wrap pieces, and handmade layers are all part of Knitrodite. The crop top sits alongside the channel's other warm weather clothing ideas. For readers who plan projects around clothes they reach for often, the styling posts show how several pieces look when worn as part of an outfit.
Crochet Lattice Blouse Pattern
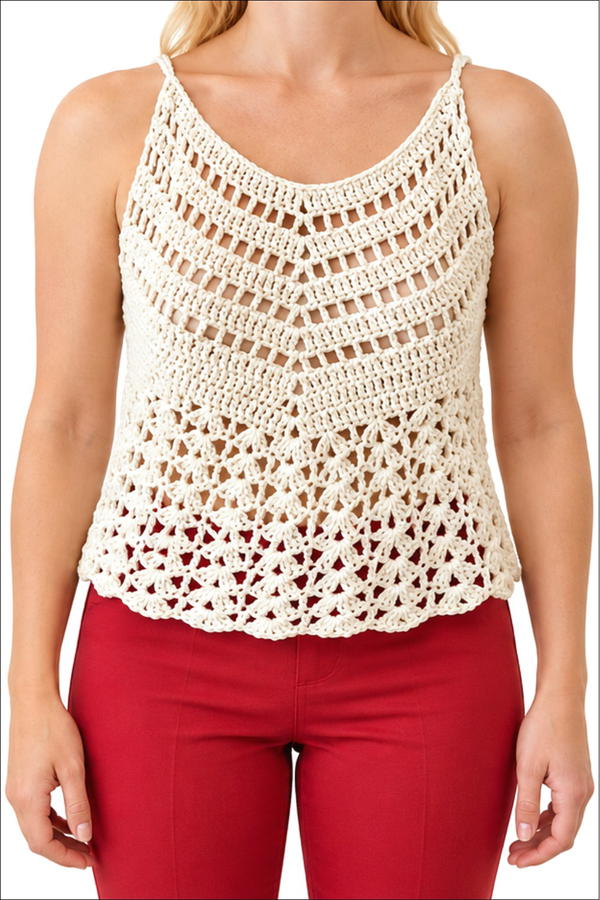
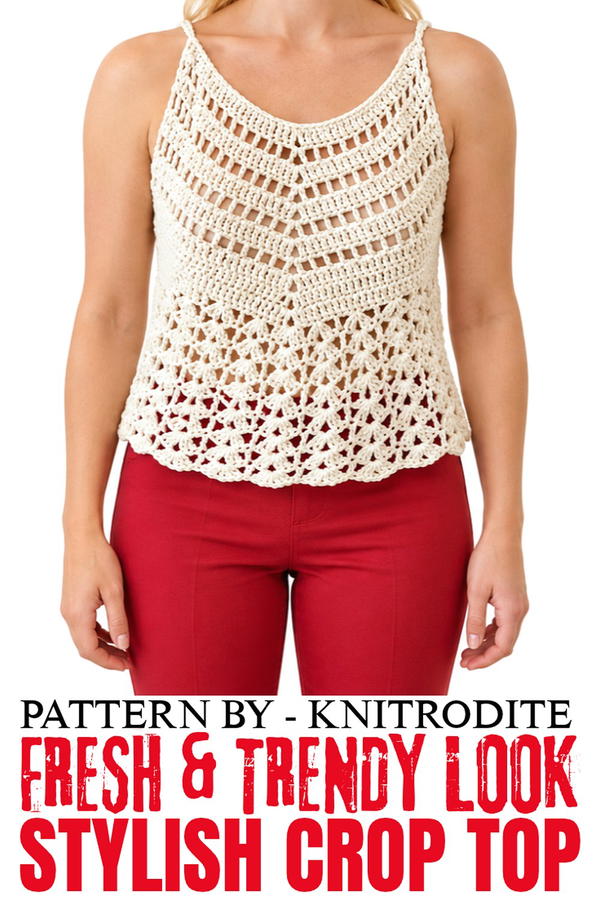
This crochet lattice blouse combines simple stitch techniques with elegant finishes, creating a lightweight and flowing design that is perfect for warmer weather. The pattern features detailed treble stitches, V-shaped points, mesh lattice patterns, and secure straps, resulting in a versatile garment that stands out in any wardrobe. Follow the step-by-step instructions below to crochet the blouse comfortably and effectively.
Skill Level
Intermediate
This pattern makes use of foundational treble crochet stitches, lattice designs, V-shaped motifs, straps, and joining techniques, making it suitable for intermediate-level crocheters who are comfortable with these techniques.
Materials
- Yarn: Liva brand natural cotton yarn (100% cotton, 200 meters).
- Hook: Size 5 crochet hook.
- Scissors: For trimming excess yarn.
- Tapestry Needle: For weaving in ends and joining pieces together.
Stitch Abbreviations
- Ch: Chain
- Sc: Single Crochet
- Tc: Treble Crochet (Railing).
- Slip Stitch: Used to join or create thickness in straps.
Useful Tips
- Chain Adjustment: Work longer chains than needed initially—excess chains can be unfastened and removed without affecting the design.
- Symmetry: Maintain symmetry on both sides of the V-point by matching stitch counts and cage placements.
- Straps: Customize strap length to fit your preferences by adjusting the number of chains worked.
- Clean Finish: Use a tapestry needle to weave in loose ends and ensure neat, professional-looking edges.
Pattern Instructions
Foundation Chain and Initial Railing Setup
Round 1:
- Begin with a long foundation chain (approximately 50 chains). If additional chains are needed, you can make adjustments later.
- Work 25 treble crochet stitches (Tc) evenly into the chain, starting from the fourth chain.
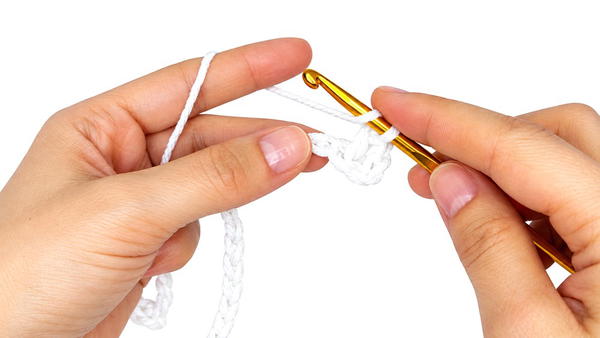
- Turn your work, chain 1 or 2 stitches, and repeat the same 25 treble crochet stitches for the other side.
- You now have 25 chains structured on each side of your initial chain ring.
Creating the Mesh Lattice Pattern
Round 2 (Lattice Stitch):
- Chain 4 stitches and turn your work.
- Skip one treble stitch and crochet a railing (Tc) into the next treble stitch. Chain 1 and repeat the sequence of gap + railing to create a lattice mesh.
- Continue working the mesh lattice up to the V-point.
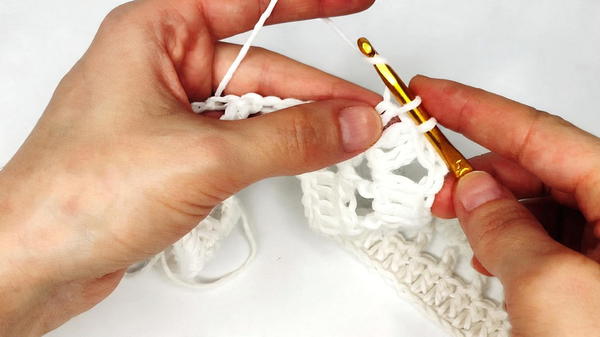
Round 3 (V-Point for Symmetry):
- At the V-point:
- Crochet a railing into the V-point gap.
- Work Ch 2, yarn over, and crochet another railing into the same V-point gap.
- Skip the railing next to the V-point and continue your lattice mesh sequence on the other side.
Round 4:
- Turn your work and repeat the mesh lattice pattern up to the next V-point using the same stitch sequence as Round 3 for symmetry.
Filling the Lattice and Expanding the Sequence
Round 5:
- Chain 3, turn your work, and crochet a railing inside each cage space.
- Crochet a treble stitch (Tc) into the railing stitch on top of the lattice cage.
- Continue filling each lattice cage, working railings evenly up to the V-point.
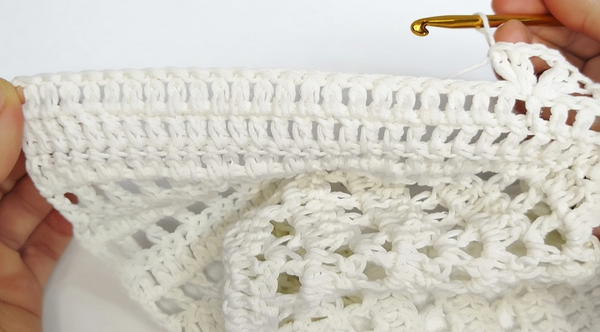
Round 6 (V-Fill):
- At the V-point, crochet:
- 2 treble crochet stitches, pull Ch 2, and work 2 more treble crochet stitches inside the V-point gap.
- Maintain uniform stitch symmetry across both sides of the row.
Alternating Mesh and Treble Rows
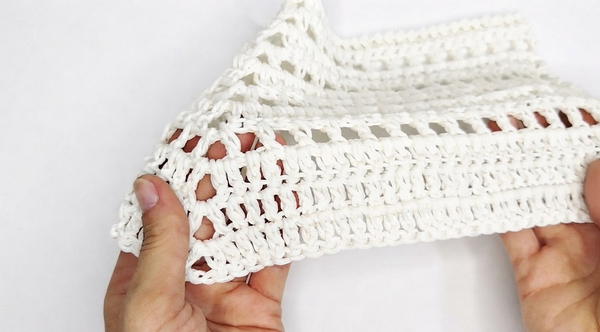
Repeat alternating rows of the mesh pattern and treble crochet rows to achieve your desired length. For example:
- Rows 1–8: Worked as alternating mesh and treble patterns.
- Rows 9–11: Finish with pure rows of treble crochet (no mesh pattern).
Preparing the Straps
Round 12 (Strap Setup):
- Attach the yarn to the top of the first railing on one side using a slip stitch.
- Chain 30 (or any desired strap length). Crochet a slip stitch back into the chain stitches to thicken the strap.
Round 13:
- Work slip stitches all the way back to the starting point.
- Secure the strap at its base with a final slip stitch.
- Repeat this process to create the strap on the other side.
Joining and Armhole Formation
Assembly:
- Place the two blouse panels on top of each other.
- Join the panels together along the sides using straight stitching.
- Leave open spaces for the armholes based on the strap placement.
Armhole Cleanup:
- After joining the panels, ensure the armholes are symmetric in length.
- Use leftover yarn and a tapestry needle to secure edges for neatness.
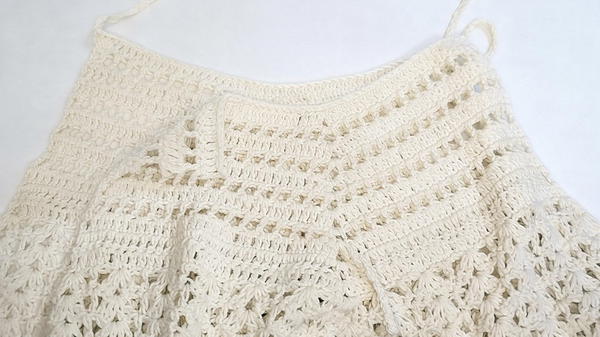
Finishing the Hem
Hem Stitching:
- For the hem, crochet a final row of treble stitches evenly to create a clean edge.
- Add small lattice cages for decorative purposes by chaining 5 stitches between railings.
Conclusion
This crochet lattice blouse offers a lightweight, flowing garment with a timeless design. The treble stitch and mesh lattice pattern provide structure while maintaining elegance through symmetry in details like the V-point and straps. Adjust proportions for a custom fit and enjoy the delicate craftsmanship of this handmade piece.
Word Count: Approximately 1200 words