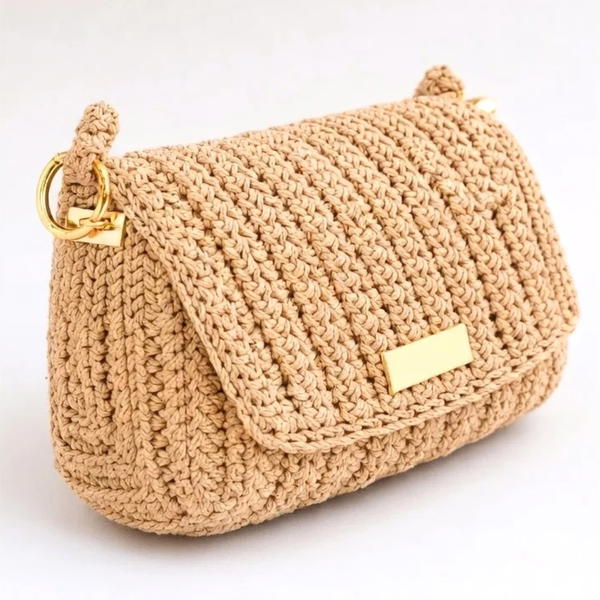
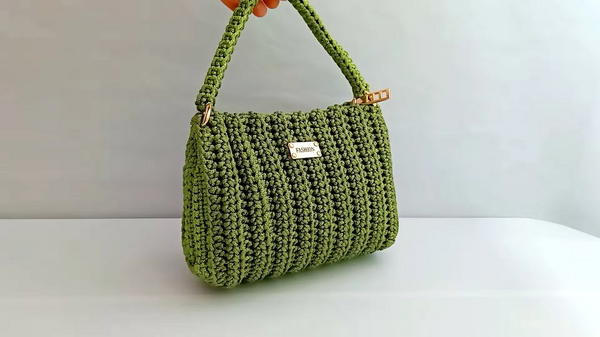
Carry the olive green handbag from this Free Crochet Bag Pattern by its short handle and show off the raised ribs and rounded base on your next day out.
From the side, you can see what gives this little handbag its shape. The handbag in this Free Crochet Bag Pattern widens toward the base, and the raised columns follow the curve at the bottom. The olive green looks deeper between the ribs, so the texture shows clearly across the front even though the body stays one color.
Rounded Handbag to Stitch With This Free Crochet Bag Pattern
How Amena Shows the Shape
Shape gets careful attention in this project from Amena Crochet Bags. The sample appears from two angles, so viewers can compare its front with the way the side rounds toward the bottom. Amena also shows the short handle and its ring attachments, where the crochet and metal details come together.
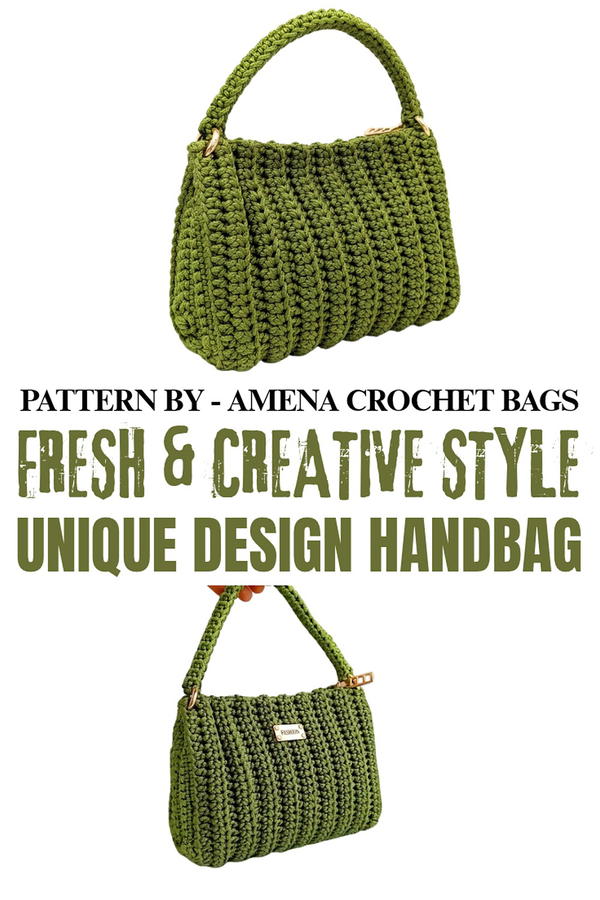
Up top, a short covered handle arches between two gold colored rings. It has just enough height to leave a clear space above the opening, and its size suits carrying the bag by hand. The sides tuck in as they reach the opening, which makes the top look narrower than the base. At roughly 18 centimeters wide and 15 centimeters high, the sample works for a quick visit or a short outing. Think of small items such as a card holder, keys, and a lip balm when planning what to carry.
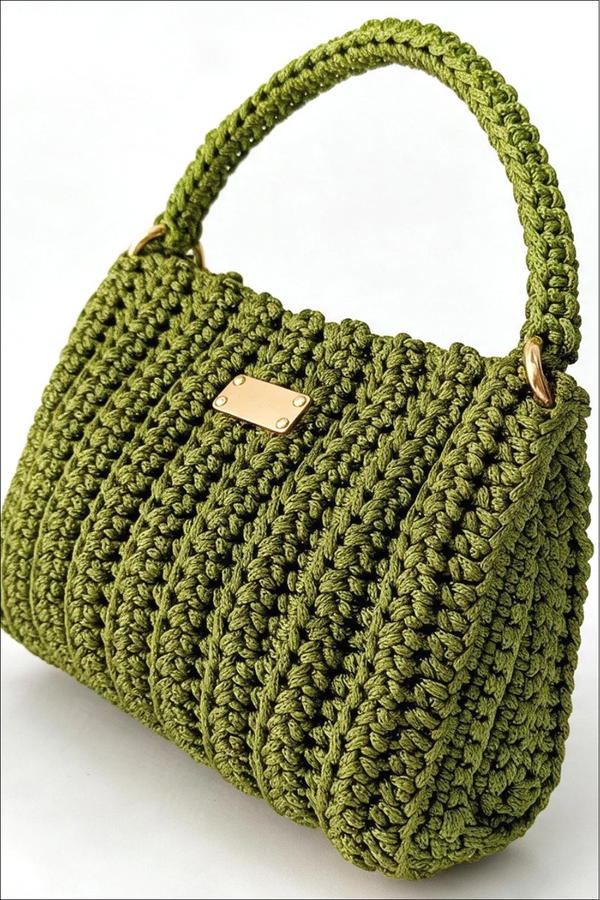
Give some thought to how the ribs will show when picking a shade. Olive has a quiet look next to dark jeans, and cream sleeves help the stitching stand out in a photo. For a warmer version, rust would suit the same rounded outline. The tiny front label leaves most of the stitched surface visible, so the columns and curved base remain the first things you notice.
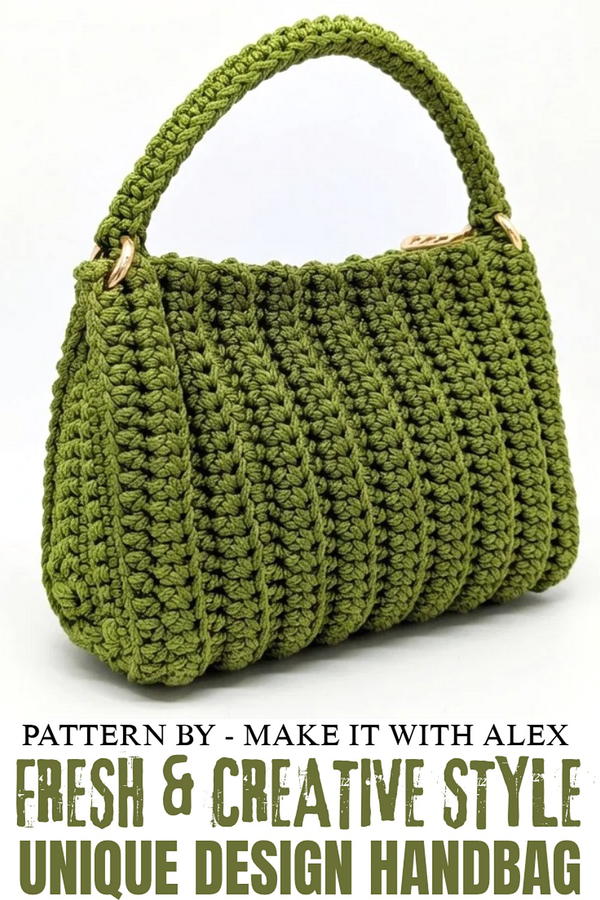
Simple Crochet Bag with Lining and Handle
This pattern illustrates how to create a simple yet elegant crochet bag, complete with a lining, zipper, and handle. The design features clean, structured rows and minimal detailing, making it perfect for both casual and formal use.
Skill Level
Intermediate
This pattern involves creating rows using half-double crochet, single crochet, slip stitches, and combining stitches, as well as working with lining and finishing techniques.
Materials
- Yarn: 3 mm polyester macrame thread.
- Hook Size: 5 mm crochet hook.
- Additional Materials:
- Scissors.
- Needle for sewing.
- Fabric for lining (cut to 26 cm x 37 cm).
- Zipper compatible with lining dimensions.
- Easy-to-open rings for handle attachment.
Stitch Abbreviations
- Ch: Chain
- Hdc: Half-Double Crochet
- Sc: Single Crochet
- Sl St: Slip Stitch
- “One stitch over 3 stitches” (Dec): A single stitch crocheted over three stitches (decrease).
Useful Tips
- Markers: Use stitch markers to help identify the beginning of each row or to keep track of specific stitches, especially when working with decreases.
- Consistent Tension: Maintain even tension for a neat and structured fabric, especially with macrame thread.
- Check Dimensions: Measure your bag at regular intervals to ensure the sizing aligns with your expectations.
- Accessories Installation: If adding accessories, remember to install them before inserting the lining for a seamless finish.
Pattern Instructions
Main Body of the Bag
Foundation Chain:
- Make a slip knot and crochet 52 Ch stitches.
Row 1:
- Starting in the third chain from the hook, crochet 50 Hdc stitches.
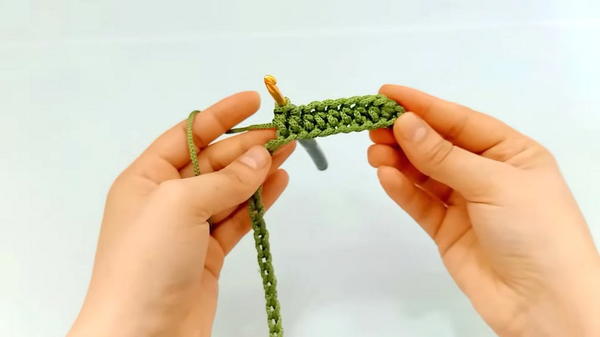
Rows 2–18:
- Begin each row with 2 Ch stitches (acts as the turning chain).
- Work Hdc stitches in the back loop only throughout the row.
- Continue this pattern until you complete 18 rows. By the end of the 18th row, the height of the bag will be approximately 18 cm.
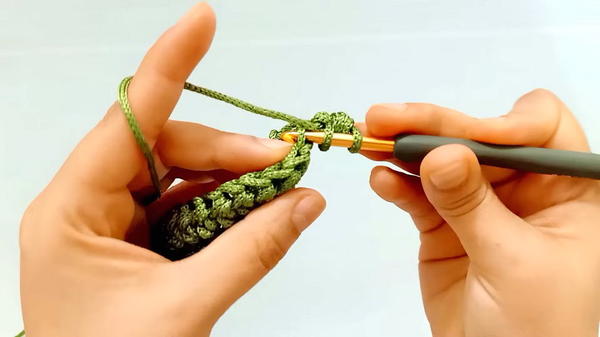
Shaping the Bag (Rows 19–22)
Row 19:
- Ch 1 to start the new row.
- Crochet 19 Sc stitches in the back loop.
- Make a decrease (1 single crochet over 3 stitches). Insert the hook into the first stitch, pull up a loop, move to the next stitch, pull up another loop, and repeat for the third stitch. Yarn over and pull through all loops on the hook to complete the decrease.
- Crochet 6 Sc stitches in the back loop, then make another 1 Sc over 3 stitches (decrease).
- End the row with 19 Sc stitches in the back loop.
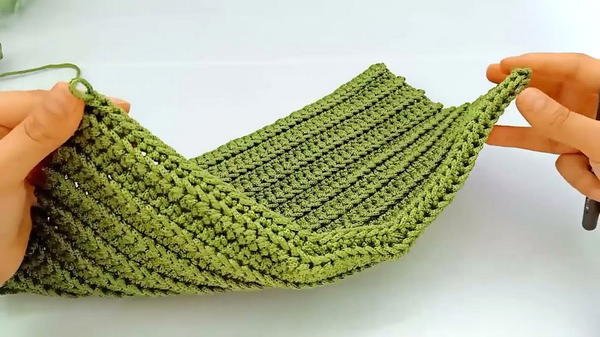
Row 20:
- Ch 1 to start the row.
- Crochet 6 Sl St in the back loop.
- Work 12 Sc stitches in the back loop.
- Perform 1 decrease (1 stitch over 3 stitches).
- Make 4 Sc stitches in the back loop, followed by another 1 decrease over 3 stitches.
- Crochet 12 Sc stitches, then 6 Sl St to end the row.
Row 21:
- Ch 1 to start this row.
- Crochet 6 Sl St in the back loop.
- Work 11 Sc stitches in the back loop.
- Make 1 decrease (1 stitch over 3 stitches).
- Crochet 2 Sc stitches in the back loop, then work another 1 decrease over 3 stitches.
- Finish the row with 11 Sc stitches and 6 Sl St.
Row 22 (Final Row):
- Ch 1 and start with 6 Sl St in the back loop.
- Crochet 10 Sc stitches in the back loop.
- Perform 1 decrease over 3 stitches, followed by another decrease over 3 stitches immediately after.
- Continue with 10 Sc stitches and finish with 6 Sl St.
- Before cutting the thread, leave enough to use for sewing the edges.
Assembly of the Bag
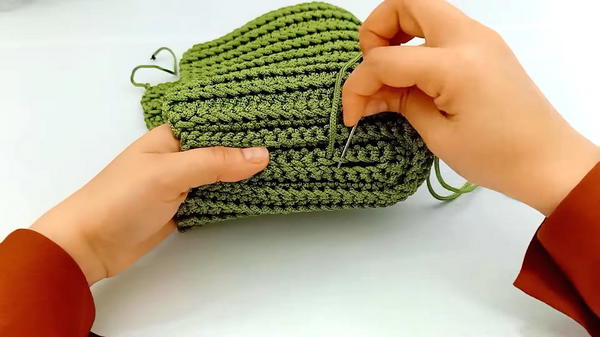
- Using the thread left from the last row, join the last stitch of the row to the first stitch with a slip stitch.
- Using a blunt sewing needle, stitch the two sides together. Work in both directions using a single loop from each side to create a neat join.
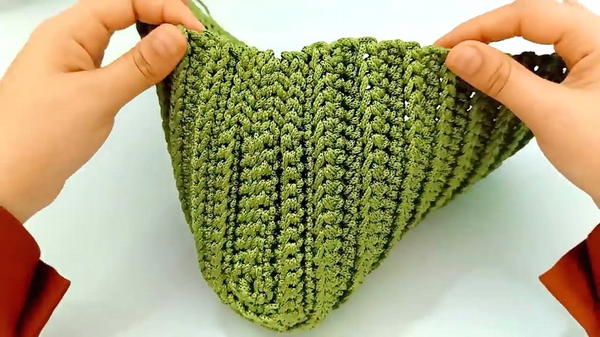
Finishing the Other Side
- Repeat the process from Row 19 to Row 22 on the opposite side of the bag to complete the second side.
Lining and Zipper
- Lining Dimensions: Measure the bag to determine the required fabric size. For this bag, cut your fabric to 26 cm x 37 cm.
- Fold the fabric in half and sew along the sides to form a pouch.
- To create depth in the lining, sew the corners diagonally.
- Attach the zipper to the lining using a needle and thread, ensuring the edges are neatly sewn.
Adding Accessories and Handle
- Attach easy-to-open rings at the start and end of the sides of the bag before inserting the lining.
- To create the handle:
- Crochet 37 Ch stitches.
- Start in the second chain from the hook and work 36 Sc stitches across the row.
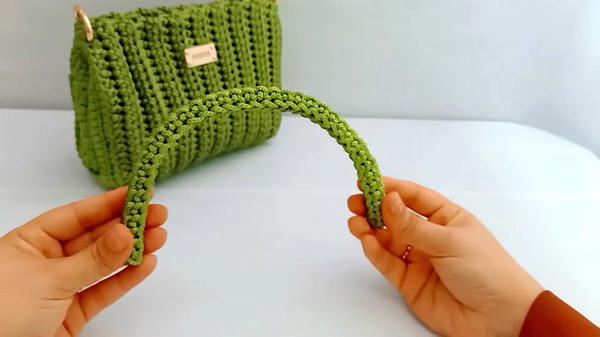
- Begin the second row with Sc stitches in the front loop only. Work one Sc into each stitch across the row.
- Fold this strip in half and sew the edges together, ensuring a clean seam by inserting the needle into one loop from each side of the fold.
- Attach the finished handle to the rings on both sides of the bag.
Final Assembly
- Once the body, lining, zipper, and handle are complete, insert the lined pouch into the bag's interior.
- Carefully sew the top of the lining to the inner edge of the bag, ensuring it is securely fastened without visible thread on the outside.
Finished Dimensions:
- Bag Height: Approximately 18 cm.
- Bag Width: Determined by working the foundation chain and the number of rows (approximately 26 cm for this pattern).
- Handle Length: Approximately 37 Ch stitches, customizable depending on preferred strap length.
Conclusion
This small and durable bag is a versatile accessory for daily use or special occasions. The combination of textured stitches, neat finishing, and a secure zipper makes it stylish and practical. Customize the bag with embellishments, different yarns, or by adjusting its dimensions to fit your personal style and needs.