Create an adorable companion with this Free Crochet Mini Frog Pattern and enjoy making a cute, fun, and easy project perfect for gifts or playful decorations.
Looking for a delightful little project that’s quick, cute, and perfect for gifting? The Free Crochet MINI FROG pattern is just what you need to brighten your day and add a bit of whimsy to your crocheting. This charming amigurumi-style frog is small enough to whip up in an afternoon but packed with personality.
Free Crochet MINI FROG Pattern for Amigurumi Lovers
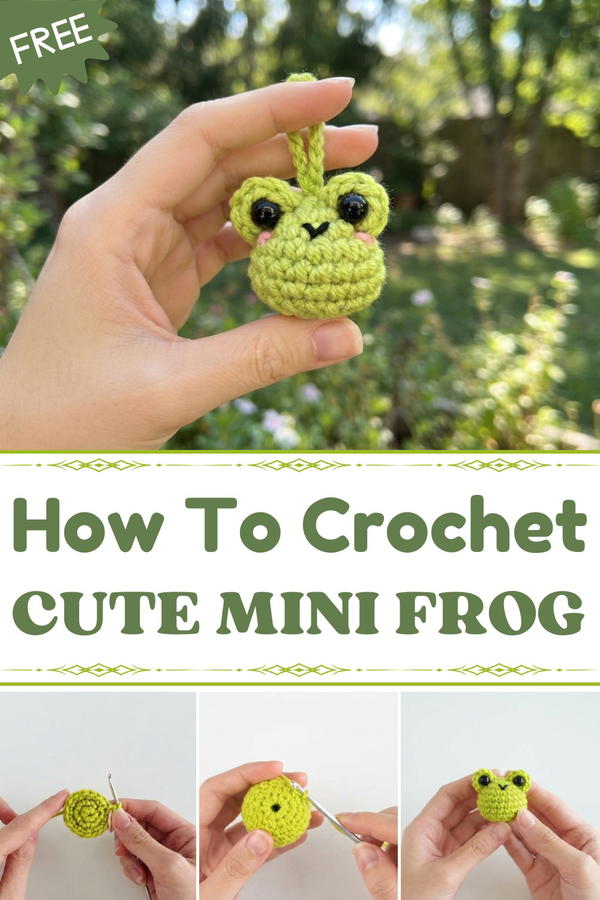
The Free Crochet MINI FROG pattern creates a tiny frog with a rounded, plump shape and smooth texture that’s both cuddly and visually appealing. Its standout features include adorable embroidered eyes and tiny limbs, capturing a sweet, playful expression that’s hard to resist. Because of its mini size, it’s perfect as a keychain, a desk companion, or a thoughtful handmade gift. Plus, you can customize it by choosing different yarn colors or slightly adjusting the size by using different hook sizes and yarn weights.
Uses basic crochet stitches like single crochet worked in continuous rounds, making it beginner-friendly but still satisfying for more experienced crocheters. A handy tip is to stuff it firmly but not too tight to keep the frog’s shape soft and huggable. The inspiration behind the design comes from nature’s charming amphibians, aiming to create something that’s both realistic enough to recognize and whimsical enough to bring a smile. Soft, smooth acrylic or cotton yarns work best here to showcase the neat stitches and give the frog a pleasant feel.
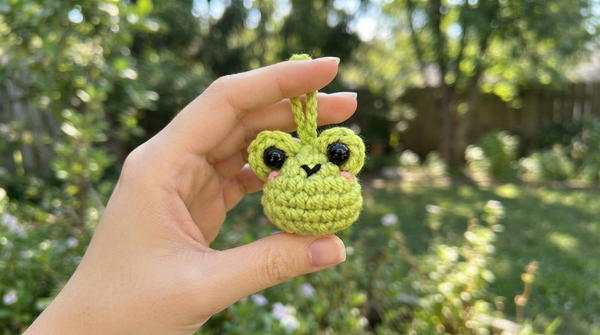
The Crochet Mini Frog is a charming, palm-sized amigurumi project that captures the essence of playful design in a few quick rounds. Its simple round body, easy-to-attach eyes, and customizable expressions make it a delightful addition to keychains, bag charms, or decorative displays. This pattern highlights essential amigurumi techniques, offering a quick and satisfying finish.
Pattern Important Tips
Stuffing for Shape
- Add a small amount of stuffing at a time to avoid lumps and achieve a smooth, consistent shape.
- Push the stuffing gently into the body before fully closing to ensure the frog is evenly filled.
Stitch Marking and Counting
- Use a stitch marker or contrasting piece of yarn at the start of each round for accurate counting.
- Consistently count your stitches after each round, especially during increases and decreases.
Eye Attachment
- Position eyes symmetrically for a balanced appearance.
- Sew eyes on securely to withstand daily handling if intended as a keychain or bag charm.
Finishing Touches
- Use a yarn needle to add a mouth or other facial features with black yarn for added personality.
Skill Level
Beginner Crocheter
Simple shaping, basic increases, and decreases make this an accessible amigurumi pattern for those new to crochet.
Materials
- Green milk cotton yarn (recommended: WolleWolly or similar)
- Small amount of black yarn for facial features
- Crochet hook size 5 (Rose)
- Polyester fiberfill (dacron) stuffing
- Pair of stick-on doll eyes (or safety eyes, if preferred)
- Sewing needle
- Scissors
- Stitch marker (or a small piece of contrasting yarn)
Gauge (and Stitch Pattern if applicable)
Gauge:
Not critical for this amigurumi; ensure stitches are tight enough to prevent stuffing from showing through.
Stitch Pattern:
Rounds of single crochet (sc) form both body and eyes, with increases and decreases to shape the frog.
Stitch Abbreviations
- MR – Magic Ring
- sc – single crochet
- inc – increase (2 sc in the same stitch)
- dec – decrease (single crochet 2 together)
- st(s) – stitch(es)
Special Stitches
Magic Ring (MR)
Create a loop with the yarn, work initial stitches inside this adjustable circle, and pull tight to close for a neat, hole-free amigurumi start.
Single Crochet Decrease (dec)
Insert hook into stitch, yarn over, pull up a loop; repeat in next stitch, yarn over, pull through all loops on hook.
Notes for Starting the Pattern
- Work in continuous rounds without joining unless specified—use a stitch marker to track the start.
- Begin with a tight magic ring to ensure there is no hole at the base of the frog.
Crochet Mini Frog Pattern
Materials Needed
- Yarn:
- Green milk cotton yarn (example: WolleWolly)
- Small amount of black yarn for mouth details
- Crochet Hook: Size 5 (Rose)
- Filling: Polyester fiberfill (dacron)
- Eyes: Pair of stick-on doll eyes
- Tools: Sewing needle, scissors, stitch marker (or contrasting yarn piece)
Crochet Instructions
Body
- Round 1:
- Begin with a magic ring (MR).
- Work 6 single crochets (sc) into the ring.
- Pull the ring tight to close the circle.
- Round 2:
- Increase in every stitch: work 2 sc in each stitch (12 stitches total).
- Round 3:
- Repeat (1 sc, 1 increase) six times around (18 stitches total).
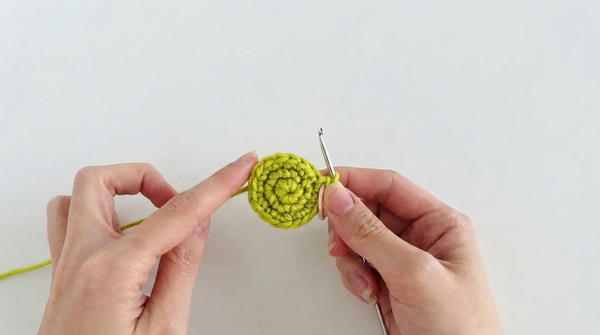
Round 4:
- Work 1 sc in each stitch around. Maintain 18 stitches.
Round 5:
- Work 1 sc in each stitch around. Maintain 18 stitches.
Round 6:
- Work 1 sc in each stitch around. Maintain 18 stitches.
Round 7:
- Start decreasing: repeat (1 sc, decrease) six times (12 stitches total).
Filling:
- Stuff the body firmly using polyester fiberfill.
Round 8:
- Decrease 6 times continuously to close the body shape (6 stitches).
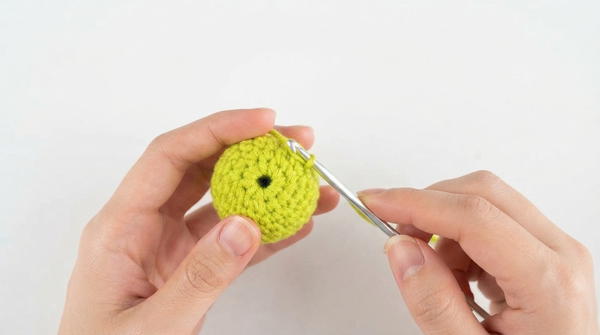
Use your finger to push the stuffing down as needed to maintain shape.
Eyes (Make 2)
- Create a magic ring and work 6 single crochets into it.
- Pull the ring tight to close.
- Cut the yarn, leaving a tail for sewing.
Assembly
- Position eyes on top of the frog’s head.
- Stitch the eyes securely onto the body with the yarn tails using a sewing needle.
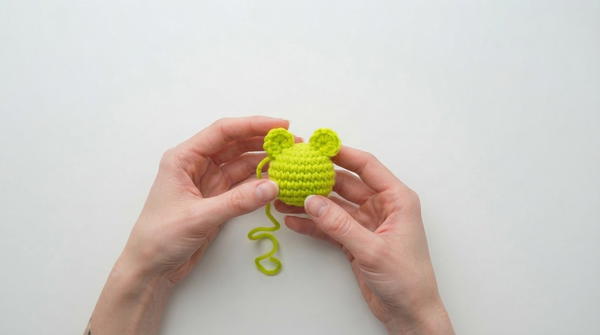
- For extra strength, sew back and forth between eyes and body several times.
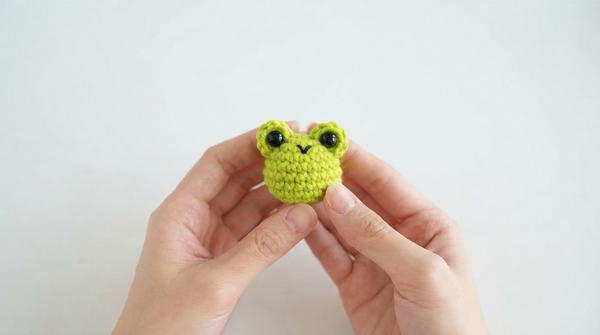
- Tie off yarn tails inside the body to secure everything.
Finished Frog
- Compact and adorable, perfect to attach to keys, bags, or use as a small decorative item.
Tips
- This project is a great way to practice magic rings, increasing, and decreasing techniques.
- Take your time with stuffing to get a smooth, firm shape.
- Experiment with different yarn colors or eye types for personalization.
Assembly and Sizing
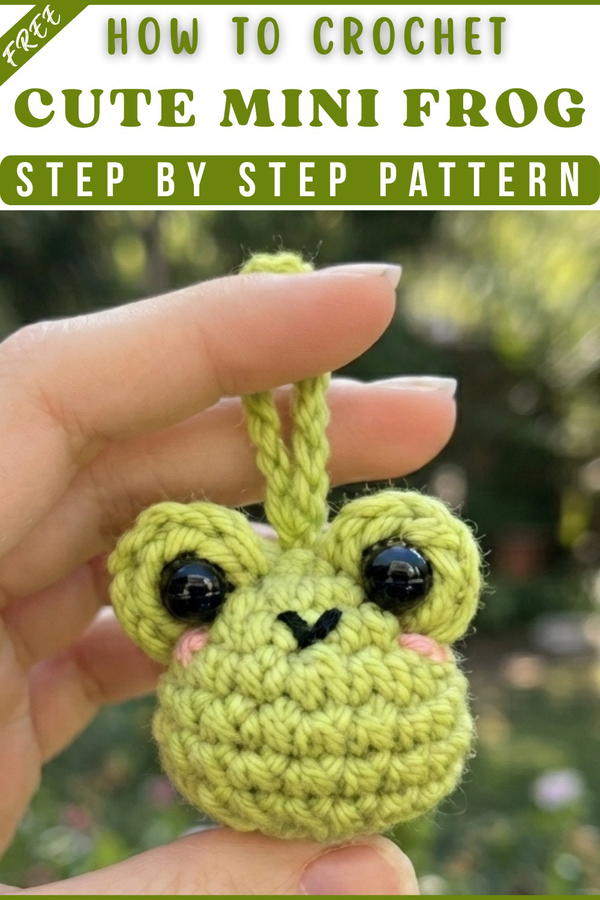
Sew the finished eyes securely to the top of the frog’s head using the yarn tails, weaving in all ends firmly inside. Finished frog measures approximately 2–3 inches depending on yarn and hook size—compact enough for keyring use or as a decorative accent.
Conclusion
The Mini Frog crochet pattern provides a whimsical and quick amigurumi project ideal for beginners, practice, or last-minute handmade gifts. Its sweet shape, easy construction, and potential for personalization ensure it will remain a favorite small project for both adults and kids alike.