Keep warm in style with our free crochet checkered balaclava pattern perfect for cozy winter days and making a bold fashion statement.
Stay warm and stylish during the chilly months with a unique and practical accessory that offers both comfort and charm. The checkered balaclava pattern, shared by Gülşah Özcan Filiz on her YouTube channel, is a brilliant solution for keeping your head and face cozy while showcasing a bold and modern design. Her easy-to-follow video tutorial ensures that anyone can create this eye-catching piece without difficulty.
How to Crochet a Cozy Checkered Balaclava – Free Pattern
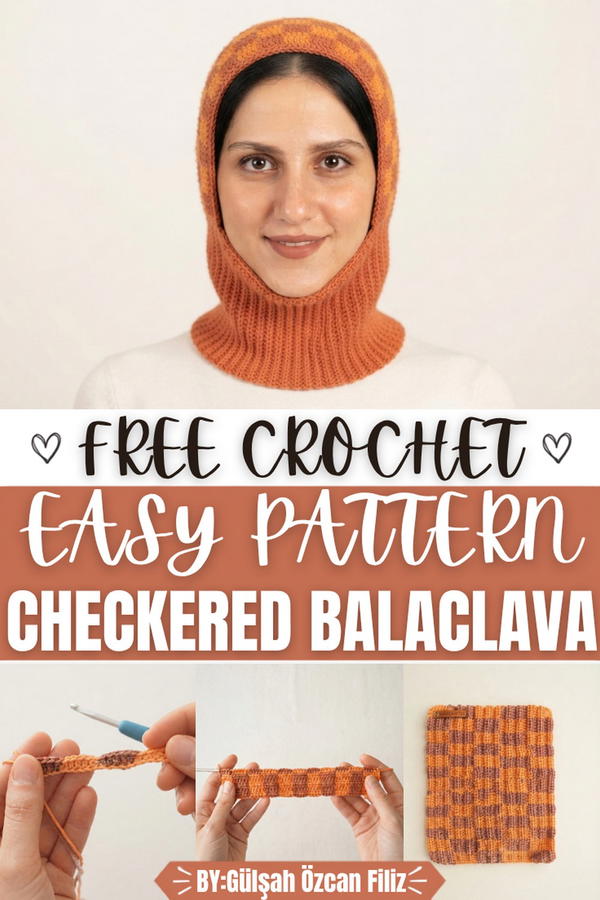
Featuring an attractive checkered motif, this balaclava brings an elegant touch to your winter wardrobe. The pattern combines squares of alternating colors, creating a visually appealing and balanced design that suits various looks. Its snug and flexible fit not only provides effective protection against cold weather but also ensures comfort during use. The carefully shaped structure wraps around the contours of your head and face, offering full coverage that keeps you warm even on the frostiest days.
One of the standout features of this pattern is its simplicity and versatility. Beginners can easily follow along, while those with experience will still enjoy the creative process. Additionally, the flexibility in choosing colors means you can personalize the balaclava to match your style or preferences.
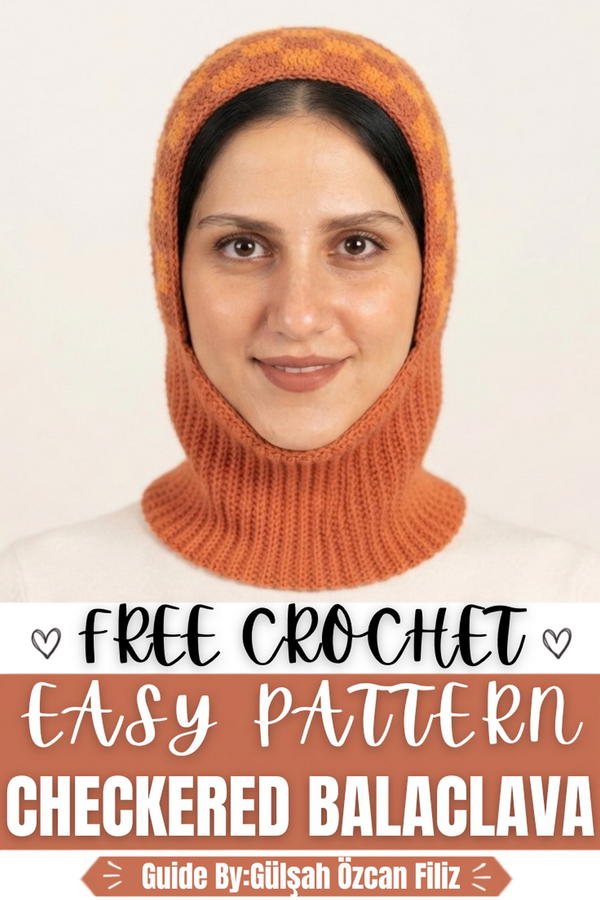
Crochet Balaclava Pattern with Checkerboard Design
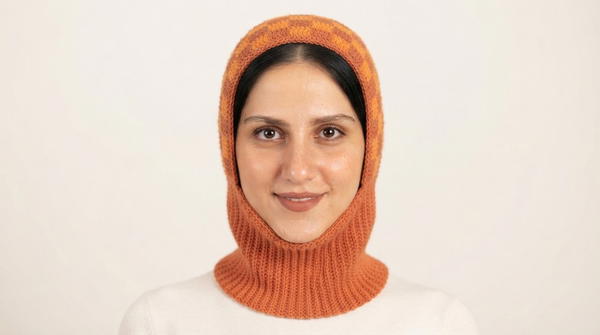
This crochet balaclava features a stylish and snug checkerboard design with two colors. Perfect for cold weather, this functional and unique piece keeps you warm while displaying a bold, modern aesthetic. The alternating blocks of color create a striking visual effect, making it a standout accessory. Here step by step pattern for crocheting this!
Skill Level
This pattern is suitable for intermediate crocheters. It requires familiarity with color changes, working in rows, and basic shaping techniques.
Materials Needed
- Yarn: Cotton yarn or similar material in two colors. Choose contrasting colors to enhance the checkerboard design.
- Hook: 2.5 mm crochet hook.
- Stitch Markers: Useful for marking key points, such as the eye opening.
- Scissors: For cutting yarn ends.
- Yarn Needle: For sewing and weaving in ends.
Special Techniques Used
- Color Changes: Switching yarn colors between blocks of stitches and rows to form the checkerboard pattern.
- Back Loop Crochet: Working into the back loop only for ribbing and clean finishes.
Stitch Abbreviations
- CH: Chain stitch
- SC: Single crochet
- HDC: Half double crochet
- SL ST: Slip stitch
Useful Tips
- Ensure your tension is even, especially when switching colors, to avoid uneven squares or puckering fabric.
- Use stitch markers to clearly define sections, such as the eye opening, for precise shaping and assembly.
- Weave in ends securely after each color change to maintain the clean and polished appearance of the checkerboard design.
Detailed Pattern
1. Starting the Main Piece
The main section of the balaclava forms the base checkerboard panel.
- Round 1:
Chain 80 stitches using your first yarn color. - Rows 2-25:
- Work HDC across, forming blocks of 5 stitches in one color. Switch to the second color and work the next 5 stitches.
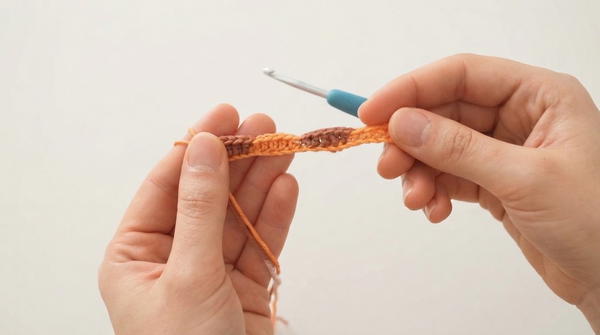
- Repeat the 5-stitch pattern across each row to create alternating blocks.
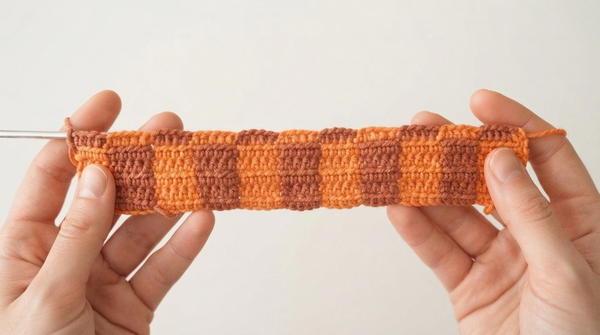
- At the end of each row, turn, and CH 1 to begin the next row. After completing 5 rows, switch the order of colors to maintain the checkerboard effect.
- Continue working until you complete 25 rows in total.
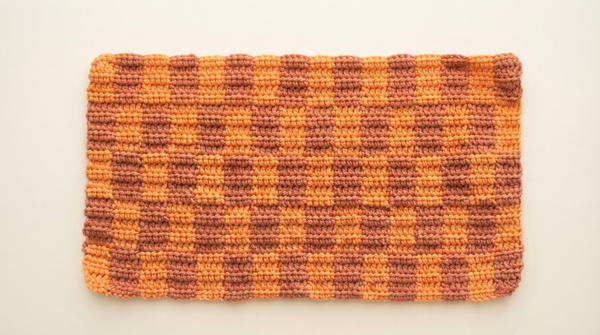
- Work HDC across, forming blocks of 5 stitches in one color. Switch to the second color and work the next 5 stitches.
2. Creating the Eye Opening
The eye opening is shaped by skipping stitches on each side of the checkerboard panel.
- Step 1:
Skip 5 color blocks on each side of the panel and mark these points with stitch markers. This defines the width of the face opening. - Step 2:
Resume crocheting rows, working HDC between the markers. Maintain the checkerboard color pattern as you continue.
3. Continuing the Head/Neck Section
The next section forms the head and neck panel by working rows between the eye opening markers.
- Rows 1-20:
Continue crocheting HDC, always maintaining the alternating color-block pattern from above. Work back and forth evenly until the section measures 20 rows.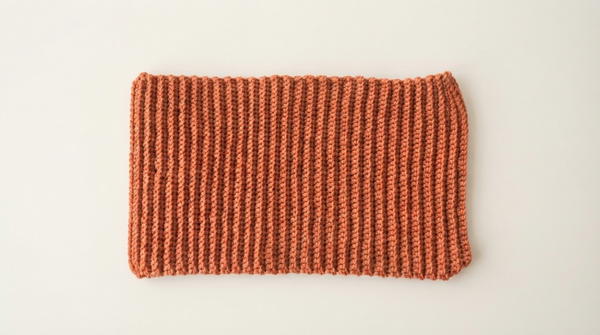
4. Assembly
After completing the crocheted panels, fold and sew for final assembly.
- Step 1:
Fold the piece over, aligning the edges neatly. Use yarn and a yarn needle to sew the sides together, using the corresponding stitches to avoid puckering. - Step 2:
Stitch up to the edge of the face opening but leave the front section open to frame the face.
5. Adding the Neck Ribbing
This ribbed section is added to the base of the balaclava to provide stretch and a snug fit around the neck.
- Step 1:
Attach yarn to the bottom edge of the neck panel. CH 40 and turn your work. - Step 2:
Work SC across the chain, crocheting into the back loops only to create the ribbed texture. - Step 3:
At the end of the row, join the ribbing to the main piece with a SL ST.- Continue crocheting ribbed rows, joining each row to the main piece as you go, until the ribbing fully encircles the neck.
- Step 4:
Sew the final ribbing edge to the starting edge to complete the neck section.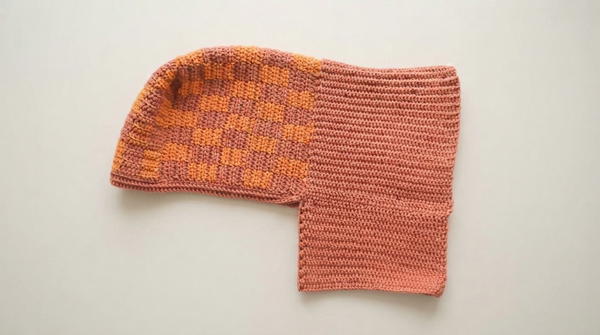
6. Finishing the Face Opening
To tidy up the face frame, crochet a clean border around the eye opening.
- Row 1:
With yarn, attach at a corner of the opening. Work SC evenly around the edge. - Rows 2-5:
Add additional rows of SC, working into the back loops only for a smooth, ribbed finish. Alternate colors if desired for contrast.
Sizing
The finished balaclava is designed to fit an average adult head.
- If creating for a smaller or larger head circumference, adjust the initial chain and row counts accordingly, ensuring the checkerboard blocks remain divisible by 5 stitches per color.
Conclusion
This stylish crochet balaclava combines warmth and modern design with its two-color checkerboard motif. The detailed assembly and finishing touches, such as the ribbed neck and face opening, give it a polished and practical finish. Focus on precision during color changes and sections for an impressive final product that is both functional and aesthetically pleasing. To learn how to create this fantastic winter piece, visit Gülşah Özcan Filiz’s YouTube channel, where the step-by-step tutorial will guide you in making this functional and fashionable accessory.