Bring charm to every hairstyle with this free crochet flower scrunchies pattern that's an easy and creative project for colorful hair designs.
Adding a handmade touch to your hair accessories can truly brighten up your daily look. When I first came across the Free crochet flower Scrunchies pattern on Quiereme Mucho crochet y amigurumis, I was drawn to how effortlessly charming these scrunchies appear. Adorned with soft, delicate flower petals, these scrunchies blend style and function perfectly, turning a simple hair tie into a wearable piece of art.
Free Crochet Flower Scrunchies Pattern & Simple Guide for Beginners
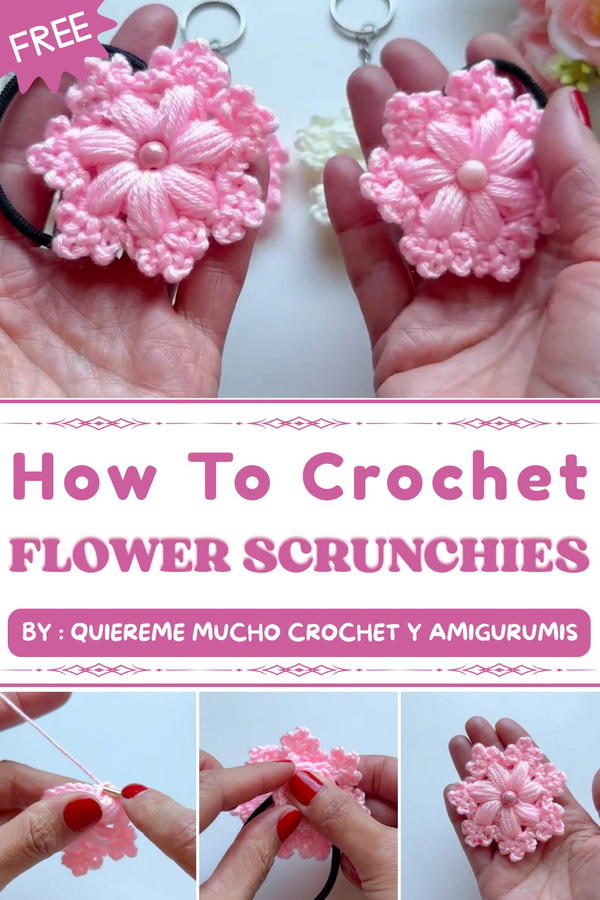
These scrunchies have a lovely, vintage-inspired vibe that works well with any outfit, whether casual or dressy. Their floral design offers a burst of color and texture, making them not just practical accessories but also delightful decorative accents. I’ve personally found that they make heartfelt gifts, each scrunchie feels uniquely personal and brightens someone’s day with its handmade charm.
What I love most is how versatile these flower scrunchies can be. They add a pop of whimsy to ponytails, buns, or braids, and their soft texture means they’re gentle on hair. Plus, you can easily match the yarn colors to your favorite palettes, creating scrunchies that reflect your own style or the tastes of your loved ones.
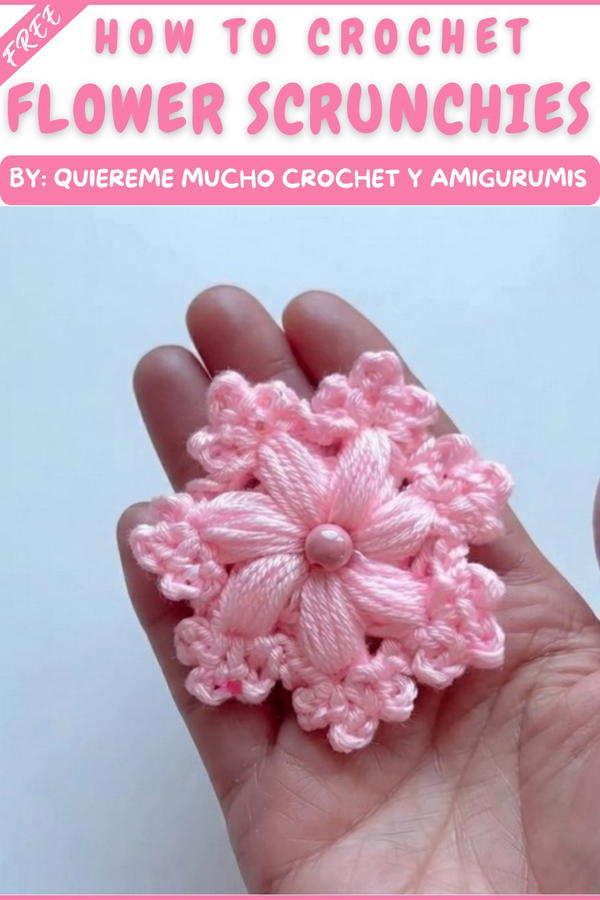
If you’re drawn to creative projects that combine beauty and utility, I warmly encourage you to explore the Free crochet flower Scrunchies pattern over at Quiereme Mucho crochet y amigurumis. It’s a wonderful way to craft delightful accessories that are as enjoyable to make as they are to wear.
Versatile Puff Stitch Flower Scrunchie or Keychain
This crochet project produces a plush, dimensional flower that’s perfect for accessorizing as a scrunchie or a keychain. The textural puff stitch petals and shiny yarn make the motif both stylish and eye-catching. Suitable for gifting or everyday use, this accessory combines beauty, utility, and adaptability. Petals are seamlessly formed around a robust center ring, ensuring the finished piece is durable enough to endure daily handling, whether in hair or on a bag.
Pattern Basic Points
Project Highlights
- Puff stitch petals for a three-dimensional, ruffled effect.
- Works up quickly in semi-thick, shiny yarns for maximum effect.
- Secure attachment options: sew or glue to elastic for a scrunchie or add a clasp for a keychain.
- Optional pearl center and crocheted backing for a professional finish.
Special Notes
- For puff stitches that are easy to work and slide smoothly, use yarns with some slip (acrylic, wool, or yarns with silk content are preferred over cotton).
- Maintain a relaxed tension, especially when wrapping for the base ring and making puff stitches, to avoid a cramped or rigid flower.
- The finished flower can be further personalized with a decorative center bead or pearl.
- This design provides a firm structure that holds its shape even after repeated use.
Skill Level
Beginner to Early Intermediate
- Requires comfort with puff stitches, single crochet, slip stitch, chaining, and working in the round.
Materials
- Yarn: Semi-thick yarn with shine (silk blend preferred; acrylic or wool recommended)
- Hook: 3.5 mm crochet hook
- Elastic hair band (tubular)
- Adhesive/glue
- Pearl or bead for the flower center (optional)
- Yarn needle (for sewing/weaving in ends)
Measurements / Sizing
- Flower diameter: Approximately 6–7 cm, depending on yarn and hook size.
- Petals: Seven, each ruffled for fullness; petals span beyond the base.
- Backing circle: Sized just larger than elastic attachment (approx. 2.5–3 cm in diameter).

Gauge
Gauge is flexible but should yield a plush, non-floppy flower.
If your petals appear too loose, use a smaller hook or firmer yarn.
Stitch Abbreviations
- ch: chain
- sc: single crochet
- sl st: slip stitch
- pf st: puff stitch (see Special Stitches)
- st(s): stitch(es)
- rnd: round
Special Stitches
Puff Stitch (pf st):
Yarn over, insert hook into designated stitch or space, yarn over, pull up a loop (3 loops on hook). Repeat this step four more times in the same place (you’ll have 11 loops on your hook). Yarn over and pull through all loops on the hook at once.
Secure puff with a slip stitch.
Step-by-Step Detailed Pattern
1. Flower Base Ring
- Wrap yarn loosely around your finger five times to create a stable ring base.
- Insert hook through the ring, ch 1 to secure.

- Work 18 to 20 sc stitches into the center of the ring, distributing stitches evenly.
- Pull the yarn end tight to close the ring as much as possible.
- Sl st to the first sc to close the round.
- Cut yarn and fasten off, weaving in the tail securely.

2. Petals (Repeat Sequence for a Total of 7 Petals)
For Each Petal:
- Attach working yarn to any single crochet of the ring with a slip stitch (if not continuing from previous yarn).
- Ch 3 (this brings height for the petal’s puff).
- Make a 5-loop puff stitch:
- Yarn over, insert hook into same stitch, yarn over, pull up a loop (do this 5 times in total).
- Yarn over, pull through all loops.
- Secure puff:
- Sl st into the same stitch.
- Create ruffled structure:
- Ch 4, sl st into the same space (this forms the first ruffle).
- Repeat this step twice more (for a total of 3 ruffles per petal: ch 4, sl st in the same place).
- Transition to next petal:
- Ch 3 to create a “bridge” between petals.
- Start next petal in the next adjacent sc on the base ring.

Continue:
Repeat the above sequence into the next 6 single crochets around the ring for a total of 7 puff petals evenly spaced and well ruffled.
3. Finishing the Flower
- After the 7th petal, ch 2 and sl st into the top hole of the first puff stitch to close.
- Secure yarn, cut, and weave ends invisibly into the reverse side of the flower.

4. Assembly
For Scrunchie (Coletero):
- Center the flower atop a tubular elastic band.
- Use adhesive/glue, or a yarn needle and matching yarn, to sew the flower securely to the band at the flower’s back.

- For a slip-free, professional finish, cover the back:
- Make a backing circle:
- Magic ring, 6 sc into ring (pull tight to close).
- Rnd 2: 2 sc in each st around (12 sc).
- Rnd 3: (1 sc, 1 inc) in each st around (18 sc).
(An "inc" is 2 sc into the same stitch.) - Fasten off, weave in ends.
- Place the small crocheted backing circle over the elastic on the reverse of the flower; sew or glue down to encase stitching/attachment.
- Make a backing circle:
For Keychain:
- Attach a keyring or clasp to one petal or between two petals using a strong loop or small stitched tab.
- Optionally, add the crocheted backing circle for a clean underside.
Optional Pearled Center:
- Glue or sew a pearl or bead at the center for an elegant touch.
Conclusion
This flower accessory brings a cheerful and textural elegance to everyday essentials, whether in hair or on bags as a keychain. The plush puff stitch petals are enhanced by ruffle detailing for a full, sculptural look. Adapt your colors, center decoration, and finish to suit your personal style, making each creation unique. The project is a practical demonstration of how innovative stitch textures can transform simple motifs into eye-catching, multipurpose adornments.