Create colorful and durable crochet bag keychains that add a fun personal touch to your bags while keeping your keys easy to find every day.
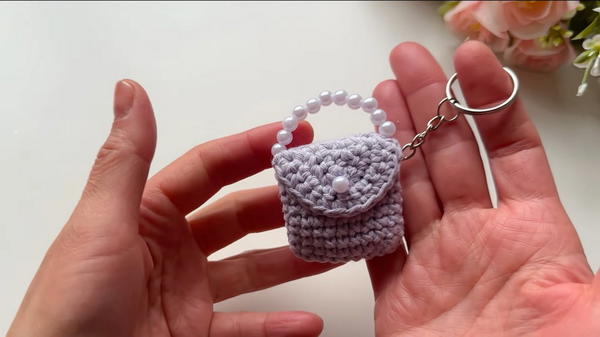
Do you like small, cute things? This Mini bag keychains are tiny bags that look very pretty. Quiereme Mucho crochet y amigurumis made these little keychains to be soft and colorful. They look like little purses with tiny handles and small details that make them special.
Easy Crochet Mini Bag Keychains Free Pattern for Handmade Gifts
Mini bag keychains are small enough to hold in your hand. You can put them on your keys, backpack, or bag. They can make your things look nice and fun. Some people also like to collect these cute keychains or use them to decorate their rooms.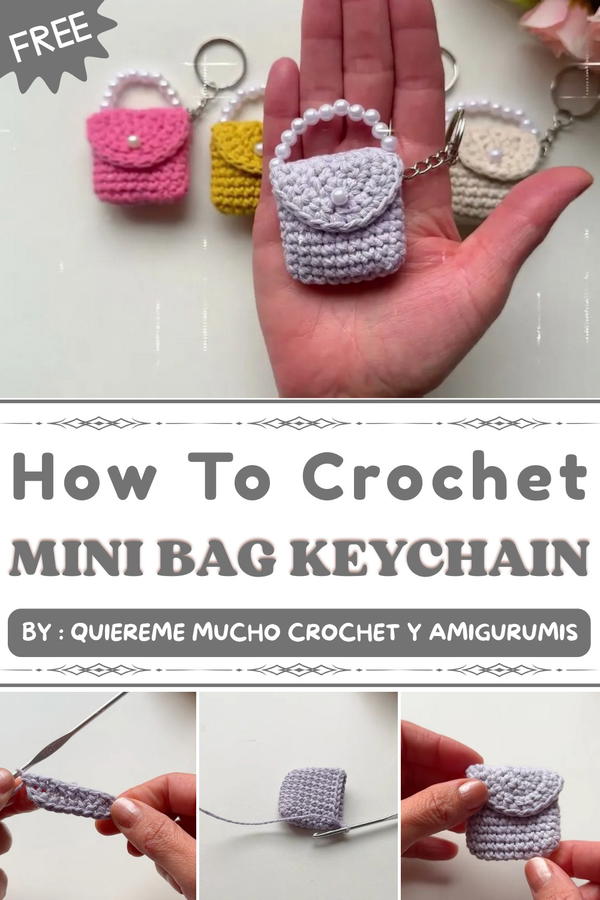
These little bags keep their shape and feel soft too. Whether you are new to crochet or have tried it before, making mini bag keychains is a nice and easy project to enjoy.
Quiereme Mucho crochet y amigurumis created these keychains to bring joy and color to everyday things. Each mini bag keychain is simple but charming, showing how small things can be special.
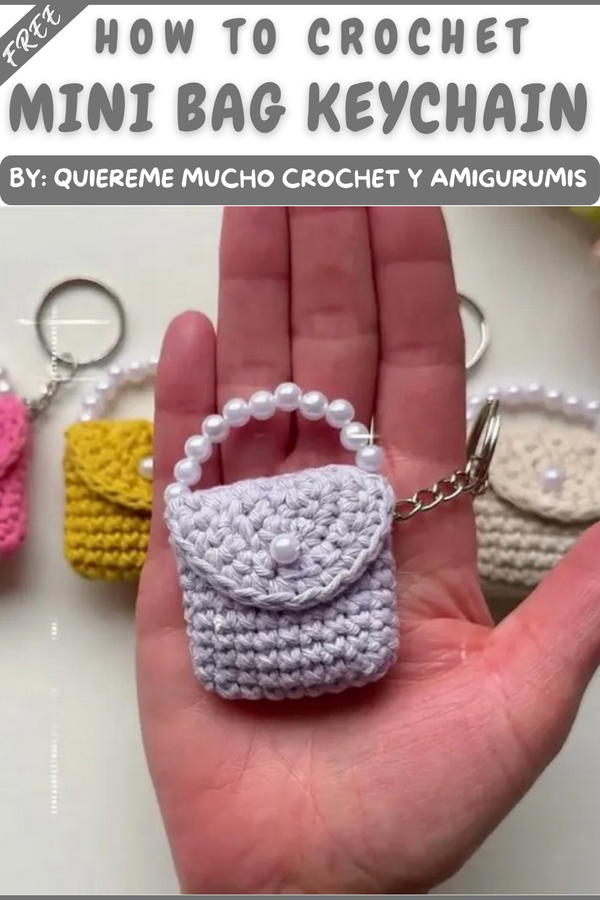
If you want to try making your own mini bag keychain, check out the free pattern. It is a fun and quick project to make with your hands!
Mini Bag Keychain Crochet Pattern
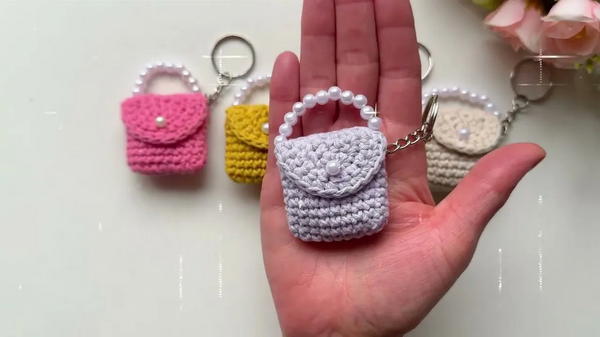
Making these adorable mini bag keychains. They're incredibly tiny—small enough to fit in the palm of your hand—and they make a super original keychain. Best of all, they’re very easy to make. I hope you enjoy this project and will join me in making it!
Pattern Basic Points
Highlights
- Worked in Rows and Rounds: The body of the bag is crocheted as a small oval, and the flap is constructed separately in rows.
- Amigurumi Technique: The mini bag uses all single crochet stitches and basic increases.
- Minimal Material and Time: Perfect for leftover yarn and only 30-40 minutes to finish.
- Customizable: Easily add beads, pearls, stuffing, or different closures.
Special Notes
- Work the body in continuous rounds for an even, neat finish.
- Carefully count stitches, especially while increasing around the oval base.
- Use a stitch marker to track the start of each round after finishing the oval base.
- The pearls/strap can be replaced by a simple chain stitch loop if desired.
- The unevenness in height after the nine rounds is intentional; it adds charm and is hidden by the flap.
- For best durability, use strong thread for the bead strap.
Skill Level
Beginner to Advanced Beginner
Familiarity with single crochet, making a chain, increases, slip stitch, and sewing pieces together is helpful.
Materials
- Yarn: Small amount of cotton or acrylic yarn (preferably light worsted/3 or sport/2 weight, but flexible)
- Crochet Hook: Size compatible with your yarn (e.g., 2.5mm–3.5mm)
- Pearl beads: Mini (10 pieces) for the strap
- Strong Thread: For stringing beads (macrame thread or equivalent)
- Needle: For threading beads and sewing
- Scissors
- Stitch Marker
- Filling (optional): A tiny bit of stuffing if you want more body
- Adhesive (optional): For securing the flap
- Small Washers (optional): For closure detail
Measurements / Sizing
- Finished Size:
- Height: Approximately 3–4 cm (1.2–1.5 in)
- Width: About 2–2.5 cm (0.8–1 in)
- Strap: 10 beads in a loop; about 3–4 cm in diameter
- Fits comfortably in the palm of your hand
Gauge (and Stitch Pattern if applicable)
- Gauge: Not critical due to the novelty size; stitches should be firm for structure.
- Stitch Pattern: All pieces use single crochet (US terms).
Stitch Abbreviations
| Abbreviation | Meaning |
|---|---|
| ch | chain |
| sc | single crochet |
| inc | increase (2 sc in same stitch) |
| sl st | slip stitch |
| st | stitch |
| st(s) | stitches |
Special Stitches
- Increase (inc): 2 single crochet in the same stitch.
- Working Around the Foundation Chain: Crochet both down one side, work increases at the end, and continue on the opposite side of the chain for an oval base.
- Sewing Flap and Strap: Use needle to sew only the outside loop of the flap to the bag’s back row for a neat join.
Step by Step Pattern
Bag Body
- Foundation Chain
- Make a slip knot.
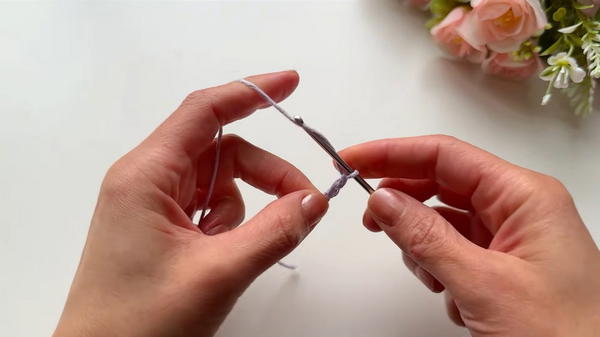
- Ch 10.
- Make a slip knot.
- Row 1 (Working the Base)
- Starting in the 2nd ch from hook, sc in each of the next 8 sts.
- In the last ch: inc (3 sc in same st).
- Working back along the other side of the chain:
- Turn work to crochet in the unused loops of the chain.
- Sc in next 7 sts (pick up the back bump of the chain for a neat edge).
- End of Round 1
- In the first st on this side (beginning of round), inc (2 sc in same st).
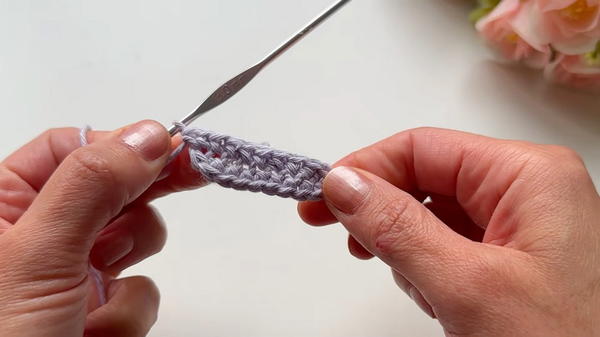
- Round 1 ends with 20 sc stitches.
- Cut the beginning tail (if desired).
- Place a stitch marker at the final stitch.
- In the first st on this side (beginning of round), inc (2 sc in same st).
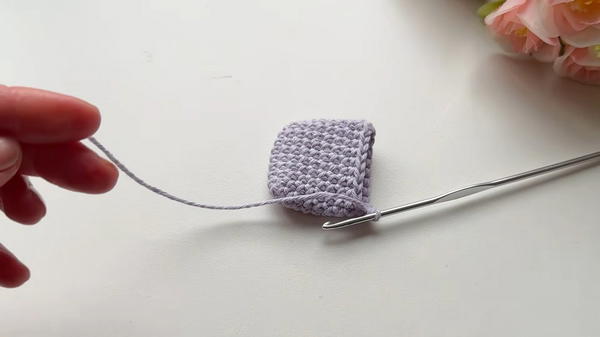
- Rounds 2–9 (Making the Sides)
- Sc in each stitch around (20 sc total per round).
- Repeat for a total of 9 rounds (including the first/base round).
- At the end, sl st to next st and fasten off. Hide yarn tail.
Flap
- Foundation
- Make a slip knot.
- Ch 3.
- Row 1
- Start in 2nd ch from hook: sc in each of next 2 sts.
- Turn work.
- Working the Semicircle Side
- Ch 1 for height, turn.
- Now work across the two sc and the two chain-stitch “edges” for a total of 4 spaces:
- In each of the 4 spaces, inc (2 sc in each space)—across the 2 sc from previous row and then into 2 chain “edges” at the sides.
- Total: 4 increases = 8 sc.
- Row 2
- Ch 1, turn.
- Sc in each of 8 sts.
- Row 3
- Ch 1, turn.
- Work the following sequence: [sc in next st, inc in next st] across row.
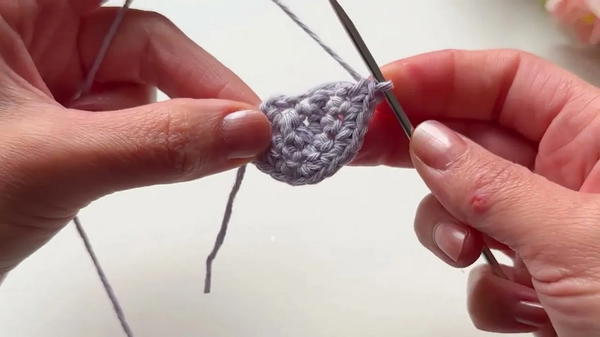
- Repeat to end for a total of 12 sts:
- (sc, inc) x 6 = 12 sc.
- Row 4 (Final Row)
- Ch 1, turn.
- Sc in each of 12 sts.
- Top Neatening Row
- Ch 1 for height, DO NOT turn.
- Work single crochet along the curved edge (flap curve):
- Sc evenly across the top edge, for a total of 9 sc. (Work in each stitch and edge; 1 sc in each curve point and on the small edge.)
- Fasten Off
- Leave a long tail for sewing.
- Flap is complete.
Assembly & Finished Size
Attach Flap to Bag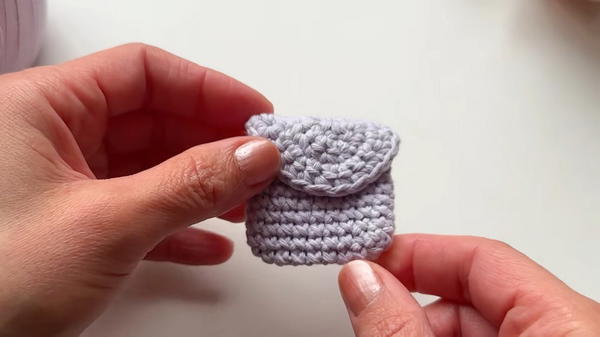
- Position finished flap on the higher/back edge of the bag (hides height unevenness).
- With needle and tail, sew only the outside loops of the flap to the row of stitches on the bag’s back.
- Join stitch by stitch, matching edges.
- When finished, weave in the tail, tie a knot, and hide the end inside the bag.
Add Strap with Pearls
- String 10 mini pearls onto strong thread (macrame or similar) using needle.
- Cut a strand a little longer than needed.
- Insert thread from the inside of one side of the bag to the other, through the top edge.
- Pull taut, so pearls make a loop.
- Secure by tying a knot on the inside of bag and trim tails.
Finishing Touches
- You may add a small washer on each end of the pearl handle (optional).
- Optionally, add a little stuffing inside the bag for body.
- Secure the flap, if desired, with a dab of adhesive or glue it down.
- Finished bag fits easily in the palm of your hand—perfect as a keychain, party favor, or small gift.
Conclusion and Ending Words
Made a charming mini bag keychain that’s quick, easy, and wonderfully delicate—ideal for gifts or small sales items. This project uses minimal materials and basic crochet techniques but produces an impressively neat and original result. It’s perfect for using up yarn scraps and learning or practicing simple amigurumi and assembly skills