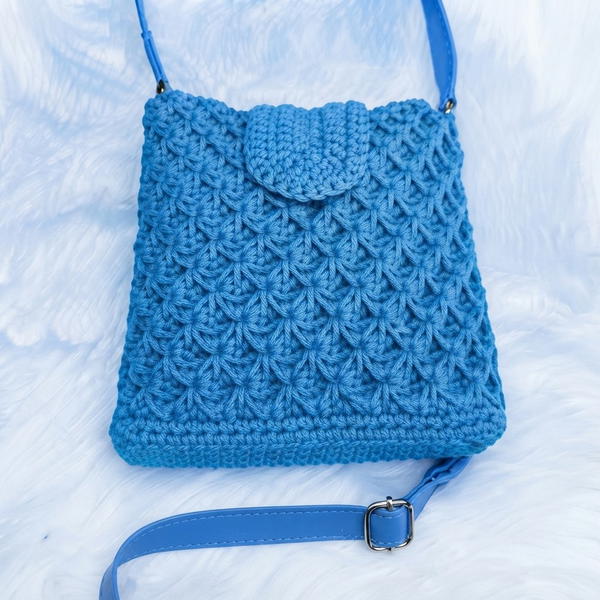
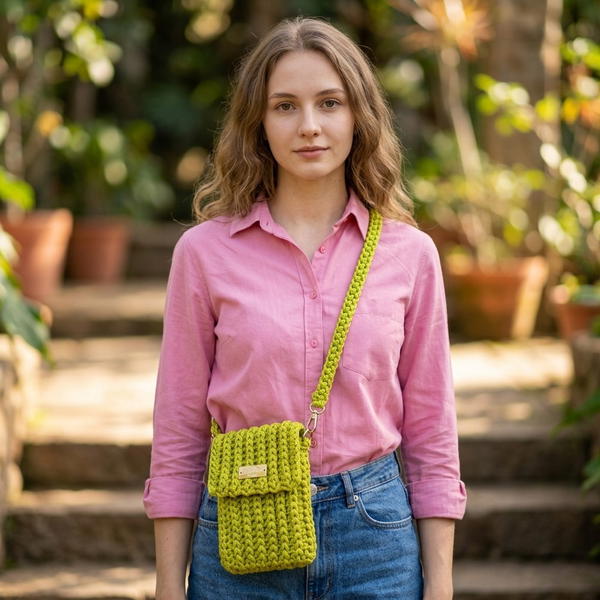
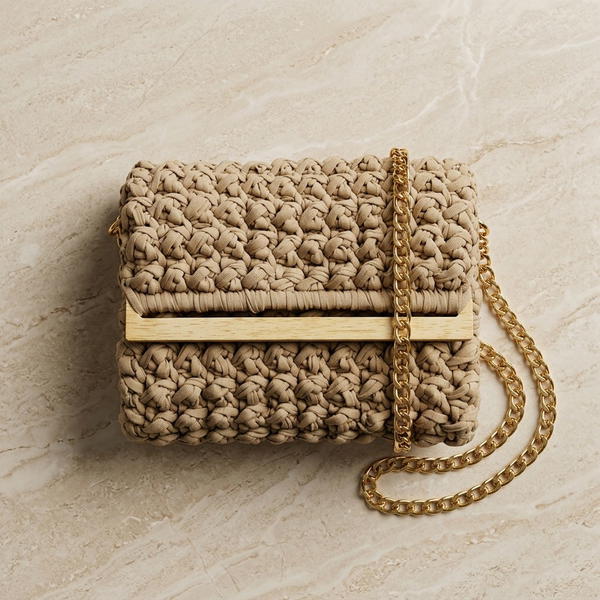
Keep your phone secure and stylish with this free crochet shirt-shaped mobile bag pattern, combining practicality and creativity for everyday convenience.
I love making cute and useful crochet items, and recently I tried a fun project that’s perfect for keeping your phone safe in style. The Free crochet Shirt Shaped Mobile Bag Pattern from Tukitaki caught my eye because it’s not just a bag, it’s shaped like a little shirt, making it a unique accessory that’s both playful and practical.
Free Crochet Mobile Bag Pattern in Adorable Shirt Shape
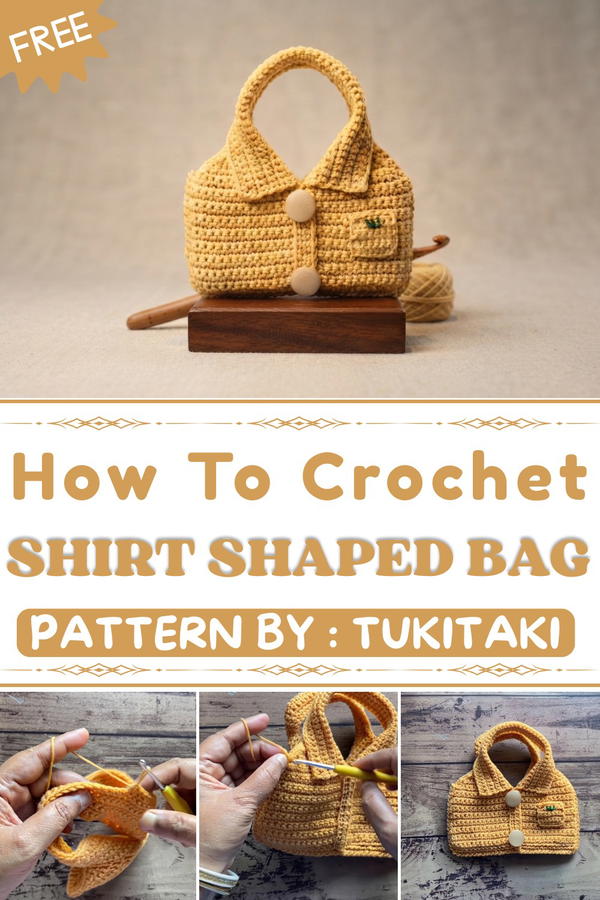
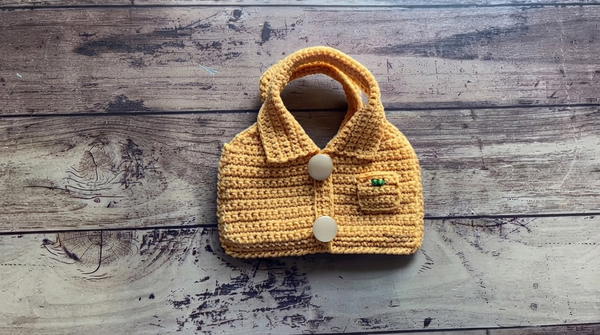
This mobile bag is super charming with its shirt-like shape, complete with tiny sleeves and a collar detail that gives it a fresh, casual look. The texture is soft but sturdy enough to protect your phone, thanks to neat and even crochet stitches. Its compact shape fits most standard mobiles, and the little flap closure keeps your device secure. Plus, the cute design stands out and adds a fun touch to your everyday essentials or your gifting options.
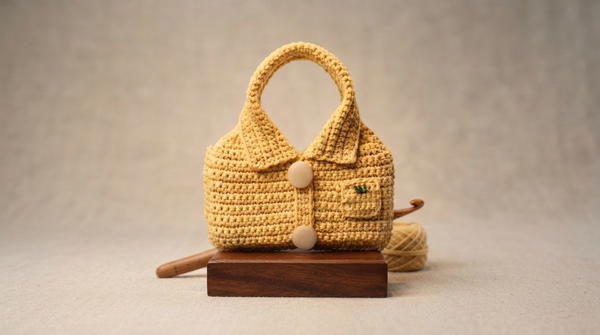
The pattern is great for beginners who know basic crochet stitches. The main stitch used throughout the project is the single crochet, which is easy to learn and creates a tight fabric that’s perfect for bags. Clear instructions make the process smooth and enjoyable, so you can finish this project quickly and with confidence.
Overall, this Free crochet Shirt Shaped Mobile Bag Pattern is a fantastic idea for handmade gifts or adding a quirky, wearable accessory to your collection. Whether for yourself or a loved one, it’s a stylish and functional piece that’s sure to bring smiles and everyday convenience.
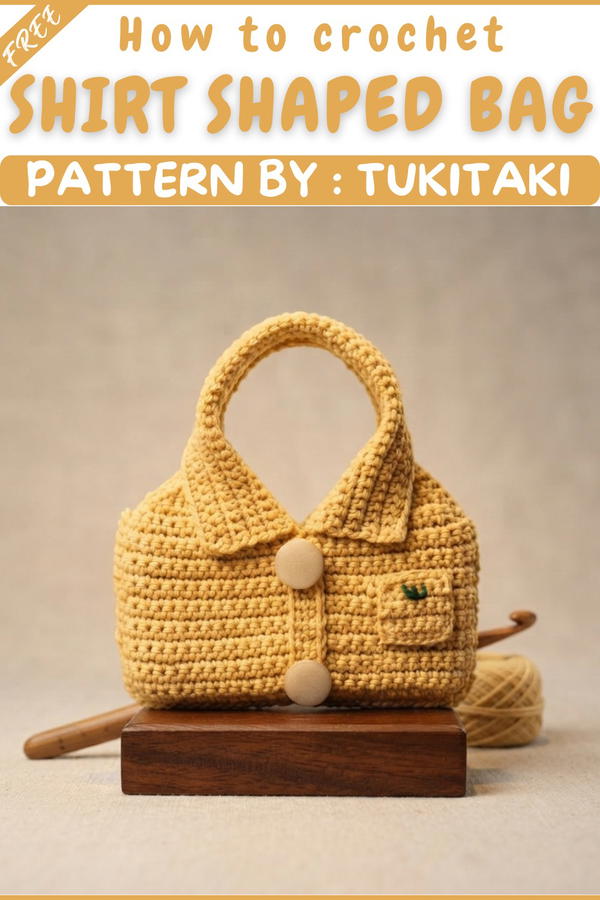
Crochet Mobile Bag Pattern (Shirt Style)
Hello! Today, we will make a bag for mobile that resembles a shirt. The front and back sides are identical, and buttons are attached on both sides. A pocket is added for extra detail, and the size can be adjusted to fit your mobile. This pattern uses 4-ply yarn and a 3.5 mm hook. It is constructed in rows, features shaping for the upper part, a collar, buttons, a pocket, and assembly with reverse single crochet. This comprehensive guide provides every step, just as demonstrated in the original tutorial.
Pattern Highlights
Features
- Shirt-style Mobile Bag:
The bag’s front and back mirror each other in design, evoking a classic shirt with collar and button detailing. - Functional Pocket:
A small pocket is sewn on the front, perfect for decorating or holding tiny items. - Button Closure:
Decorative buttons accentuate the shirt look and secure the opening. - Collar Detail:
Built-in collar motifs complete the shirt’s style. - Adjustable Sizing:
Easily customize the bag to accommodate different mobile sizes by modifying starting chains and row counts. - Solid Construction:
The body and collar are made with single crochet for stability, joined with reverse single crochet for a neat finishing edge.
Notes
- The bag is worked flat in rows and assembled at the end.
- All joins are made using reverse single crochet for a defined seam.
- When making the pocket, the upper edge is left open for access.
- The pattern is fully adjustable by increasing or decreasing chains/rows to fit your device.
- Buttons and pockets are hand-sewn for precision.
- All steps, stitches, and rows are referenced directly from the original video transcription.
Skill Level
Intermediate
You should be comfortable with single crochet, shaping through increases and decreases, working flat, changing colors, joining pieces, and sewing buttons and pockets.
Materials
- Yarn: 4-ply acrylic or cotton yarn in colors of your choice
- Hook: 3.5 mm crochet hook
- Scissors
- Tapestry needle (for sewing and weaving in ends)
- Buttons: 2 or more, for front decoration and closure
- Stitch markers: For positioning pocket and joining pieces
Optional:
- Thread: For hand-sewing buttons and pocket
Measurements / Sizing
- Base Chain: 31 (adjustable for larger mobiles)
- Body Rows: 16 (or up to 18 as needed)
- Finished Size: Fits standard mobile; customize chain and row count for your phone.
- Collar: 8 rows, 47 stitches wide
- Pocket: 7 rows, 8 chains wide
Gauge
- 30 single crochet across = ~10 cm width
- 16 rows single crochet = ~13 cm height
Gauge is not critical but will help ensure correct sizing.
Stitch Abbreviations
| Abbreviation | Meaning |
|---|---|
| ch | chain |
| sc | single crochet |
| hdc | half double crochet |
| sl st | slip stitch |
| rev sc | reverse single crochet |
Special Stitches
Reverse Single Crochet (rev sc):
Work single crochet backward (left-handed for right-handed crocheters) along an edge, producing a twisted, corded seam.
Decrease (sc2tog):
Insert hook into next st, yarn over, pull up loop. Insert hook into following st, yarn over, pull up loop. Yarn over, pull through all loops on hook.
Pattern
A. Base & Body (Both Sides Identical)
- Foundation:
- Make a slip knot.
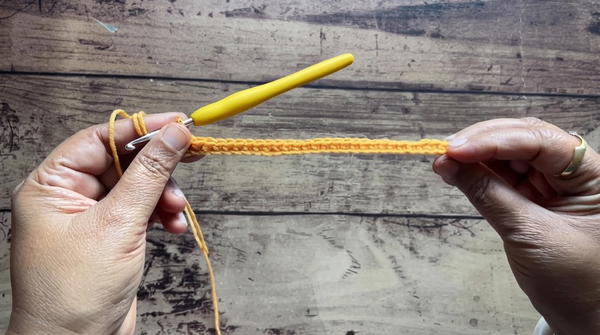
- Ch 31 (for standard mobile; adjust for larger sizes).
- Make a slip knot.
- Row 1:
- Skip 1 ch.
- sc in each ch across (total 30 sc)
- Ch 1, turn.
- Rows 2–16:
- In each row:
- sc in each stitch (30 sc per row)
- Ch 1, turn.
- In each row:
Note: You may work 16 rows or extend to 18 rows for a bigger bag.
- Row 17 (Upper Shaping):
- sc in first 15 st.
- Ch 1, turn.
- Row 18:
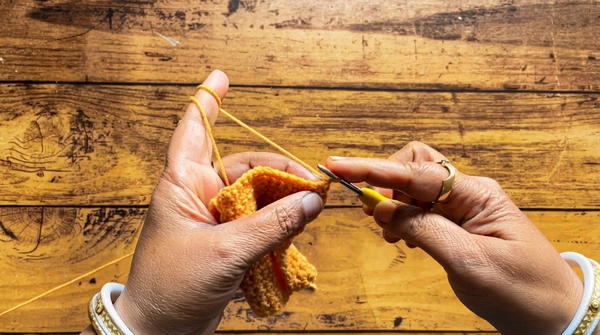
- Begin with decrease (sc2tog).
- sc in next 11 st.
- Decrease at last stitch (sc2tog).
- (Total: 13 sc)
- Ch 1, turn.
- Row 19:
- Decrease at beginning and end.
- sc in next 9 st (middle).
- (Total: 11 sc)
- Ch 1, turn.
- Row 20:
- Decrease at beginning and end.
- sc in 7 st (middle).
- (Total: 9 sc)
- Ch 1, turn.
- Row 21:
- Decrease at beginning and end.
- sc in 5 st.
- (Total: 7 sc)
- Ch 1, turn.
- Row 22:
- Decrease at beginning and end.
- sc in 3 st.
- (Total: 5 sc)
- Ch 1, turn.
- Row 23:
- Decrease at beginning and end.
- sc in 1 st (middle).
- (Total: 3 sc)
- Ch 1, turn.
- Row 24:
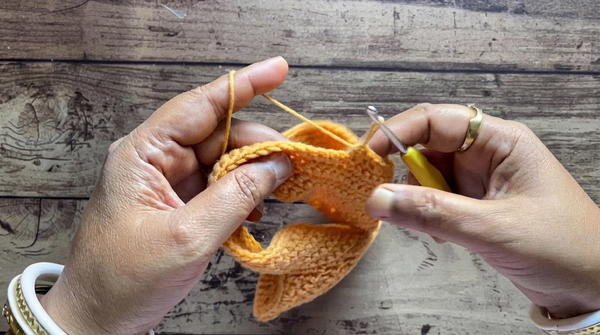
- Decrease at beginning and end.
- No stitches remaining.
- Fasten off and cut yarn.
Repeat all shaping steps for the other side, working into the middle foundation stitches. Begin with sl st to join and mirror the shaping from step 4 through step 11 above.
B. Collar
- Attach yarn at the middle neckline edge.
- Collar Base:
- sc in next 10 st.
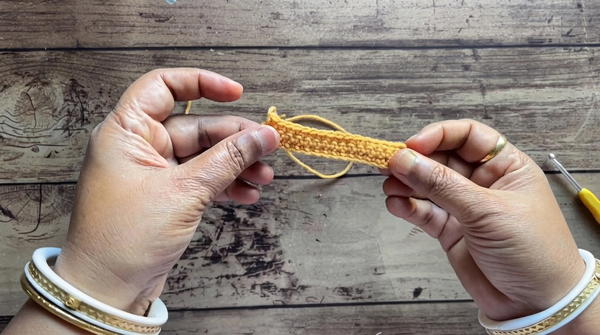
- Ch 27.
- sl st to opposite neck edge.
- sc in 10 st at this edge.
- Row 1 (Collar Proper):
- Ch 1, turn.
- sc in each stitch across collar base (total 47 sc).
- Ch 1, turn.
- Rows 2–8:
- sc in each stitch across (47 sc per row).
- Ch 1, turn.
- Repeat until total 8 rows completed.
- Row 9 (Collar Join):
- hdc in first 10 st.
- hdc in next 27 st of chain base (joining with collar to neckline base).
- hdc in last 10 st.
- Fasten off and cut yarn.
C. Button Strip
- Ch 18.
- Skip 1 ch and sc in each remaining ch (17 sc).
- Rows 2–3:
- sc in each stitch across (17 sc per row).
- Ch 1, turn.
- After 3 rows, cut yarn with long tail for sewing.
- Use remaining yarn end to sew the strip securely to bag front.
D. Pocket
- Ch 8.
- Skip 1 ch and sc in each remaining ch (7 sc).
- Rows 2–7:
- sc in each stitch (7 sc) per row.
- Ch 1, turn.
- After 7 rows, cut yarn with long tail.
E. Pocket & Button Assembly
- Use stitch markers to align pocket center on bag front.
- Sew pocket to bag front using yarn needle, only joining 3 sides (left, right, bottom); leave top open.
- Sew on button(s) above pocket for maximum effect (using thread/yarn).
- Hide yarn ends and shape angles for a crisp finish.
F. Joining Two Sides
- Stack both bag bodies with right sides out.
- Using reverse single crochet (rev sc), join around all 3 edges (left, bottom, right), leaving the top open.
- Turn and repeat for second side if necessary.
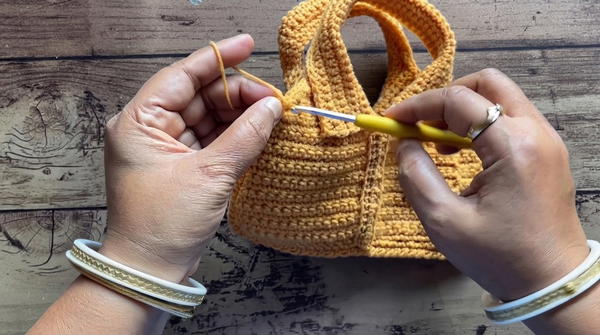
- Join the whole part with reverse single crochet for a defined corded seam.
- Hide yarn tails securely inside the seam.
G. Finished Size
- The finished bag fits a standard mobile, with a neat shirt collar, decorative button strip, and attached pocket.
- Both sides are identical, ensuring symmetry.
Conclusion
This pattern provides a clear, round-by-round guide to creating a mobile bag inspired by a classic shirt motif. By following each detailed step, including foundation, shaping, collar construction, pocket, and assembly, you will produce a functional, stylish accessory that fits your phone perfectly. Adjust chains and row counts for custom sizing as needed. The reverse single crochet assembly offers a strong seam, and the decorative touches like buttons and a pocket add personal flair.
Finished with care and skill, this mobile shirt bag is both useful and visually appealing—a perfect blend of practicality and creativity. We hope you enjoy the process and proudly use or gift your completed item.