 Mint Design Blog



Try the Crochet Bow Free Pattern for a neat little ribbon shape that looks lovely on hair ties, gift boxes, greeting cards, and accessories.
- This cute idea comes from Rasha Crochets.
Sometimes, the smallest details can change how an outfit or accessory looks. The Crochet Bow is a simple yarn design that can be used in many fun ways. It has a neat shape with two loops and a small middle section. You don't need fancy decorations to give it a nice finish, which makes it a good choice for anyone who likes simple crochet projects.
Sweet Crochet Bow Free Pattern For Handmade Gifts
The bow has two sides that spread out from the center, giving it a familiar ribbon-like appearance. The middle is wrapped tightly to hold both sides in place. You can choose cherry , soft beige, or light blue yarn depending on where you want to use it. A single color gives it a clean look, while mixing shades can offer something different.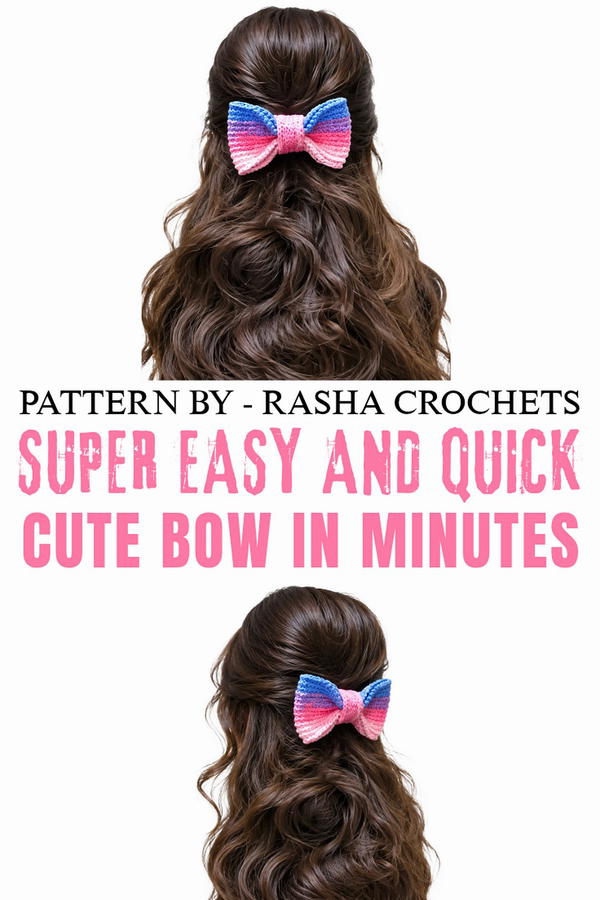 The making process is quite simple. Crochet stitches are used to form the main piece, which is then shaped into a bow. The center is secured with yarn to keep everything together. It is also a nice project for using small amounts of leftover yarn.
You can attach this bow to a baby cardigan, decorate a plain pair of slippers, or sew it onto a winter scarf. It can also be used to finish a gift box or give an old headband a new look.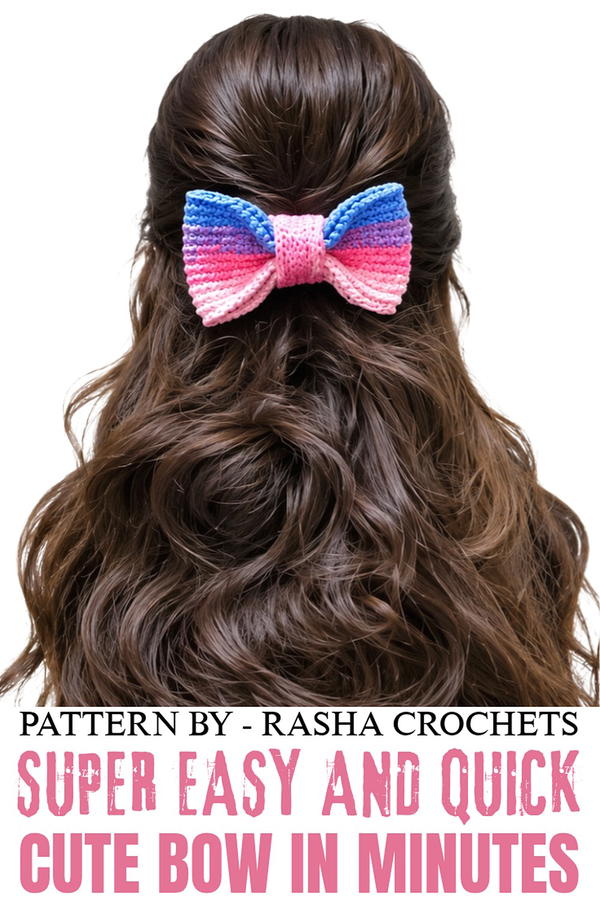 One little bow can be useful in so many ways. You can prepare a few in different colors and keep them for future projects whenever something needs a small, personal detail.
About the Pattern
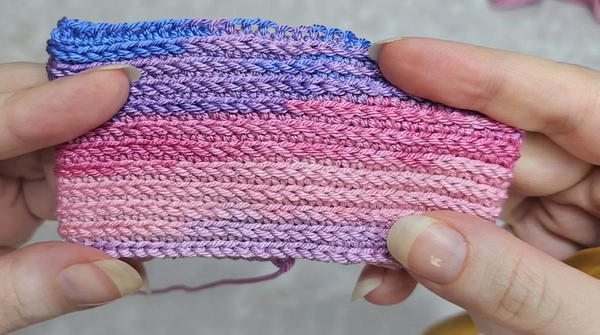
This crochet bow combines classic techniques with modern details, resulting in a textured and structured accessory. The bow is worked in alternating rows for stability and defined edges, then cinched and finished with a decorative center strip. Its adaptable form allows it to be used as a hair accessory, embellishment for gift-wrapping, or an accent for garments. Careful attention to stitch placement and edging ensures polished results and durability.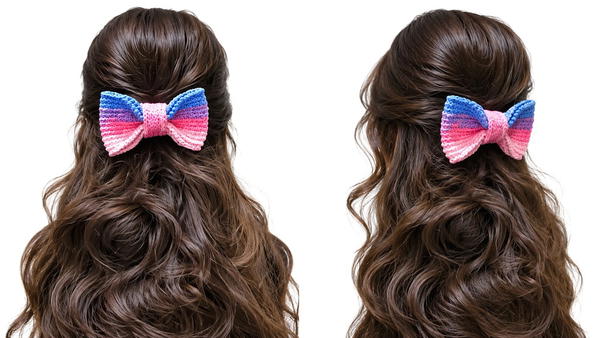
Pattern at a Glance
- Main Bow Body: Worked flat in alternating rows of slip stitch and single crochet for texture and stability.
- Center Strip: Created separately to cinch the bow and provide a neat finish.
- Assembly: Simple folding and stitching with an optional opening for a hair clip.
Important Notes
- Always work into the back loops of stitches to enhance elasticity and definition.
- The tension should remain consistent, particularly when switching between slip stitches and single crochets.
- The number of chains and rows is crucial for the bow’s proportions; avoid modifying unless a different size is desired.
- Leave the center strip’s back open if planning to insert a clip.
- Edging improves durability and neatness, so do not skip final border rounds.
Difficulty Level
- Beginner to Intermediate: Basic stitches (chain, slip stitch, single crochet) are used, with attention required for alternating rows and assembly steps.
Supplies Needed
- Yarn: Diva yarn or similar fingering weight yarn
- Hook: 2.5 mm crochet hook
- Tapestry needle (for weaving in ends and sewing)
- Scissors
- Optional: Hair clip for attachment
Size & Measurements
- Main Bow Body: Approximately 17 cm x 7 cm (adjustable depending on yarn and tension)
- Center Strip: Approximately 6 cm x 2 cm
Gauge & Stitch Details
- Gauge: Not crucial. For reference, 10 single crochets and 10 rows in Diva yarn with a 2.5 mm hook yields approximately 3.5 cm x 3.5 cm.
- Stitch Placement: Always work in back loops for designated rows.
Crochet Abbreviations
- ch – chain
- sc – single crochet
- sl st – slip stitch
- sts – stitches
Special Stitch Guide
- Slip Stitch (sl st): Insert hook into back loop, yarn over, pull through both loops.
- Single Crochet (sc): Insert hook into back loop, yarn over, pull up a loop, yarn over, pull through both loops.
Complete Crochet Pattern
Main Bow Body
Round 1: Foundation
- Chain 61 (1 foundation chain + 60 for stitches).
Round 2: Foundation Row
- Slip stitch into the first chain.
- Chain 1.
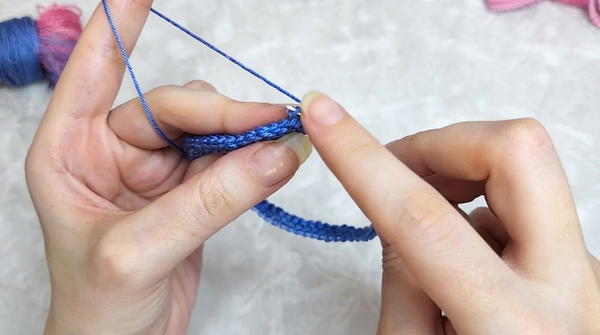
- Work 60 single crochet (sc) stitches, one in each chain.
3-13: Row Alternations
- Alternate between slip stitches and single crochet stitches for stability and texture.
- On odd-numbered rounds, work slip stitches into the back loops across.
- On even-numbered rounds, work single crochet into the back loops across.
- After each row, chain 1 and slip stitch into the starting chain of the previous row to secure the edge. This creates structured transitions.
- Continue to repeat this process for a total of 11 rows after the initial foundation (ending at Round 13).
14: Finishing Edge
- Complete a final edge row with slip stitches for a decorative border along the last edge.
Center Strip (Knot)
15: Foundation
- Chain 24.
16: Working Rows
- Work back and forth in rows of single crochet and slip stitches (as per main bow) into back loops.
- Maintain loose tension for flexibility.
- Repeat the process until you complete 5 rows.
17: Edging
- Add single crochet stitches evenly along the sides to create a clean border.
Assembly
- Find the midpoint of the main bow body.
- Fold the ends toward the center.
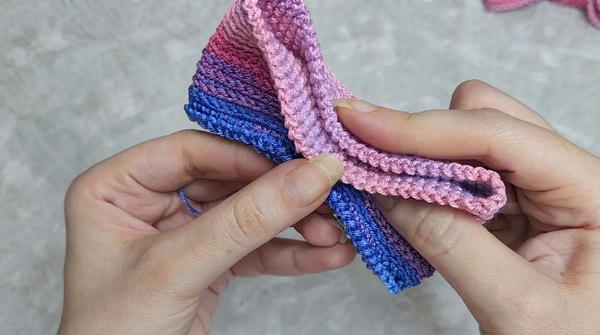
- Secure with stitches through the middle to maintain the folded shape.
- Wrap the center strip over the gathered area, leaving the back open for a clip if desired.
- Stitch the strip securely in place.
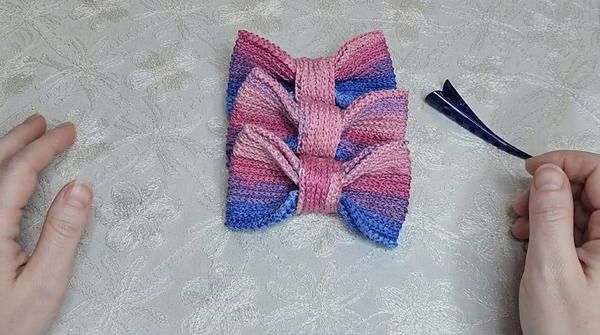
- Use a tapestry needle to weave thread through the back layers for extra security, ensuring the bow remains firm.
Finished Size & Conclusion
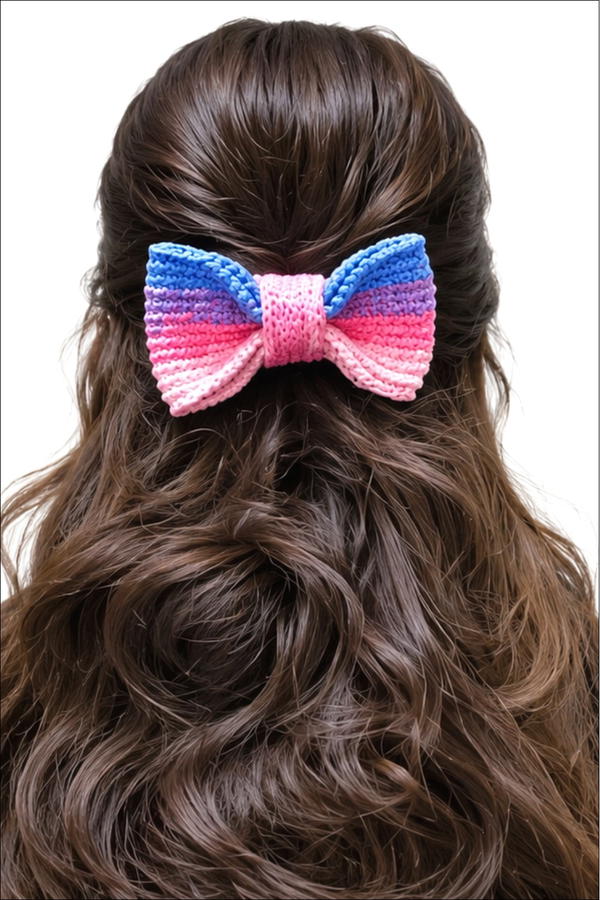
The completed bow presents a balanced structure, ideal for personalizing accessories or gifts. The combination of alternating rows and consistent edging delivers durability and refined appearance. With the option to add a hair clip and the simplicity of construction, this crochet bow stands as a versatile and appealing project suitable for makers at all skill levels. The pattern’s attention to texture and structure ensures lasting results, making it a valuable addition to handmade accessories.