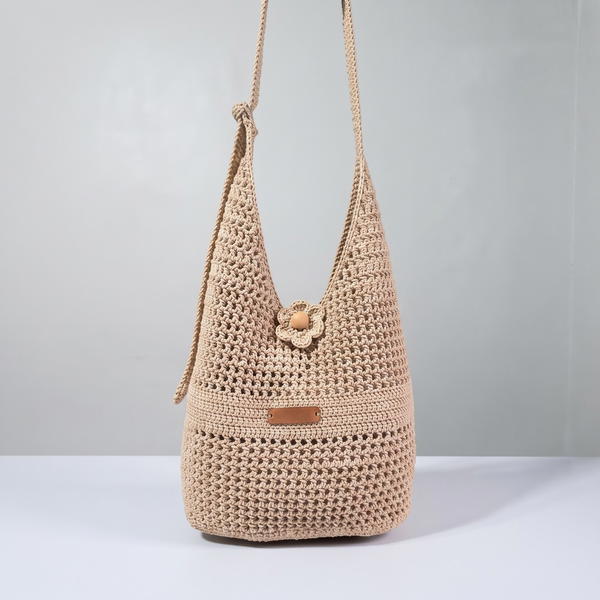
Try the Crochet Bow From Paracord Free Pattern for a simple and unique way to add a stylish touch to your projects with easy steps anyone can follow.
This Written pattern is based on original YouTube tutorial by Chaweewan Crochet offers a clear and simple way to follow a nice project. The Crochet Bow From Paracord is made by combining strong paracord with crochet stitches to form a sturdy and attractive bow. This bow holds its shape well and adds a colorful touch wherever it is used.
Free Crochet Bow From Paracord Pattern For Decorative Touches
This bow has many uses. It can be attached to hair clips, bags, or used as a decoration on gifts and clothing. Its bright colors and solid form make it easy to add personality to everyday items. This makes it a useful and pleasant piece for anyone who wants to add some style.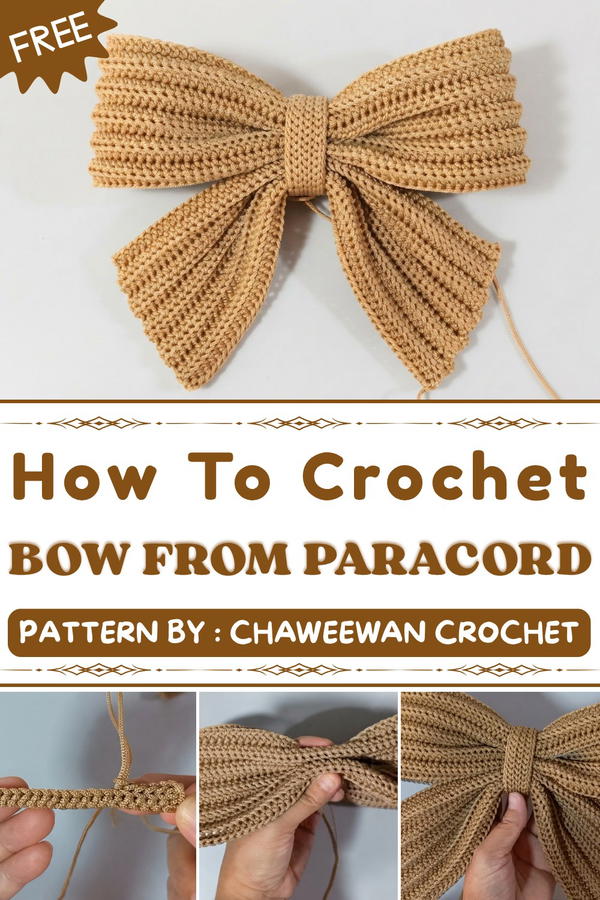 What makes this bow special is how easy it is to change the look. You can pick different colors or thicknesses of paracord or add a small button or bead in the center. These little details help you have a bow that fits your taste.
The steps to make the bow are straightforward. First, chain stitches are made with a crochet hook. Then, single crochet stitches are used to wrap around the paracord. Finally, the bow is shaped by folding and fastening the cord neatly. The instructions are easy to follow, making it a good project for beginners.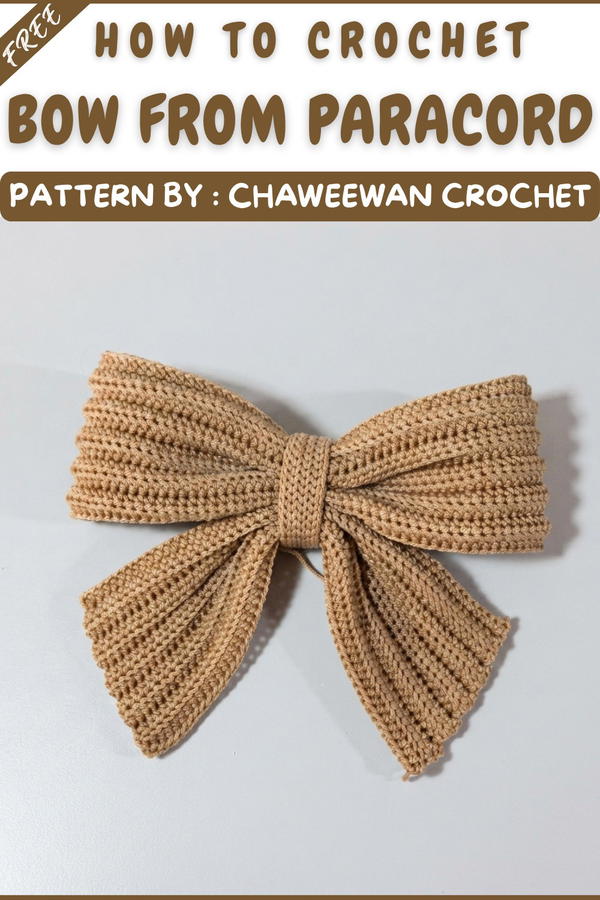 In short, the Crochet Paracord Bow is an easy and useful project that adds charm to everyday things, all thanks to the helpful guidance of Chaweewan Crochet.
Crochet Bow from Umbrella Rope Pattern Guide
This pattern provides a structured approach for creating a wide, elegant bow using umbrella rope and basic crochet stitches. The result is a sturdy accessory suitable for hair, bags, gift-wrapping, or decor. Umbrella rope gives distinct texture and crispness, making the bow both functional and visually appealing. Each part is described in clear steps, ideal for methodical assembly and durable wear.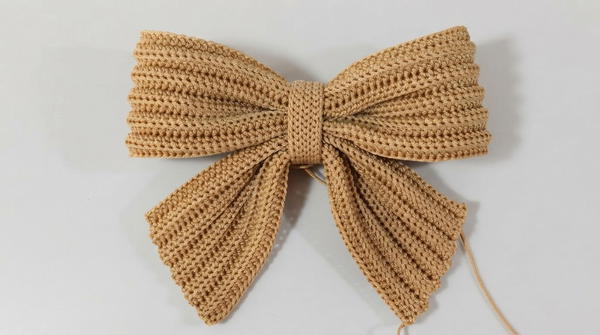
Pattern Basic Points
Key Elements
- The pattern is worked flat in rows to shape the main bow body, tails, and central strap.
- Half-Double Crochet (HDC) is used throughout, creating dense fabric and structural stability.
- Bow tails are constructed to gradually widen, enhancing the decorative effect.
- All pieces are joined with the yarn tail for strong assembly.
Crocheting Tips
- Using umbrella rope requires careful tension due to its slippery, synthetic nature.
- Row increases on tails are distributed for gentle shaping and symmetry.
- Working in the back loop (or ridge) gives texture and accentuates the bow’s layering.
- Leave long tails for sewing and gathering, minimizing need for additional yarn.
Special Notes
- For best results, keep stitches consistent; umbrella rope can be slick and less forgiving with loose tension.
- Avoid blocking, as synthetic rope will not respond to steam or water as natural fibers do.
- Adjust center strap length to fit tightly around bow’s gathered section to avoid slipping.
- Use a blunt tapestry needle for sewing to prevent fraying.
- Color can be chosen to match or contrast; classic bows are made in single color for elegance.
- This pattern uses US crochet terminology.
Skill Level
Beginner-Friendly:
Suited for beginners comfortable with basic stitches and working rows. No round shaping or complicated decreases are used, ideal for those new to accessory projects using nontraditional yarns.
Materials
- Umbrella Rope: 3 mm width, any color (approx. 50 m total)
- Crochet Hook: 5.0 mm (adjust to suit rope thickness and tension)
- Scissors
- Tapestry Needle: Large-eyed for rope threading and assembly
- Measuring Tape
- Sewing Thread (optional): For reinforcement or invisible seams
Measurements & Gauge
- Finished Bow: Approx. 18 cm wide x 10 cm tall (including tails)
- Main Bow Body: About 18 cm x 6 cm before assembly
- Bow Tails: Approx. 17 cm x 3 cm each, widening towards ends
- Center Strap: (can be adjusted) About 10 cm x 1 cm
- Gauge: 6 HDC = 2 cm. Gauge is not critical but ensures uniformity and proportion.
- Stitch pattern: Rows of half-double crochet (HDC) in back loop for texture and durability.
Stitch Abbreviations
- CH: Chain
- HDC: Half-Double Crochet
- C: Slip Stitch (for Center Strap)
- BL: Back Loop
Special Stitches
- Half-Double Crochet (HDC):
Yarn over, insert hook, yarn over and pull up loop, yarn over and pull through all three loops on hook. - Slip Stitch (C):
Insert hook, yarn over, pull through both loops (creates flat, sturdy strap). - Back Loop Only:
Work stitch in only the back loop of stitch or chain for key texture. - Increase:
Two stitches in one indicated stitch to widen the row.
Step-By-Step Crochet Pattern
1. Main Bow Body
- Foundation:
- Chain 110
Row 1:
- Chain 2 (counts as turning chain)
- Work HDC into the 3rd chain from hook, into the back ridge loop.
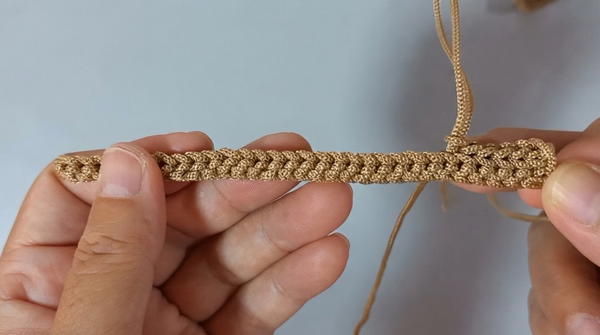
- Continue HDC in back ridge loop of each chain across (110 HDC).
Rows 2 – 11:
- At the beginning of each row, Chain 2, turn.
- Work HDC into the back loop only across every stitch (110 HDC per row).
- Repeat for a total of 11 rows.
Finishing:
- At end of final row, Chain 1 and leave a long tail (~1 meter) for assembly.
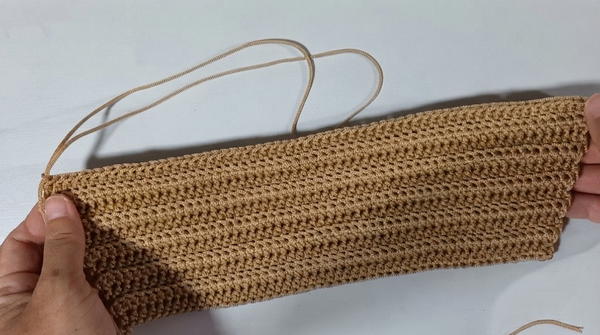
- At end of final row, Chain 1 and leave a long tail (~1 meter) for assembly.
2. Bow Tails
- Foundation:
- Chain 50
Row 1:
- Chain 2
- Work HDC into the 3rd chain from the hook (50 HDC)
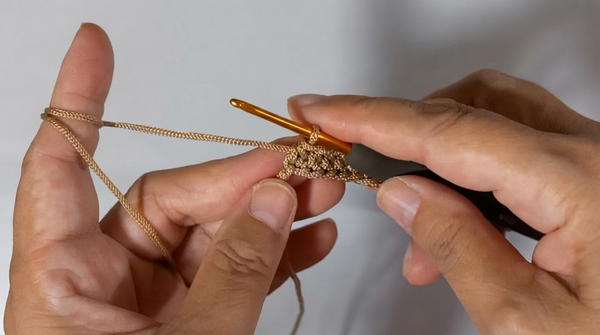 .
.
Row 2:
- Chain 2, turn
- Increase: 2 HDC in first stitch, 48 HDC across, 2 HDC in last stitch (54 HDC).
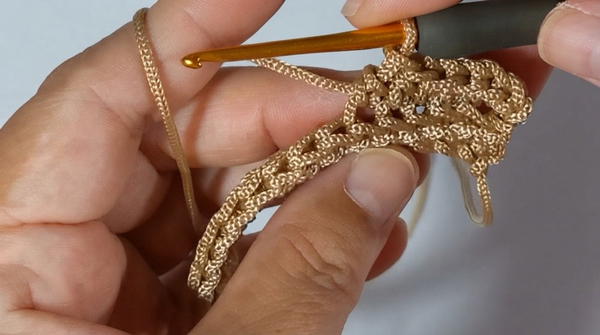
Row 3:
- Chain 2, turn
- Work 1 HDC in each stitch across (54 HDC).
Row 4:
- Chain 2, turn
- Increase: 2 HDC in first stitch, 50 HDC across, 2 HDC in last stitch (58 HDC).
Row 5:
- Chain 2, turn
- Work 54 HDC across.
Row 6:
- Chain 2, turn
- Increase: 2 HDC in first stitch, 52 HDC across, 2 HDC in last stitch (56 HDC).
Row 7:
- Chain 2, turn
- Work 56 HDC across.
Row 8:
- Chain 2, turn
- Increase: 2 HDC in first stitch, 54 HDC across, 2 HDC in last stitch (58 HDC).
Row 9:
- Chain 2, turn
- Work 58 HDC across.
Row 10:
- Chain 2, turn
- Increase: 2 HDC in first stitch, 56 HDC across, 2 HDC in last stitch (60 HDC).
Row 11:
- Chain 2, turn
- Work 60 HDC across.
3. Center Strap
- Foundation:
- Chain 30 (adjust for tightness)
- Rows 1 – 7:
- At beginning of each row, Chain 1, turn
- Work slip stitches (C) into the back ridge loop for every chain (30 slip stitches per row)
- Repeat for 7 rows (for a sturdy, neat strap).
Assembly Instructions
- Joining Main Bow Body:
- Use the long tail left from the main bow body to sew short ends together, forming a loop.
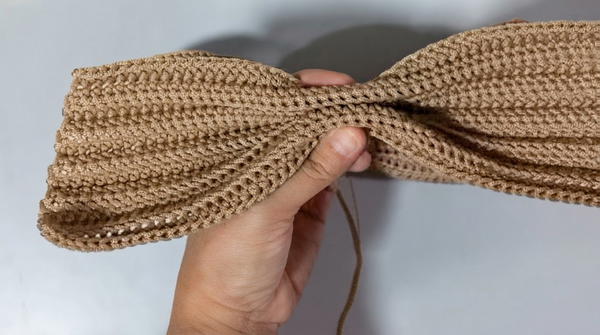
- Secure seam tightly and weave in yarn as needed.
- Use the long tail left from the main bow body to sew short ends together, forming a loop.
- Gathering Bow & Tails:
- Fold the main body to overlap at seam, creating bow shape.
- Gather center tightly by wrapping with long yarn tail.
- Place completed tail piece beneath bow, aligning gathered sections.
- Wrap yarn tail firmly around both—this forms the classic bow.
- Secure with strong knots and weave in ends to prevent unraveling.
- Attaching Center Strap:
- Wrap the center strap snuggly around bow’s midsection.
- Use the tapestry needle and leftover strap tail to sew ends together.
- Reinforce the join for durability.
- Trim and weave in excess rope.
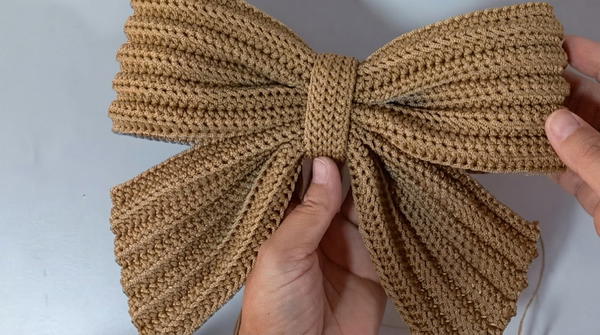
Finished Size
- Bow dimensions:
- Main body: Approx. 18 cm wide x 6 cm tall (before gathering)
- Tails: Approx. 17 cm long x 3–4 cm wide, flaring at bottom
- Center strap: 1 cm wide x 10 cm long (adjust as needed for styling)
- The assembled bow sits at 10 cm tall, including tails, and about 18 cm wide when fluffed.
Conclusion
This bow pattern using umbrella rope is designed to be robust and striking, making it ideal for decorative and practical use. The back loop technique emphasizes texture, while tailored increases yield elegant, flared tails. With straightforward stitches and clear instructions, even those new to crochet can successfully construct this accessory. Adjust sizes and colors to suit personal preference or project requirements. The result is a professional, versatile bow suited for various creative uses.