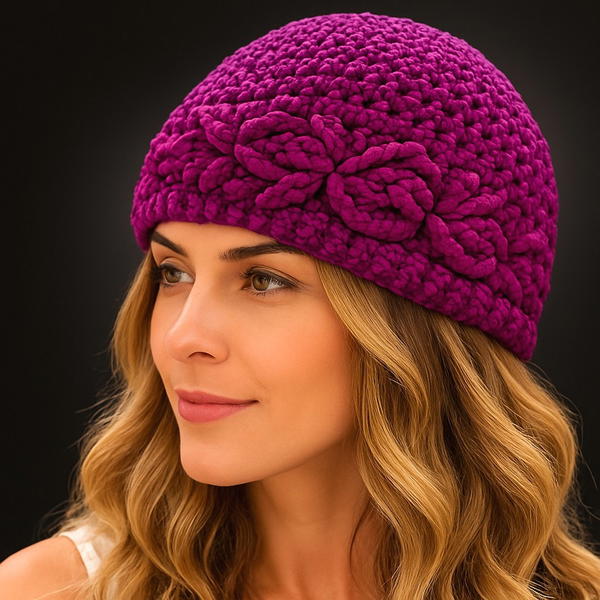
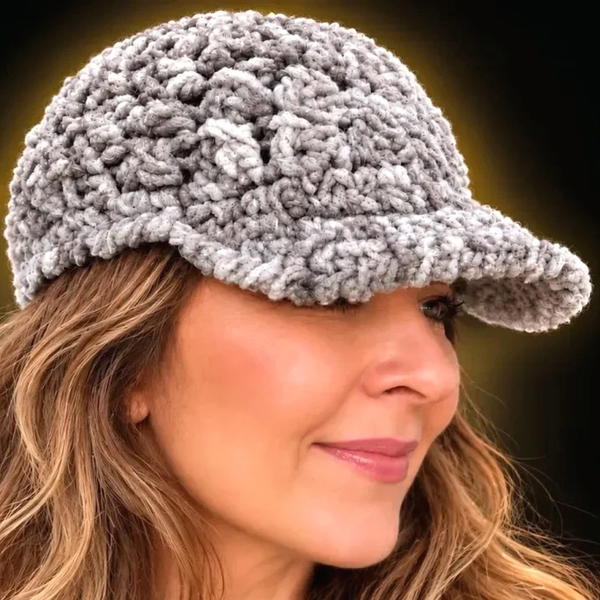
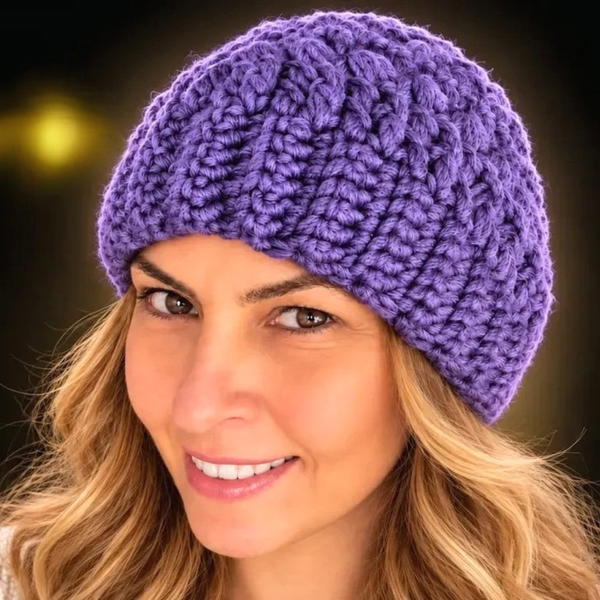
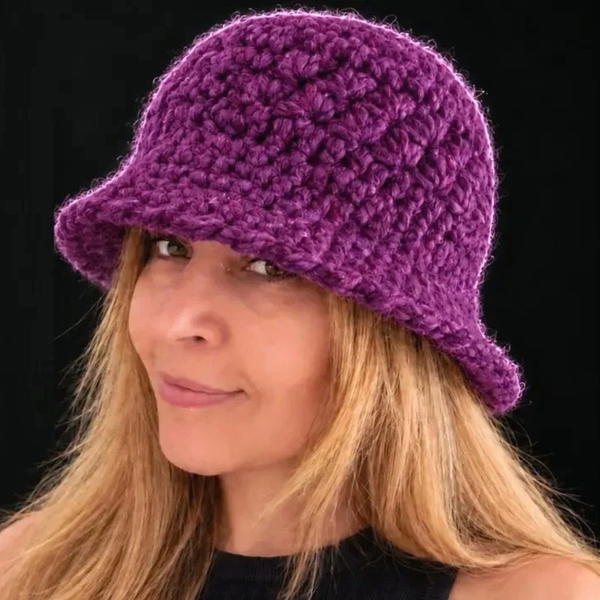
Stay warm and stylish with our free crochet fur hat pattern that blends cozy textures and chic design for the perfect winter accessory.
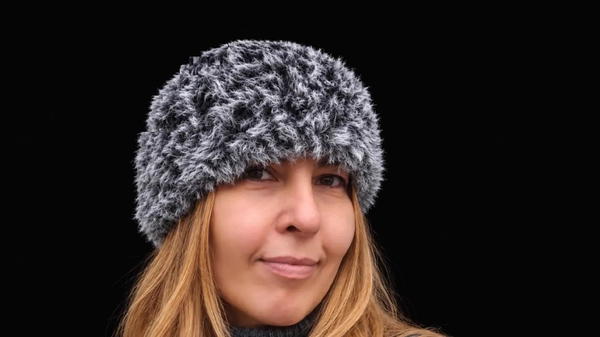
On a chilly day, there’s nothing quite like wrapping yourself in something both warm and stylish. This feeling inspired the creation of the Free Crochet Fur Hat pattern, a cozy accessory designed to bring comfort and charm to your cold-weather wardrobe. Crocheted with soft, plush yarn, this hat adds a touch of luxury to your look while keeping the chill at bay.
Easy & Free Crochet Fur Hat Pattern | Trendy Winter Fashion
Recognizing the Creator's Efforts!
We proudly acknowledge Zehranın Atölyesi and its owner as the source of the original creative content featured here. The creator deserves recognition for the time, imagination, and effort invested in each project. We offer our sincere appreciation and encourage everyone to visit the channel to support the owner's artistic work.
The style of this hat combines simplicity with elegance, making it a versatile piece ideal for winter outings, casual wear, or even holiday gatherings. Its snug fit pairs effortlessly with coats, scarves, and boots, elevating everyday ensembles with a subtle yet eye-catching texture. Whether you’re strolling through snowy streets or enjoying a winter coffee date, this hat complements any occasion that calls for warmth and style.
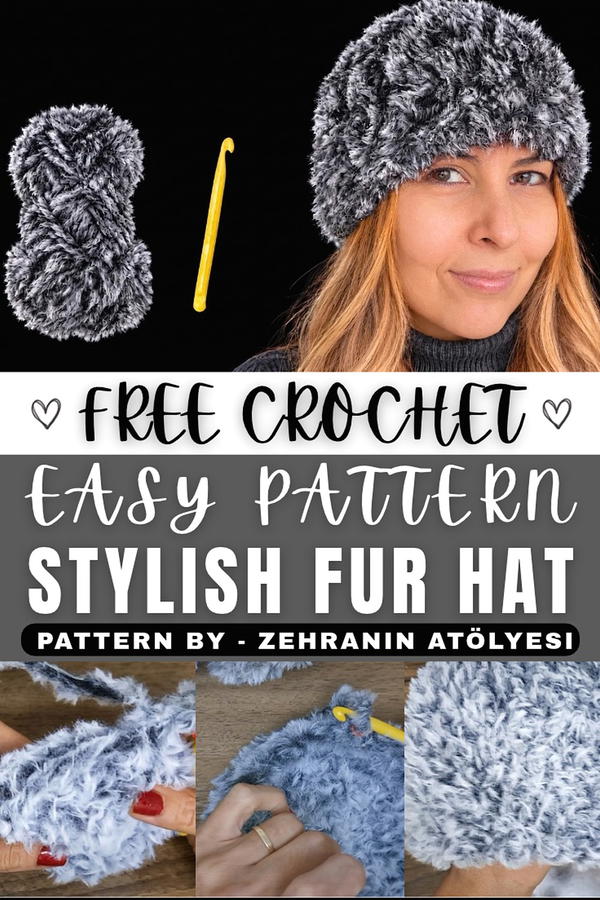
One of the most appealing aspects of this hat is its lush, velvety texture. Made using plush yarn, the stitches blend seamlessly, creating a smooth surface free from visible gaps. This design offers a soft touch against the skin, ensuring comfort without scratching or irritation. The construction uses simple crochet techniques worked in rounds, enhancing the hat's flexibility and fit while maintaining a clean, polished look.
The standout feature of this pattern is its plush feel combined with ease of creation, making it suitable for both beginners and experienced makers. This Free Crochet Fur Hat pattern not only adds a fashionable flair to your winter collection but also makes a thoughtful, handmade gift for loved ones during cold seasons. Embrace this project to craft warmth wrapped in elegance.
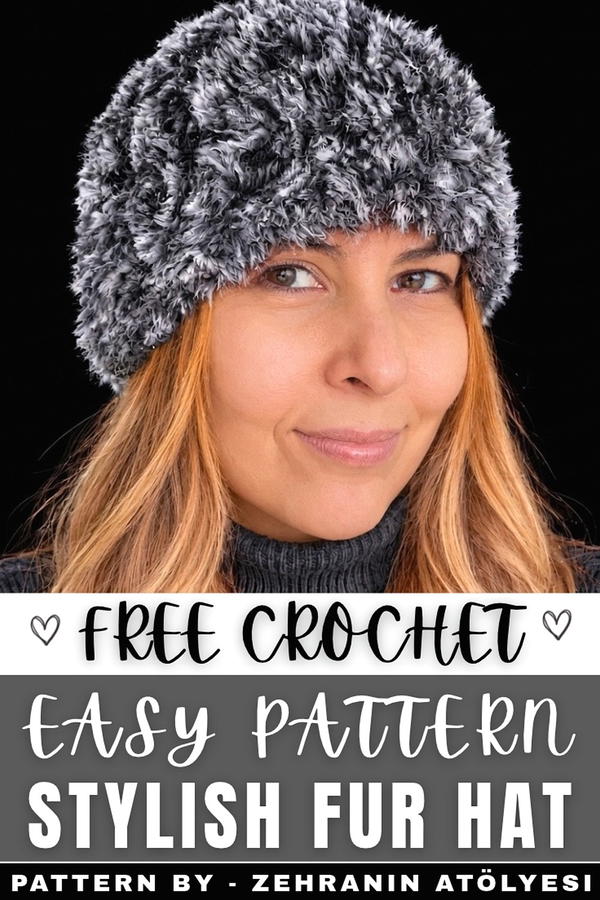
Plush Hat Crochet Pattern
This plush hat is the perfect accessory for colder months, offering warmth and style with minimal effort. Its soft texture is comfortable to wear and easy to crochet, making it perfect for gifting or personal use. Crafted over just 11 seamless rows, this hat is accented with a clean reverse single crochet edge for added durability and elegance. The pattern is flexible, allowing customization of size, stitch count, and depth to suit your preferences.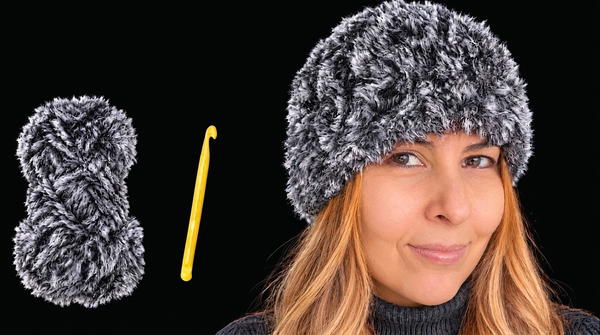
Skill Level
Intermediate
This design requires basic skills such as creating a magic ring and single crochet stitches, as well as proficiency in reverse single crochet for edge finishing. The special texture of plush yarn makes this pattern beginner-friendly, but controlling tension while working with this material may require practice.
Materials
- Yarn: Plush yarn. Approximately 200–300 grams of soft plush (or chenille-style) yarn. Using high-quality plush yarn ensures durability and a luxurious finish.
- Hook: 4.5mm crochet hook. You can adjust the hook size based on your personal tension and desired tightness of stitches.
- Other Tools:
- Tapestry needle: For weaving in ends.
- Scissors: To trim yarn ends.
- Stitch markers (optional): To help track the start of rows and increases.
Special Stitches
1. Magic Ring:
- Form a loop with your yarn, insert the hook into the loop, yarn over, and pull up a loop. Work your starting stitches into the loop and pull the yarn tail tightly to close the ring.
2. Single Crochet (SC):
- Insert the hook into your stitch, yarn over, and pull up a loop (you’ll have two loops on the hook). Yarn over again, pulling through both loops.
3. Reverse Single Crochet (Crab Stitch):
- Work single crochet stitches moving in the reverse direction (right to left if you're right-handed). Insert the hook into the previous stitch, yarn over, pull up a loop, yarn over again, and pull through both loops. Repeat across the edge.
Stitch Abbreviations
| Abbreviation | Description |
|---|---|
| ch | Chain |
| SC | Single Crochet |
| st(s) | Stitch(es) |
| sp | Space |
Useful Tips
- Plush Yarn Handling: Plush or chenille yarn can obscure stitch visibility, so work loosely and use your hand to feel for gaps between stitches.
- Keeping Count: Always use a stitch marker at the start of rows to help track your progress and the accurate number of stitches.
- Consistency in Tension: Be conscious of maintaining even tension while crocheting plush yarn to prevent tight or uneven stitches.
- Size Adjustments: Alter the number of body rows to fit the depth you desire.
- Practice Decorative Edge: Spend a few minutes practicing the reverse single crochet (crab stitch) if you're unfamiliar with the technique to ensure your edge looks polished.
Pattern Instructions
Top Section
Foundation: Magic Ring
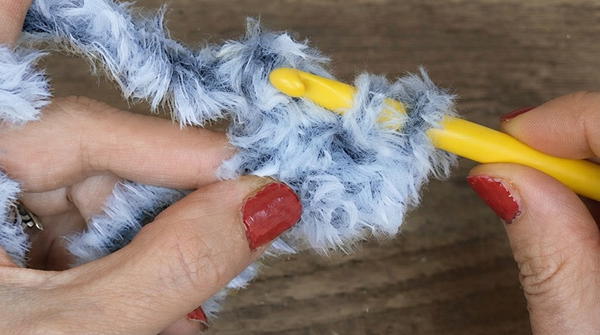
- Create a magic ring.
- Work 10 SC stitches into the ring and pull the shorter yarn tail tightly to close the center.
Round 1: Increase Round
- Work 2 SC stitches into each stitch from the previous round.
- Total: 20 stitches.
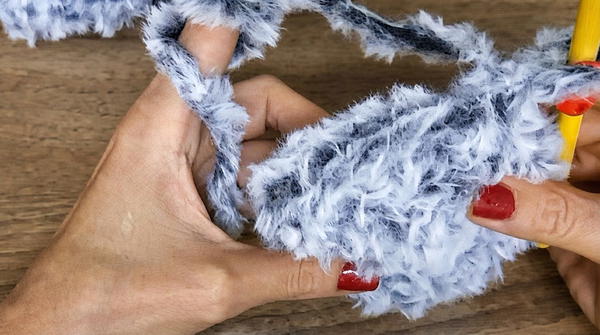
- Total: 20 stitches.
Round 2: Increase Round
- Alternate: 1 SC into the next stitch, 1 increase (2 SC in the same stitch) across the round.
- Total: 30 stitches.
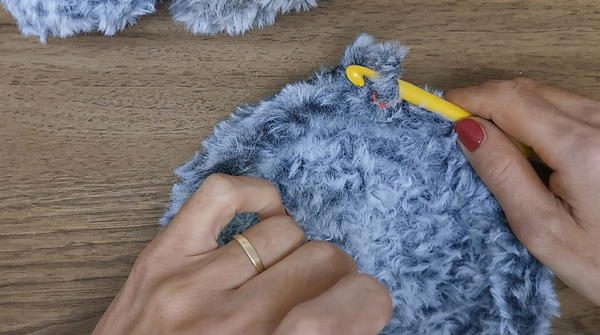
- Total: 30 stitches.
Round 3:
- Work 1 SC stitch into each stitch from the previous round, ending with 30 stitches total.
Round 4:
- Alternate: 2 SC stitches, 1 increase (2 SC in the same stitch) across the round.
- Total: 40 stitches.
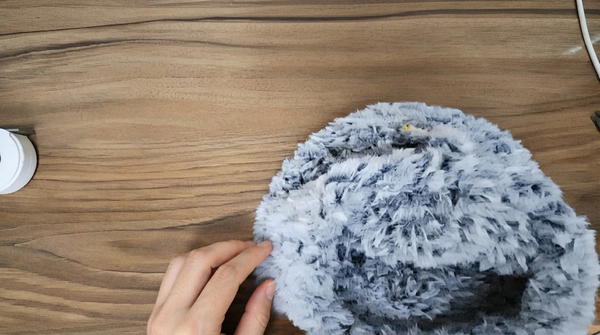
- Total: 40 stitches.
Finalizing Top Section
By the end of Row 4, the top part of your hat will measure approximately 19.5 cm in diameter. If there is a slight difference in stitch count or measurement due to tension, you can adjust by adding or decreasing stitches where needed.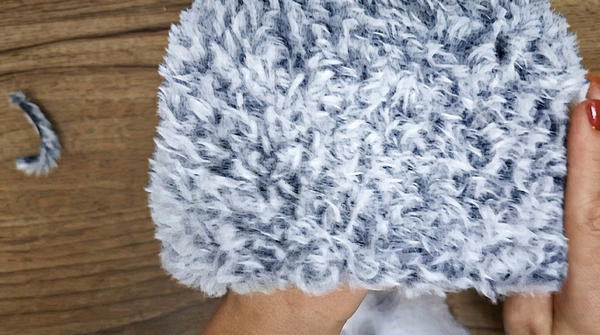
Body Section
Rows 1–7:
- Work 1 SC stitch into each stitch from the previous row (no increases). Continue working 40 stitches per row for 7 rows straight.
Customization Tip:
- To personalize the fit, check the desired depth before completing all 7 rows. If the hat is deep enough after Row 6, you can move directly to the edge stitching. Alternatively, if a deeper fit is required, you can add an 8th straight row.
Edge Finishing
Row 8: Reverse Single Crochet (Crab Stitch)
- Begin with 1 chain stitch.
- Insert the hook in reverse direction (right to left for right-handed crocheters) into the previous stitch.
- Yarn over, pull up a loop, yarn over again, and pull through both loops.
- Continue working in reverse single crochet around the entire edge of the hat for a textured and polished finish.
Finalizing the Hat
- After completing the edge, fasten off securely and trim your yarn.
- Use the tapestry needle to weave in all loose ends to ensure a neat finish.
- Flatten the hat and check for consistency in shape and edging.
- If needed, block the hat lightly to perfect its overall appearance.
Customization
- Hat Depth: Adding or subtracting rows in the body section can adjust the length of the hat for a more fitted or slouchy appearance.
- Color Variations: Use multiple colors of plush yarn to incorporate fun patterns or stripes into the body section. Switch yarn colors between rows for a unique design.
- Extra Edge Detailing: Consider working two rows of crab stitch for an added touch of texture around the brim.
- Matching Accessories: Use this same plush yarn to make coordinating items such as scarves, mittens, or even a chunky neck warmer.
- Add a Pom-Pom: Add a plush yarn pom-pom or a faux fur pom-pom to the top of the hat for extra flair.
Final Notes
This plush hat is a quick and simple crochet project that strikes a balance between simplicity and elegance. With its smooth, soft texture and striking appearance, it’s perfect for colder weather. Whether making it for yourself or as a heartfelt handmade gift, this hat is a joy to create and wear. Its customizable top section, body depth, and decorative elements leave endless opportunities for personalization.