Step into sunny days with a free crochet bucket hat pattern that lets you combine comfort and fashion in a quick and enjoyable project.
Not every hat manages to combine style and practicality, especially when it comes to protecting you from the sun while keeping you comfortable. Thankfully, the Free Crochet Bucket Hat pattern breaks that mold by offering a fashionable and functional accessory perfect for warmer seasons. Ideal for spring and summer, this hat is great for outdoor events, beach trips, or casual city strolls, keeping you cool and confident in any setting.
Crochet Your Own Trendy Bucket Hat – Free Pattern & Tutorial
Creator Appreciation and Recognition
Our appreciation goes to Zehranın Atölyesi and its owner for their valuable creative contributions. We acknowledge the creator as the original source and give full credit for the work shared through the channel. We admire the imagination and dedication behind these projects and encourage everyone to support the creator by visiting the original channel.
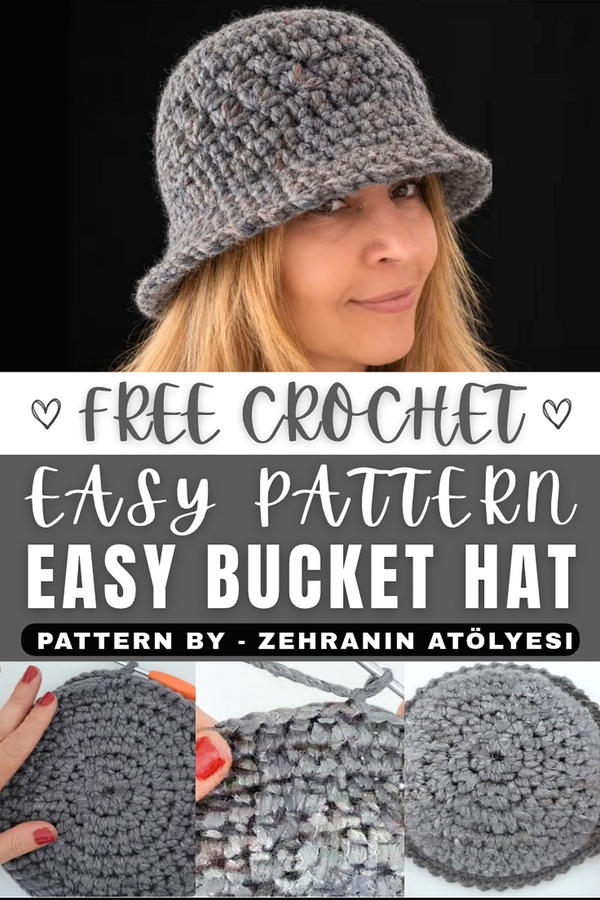
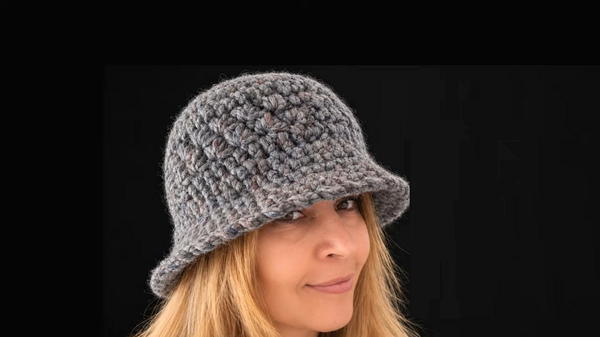
With its classic bucket shape, this hat effortlessly complements a variety of outfits—from flowy sundresses to laid-back jeans and tees. Its relaxed yet structured fit makes it versatile enough for both urban adventures and nature getaways, adding a fresh and trendy vibe to your look.
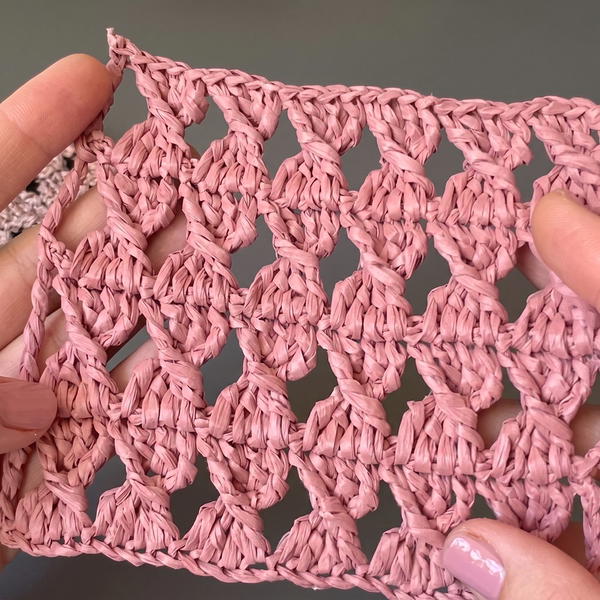
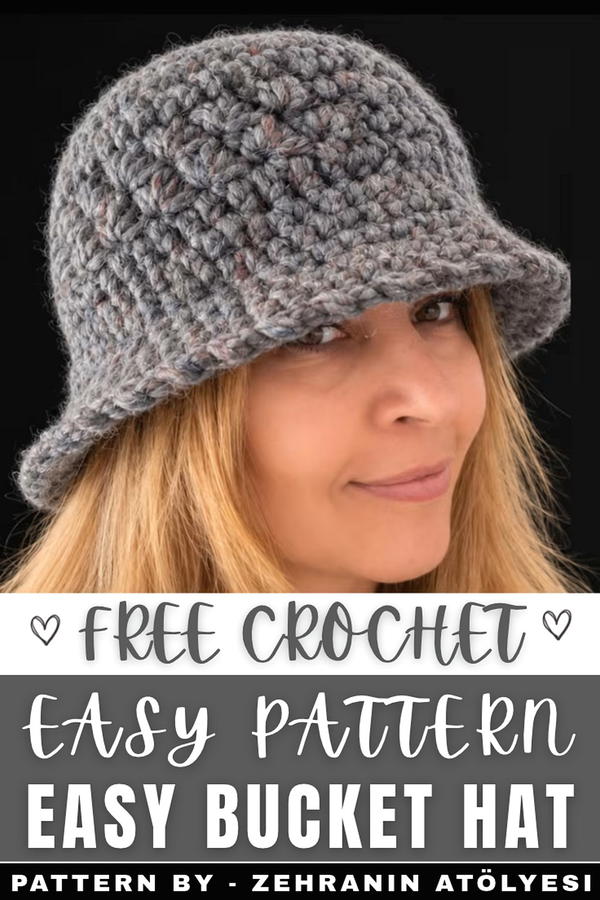
The texture showcases a subtle boucle-like surface created through precise stitch work that balances softness and durability. The tightly worked single crochet stitches provide stability, while the increasing pattern shapes a smooth crown and a gently flared brim that maintains its form and offers effective sun protection.

Standout design features include layered stitch patterns that add dimension and a reverse single crochet edging, giving the hat a clean, polished finish. This Free Crochet Bucket Hat pattern is a wonderful way to add a stylish, comfortable piece to your warm-weather wardrobe or to create a thoughtful handmade gift.
30-Minute Crochet Bucket Hat Pattern
This quick and stylish bucket hat can be completed in approximately 30 minutes, making it an ideal last-minute project or wardrobe addition. The pattern is simple yet effective, combining structured shaping with a textured stitch pattern in the body and finishing with a firm brim. Adjustments can be made for a personalized size or look, and embellishments can be added for a custom touch.
Skill Level
Intermediate
This pattern is suitable for crocheters who are comfortable working with common stitches like half-double crochet, textured stitch clusters, and reverse single crochet. The brim and shaping sections require slight tension control and light familiarity with increases.
Materials
- Yarn:
- Use the yarn indicated in the tutorial with a weight suitable for bucket hats. Video reference includes specific details for brand, color, and yarn thickness.
- Tools:
- Crochet hook: Size appropriate for the yarn’s weight (as used in the video).
- Stitch marker (optional): For marking the start of rounds.
- Scissors: For trimming ends.
- Tapestry needle: For weaving in loose ends.
Special Stitches
1. Magic Ring:
- Form a loop with the yarn, insert the hook, yarn over, and pull up a loop. Chain 1, then work the required number of stitches into the loop. Pull the tail tightly to close the ring.
2. Half-Double Crochet (HDC):
- Yarn over, insert the hook into the stitch, yarn over, pull up a loop (3 loops on the hook). Yarn over again and pull through all 3 loops.
3. Textured Stitch Cluster:
- Pull up loops from the designated stitch and neighboring stitches until there are 6 loops on the hook. Yarn over and pull through all loops to form the cluster. Secure the cluster with a chain.
4. Reverse Single Crochet (Crab Stitch):
- Work single crochet stitches in the reverse direction (left-to-right for right-handed crocheters). Insert the hook into the previous stitch, yarn over, pull up a loop, yarn over again, and pull through both loops.
Stitch Abbreviations
| Abbreviation | Description |
|---|---|
| ch | Chain |
| HDC | Half-Double Crochet |
| st(s) | Stitch(es) |
| sp | Space |
| inc | Increase (2 stitches in one stitch) |
Useful Tips
- Tension Management: Keep your tension loose in the top and body sections for better drape. Switch to a firmer tension during the brim for more structure.
- Marker Placement: Use a stitch marker to track the start or end of each row and maintain stitch count accuracy.
- Texture Accuracy: For the textured body section, ensure all 6 loops are pulled up evenly to maintain an even appearance.
- Measuring the Top: Measure the diameter after finishing Row 5 to ensure the size matches the target measurement of 18.5 cm for the top.
- Customization: Change the yarn color during the body or brim sections to add stripes or visual interest.
Pattern Instructions
Top Section (Tepe Kısmı)
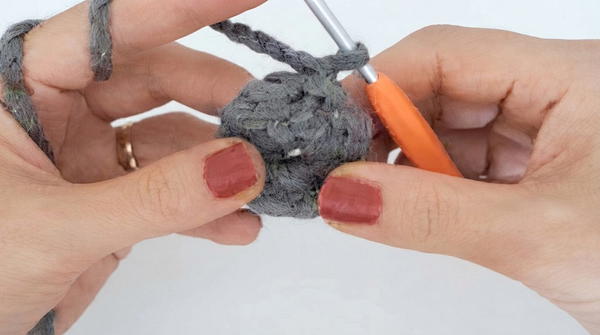
The top of the bucket hat begins with a flat circular crown created with increases to establish a steady diameter.
Foundation: Magic Ring
- Start with a magic ring.
- Work 10 HDC stitches into the ring. Close the ring tightly and secure with a slip stitch.
Row 1: Increase Round
- Work 2 HDC stitches in each stitch from the previous round.
- Total: 20 stitches.
Row 2: Alternating Pattern Round
- Alternate: 1 HDC, 1 increase (2 HDC in the same stitch) around the round.
- Total: 30 stitches.
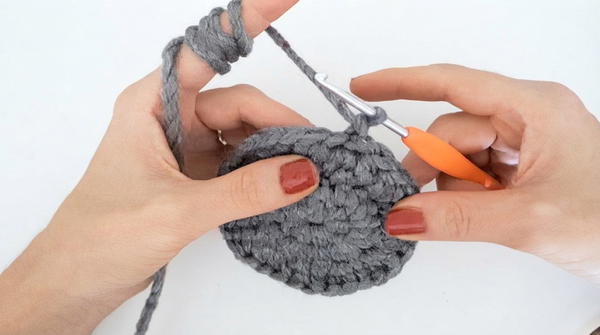
- Total: 30 stitches.
Row 3: Increase Round
- Sequence: 2 HDC, 1 increase (2 HDC in the same stitch). Repeat around.
- Total: 40 stitches.
Row 4: Straight Round
- Work 1 HDC into each stitch from the previous round, maintaining 40 stitches.
- Total: 40 stitches.
Row 5: Final Increase Round
- For the first section: 2 HDC, 1 increase (2 HDC in the same stitch).
- For the remainder of the round: 3 HDC, 1 increase (2 HDC in the same stitch).
- Total: 50 stitches.
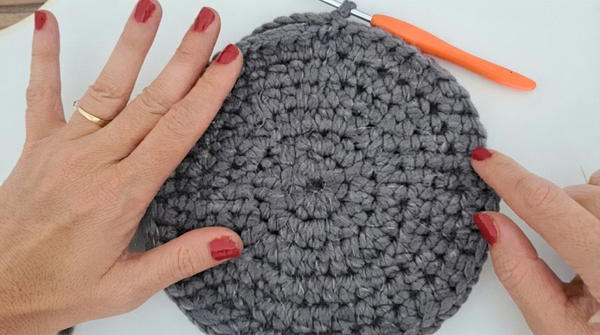
- Total: 50 stitches.
Ensure the top section measures roughly 18.5 cm in diameter before proceeding to the body. Adjust stitch counts if necessary.
Body Section (Gövde Kısmı)
The body of the hat extends the top downward, incorporating a simple textured stitch pattern for visual interest.
Row 6: Foundation Round
- Work 1 HDC into each stitch from the previous round, with no increases.
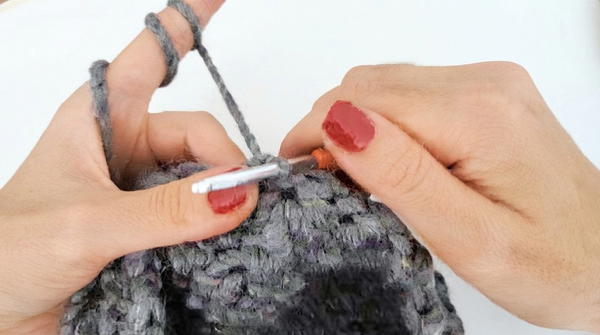
Rows 7–8: Textured Pattern
- Use the textured stitch cluster technique: Create 6-loop clusters by pulling up loops from the designated base stitch and neighboring stitches. Close the cluster and secure with a chain. Repeat this around.
Row 9: Final Straight Round
- Work a standard HDC stitch into each stitch from the previous row to finish the body section cleanly.
Brim Section (Siper Kısmı)
The brim’s structure is built with increases to widen the circumference and rows of straight stitches for stability.
Row 10: First Increase Round
- Alternate: 3 HDC, 1 increase (2 HDC in the same stitch) around the row.
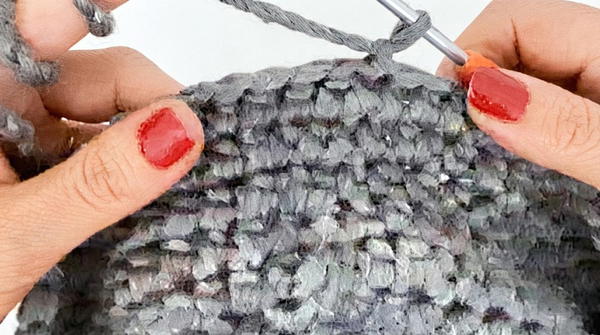
Rows 11–12: Straight Rounds
- Work 1 HDC in each stitch, maintaining the established stitch count with no increases.
Row 13: Second Increase Round
- Alternate: 4 HDC, 1 increase (2 HDC in the same stitch) around the row.
Row 14: Final Straight Round
- Work 1 HDC into each stitch from the previous row for a clean finish.
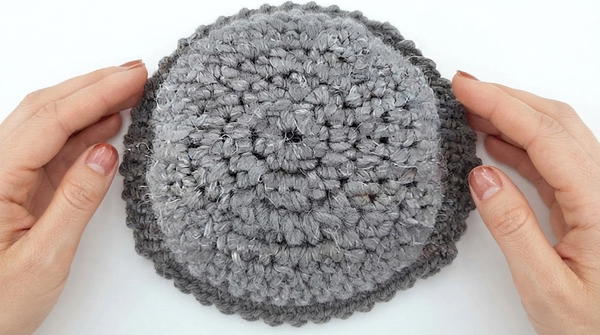
Edge Finish
Reverse Single Crochet (Crab Stitch):
- Work 1 reverse single crochet into each stitch around the brim for a decorative and secure edge.
Customization
- Color Changes: Incorporate multiple colors by switching yarns at the body or brim rounds for contrast or a striped look.
- Extra Brim Rows: Add additional straight rows to the brim if you want a wider brim for sun shading.
- Embellishments: Attach a ribbon, flower, or crochet appliqué to add personality to your finished hat.
Final Notes
This bucket hat pattern balances simplicity with texture, creating a lightweight and versatile accessory. Its structured brim and clean edge finish make it functional and fashionable for various occasions. The quick construction time allows for experimentation with colors, stitch techniques, and embellishments, ensuring every hat is uniquely yours. Whether worn for sun protection or as a statement piece, this design is a must-have for your handmade collection.