Refresh your cold weather look using this free crochet hat pattern designed to help you crochet a warm comfortable hat perfect for everyday outings
On a chilly morning, I found myself wishing for a warm and cozy hat that could brighten up a dull day. As someone who enjoys handmade gifts, I turned to YouTube and came across a delightful project that caught my eye. Paulie Crochet, a talented creator, shares a wonderful free crochet hat pattern that’s both simple and charming, perfect for adding warmth and style during colder months.
Quick and Easy Free Crochet Hat Pattern to Try
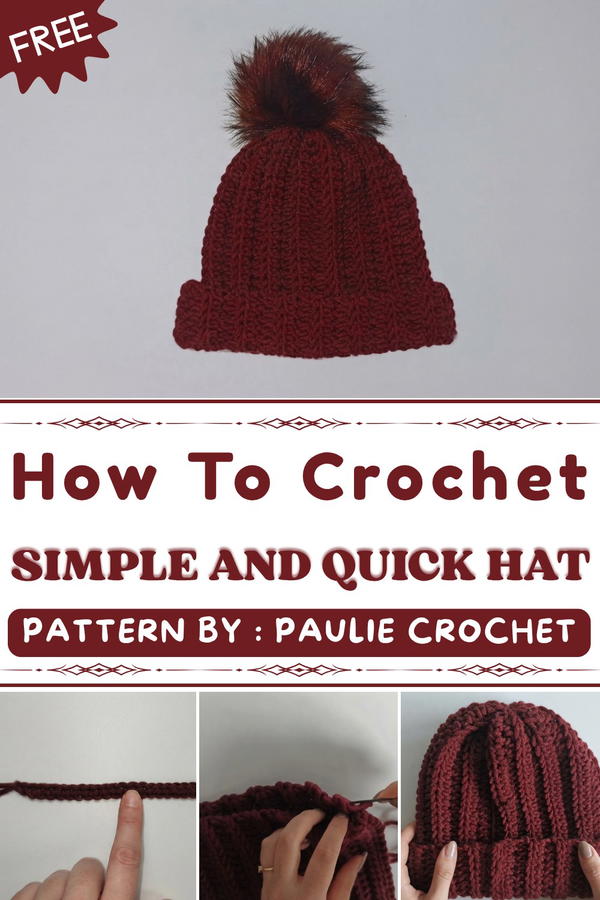
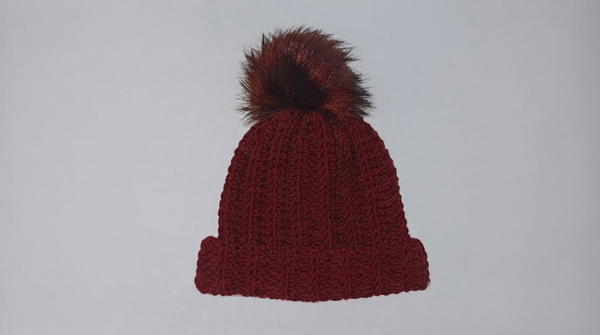
This project results in a snug and stretchy hat that fits comfortably around the head. Its design is classic yet modern, featuring a soft texture and a shape that flatters many face types. What makes this hat especially appealing is the option to add a playful pompom on top, giving it a cheerful and personal touch. Beyond its practicality, this hat offers decorative charm that easily complements casual and everyday outfits alike.
Whether you’re making it as a thoughtful gift for a friend or loved one, or simply want to treat yourself, this handmade hat is sure to impress. It’s perfect for outdoor walks, running errands, or cozying up with a book on a chilly evening. The combination of cozy warmth and timeless style makes it a versatile accessory throughout the fall and winter seasons.
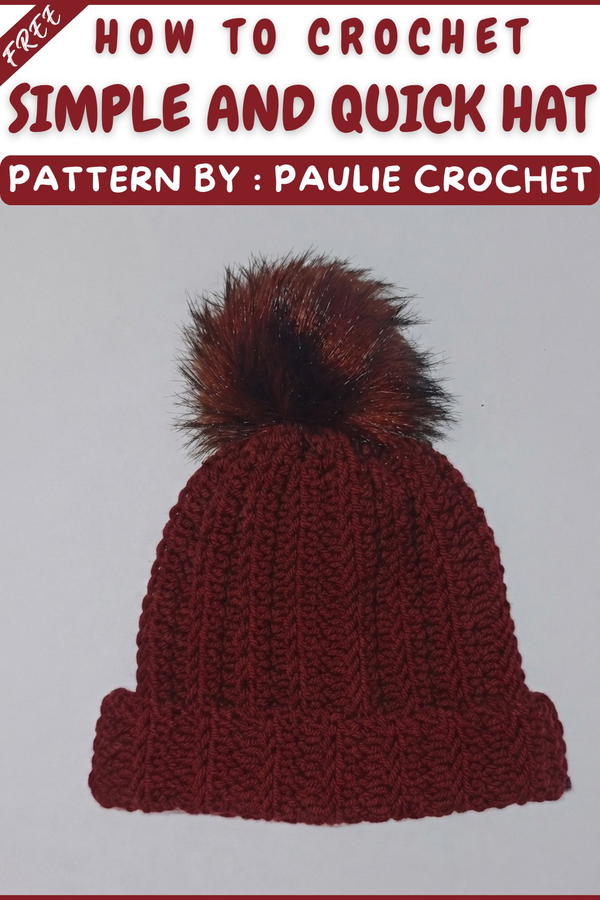
For anyone eager to try their hand at crochet or to add a handmade touch to their wardrobe, this free crochet hat pattern offers a friendly introduction and a rewarding project. I encourage you to explore this pattern, it's a lovely way to craft something warm, stylish, and full of heart.
Bulky Yarn Ribbed Crochet Hat Pattern
A classic ribbed crochet hat is timeless, fashionable, and effective for keeping warm. This pattern creates a beanie-style hat with pronounced ribbing, using only basic stitches and a chunky yarn for speed, warmth, and texture. The hat is constructed from a simple rectangle worked in rows, joined at the side, and gathered at the top—making it an approachable and quick project suitable for any level, with the flexibility to adjust size or styling.
Pattern Basic Points
Highlights:
- Simple rectangle construction; no increases or decreases involved
- Dense ribbed texture achieved by working half-double crochets (hdc) in the back loops only
- Fast assembly with minimal shaping: seam one side, gather the top, finish with a pom-pom of your choice
- Easily customizable for different sizes or lengths by adjusting starting chain or row count
Special Notes
- The pattern is written for thick, bulky yarn—if substituting a different yarn, adjust the starting chain to maintain the stated measurement (approx. 28 cm for length)
- Always measure your rectangle after a few rows to double-check sizing before continuing
- The finished hat has a generous stretch; for a slimmer fit, reduce width slightly
- When joining a new skein, knot ends and weave in tails to ensure a neat and secure finish
Skill Level
Beginner
- Designed for crocheters comfortable with basic stitches and working in rows; ideal for a first garment project
Materials
- Yarn: 2 skeins YarnArt Merino Bulky (25% wool, 75% acrylic; adjust if using alternate bulky yarn)
- Crochet Hook: 9 mm (US M/N or similar for bulky yarn)
- Stitch Markers: 2 (optional, for tracking row ends)
- Plastic Yarn Needle: For seaming and gathering
- Scissors
- Optional: Pom-pom or faux fur pom for finishing
Measurements / Sizing
- Flat Rectangle: 28 cm tall x 48 cm wide (before seaming)
- Finished Hat Circumference: Approx. 48–52 cm (fits most adults due to stretch)
- Finished Height: 28 cm (cuff can be folded if desired)
- Measurements can be adjusted for smaller or larger hats by changing chain length or row count
Gauge
- Gauge (hdc BLO): 10 stitches x 8 rows = 10 x 10 cm (4 x 4 in), measured after a few rows, slightly stretched
Stitch Abbreviations
- ch — chain
- hdc — half double crochet
- sl st — slip stitch
- st(s) — stitch(es)
- BLO — back loop only
- yo — yarn over
Special Stitches
- Half Double Crochet (hdc):
Yarn over, insert hook into specified stitch, yo, pull up loop (3 loops on hook), yo, pull through all 3 loops. - Half Double Crochet in Back Loop Only (hdc BLO):
Work hdc, but insert hook only into the back loop of the stitch from the previous row, leaving the front loop unworked—this creates ribbing. - Slip Stitch Join (seaming):
With the hook, insert through the edge of both panels, yo, pull through both layers and the loop on hook.
Step-by-Step Pattern
Foundation Chain (Brim to Crown)
- Ch 30 (or until chain measures approximately 28 cm/11 in, not stretched).
If substituting yarn or desiring a different hat height, adjust the chain to your desired measurement.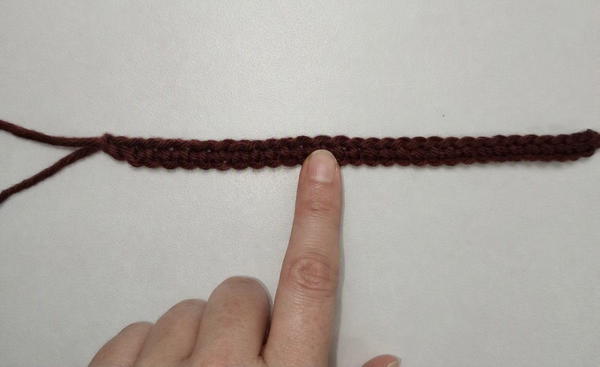
Row 1
- Skip the turning chain; hdc into the 2nd ch from hook.
- Continue: Work 1 hdc in each ch across to the end.
- Ch 1, turn. (29 hdc)
Row 2
- Workings Rows in Back Loops Only (BLO):
- 1 hdc BLO in each st across the row (skip turning ch, work in the very first hdc of row).
- Ch 1, turn.
Rows 3 to Final Row
- Repeat Row 2.
- Continue working 1 hdc BLO in each st of every row, always skipping the turning chain, until your rectangle measures 48 cm (19 in) wide.
For most bulky yarn, this will be approximately 32–36 rows, but always measure rather than counting rows, as yarn and tension will change the final dimension.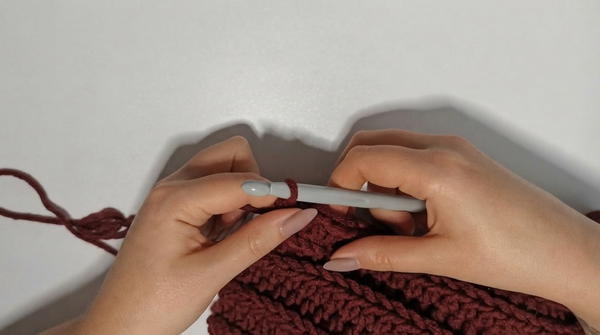
Assembly
Joining the Short Sides
- Fold the rectangle in half, aligning the short edges.
- Using your hook and the active yarn end (or a yarn tail), join the sides:
- Work slip stitches through both thicknesses, inserting hook under both top loops of each edge stitch across the seam.
- Continue joining until the edges are completely connected, forming a tube.
- Fasten off and weave in the end.
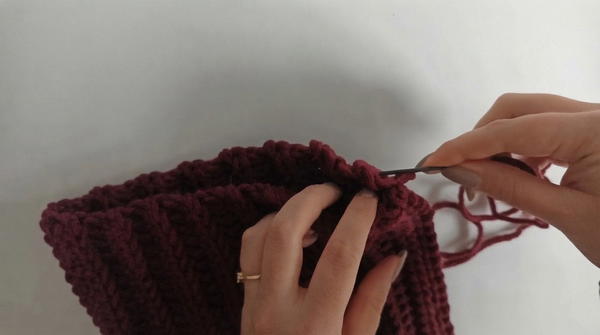
Closing the Top of the Hat
- Using a long yarn tail and the yarn needle, weave the needle in and out through the tops of the stitches along one long edge of the tube (front-to-back or back-to-front as you move around).
- Once all the way around the edge, pull the yarn tail firmly to gather the top closed.
- Secure with a knot.
- If a small hole remains, sew back and forth a few times to close completely.
- Weave in all ends securely.
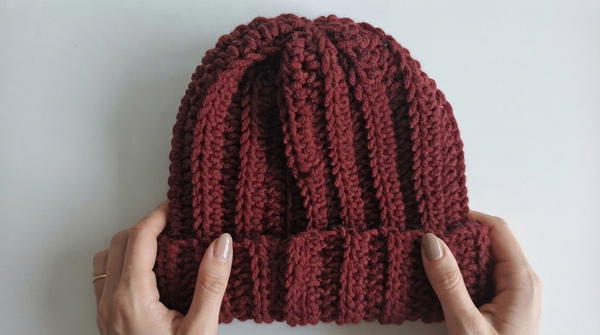
Attaching the Pom-Pom (Optional)
- If using a pom-pom, center it over the gathered top and sew it securely in place using the pom-pom’s ties or extra yarn.
Finishing
- Turn the hat right side out so the seam is inside.
- Stretch gently to distribute gathers evenly.
- If desired, fold up the brim for an extra-warm edge.
Conclusion
This ribbed bulky crochet hat pattern showcases the beauty and versatility of simple stitches when paired with cozy, chunky yarn. The classic construction means the hat adapts easily to many head sizes and style preferences, and the technique provides both warmth and pleasing visual texture. By assembling the project as a rectangle and focusing on accessible stitches, this pattern ensures quick results, offering instant satisfaction for newer crocheters and relaxation for those with more experience. Customizing the size, color, or pom-pom detail easily makes each hat unique, ready to keep you or your loved ones extra warm all season long.