Upgrade your accessories collection with a free crochet toiletry bag pattern that’s beginner-friendly, versatile, and ideal for everyday or travel use.
Creating a practical and stylish accessory by hand can bring great satisfaction. On Gepradocroche, a channel that shares clear and friendly crochet lessons, there is a detailed guide to making a compact bag perfect for keeping bathroom essentials organized. The bag stands out with its clean rectangular shape and soft texture, making it both attractive and useful. Its size is just right for travel or daily use, and the choice of yarn gives the finished bag a lightweight yet sturdy feel. Small details like a discreet label and a handy zipper add to its charm, while keeping items safe inside.
Stylish Crochet Toiletry Bag Pattern – Free & Simple
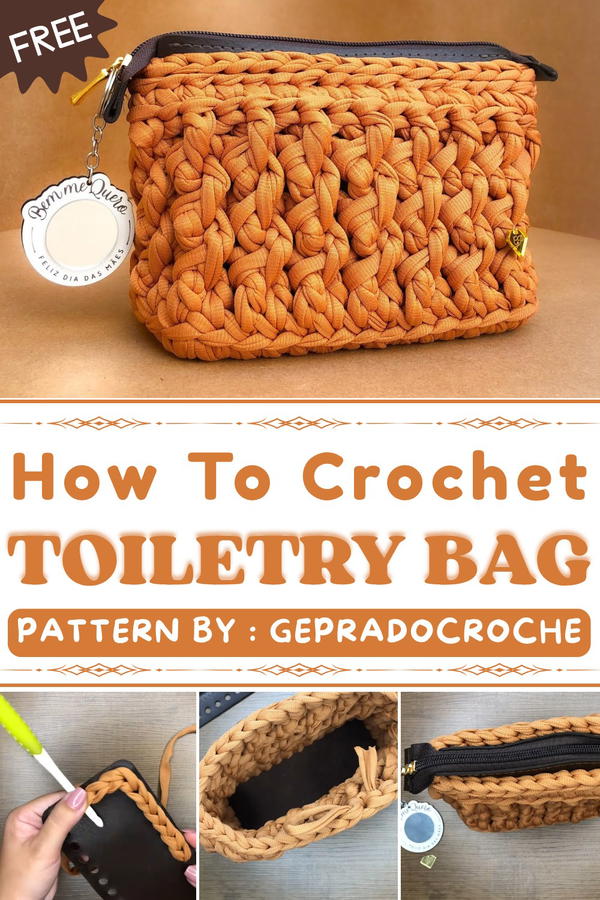
The way this bag is made starts with forming a solid base using single crochet stitches worked carefully to create neat edges. The sides are built up with a special stitch pattern that combines double crochet and crossed stitches for a subtle raised effect, adding a decorative touch without bulk. The bag’s edges stay straight without extra increases, maintaining the perfect size. Attaching the zipper involves counting stitches carefully to keep it centered and secure, which results in a clean finish. The process is explained step-by-step, making it accessible even for those still learning crochet basics.
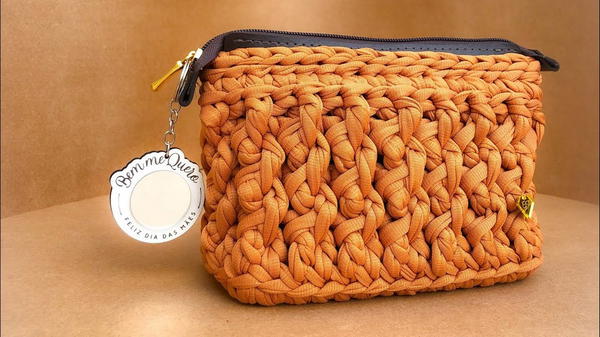
The design draws from practical storage ideas but is refreshed through crochet techniques to look modern and smooth. The stitches create a firm but flexible fabric that fits everyday needs, while the balanced proportions and simple lines reflect functional beauty. This project embodies how traditional crochet methods can produce an elegant, useful bag for various occasions.
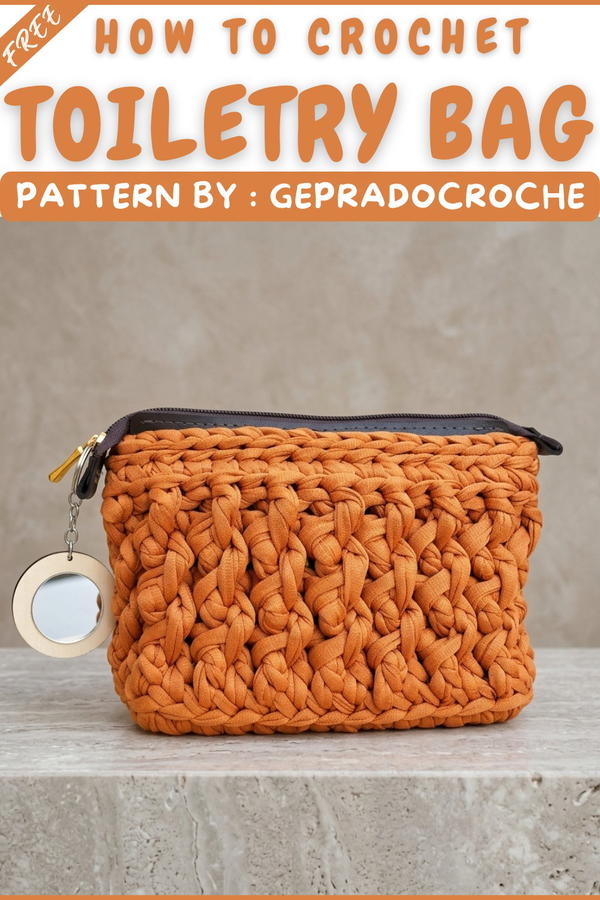
Crocheted Structured Toiletry Bag Pattern
A sturdy and elegant toiletry bag featuring textured sides, a sleek zipper, and neat finishing—all using a pre-punched rectangular base and thick, soft yarn.
Pattern Important Tips
- Loose Slip Stitches: Maintain gentle tension in the first round for a flat, even base.
- Work Evenly: Insert your hook consistently for neat sides.
- No Increases Needed: The structure comes from working even rounds.
- Count Stitch Locations: Essential for correctly centering and attaching the zipper.
- Invisible Finishing: Securely weave in ends and use a drop of glue to prevent unraveling.
Skill Level
Advanced Beginner / Confident Beginner
Materials
- Fisher Nble yarn (35 mm), or similar thick/sturdy yarn
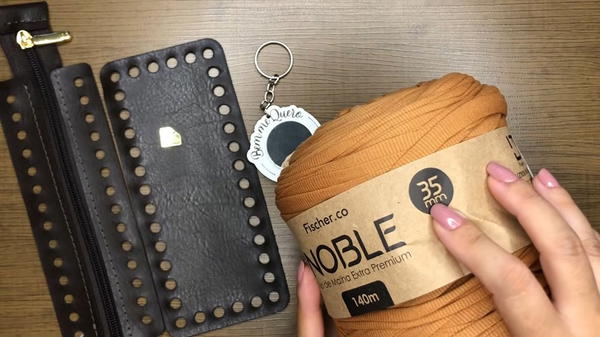
- 6 mm crochet hook
- Pre-punched rectangle base (approx. 18 x 8 cm)
- Zipper with pre-punched holes (18–20 cm)
- Scissors
- Tapestry needle
- Invisible sewing thread
- Craft glue (Techbond recommended)
- Optional: label, charm, keychain
Gauge and Stitch Pattern
- Approx. finished dimensions: 20 cm (W) x 12 cm (H)
- Uses slip stitch (sl st), single crochet (sc), double crochet (dc), and crossed double crochet for texture
Stitch Abbreviations
- ch – chain
- sl st – slip stitch
- sc – single crochet
- dc – double crochet
- blo – back loop only
- rep – repeat
- st(s) – stitch(es)
Special Stitches
- Back Loop Only (blo): Insert hook through back loop only
- Crossed Double Crochet: Skip 1 stitch, dc in next stitch, then dc in skipped stitch working behind
Preparation Notes
- Use a pre-punched base for a crisp, professional look.
- Always join rounds in the top of the starting chain for a seamless appearance.
- Work slip stitches and final finishing gently to avoid puckering.
Pattern
Base Round: Slip Stitch Foundation
- Attach yarn in any base hole, leaving a long tail.
- Work 1 sl st into each hole around the base.
- Loosen as necessary for flatness.
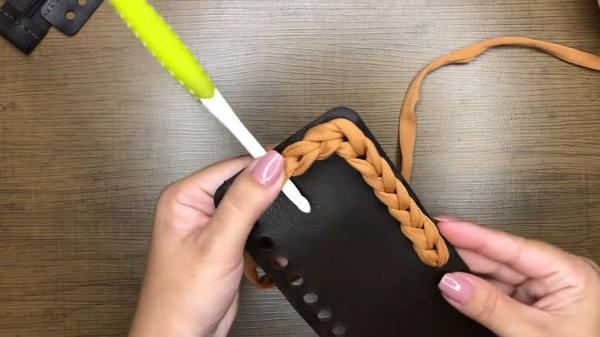
Round 1: Single Crochet Sides
- Work 1 sc into the center of each slip stitch (or base hole) around.
- No increases at corners.
- Join with a sl st to first sc.
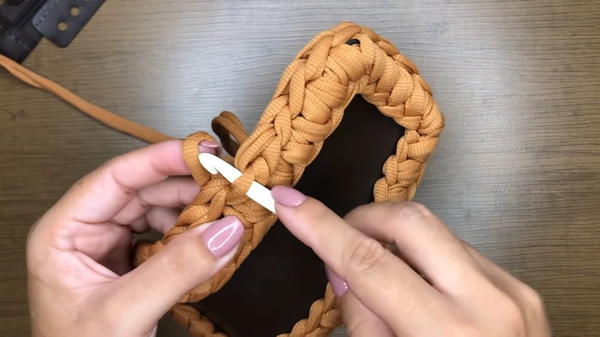
Round 2: Double Crochet Foundation
- Ch 3 (counts as first dc).
- Work 1 dc (blo) into each stitch around, inserting through the back loop and knot for a sharp edge.
- Join with a sl st to top of ch-3.
Rounds 3–5: Textured Crossed Double Crochets
Repeat the following for three rounds:
- Ch 3.
- Skip 1 st, dc (blo) in next st; working behind, dc (blo) in skipped st.
- Repeat from * around.
- Join with a sl st to the beginning ch-3.
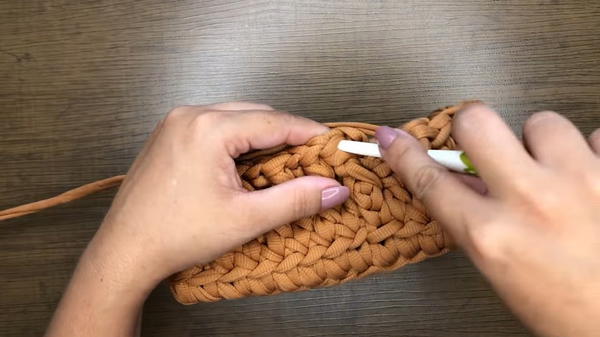
Round 6: Back Loop Single Crochet Edge
- Ch 1.
- Work 1 sc (blo) into each stitch around.
- Join with a sl st to first sc.
- Fasten off, weave in tail with tapestry needle, and finish with a dot of glue inside.
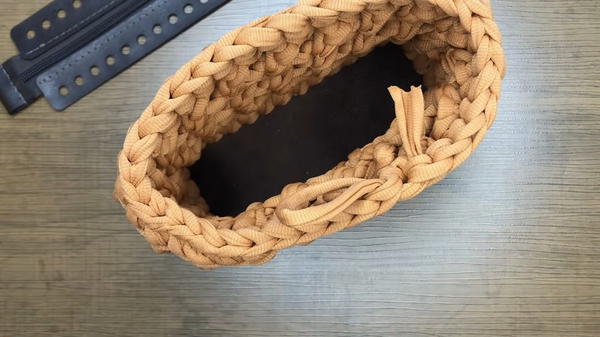
Assembly and Sizing
Zipper Attachment
- Fold bag in half, count stitches at the opening.
- Align zipper holes to stitches for perfect centering (e.g., if zipper has 14 holes and side has 18 stitches, skip the extra stitches at ends).
- On one side:
- Insert hook in stitch (blo) and through a zipper hole.
- Sl st across to join crochet edge to zipper.
- Repeat on other side.
- Continue sl st along the ends for a neat, continuous edge.
- Finish yarn invisibly.
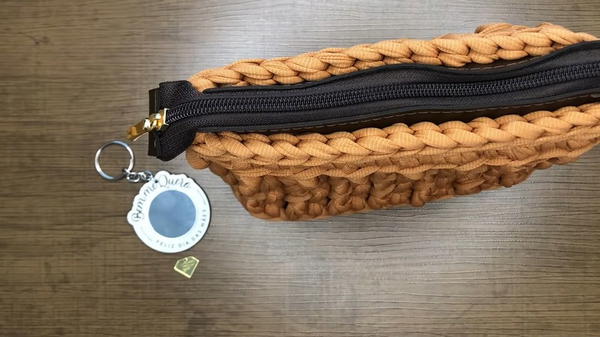
Finishing & Optional Embellishments
- Hand sew or glue label.
- Attach a keychain or charm as desired for a personalized touch.
Final Dimensions
- Height: Approx. 12 cm
- Width: Approx. 20 cm
- Weight: ~222g with zipper and charm
Conclusion and Project Notes
This crocheted toiletry bag combines a sturdy molded base, simple slip stitch and single crochet construction, and elegant textural crossed stitches for a refined result. The pieces are perfectly sized for beauty essentials and sturdy enough for regular use. Precise finishing, especially at the zipper and with invisible securing of yarn tails, elevates the overall look. Personal touches like a label or charm complete this stylish, durable, and highly giftable project.