Delight kids this Halloween with a Free Crochet Pumpkin Treat Bag Pattern that give the ideal festive accessory for collecting sweet surprises.
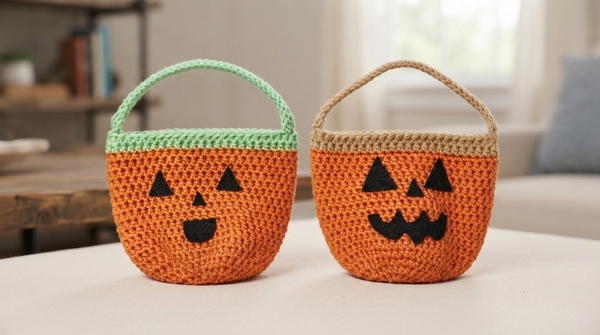
A small, charming bag shaped like a pumpkin is a delightful way to celebrate the fall season. The free crochet pumpkin treat bag pattern guides you in creating this cute and handy little bag. Its round shape with soft ridges looks just like a pumpkin, making it fun to carry around or use as decoration.
Lovely Free Crochet Pumpkin Treat Bag Pattern for Candy
This pumpkin treat bag is perfect for holding candies, small toys, or little gifts. You can bring it to Halloween parties, use it for trick-or-treating, or even keep small treasures organized at home. The bag’s texture is soft yet firm, thanks to the crochet stitches, giving it a sturdy shape that holds its pumpkin design well.
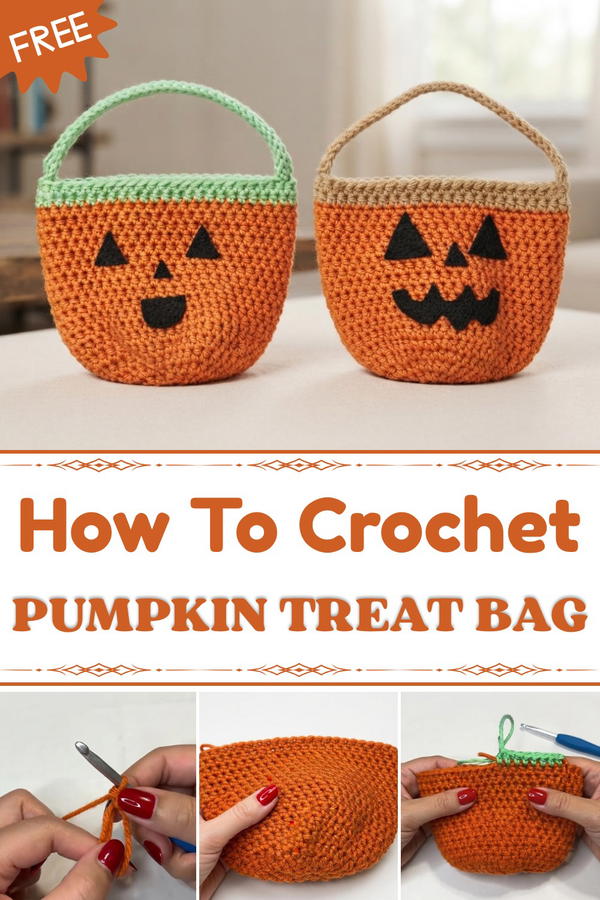
What makes this bag so attractive is its bumpy surface, created by special crochet stitches that give it a cozy, pumpkin-like feel. It usually has a drawstring or button on top to keep everything inside safe and secure. You can make this bag in the classic bright orange or try other colors like soft yellow, white, or even green, making it extra unique and personal.
This pattern works wonderfully for all kinds of makers, kids learning crochet, beginners trying new stitches, or experienced crocheters who want a quick and charming project. You can make a pumpkin bag for party favors, gift holders, trick-or-treat collection, or seasonal home décor.
Creating this pumpkin treat bag is a joyful way to bring the colors and fun of autumn into your crochets. It’s simple, sweet, and special, a perfect project to share the spirit of fall with friends and family.
Notes
- This is a freehand pattern; rounds and stitch counts can be adapted for a larger or smaller bag.
- Chain-1 at the start of every round does NOT count as a stitch.
- No stitch marker required, as seam is visible from the join/slip stitch area—but you may use one if preferred.
- All increases are placed equally around for a flat, round base.
- Add or subtract body rounds for height adjustments.
- Strap is created in one piece for a seamless finish.
- Final decorations are glued on for ease and simplicity.
Pumpkin Treat Bag Crochet Pattern
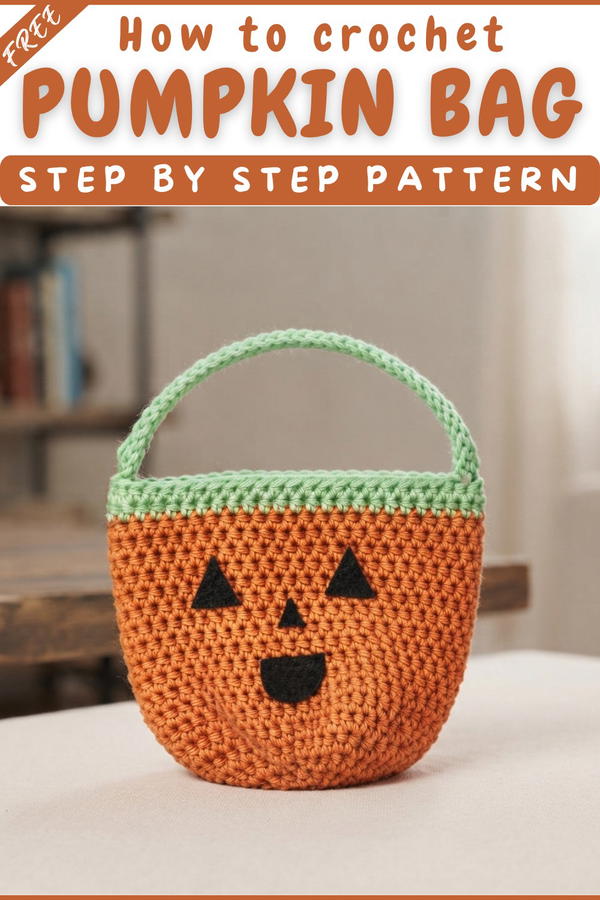
In today’s pattern, I’ll be showing you how I crocheted these pumpkin treat bags. They are really cute, super easy to make, and just the perfect size for Halloween treats. I made a bunch of them, each one with a different colored stem, and I love how they look all together. If you’re as excited for Halloween as I am, you can get started on these ahead of time and be ready to give them out.
Quick Overview Of Pattern
- Worked from the bottom up in the round, starting with a magic circle.
- Main body uses half double crochet (hdc), increasing in the base rounds.
- After base is established, sides are created with no increases.
- Contrasting color is added for the “stem” section.
- Strap is made in one piece with the bag.
- Finished with a glued-on felt face for a classic jack-o’-lantern look.
Skill Level
Easy / Advanced Beginner
Requires knowledge of:
- Working in the round
- Magic circle
- Increasing
- Changing colors
- Basic stitches and minimal finishing
Materials
- Worsted weight yarn (size 4): Orange for body, Green (or Brown) for stem/strap
- 5.0 mm crochet hook
- Black felt (for eyes, nose, mouth)
- Scissors
- Glue gun for gluing felt face
- Yarn needle (optional for weaving in ends)
Measurements / Sizing
- Base diameter: approx. 4.5–5 inches (may vary by yarn/hook/tension)
- Height: approx. 5–5.5 inches
- Strap length: adjustable; sample made with 42 chains (about 9–10 inches)
- Can be sized up or down by adding/removing base/body rounds.
- Holds a handful of small treats.
Gauge
- Approximately 10 hdc and 8 rows = 4" (gauge not crucial; bag is easily adjustable for size).
Stitch Abbreviations
- ch = chain
- sl st = slip stitch
- hdc = half double crochet
- sc = single crochet
Special Stitches
Magic Circle:
Make a loop with your yarn, insert hook, yarn over and pull through, then work beginning stitches in the center of the adjustable loop.
Half Double Crochet (hdc):
Yarn over, insert hook into stitch, yarn over, pull up loop (3 loops on hook), yarn over, pull through all 3 loops.
Increase (inc):
Work 2 hdc in the same stitch.
The Crochet Pattern!
Base (Pumpkin Bottom)
- Magic Circle:
With orange yarn, create a magic circle (see "Special Stitches").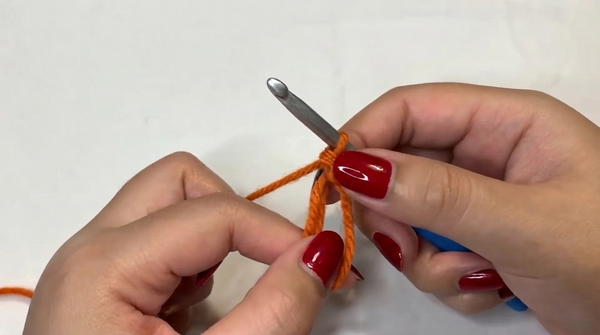
- Round 1:
Ch 1. Work 10 hdc into the magic circle, making sure to crochet around the tail as well. Cinch circle tight by pulling the tail. Sl st to the first hdc to join. (10 sts) - Round 2:
Ch 1. Work 2 hdc in each st around. Sl st to first hdc. (20 hdc) - Round 3:
Ch 1. Hdc in first st, 2 hdc in next st—repeat from * to * around. Sl st to first hdc. (30 hdc)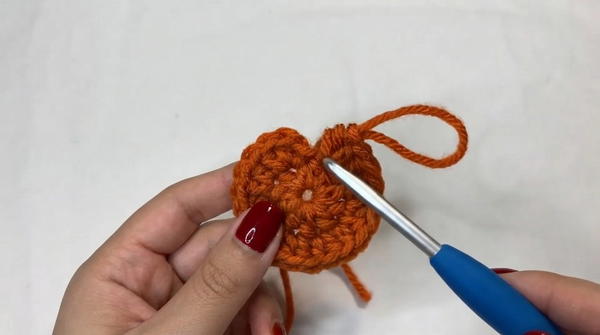
- Round 4:
Ch 1. Hdc in next 2 sts, 2 hdc in next st—repeat from * to * around. Sl st to first hdc. (40 hdc) - Round 5:
Ch 1. Hdc in next 3 sts, 2 hdc in next st—repeat from * to * around. Sl st to first hdc. (50 hdc)
To adjust size: Add more rounds, increasing the number of single hdc between increases by one each time (e.g. next round: hdc in next 4, 2 hdc in next st).
Main Body
- Rounds 6–18 (or until desired height):
Ch 1. Hdc in every st around. Sl st to first hdc.
(No more increases—keep 50 hdc per round.)
Repeat until you have 13–14 total rounds (you may add or subtract rounds for a taller/shorter bag; the sample makes 13–14).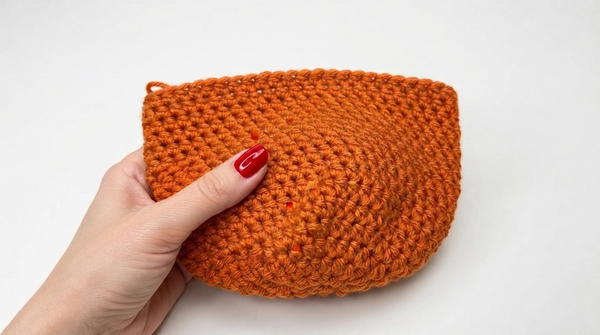
Stem & Upper Contrast Band
- Color Change:
At end of last orange round, cut yarn and pull through. Join green (or brown) yarn by pulling new color through last loop on hook and tying a knot to secure. - Rounds 1–2 (Green):
Ch 1. Hdc in each st around. Sl st to join. (50 hdc per round)
Work 2 rounds (or 3 for a taller top edge), crocheting over the ends as you go.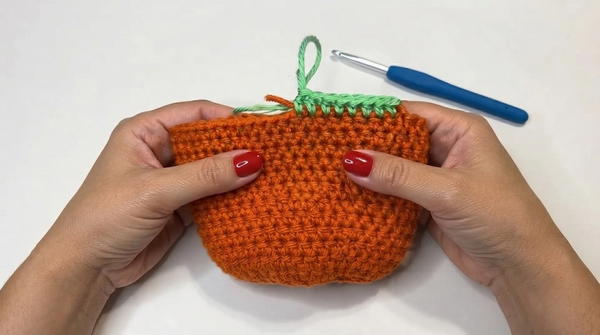
Handle/Strap
- After last sl st of the stem section, chain 42 (or desired length for the handle).
- Turn the chain and hdc in the second chain from the hook and in each chain back towards the bag (41 hdc along the chain).
- To attach, skip a few stitches from where the chain begins (lay out flat to determine placement), and sl st to the top edge of the bag.
- Single crochet (sc) into the next st on the bag to reinforce handle base.
- Turn, and sc back up the handle, putting 1 sc into each hdc of the previous strap row.
- At the other end of the handle, sl st or securely sew to the bag edge. Cut yarn, and weave in end to secure.
Assembly & Finished Size
- Weave in Ends:
Use a yarn needle or your hook to pull any loose yarn tails inside the bag and secure them. - Cut Felt Face:
Cut out two black triangles for eyes, a triangle or circle for nose, and a jack-o'-lantern smile from black felt. - Attach Face with Hot Glue:
Lay bag flat, choose which side is “front” (you can cover the seam or display it as a "scar"), and glue felt pieces in place. Press until set. - Trim all extra yarn, check that handle is secure.
Conclusion
Your Pumpkin Treat Bag is complete! This flexible pattern lets you easily create treat bags that are perfect for Halloween. Adjust the size and color for endless variations. Use your creativity for unique faces and handles.