Design a stylish and functional accessory with this free crochet shoulder bag pattern, offering clear steps to create a perfect everyday carry-all.
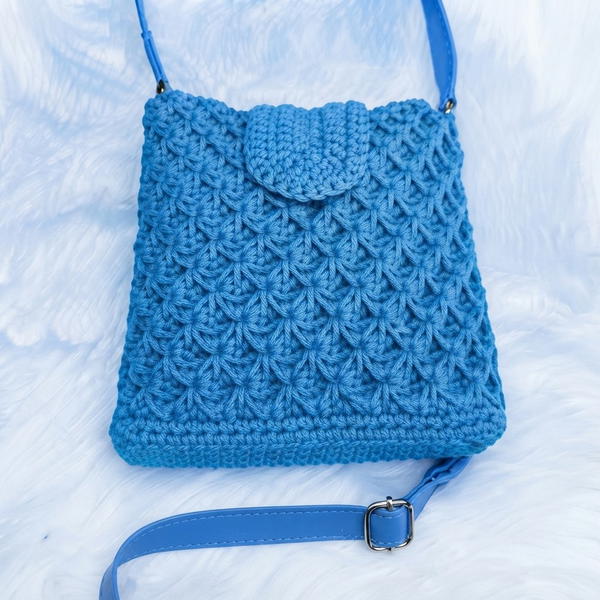
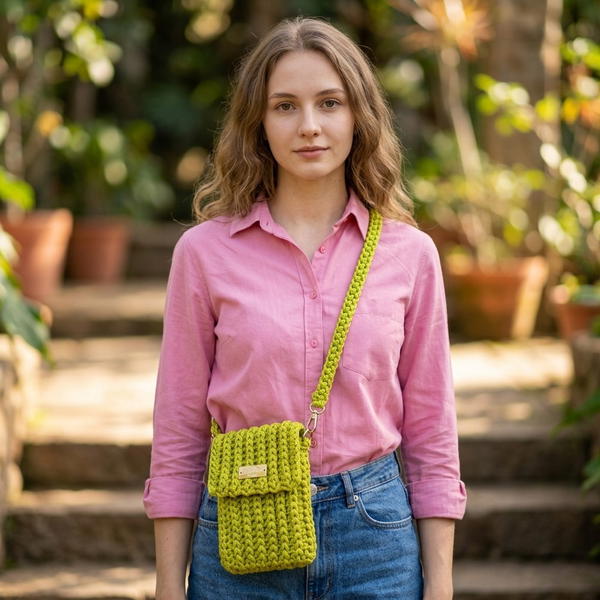
Add a versatile and stylish accessory to your wardrobe with this free crochet shoulder bag design that combines practicality and timeless appeal. Perfectly sized to comfortably rest on your shoulder, this bag suits a variety of occasions throughout spring, summer, and fall. Its relaxed yet structured shape makes it easy to carry essentials while maintaining a casual, put-together look.
Easy Tote – Free Crochet SHOULDER BAG Pattern
This shoulder bag pairs well with a wide range of outfits, from laid-back casual wear to smart-casual attire. It complements denim, light dresses, and layered outfits effortlessly, bringing a subtle handmade charm without overwhelming your overall style. Ideal for daily errands, social gatherings, or weekend outings, it adds a tasteful accent to your ensemble.
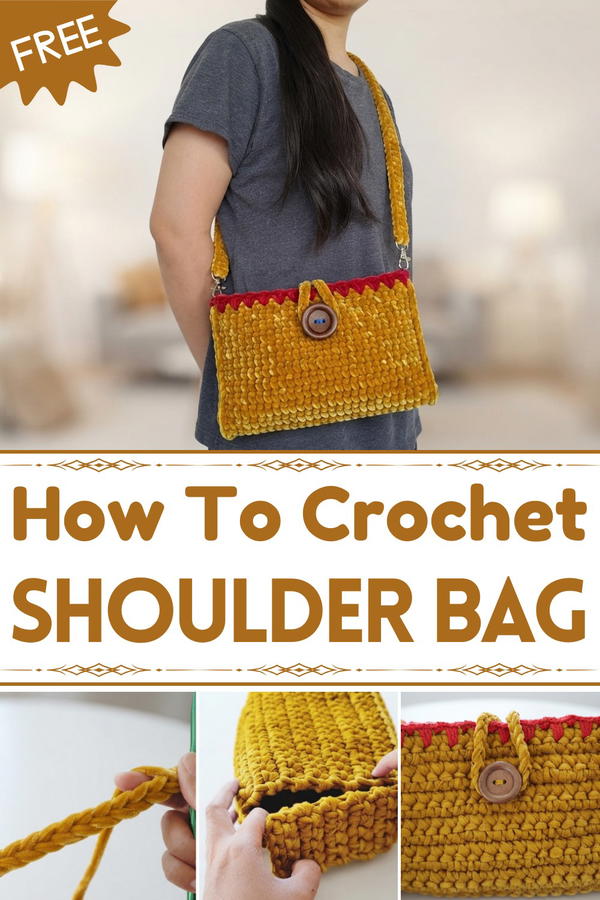
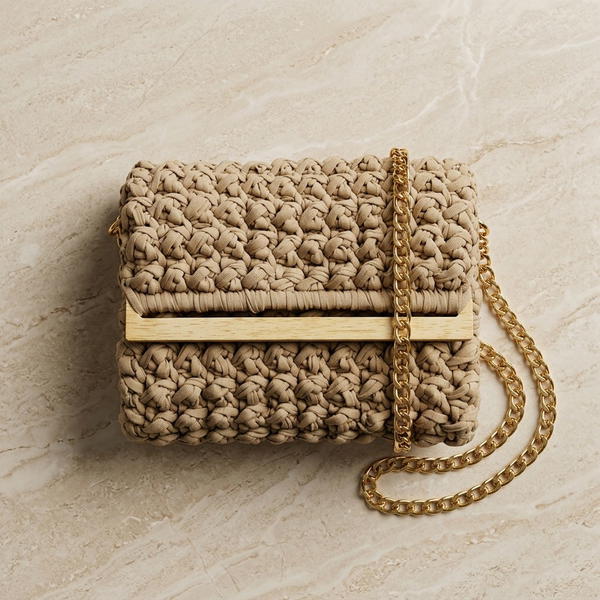
The texture is smooth and firm, formed through consistent rows that provide durability and a neat surface. The construction focuses on clean edges and a rectangular body with defined corners that hold their shape well. One notable feature is the adjustable strap, designed for comfort and to suit different carrying preferences.
Finished with simple closures and offering room for personal touches, this free crochet shoulder bag design invites you to create a functional, attractive piece that fits seamlessly into everyday life.
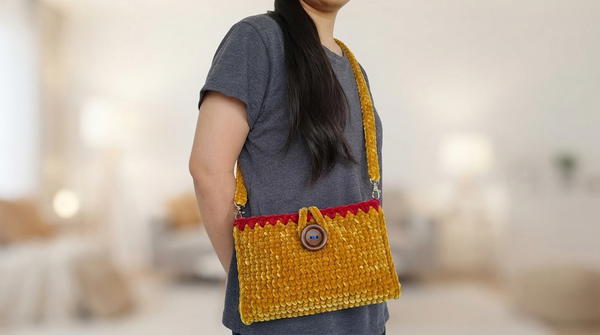
Quick Overview Of Pattern
- Make a long rectangular panel for the main body using t-shirt yarn and single crochet.
- Create two small rectangular panels for the sides and incorporate d-rings into each.
- Seam the sides to the main body with single crochet.
- Crochet a long chain and single crochet back along it to form the shoulder strap.
- Optionally, add decorative details with contrasting yarn and sew on buttons for closure.
Notes
- This bag is constructed mainly with single crochet stitches, making it beginner-friendly and sturdy.
- The sides are worked separately and joined to the body with d-rings for secure strap attachment.
- Number of stitches and rows may be adjusted for a different size as needed.
- Optional decorative single crochet edging and button closure can be added at the end.
- T-shirt yarn gives the bag a chunky, modern look.
- The chain and single crochet row together form a flat, strong strap.
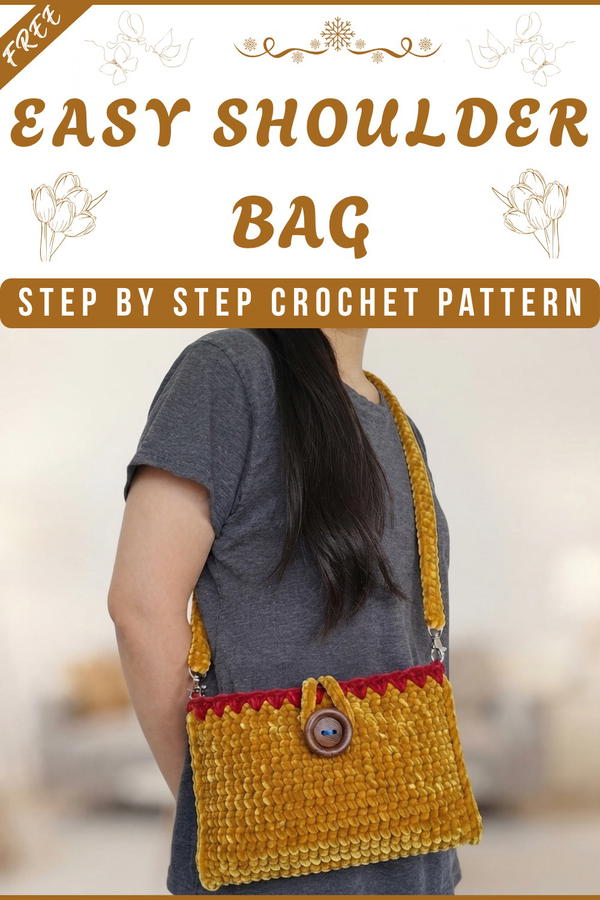
T-Shirt Yarn Shoulder Bag
Skill Level
Beginner
Materials
- T-shirt yarn or textile yarn (main color)
- 2 d-rings
- Tapestry needle
- Stitch marker
- Button (for closure)
- 7 mm crochet hook
- Scissors
- (Optional) 3 mm crochet hook and contrasting yarn (for decorative edging)
Measurements / Sizing
- Main body panel: About 21 chains wide × 28 rows long before seaming (approx. 32 cm x 18 cm, but size may vary by yarn thickness/ tension)
- Side panels: 6 chains wide × 11 rows long (approx. 6 cm x 6 cm)
- Strap: Chain 110 (about 90–100 cm long after completing single crochet row, adjust for desired length)
- Finished bag size: Fits small accessories—customize as desired!
Gauge
- Gauge is not crucial for this project; for reference:
- 7 mm hook, t-shirt yarn: approx. 10 sc × 10 rows = 10 x 10 cm.
- Adjust hook or yarn to get your preferred fabric density and drape.
Stitch Abbreviations
- ch = chain
- sc = single crochet
- st(s) = stitch(es)
- sl st = slip stitch
Special Stitches
Single Crochet (sc):
Insert hook into stitch, yarn over, pull up loop (2 loops on hook), yarn over, pull through both loops.
The Crochet Pattern
Main Body Panel
- Make a slipknot.
- Chain 21. (This forms the width of the bag.)
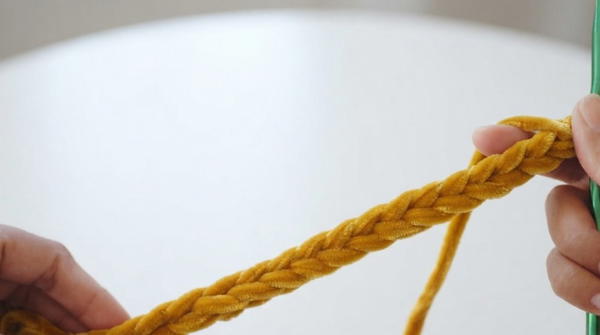
- Row 1: Starting in the 2nd ch from the hook, sc in each chain across. (20 sc)
- Rows 2–28: Turn. Ch 1 (does not count as a stitch). Sc in each st across. (20 sc per row)
- Fasten off and set this panel aside.
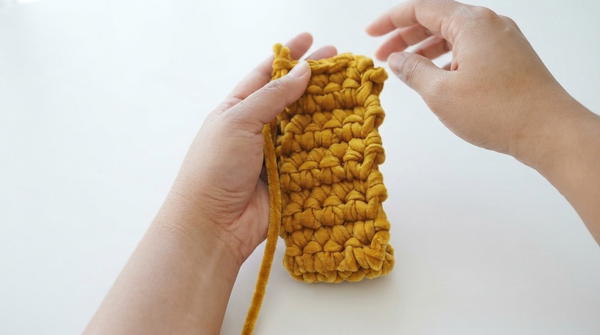
Side Panels (Make 2)
- Make a slipknot.
- Chain 6.
- Row 1: Starting in the 2nd ch from the hook, sc in each chain across. (5 sc)
- Rows 2–11: Turn. Ch 1. Sc in each st across. (5 sc per row)
- Do not fasten off after Row 11. Instead, incorporate d-ring as follows:
- Turn, sc in the first st.
- Hold d-ring in place at the end of the row as you work the next sc, inserting your hook under the d-ring and the top of the next stitch.
- Continue to secure the d-ring using sc through the next 4 sts.
- Ch 1 and fasten off, leaving a long tail for sewing.
- Repeat steps for the second side panel and d-ring.
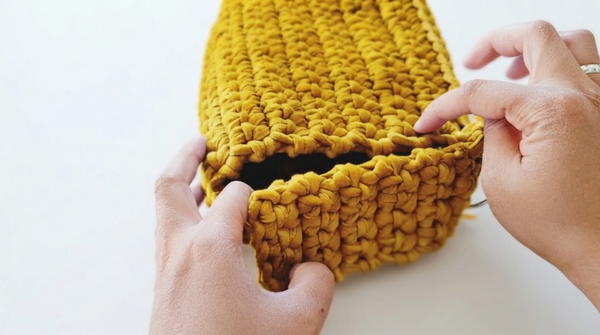
Assembling the Bag
Attaching Sides to Main Panel:
- Use stitch markers to secure the side panels to the ends of the main body panel.
- Fold the main panel so it creates a bag shape.
- Align the side panels at the ends, matching rows and stitches as closely as possible.
- Use the d-ring edge facing outward.
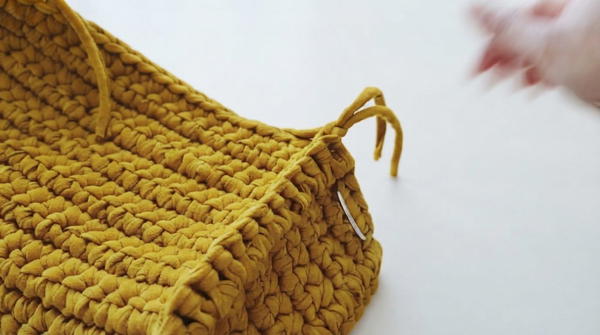
- With your hook and working yarn, join the side panel to the main panel using single crochet.
- Place 1 sc in each st along the side edges, working through both layers.
- At the base (bottom) of the bag, work 2 sc into each of the corner stitches for a rounded look, and “increase” 5 stitches along the very bottom if needed for extra width.
- Complete joining on both sides. Ensure the d-rings are positioned on the top corners.
- Fasten off and weave in ends.
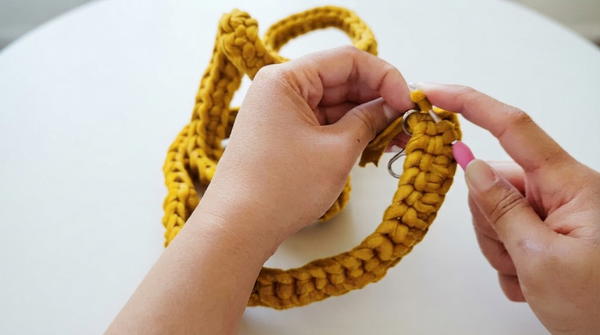
Strap
- With t-shirt yarn, make a slipknot.
- Chain 110 (or more for a longer strap).
- Starting in the 2nd ch from the hook, sc in each ch across.
- Fasten off.
- Thread each end of the strap through one d-ring on the bag. Knot or stitch securely on the inside.
Optional: Decorative Edging
- With a 3 mm hook and contrasting yarn (e.g., red acrylic), single crochet evenly along the bag’s top edge or as desired.
- For a scallop detail: In every other st, work 3 sc in the same place to create small “bumps”.
- Fasten off and weave in ends.
Optional: Button & Loop Closure
- Chain 30, fasten off, and knot ends to make a loop.
- Sew each end of the loop to the inside front of the bag, about 10 stitches from each side, securing well.
- Sew your chosen button onto the outside, at a suitable height for closure.
Assembly & Finished Size
- Weave in all remaining ends.
- Thread and knot the strap into the d-rings.
- Attach loop and button for closure.
- Gently shape and stretch the bag to your liking.
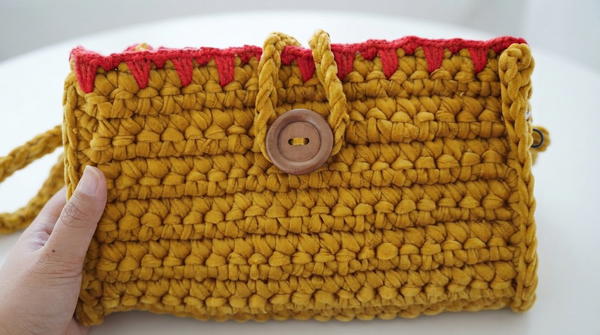
Finished size:
Approx. 32 cm wide x 18 cm tall, strap ~100 cm.
Conclusion and Ending Words
Now you’re done with your t-shirt yarn shoulder band! This easy-to-make project can be personalized with stitches, colors, buttons, and more. If you liked this tutorial, please give it a thumbs up and subscribe for more crochet ideas.