Give your doll a touch of floral magic with this Free Crochet Flower Bouquet Pattern, a creative way to crochet lifelike blossoms perfectly sized for dolls.
If you’re looking to create a charming accessory for your doll, a handmade bouquet adds such a sweet, personal touch. The free crochet flower bouquet pattern is a delightful way to crochet tiny, colorful blossoms that bring your doll’s accessories to life with a burst of floral beauty and texture.
Free Crochet Flower Bouquet Pattern for Dolls | Mini Floral
This project falls into the category of amigurumi-style accessory crocheting, focusing on creating small, detailed crochet flowers bundled into a petite bouquet. Its style is both whimsical and realistic, capturing the delicate shapes and layered petals of real flowers with soft, textured stitches. The bouquet’s shape is compact yet full, making it the perfect size to hold or display with your doll. Standout features include the variety of flower types and colors you can create, which add vibrancy and charm.
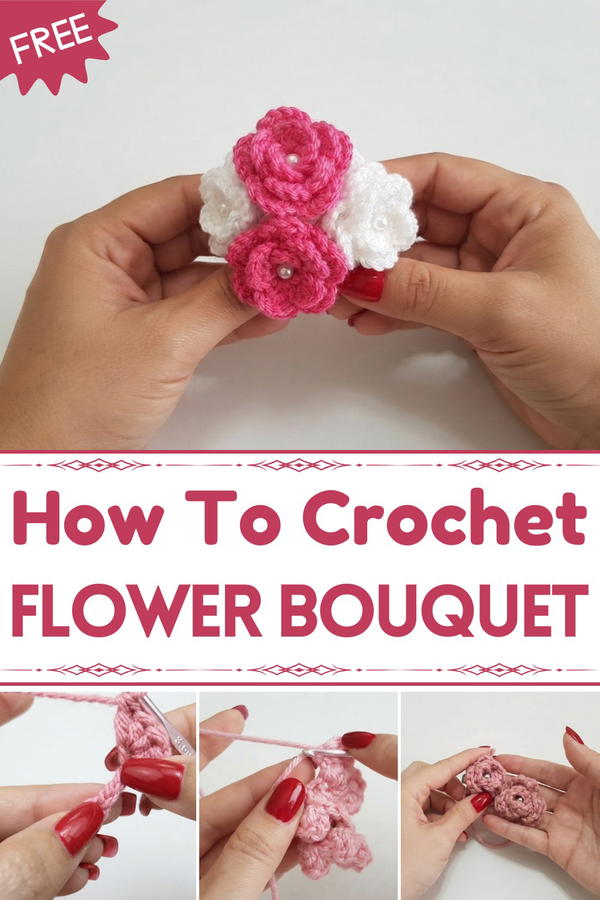
The free crochet flower bouquet pattern offers great flexibility in size and customization. You can adjust the number of flowers and stems to match your doll’s proportions or customize colors to suit any season or doll outfit. Making each flower involves simple stitch patterns worked in rounds or rows, gradually shaping petals and attaching them to stems securely. A handy tip is to use a needle or wire wrapped in yarn for sturdy stems that hold their shape well.
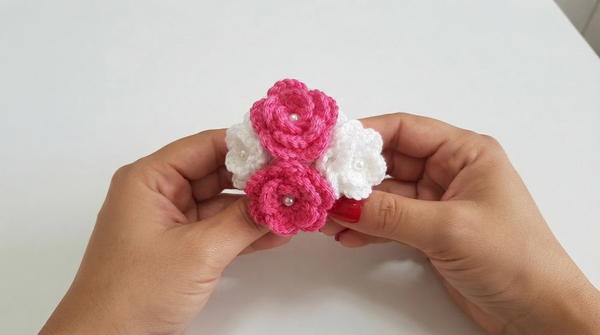
The timeless beauty of fresh flowers and the joy of miniature crocheting, this design celebrates nature’s colors and forms in a playful, hand-crocheted way. Choosing soft cotton or acrylic yarn enhances the texture, giving the flowers a gentle drape and a vibrant finish without being too stiff.
This free crochet flower bouquet pattern is perfect for doll accessories, gift embellishments, or decorative accents that brighten any space. It encourages you to get creative with color combinations and flower varieties, adding your own personal bloom to every bouquet.
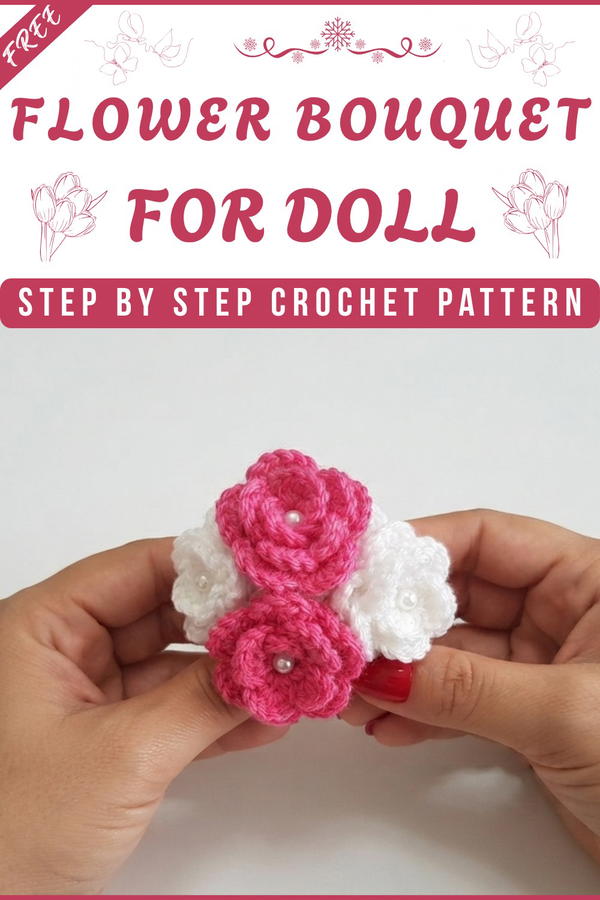
Crochet Mini Rose Bouquet Pattern
Hand-crocheted crochet bouquets offer lasting charm without the need for water or special care, making them a perfect gift, keepsake, or cheerful home accent. This mini rose bouquet features delicately spiraled roses and a sturdy handle base, allowing you to practice both flat and 3D crochet techniques. The completed piece is suitable as a stand-alone ornament or an embellishment for other crochet projects.
Pattern Basic Points
General Features:
- Elegant rose motif: Built from a simple petal strip, spiraled and sewn for lifelike shape.
- Compact bouquet handle: Crocheted in the round for easy, sturdy construction.
- Customizable size and color: Adjust chain length or rounds for personalized bouquets.
- Minimal seaming: Only basic sewing required for rose assembly and attachment.
- Bead embellishments: Optional beads add a lovely, finished touch to each rose’s center.
Special Notes
- Petals are worked directly into a chain: Accurately count your stitches for uniform petals.
- Flower assembly: Be gentle when spiraling the rose strip to preserve shape and fullness.
- Handle structure: Begin small and expand at the top for a natural bouquet look.
- Bead addition: Sew a bead firmly at the center of each rose for decorative flair; this step is optional.
- Stitch marker: Keeps your place in spiral rounds, especially useful when working the bouquet handle.
Skill Level
Beginner
This design employs foundational skills—chains, single crochet, double crochet, slip stitch, and basic increases—making it ideal for new crocheters seeking a manageable but rewarding finished object.
Materials
- Pink acrylic yarn: (For roses; light worsted or DK recommended)
- White acrylic yarn: (For handle/base; similar weight to the rose yarn)
- 3.5 mm crochet hook
- Tapestry needle
- Stitch marker or safety pin
- Scissors
- Three beads (optional; suitable for sewing to the rose centers)
Measurements / Sizing
- Finished rose: Approximately 1.5–2 inches (4–5 cm) wide, depending on tension and yarn thickness.
- Bouquet (base to rose top): Approximately 4–5 inches (10–13 cm) in total height.
- Handle: Adjustable for preference, but typically 2 inches (5 cm) tall, with a wider bouquet top for rose attachment.
Gauge and Stitch Pattern
- Gauge is not critical due to the decorative nature of the project.
- Basic Stitches Used: Double crochet (dc) and single crochet (sc), along with slip stitches.
Stitch Abbreviations (US Terms)
- ch: chain
- sc: single crochet
- dc: double crochet
- sl st: slip stitch
- st(s): stitch(es)
- MR: magic ring
- inc: increase (2 sc in same stitch)
Special Stitches
- Magic Ring (MR): Create an adjustable ring with yarn, perfect for starting rounds tightly.
- Petal Foundation: Filling chains with a cluster of dcs, forming a scalloped petal.
Complete Pattern Instructions
Rose (Pink Yarn, Make 3)
- Foundation:
- Make a slip knot.
- Chain 18.
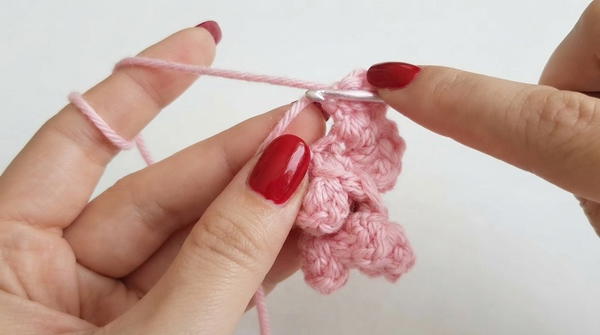
- First Petal:
- Work 5 dc into the 4th chain from hook.
- Skip the next chain.
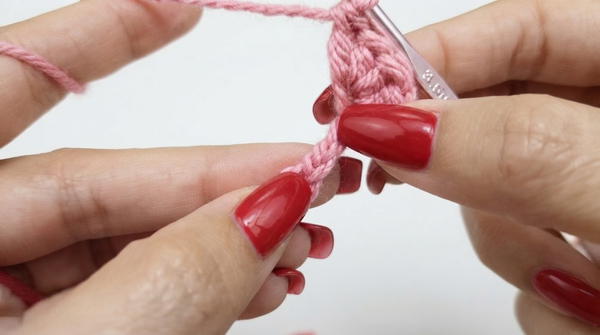
- Slip stitch into the following chain. (This anchors the petal base.)
- Second & Remaining Petals:
- Chain 3, then work 4 dc into the same stitch (where last sl st was made).
- Skip 1 chain.
- Slip stitch into next chain.
- Repeat this pattern (chain 3, 4 dc in same st, skip, slip stitch into next) to the end of the chain.
- You will form 7 textured petals across the strip.
- Finishing the Rose:
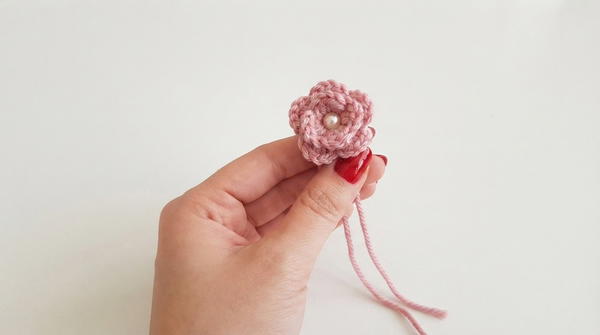
- Fasten off, leaving a tail for sewing.
- Gently roll the crocheted petal strip from one short end to the other, forming a spiral that mimics a rose.
- Secure the base by sewing through layers with a needle and the yarn tail.
- If desired, sew a bead in the rose center for added decorative appeal.
Bouquet Handle (White Yarn)
- Magic Ring Base:
- Create a magic ring (MR).
- Chain 1 to secure.
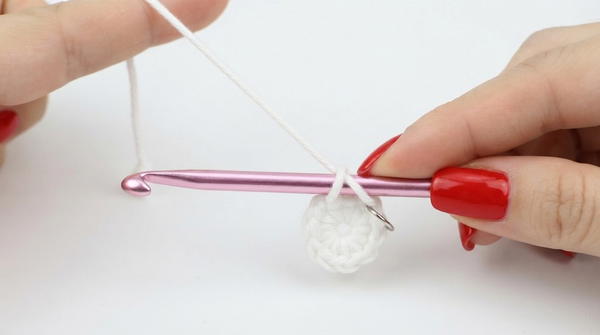
- Round 1 (Base):
- Work 6 sc into the MR.
- Pull tail to close the ring snugly.
- Rounds 2–5 (Handle Length):
- Place a stitch marker in the first sc.
- Work 1 sc in each stitch (6 sc per round) for a total of 4 more rounds (or until desired length, usually 5–7 rounds).
- Adjust for a longer or shorter handle as needed.
- Increasing the Bouquet Top:
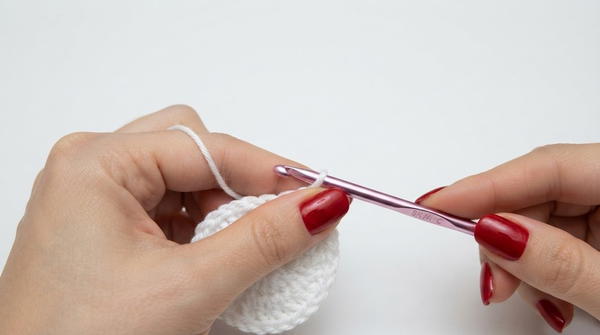
- Round 6: Work 2 sc in each stitch around (increase in every stitch)—12 sc total.
- Round 7: 1 sc in the first stitch, 2 sc in the next; repeat around—18 sc total.
- Round 8: 2 sc, then 2 sc in next; repeat—24 sc total.
- Round 9: 3 sc, then 2 sc in next; repeat—30 sc total.
- Finishing the Handle:
- Slip stitch to join last round.
- Fasten off, leaving a long tail for sewing if desired.
- If necessary, use the tail and a needle to shape and reinforce the bowl of the bouquet top.
Assembly
- Arrange the finished roses on the expanded end of the white handle. Position them so that each is equally spaced, forming a clustered bouquet.
- With a tapestry needle and the tail from each rose, sew the rose bases securely onto the top of the bouquet handle.
- Take care to pass the needle through both rose and bouquet top multiple times to ensure a rigid, stable attachment.
- If using, sew a bead to the center of each rose before or after attaching, as preferred.
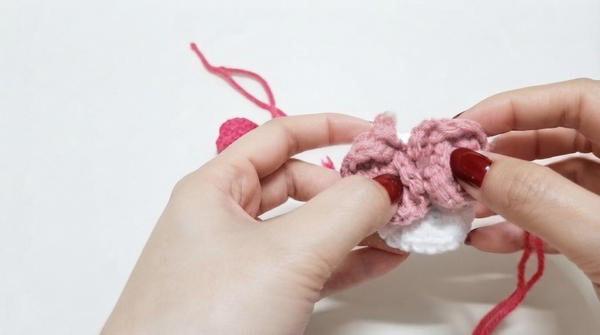
- Weave in and trim all yarn ends, hiding them inside the handle or rose base for a neat appearance.
Conclusion
This mini crochet rose bouquet blends basic stitches and construction into a sculptural keepsake that is both approachable and visually pleasing. The spiraled rose strip, paired with the simple increasing handle, demonstrates versatile techniques useful for floral and amigurumi crochet. Adjust color, size, and embellishments to coordinate with any occasion or decor, and enjoy the process of bringing a bouquet to life one petal at a time. The approachable steps and minimal shaping ensure a satisfying finished project for those embarking on their early crochet journey.