Follow our free crochet pumpkin pattern and make adorable pumpkins that bring festive cheer and creative flair to all your fall projects.
Celebrate the cozy charm of autumn with a delightful handmade amigurumi that adds warmth and personality to your space. This charming pumpkin figure captures the essence of fall with its plump, round shape and subtly detailed features, making it an ideal decoration, collectible, or thoughtful gift for the season.
Free Crochet Pumpkin Pattern That’s Perfect for Thanksgiving
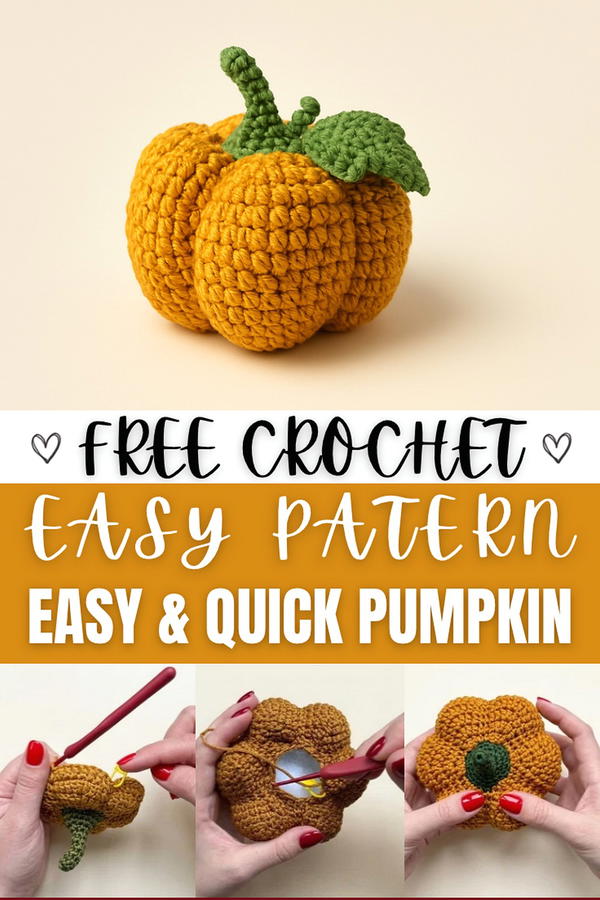
The free crochet pumpkin pattern offers an accessible project suitable for crocheters with beginner to intermediate skills. Its compact size fits perfectly on mantels, shelves, or as a cute table centerpiece. Carefully crocheted with basic crochet stitches and simple shaping techniques, this design balances ease and style, making it enjoyable to create without overwhelming new crafters.
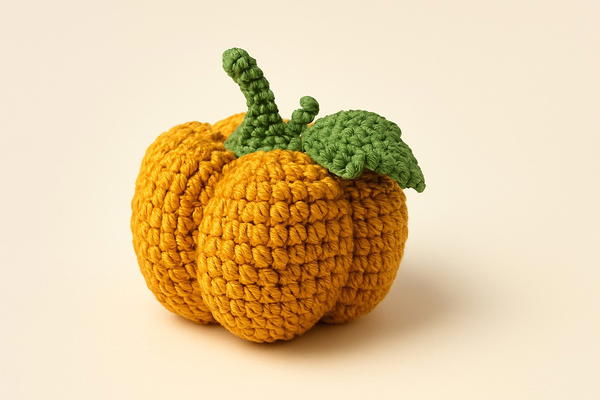
Designed with soft yarn choices in mind, this pumpkin lends a cozy texture that feels inviting and holds its shape beautifully. Using a medium weight yarn and a well-sized hook ensures your pumpkin will have a smooth finish with just the right firmness. The pattern combines amigurumi techniques like working in the round and increasing or decreasing stitches, helping to create the gentle curves and subtle ridges that bring the pumpkin to life.
Versatile and charming, this piece can be paired with other autumn-themed crafts such as crocheted leaves or acorns, enhancing your seasonal decor collection. Whether placed on a windowsill or gifted to someone special, the free crochet pumpkin pattern introduces both creative fulfillment and festive spirit to your fall projects.
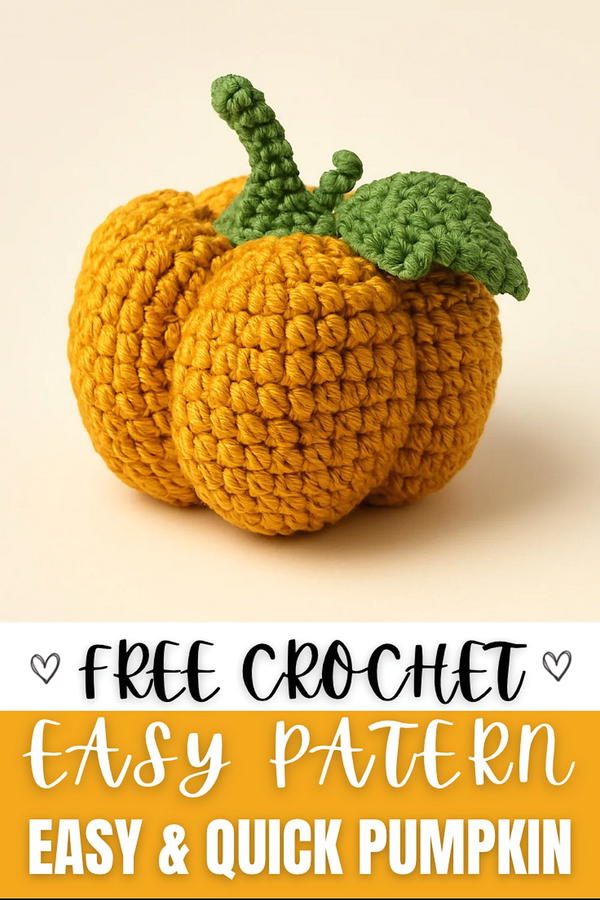
Crochet Pattern: Pumpkin with Leaf and Vine
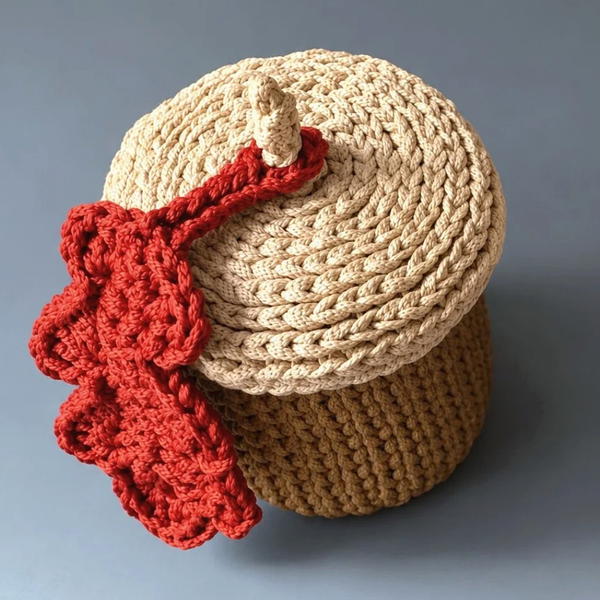
This crochet pumpkin with a leaf and vine is a delightful seasonal project that replicates the cozy and festive charm of autumn. The combination of textured stitches and a simple structural design makes it both creative and decorative. This pattern guides you from crafting the pumpkin stem to its beautifully rounded body, with the finishing touches of a leaf and vine.
Skill Level
Intermediate – This pattern uses several techniques, including working in the round, increasing and decreasing stitches, sculpting shapes, and adding embellishments. It is suitable for crocheters who are confident with basic stitches and are comfortable with shaping techniques.
Materials
- Cord/Yarn:
- 2 mm polyester cord (up to 2.5 mm is recommended for easier handling).
- Colors:
- Pumpkin Body: Orange, yellow, or another autumnal shade.
- Stem and Leaf: A contrasting color like green or brown.
- Crochet Hook: Size 2.5 mm.
- Stuffing: Fiberfill or any soft filling material for shaping the pumpkin.
- Additional Tools:
- Scissors.
- Yarn needle (to sew and secure ends).
Stitch Abbreviations
- Ch: Chain
- Sl St: Slip Stitch
- SC: Single Crochet
- HDC: Half Double Crochet
- DC: Double Crochet
- Inc: Increase (work 2 stitches into the same stitch).
- Dec: Decrease (combine two stitches into one).
Special Techniques
Magic Ring:
- Create a loop, insert the hook, and pull up a loop to start crocheting a closed circle. The ring is pulled tight once the first stitches are complete.
Sculpted Vine:
- A chain of stitches will coil naturally when made with a polyester cord, forming the vine’s spiral effect.
Useful Tips
- Tension Control: Polyester cord can be stiff and slippery. Maintain even tension for a cohesive finish.
- Shaping: Stuff the pumpkin firmly but not excessively to avoid distorting its rounded shape.
- Stitch Markers: Use markers to track the beginning of each round, especially for the pumpkin body.
- Finishing Touches: Steam blocking can help soften any tight stitches (test on a spare section first).
Pattern Instructions
The pumpkin consists of four components: the stem, body, leaf, and vine, all of which are worked separately and sewn together.
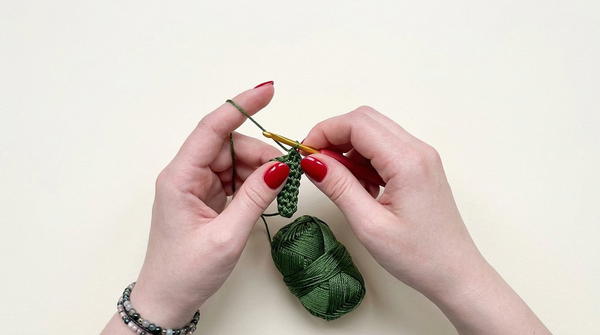
1. The Stem
Begin with the stem to define the top of the pumpkin.
Round 1:
- Start with a magic ring.
- Work 6 SC into the ring. Tighten the ring and join with a Sl St. (6 stitches)
Rounds 2–7:
- Work 1 SC into each stitch around.
- Repeat for a total of 6 rows to create a cylindrical stem. (6 stitches per round)
Round 8 (Increase):
- Inc in every stitch around to expand the stem's base. (12 stitches)
Round 9 (Increase):
- Alternate 1 SC, 1 Inc to further increase the circumference. (18 stitches)
Rounds 10–11:
- Work 1 SC into each stitch for 2 rows to maintain the stem’s broader base. (18 stitches)
- Fasten off and set aside.
2. The Pumpkin Body
Switch to the pumpkin color at this stage.
Round 1 (Foundation Segments):
- In the first round: Work 1 SC, 3 DC, 1 SC into each of the 6 segments of the stem’s base. (Total: 6 segments)
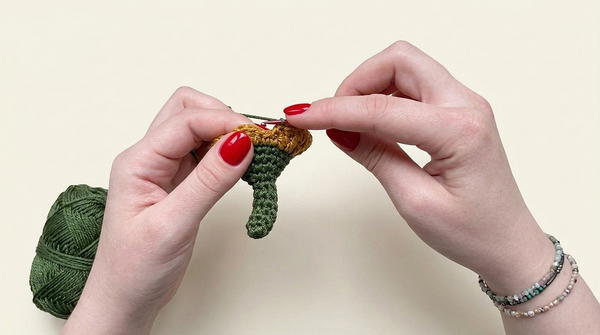
Round 2:
- In each segment, work 1 SC, 1 DC, 3 DC in the center stitch, 1 DC, 1 SC. This begins shaping the pumpkin.
Round 3:
- Expand the segments further: 1 SC, 2 DC, 3 DC in the center stitch, 2 DC, 1 SC per segment.
Round 4:
- Continue the shaping: 1 SC, 3 DC, 3 DC in the center stitch, 3 DC, 1 SC per segment.
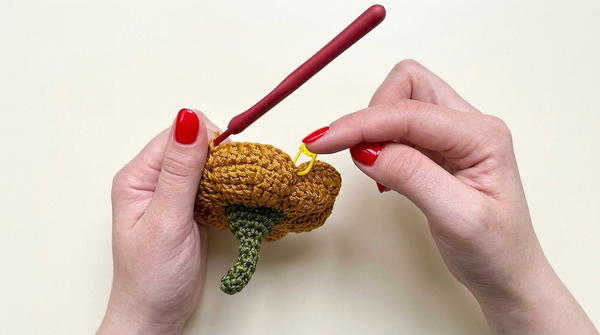
Rounds 5–10:
- Work straight rounds of 9 DC per segment, starting and ending each segment with 1 SC. The pumpkin should now look full and rounded.
Decreasing Rounds
Reverse the expansion sequence to close the bottom of the pumpkin.
- Round 11: 1 SC, 2 DC, 3 DC in the center stitch, 2 DC, 1 SC.
- Round 12: 1 SC, 1 DC, 3 DC in the center stitch, 1 DC, 1 SC.
- Round 13: 1 SC, 3 DC in the center stitch, 1 SC.
Stuffing:
- Step 1: Firmly fill the pumpkin with fiberfill through the hole at the bottom.
- Step 2: Continue decreasing once stuffed.
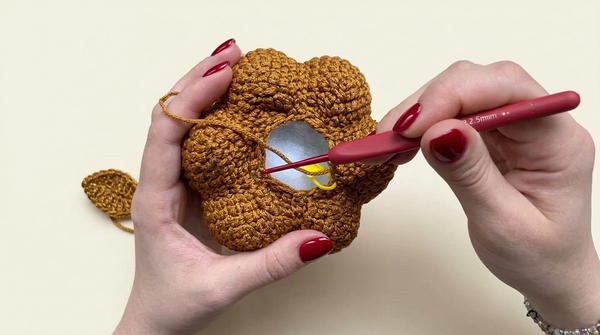
Final Rounds:
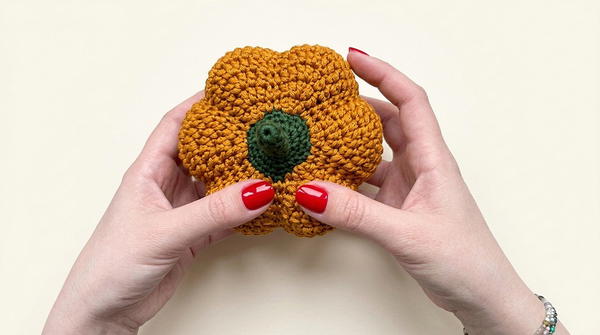
- Decrease rapidly by working into each segment with Dec stitches until the hole is completely closed.
- Weave in the remaining cord with a yarn needle.
3. The Leaf
The leaf adds charm and balance to your pumpkin.
Foundation Chain:
- Chain 9 stitches.
Row 1:
- Work back along the chain with SC, Inc in the middle stitches, and continue to SC until the end to form an irregular leaf shape.
Rows 2–4:
- Repeat the same pattern, shaping the leaf as desired by increasing at the edges and center of each row.
- Fasten off, leaving a long tail for sewing.
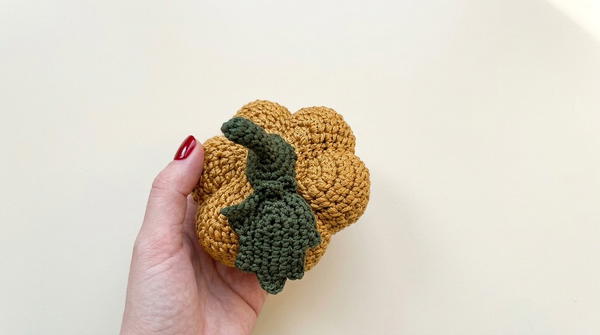
4. The Vine
The vine completes the pumpkin’s natural look.
- Pull a loop through the center of the stem using your contrasting color.
- Chain 20–25 stitches, or any desired length, allowing for the natural twist of the polyester cord to simulate a coiled vine.
- Secure with a Sl St at the base of the stem and fasten off.
Assembly
- Attach the Stem: Use the yarn tail to sew the wider end of the stem securely to the top of the pumpkin body.
- Sew the Leaf: Position the leaf near the stem and sew it down, allowing it to overlap slightly for a natural look.
- Attach the Vine: Secure the base of the vine near the stem. Adjust the twist if necessary for a realistic appearance.
Conclusion
This Crochet Pumpkin with Leaf and Vine is a versatile seasonal decoration, perfect for autumn and holiday-themed settings. The detailed shaping and carefully placed embellishments bring lifelike charm to this easy-to-make design. Adjust colors for seasonal variations or experiment with different yarns for unique textures.