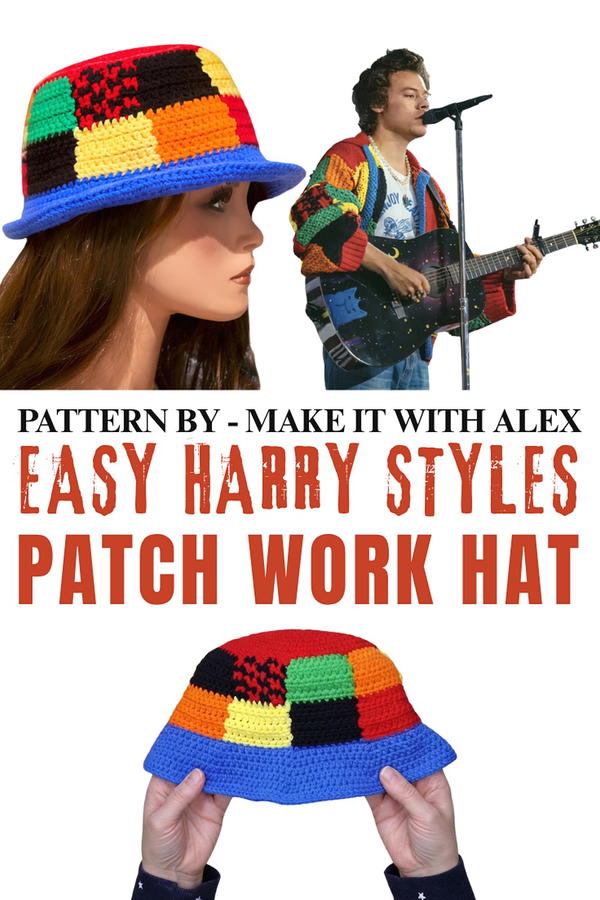
Wear a splash of pop style with this Free Crochet Harry Styles Patchwork Hat Pattern, a lively mix of color and personality for casual days and fun outfits.
Some outfits feel more interesting when one accessory refuses to be ordinary. The Harry Styles Patchwork Hat Free Crochet Pattern takes inspiration from playful pop fashion and places the focus on a colorful headpiece.
Bold Harry Styles Patchwork Hat Free Crochet Pattern for Fun Outfits
Patchwork has a different character from a hat worked in one solid shade. Separate color areas give the surface movement and allow each section to stand out, even when the overall shape stays simple. The look connects naturally with the bold, expressive fashion often associated with Harry Styles, but it can suit anyone who likes color rather than a quiet neutral style. Depending on the shades chosen, the same idea could feel bright and fun or soft and relaxed.
Designer's Creative Corner
Make it with Alex also explores fashion-inspired crochet through the Harry Styles patchwork hat. Its connection to colorful pop style gives this project a different mood from simple accessories. The channel's original video offers a closer view of the idea for fans of playful outfits, music references, and distinctive hats.
Try wearing the finished hat with a plain T-shirt and jeans so the patchwork becomes the main feature. It could also go with an oversized sweater, casual trousers, or a simple jacket for an everyday outfit. For a music fan, it may be a thoughtful present that feels more personal than a standard accessory. The hat can also be a fun choice for a concert outfit or a weekend walk.
One useful thing about patchwork is the freedom to work with different colors while keeping a connected look. Paying attention to how the sections meet helps the finished surface appear neat. The result is a wearable piece with a confident, playful personality.
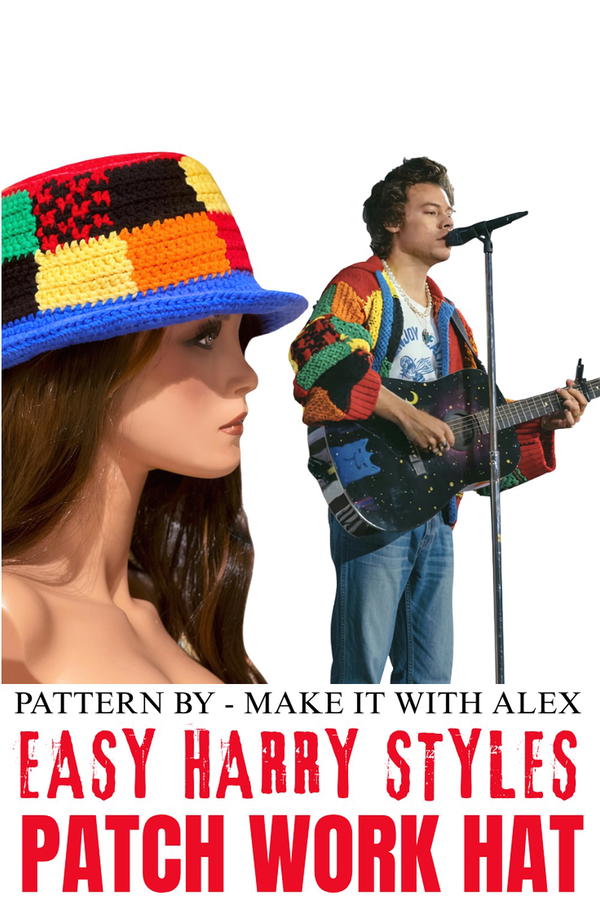
Harry Styles-Inspired Patch Bucket Hat Crochet Pattern
Bring a pop of personality to your wardrobe with this Harry Styles-inspired patch bucket hat! Featuring a bold, colorful patchwork design, this piece is both trendy and playful. The hat is worked in one piece, beginning with a spiral top, progressing through the patch-style sides, and finishing with a slightly flared brim. This pattern is perfect for customizing your color selection and experimenting with fun combinations.
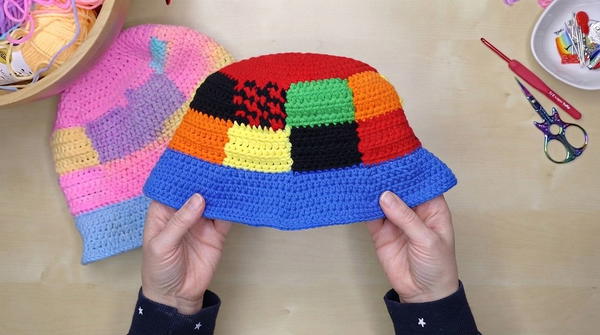
Skill Level
Intermediate
The pattern utilizes basic stitches but requires color-changing techniques and an understanding of shaping and seamless transitions. Comfortable knowledge of working in the round is recommended.
Materials
- Worsted Weight Yarn: 4–6 colors of your choice to create the patchwork aesthetic. This can be a great stash-buster project to use leftover yarn!
- 4 mm Crochet Hook: Adjust your hook size as needed to achieve the correct gauge.
- Yarn Needle: For weaving in ends and seamlessly switching colors.
- Scissors: For trimming yarn between color changes.
Stitch Abbreviations
- ch – Chain
- hdc – Half-Double Crochet
- sc – Single Crochet
- sl st – Slip Stitch
Useful Tips
- Adjusting Fit: Add or remove increase rounds in the hat top to adjust the fit for smaller or larger head sizes.
- Color Changes: Switch colors seamlessly by pulling the new color through the last loop of the stitch before the color change. This will create neat and tidy transitions between patches.
- Gauge Consistency: Maintain even tension to ensure uniform and clean patches. Use the same brand/type of yarn for all colors if possible, as varying yarn thickness can impact the shape.
- Staggered Increases in the Brim: To achieve a subtle flared brim, stagger your increases as outlined in the pattern to avoid visible lines where increases occur.
Pattern Instructions
This bucket hat is worked in three sections: the top, the patch-style sides, and the brim. The hat is worked in one continuous piece, making it durable and seamless.
1. The Hat Top (Spiral)
The top of the hat is worked in a spiral and shaped using planned increases to ensure that it lies flat.
Round 1:
- Create a magic ring to start.
- Ch 1 (counts as the first hdc) and work 8 hdc into the ring.
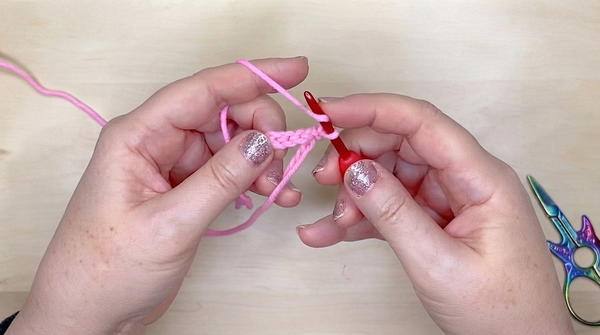
- Pull the magic ring tight and do not join, as this is worked in a spiral.
(Stitch count: 9)
Round 2:
- Work 2 hdc into each stitch around.
(Stitch count: 18)
Round 3:
- Work 1 hdc, 1 increase (2 hdc in the next stitch).
- Repeat this sequence 9 times.
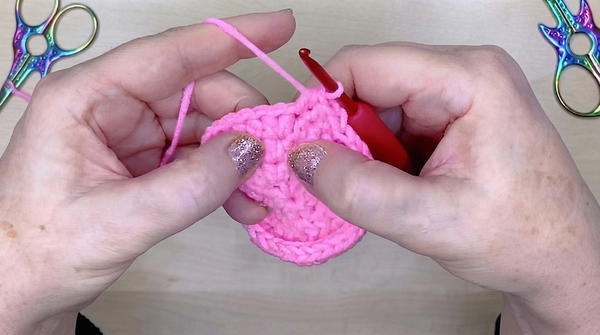
(Stitch count: 27)
Round 4:
- Work 2 hdc, 1 increase.
- Repeat this sequence 9 times.
(Stitch count: 36)
Round 5:
- Work 3 hdc, 1 increase.
- Repeat this sequence 9 times.
(Stitch count: 45)
Round 6:
- Work 4 hdc, 1 increase.
- Repeat this sequence 9 times.
(Stitch count: 54)
Round 7:
- Work 5 hdc, 1 increase.
- Repeat this sequence 9 times.
(Stitch count: 63)
Round 8:
- Work 6 hdc, 1 increase.
- Repeat this sequence 9 times.
(Stitch count: 72)
Round 9:
- Work 7 hdc, 1 increase.
- Repeat this sequence 9 times.
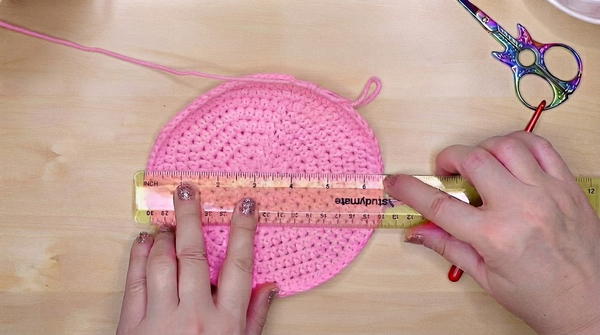
(Stitch count: 81)
2. The Sides (Patches)
The sides of the hat are created with bold blocks of color, giving it the patch-style aesthetic.
Row 1:
- Work in back loops only (BLO) across this round to create a defined horizontal edge.
- Follow your color guide to create the first set of patches, changing colors seamlessly as needed.
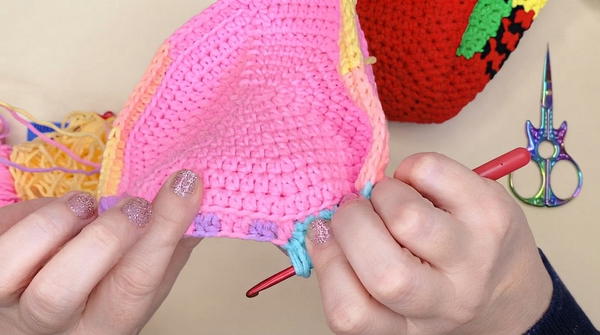
Rows 2–3:
- Work 9 hdc across each patch, ensuring clean color joins between patches.
Row 4 (Increase Row):
- Increase the stitch count by adding 1 extra hdc in every 3rd patch.
Rows 5–6:
- Continue working as normal, with 9–10 hdc per patch, depending on your increases.
Row 7:
- Continue building the patch design, maintaining neat color boundaries.
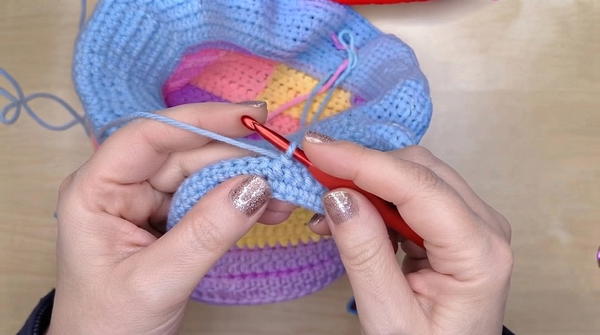
Row 8 (Increase Row):
- Increase stitches in patch 2, patch 5, and patch 8 to create more room in the sides.
Rows 9–11:
- Work standard rows with no additional increases, maintaining a consistent number of stitches per patch.
Row 12 (Final Increase Row):
- Add increases in patch 3, patch 6, and patch 9. This will create the final shaping needed for the side structure.
3. The Brim (Spiral)
The brim completes your bucket hat with a subtle flared shape, worked in staggered increases for a polished finish.
Round 1:
- Work 1 row of sc stitches around the edge of the sides.
Brim Round 1:
- Work 9 hdc, 1 increase into front loops only (FLO).
Brim Round 2:
- Work 10 hdc, 1 increase around the brim.
Brim Round 3:
- Work 11 hdc, 1 increase, repeating until the end of the round.
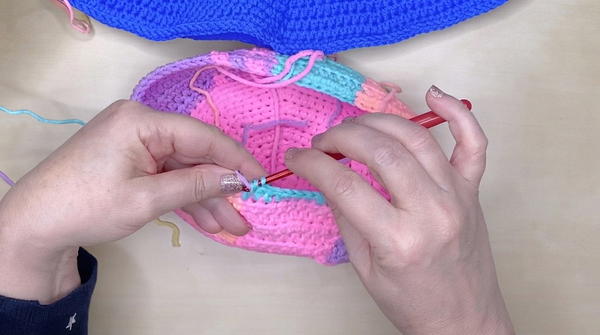
Brim Round 4:
- Work 12 hdc, 1 increase, staggering the placement of your increases to avoid visible lines.
Brim Round 5:
- Work 13 hdc, 1 increase, with staggered placement of increases.
Brim Round 6:
- Work 14 hdc, 1 increase, repeating the staggered pattern.
Finishing:
- To stabilize the brim, work a sl st row around the edge.
- Weave in all loose ends with a yarn needle, ensuring clean color transitions and a polished look.

Conclusion
The Harry Styles-inspired patch bucket hat is a bold and customizable accessory that combines style and functionality. Experiment with different colors and textures to make it uniquely yours, or use your yarn stash creatively to add character to this vibrant piece. The hat is not only a tribute to playful fashion but also a practical project that enhances your crochet skills.