 Mint Design Blog



A kitchen shelf can feel a little plain when every container has the same ordinary shape. The Tea Cup & Saucer Basket Free Crochet Pattern offers a cheerful way to store small belongings while giving the room a personal touch.
Playful Tea Cup & Saucer Basket Free Crochet Pattern
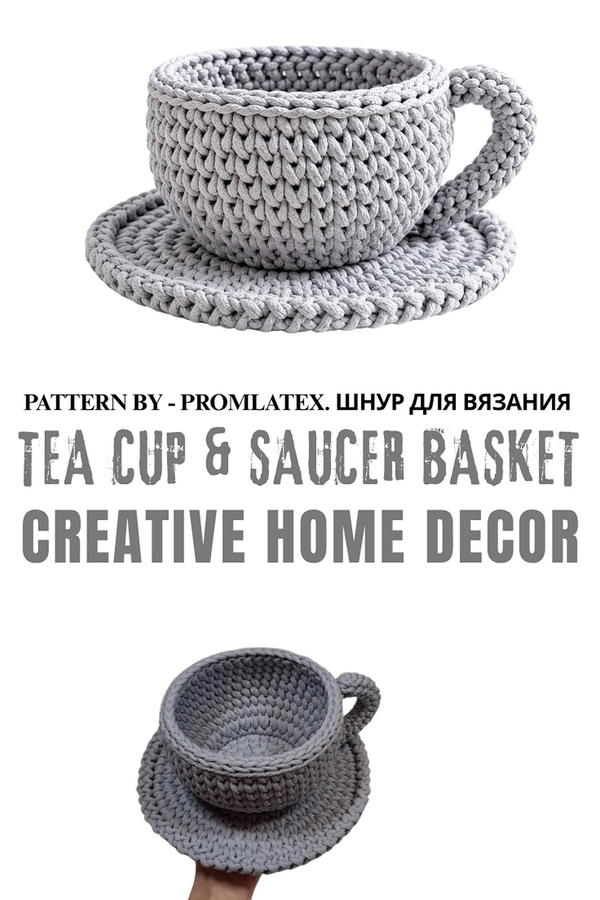
This project looks like a real teacup resting on its own saucer, but the cup also works as a small open basket. Its curved sides, raised rim, and matching base turn a familiar household object into something useful. Place it on a side table for hair ties, beside a mirror for small accessories, or on a shelf simply as decoration. It would also be a lovely gift for someone who loves tea.
About the Channel
Promlatex. Knitting cord. shares video lessons centered on practical crochet projects using cord. The channel features baskets, handbags, and decorative pieces for daily life. Its tutorials introduce shapes that feel useful around the home, giving viewers fresh ideas for storage, personal accessories, and thoughtful gifts made with their own hands.
The pattern uses polyester cord rather than thin yarn, helping the finished piece hold its shape. The pattern have 5 mm cord and a 5.5 mm hook, with roughly 100 to 120 meters of cord needed. Following the lesson, you can work on the main cup form and saucer before putting the display together. Take time to keep the stitches even, especially along the rounded sections.
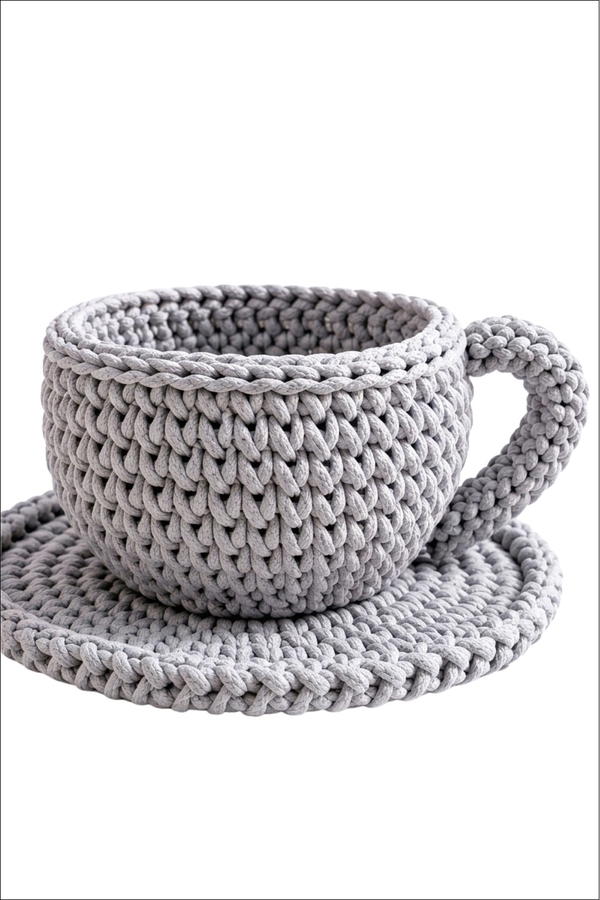
A single color gives this basket a clean appearance, while a shade that matches your room can help it fit among other decorations. The result is both a fun conversation piece and a practical little place for everyday items.
Crochet Cup & Saucer Basket Pattern
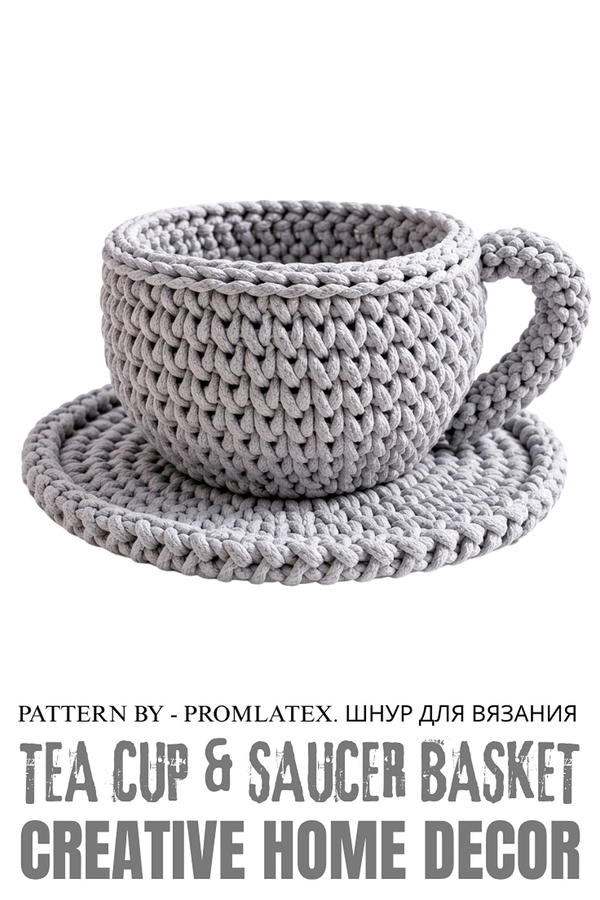
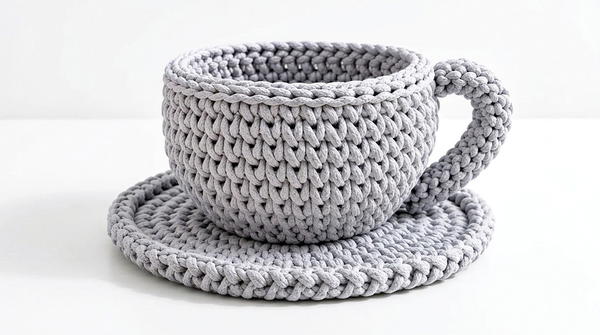
This crochet pattern guides you through creating a decorative basket shaped like a cup on a saucer. Ideal for interior décor, this project uses durable polyester cord and basic crochet techniques to create a sturdy and visually striking design. With its cup-like feature and a functional saucer base, this basket is versatile and a unique addition to any space.
Skill Level
Intermediate
Basic crochet skills such as single crochet (sc), working in rounds, and handling increases are required. Additionally, more precise techniques like working in split stitches and creating a structured handle will add to the challenge.
Materials
- Polyester Cord (5 mm thick): Approximately 100–120 meters. This durable cord is perfect for creating sturdy designs.
- Crochet Hook: 5.5 mm crochet hook for the main pattern; optional 4 mm crochet hook for detailed sections or tight stitches.
- Scissors and Lighter: Used for cutting and finishing cord ends.
Stitch Abbreviations
- ch – Chain
- sc – Single Crochet
- sl st – Slip Stitch
Useful Tips
- Cord Material: Polyester cord needs extra care when finishing ends. Use a lighter to melt the edges and prevent fraying.
- Tension Control: Since the cord is thick, ensure loose tension for smoother stitches. Tight tension may make the project overly stiff and harder to work.
- Shape Maintenance: Crochet tightly enough to achieve structural integrity, especially for the cup walls.
- Precision in Stitch Placement: Focus on even increases for a smooth and symmetrical saucer base.
- Customization: Feel free to adjust dimensions of the handle and saucer for personalized designs.
Pattern Instructions
1. Saucer (Base)
The saucer forms the stable and decorative base for the cup-shaped basket.
Round 1 – Foundation Circle:
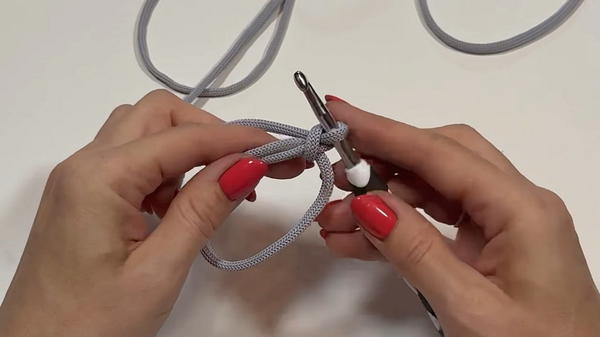
- Begin with a magic ring, and work 6 sc into the ring. (Pull the ring closed tightly.)
Round 2 – Increase Row:
- Work 2 sc into each stitch around (6 increases).
- Total: 12 sc.
Round 3 – Increase Row:
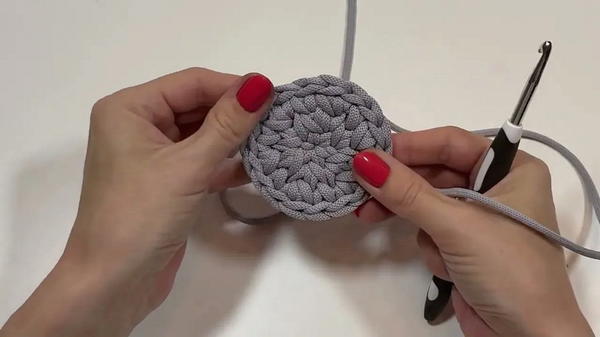
- Repeat the pattern of 1 sc in the first stitch, 2 sc in the next stitch (increase).
- Continue this sequence around the row.
- Total: 18 sc.
- Total: 18 sc.
Round 4 – Increase Row:
- Work 1 sc into each of the next 2 stitches, then 2 sc into the third stitch (increase).
- Repeat this sequence around the row.
- Total: 24 sc.
Round 5 – Increase Row:
- Work 1 sc into each of the next 3 stitches, then 2 sc into the fourth stitch (increase).
- Repeat this sequence around the row.
- Total: 30 sc.
Round 6 – Increase Row:
- Work 1 sc into each of the next 4 stitches, then 2 sc into the fifth stitch (increase).
- Repeat this sequence around the row.
- Total: 36 sc.
Round 7 – Increase Row:
- Work 1 sc into each of the next 5 stitches, then 2 sc into the sixth stitch (increase).
- Repeat this sequence around the row.
- Total: 42 sc.
Round 8 – Increase Row:
- Work 1 sc into each of the next 6 stitches, then 2 sc into the seventh stitch (increase).
- Repeat this sequence around the row.
- Total: 48 sc.
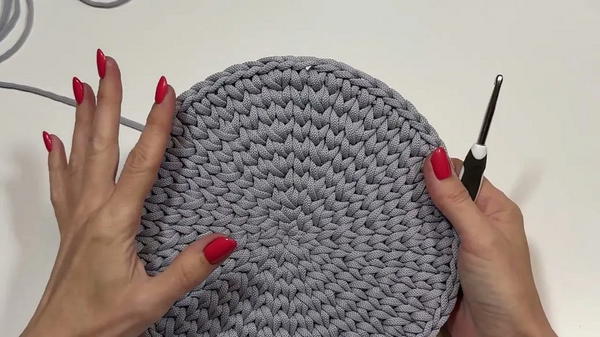
Round 9 – Increase Row:
- Work 1 sc into each of the next 7 stitches, then 2 sc into the eighth stitch (increase).
- Repeat this sequence around the row.
- Total: 54 sc.
- Total: 54 sc.
Round 10 – Increase Row:
- Work 1 sc into each of the next 8 stitches, then 2 sc into the ninth stitch (increase).
- Repeat this sequence around the row.
- Total: 60 sc.
Edge Finishing (Saucer Rim):
- Work sl st into each stitch, adding ch 1 between each slip stitch for a decorative edge.
2. Cup Base
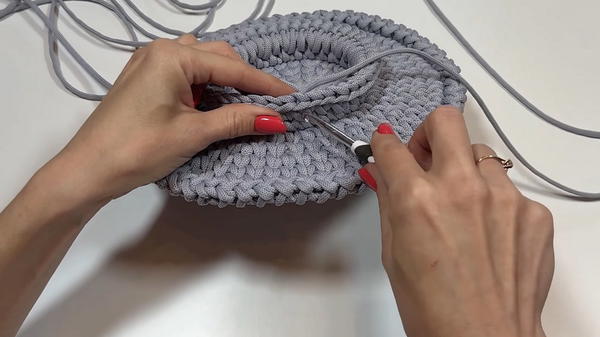
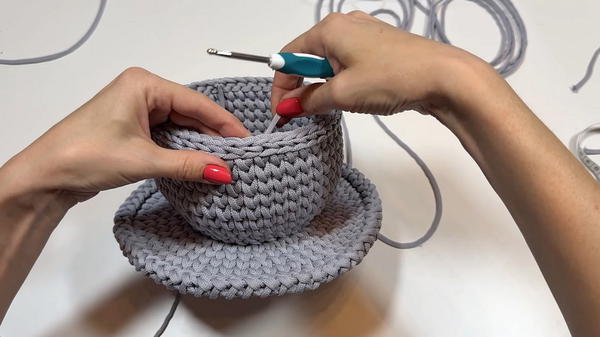
- Attach yarn to the fifth row of the saucer (30 stitches) using sl st.
- Work sl st around the 30 stitches to form a secure base for the cup.
3. Cup Walls
The vertical walls of the cup provide structure and depth.
Round 1 – Wall Foundation:
- Work 30 sc into the split stitch section along the cup base.
Round 2 – Increase Row:
- Work 1 sc into the first stitch, then 2 sc into the second stitch (increase).
- Repeat this pattern around the row.
- Total: 45 sc.
Rounds 3–9 – Straight Rows:
- Without any increases, work 1 sc into each stitch for a total of 45 sc per row.
Edge Finishing (Cup Rim):
- Work sl st around the rim of the cup using split stitches for a clean and firm edge.
4. Handle
The cup handle is created with chains and worked into a rounded, sturdy piece.
Create the Handle:
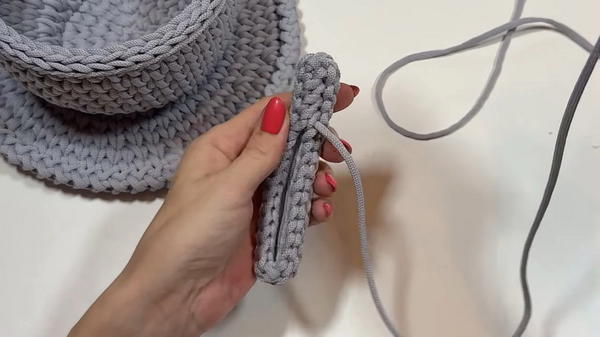
- Ch 15, making a long chain for the handle base.
- Work sl st into each chain along the length of the handle. Repeat purl rows until the handle reaches the desired thickness.
Attach the Handle:
- Using leftover cord, sew the handle securely to the cup at two points. Ensure its positioning is symmetrical.
Finishing Steps
- Clean the Cord Ends: Use scissors to trim any excess material, then melt the ends with a lighter for a polished look.
- Shape Adjustments: Adjust the angle or curve of the handle and walls if necessary before finalizing. Polyester cord allows slight molding with pressure.
- Optional Decorations: Add fabric lining inside the cup or decorative elements at the rim of the saucer.
Measurements
- Saucer Diameter: 39 cm.
- Cup Height: Approximately 31 cm.
- Handle: Adjustable based on the number of chains used (standard: 15 chains).
Conclusion
With its structured base, net-like texture, and added handles, this crochet basket is both functional and decorative. Polyester cord ensures durability and a glossy finish. The fusion of simple stitches and thoughtful construction creates a unique, statement piece ideal for home décor.