Give your space handmade charm through this free crochet plywood base basket pattern designed to create a practical beautiful basket on a solid wooden base
There’s something truly satisfying about creating handmade storage solutions that blend function with style. Recently, while browsing for new crochet ideas, I stumbled upon a charming basket project that quickly became a favorite of mine. Presented with thoughtful guidance by Paulie Crochet, this design uses a sturdy plywood base to build up soft, woven walls, making it both practical and eye-catching.
Trendy Free Crochet Plywood Base Basket Pattern with Instructions
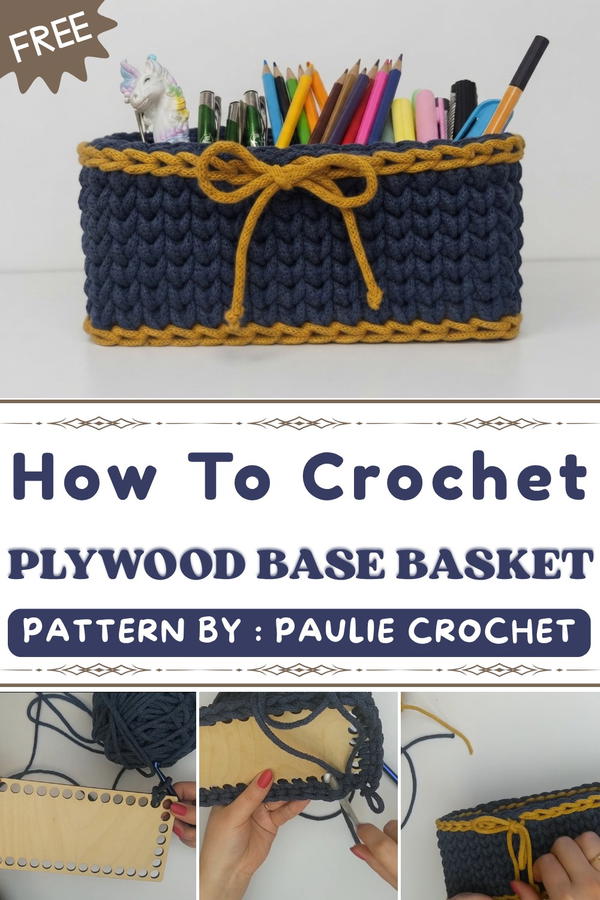
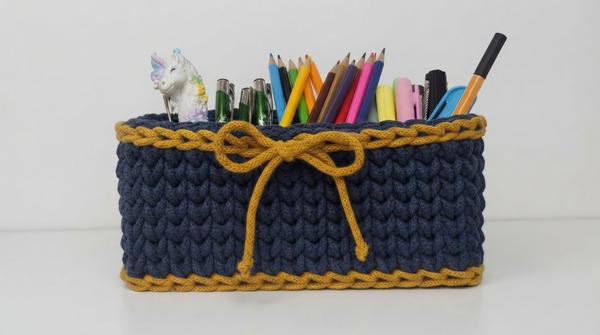
This basket is more than just a pretty container, it offers both decorative appeal and organizational benefits. With its clean lines and subtle texture, the finished piece makes a wonderful holder for pens, markers, crochet hooks, or even crochet supplies. Its versatile style fits perfectly into any room, whether displayed on a desk, shelf, or countertop. The natural plywood base gives it added stability, while the crochet sides bring a warm, handmade touch that brightens up your space.
What really makes this basket stand out is its unique blend of materials, combining wood’s durability with the softness of yarn. You can customize the look by choosing your own colors for the crochet work, adding pops of color or keeping it neutral for a minimalist vibe. Plus, it’s a thoughtful gift idea for friends or family members who appreciate both creativity and organization.
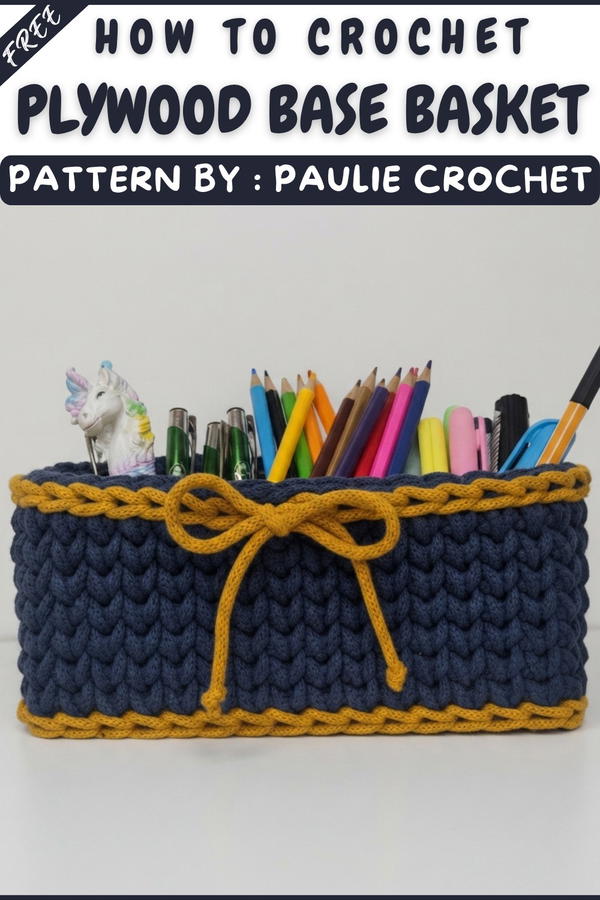
If you’re looking to make a useful and stylish home accessory, this free crochet plywood base basket pattern is a fantastic option to explore. Its approachable design is perfect for crocheters wanting a fresh twist on storage projects. Take a moment to check out the pattern, you might just find your new favorite craft to keep your space tidy and beautiful.
Plywood-Based Crochet Basket Pattern
A plywood-based crochet basket combines contemporary structure with handcrafted charm. The sturdy wooden base gives geometric precision and durability, while thick cotton cord worked in V-stitch single crochet produces basket walls that are both decorative and robust. Contrasting trims and top borders offer an opportunity for creative flourishes, making this project uniquely customizable. This basket is ideal for organizing, gifting, or decorating any space.
Pattern Basic Points
- Rigid plywood base establishes the basket’s form and stability
- Thick cotton cord and large crochet hook create firm, defined walls
- V-stitch single crochet technique gives a modern, knit-like texture
- Secondary color trim accentuates the plywood edge and top border
- Join each round invisibly for a seamless appearance
- Minimal sewing or finishing required
Special Notes
- The plywood base used may be round, square, or rectangular; adjust stitch counts to match number and positions of holes around your particular base
- Cord thickness may require adapting hook size—test a few stitches for ease of movement
- V-stitch single crochet is also known as “waistcoat stitch” or “knit single crochet”—inserting the hook between the legs of the previous single crochet stitch, rather than the top loops
- Keep tension snug but not too tight to avoid warping the wooden base or creating gaps
Skill Level
Beginner to Intermediate
This project is suitable for those already comfortable with basic single crochet and working in the round, and offers a great introduction to textured stitches like V-stitch/waistcoat. Prior experience with bulky yarns or cords, and handling unconventional materials (plywood bases), will help.
Materials
- Plywood base (with pre-drilled holes, as found in craft sets for baskets or covers)
- 5mm cotton cord with polyester filling (approx. 50 meters)
- Secondary color cord (a few meters)
- 8mm crochet hook (adjust between 6–10mm to suit cord and personal tension)
- Scissors
- Optional: tape measure or ruler (for reference)
Measurements / Sizing
- Base: Dimensions vary by chosen plywood insert. Standard tissue-box covers are approx. 13–18 cm (5–7 in) across.
- Height: Typically 8 rounds (approx. 14–18 cm tall depending on cord thickness and tension).
- Cord use: Around 50 meters for main body, a few meters for each trim.
Gauge
- Not critical due to non-fitted nature, but each single crochet should snugly fill the space between holes and subsequent rounds should sit upright along the base edge.
Stitch Abbreviations
- ch – chain
- sc – single crochet
- sl st – slip stitch
- st(s) – stitch(es)
- V-st sc – V-stitch single crochet (waistcoat/knit sc)
- rnd – round
Special Stitches
V-Stitch Single Crochet (Waistcoat/Knit Sc)
- Insert hook between the legs of the sc below (not top loops); yo, pull up a loop, yo, pull through both loops. Produces a denser, vertical look.
Step-by-Step Pattern
Preparation
- Cut a length of main color cord, leaving a 20 cm tail for weaving in.
- Make a slip knot and insert hook.
- Pick a starting hole near one corner of your plywood base (position is not critical, but corners are ideal for symmetry).
First Row (Attaching Cord to Base and Creating Foundation Round)
- Pull up a loop through the chosen hole.
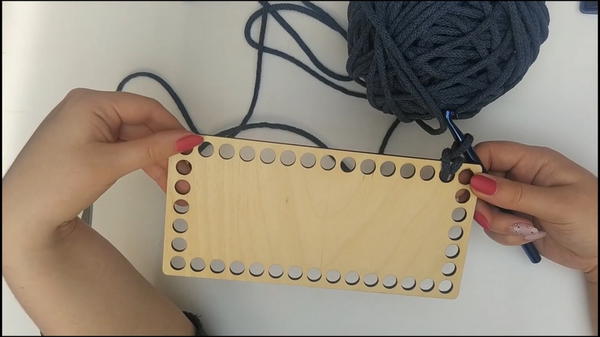
- Ch 1, then work first V-st sc back into that same hole.
- Into every side hole, work 1 sc.
- Into every corner hole, work 2 sc (this allows the turning edge to lay flat).
- Continue working in each hole around the base, maintaining the pattern of 1 sc in sides, 2 sc in corners.
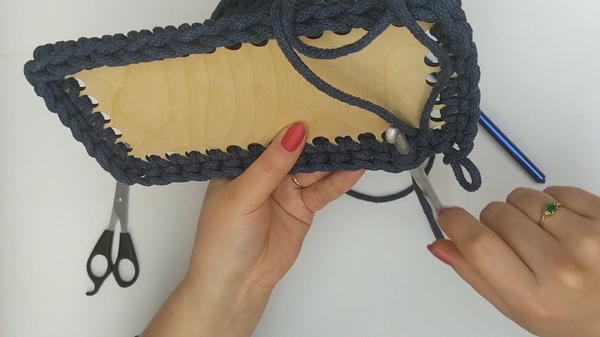
Closing the Row Invisibly
- At the end of the round, skip the starting chain.
- Insert hook between the legs of the first sc made (not in top loops).
- Pull through a loop, ch 1 to finish the round.
- This join appears seamless and sets up the V-stitch rounds.
Second Row (First Basket Wall Round)
- Work 1 V-stitch single crochet into the space between the legs of each stitch from previous round.
- The hook should go between the two vertical “legs” at the front of the stitch, not the top.
- This produces a “knitted” texture.
- Repeat to the end of the round.
- Use invisible join as before: insert hook between legs of first sc, pull through loop, ch 1.
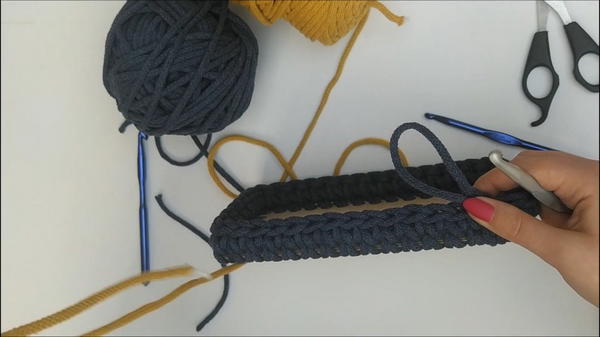
Decorative Bottom Trim (Optional, after second row or after main volume as preferred)
- Switch to secondary color cord.
- Insert hook between first-row stitches (the stitches attached directly to the plywood base).
- Using secondary cord, sl st into each space between first-round stitches all the way around.
- This covers the base holes' edges for a neater, colorful foundation.
- Fasten off and weave in trim end.
Basket Walls (Round 3–8, or until desired height)
- Switch back to main color cord.
- Continue rounds working V-stitch single crochet as before, inserting hook between sc "legs".
- At the end of each round, close with the invisible join (skip ch, into first sc’s legs, pull through, ch 1).
- Repeat for a total of 8 rounds (or height desired for your basket).
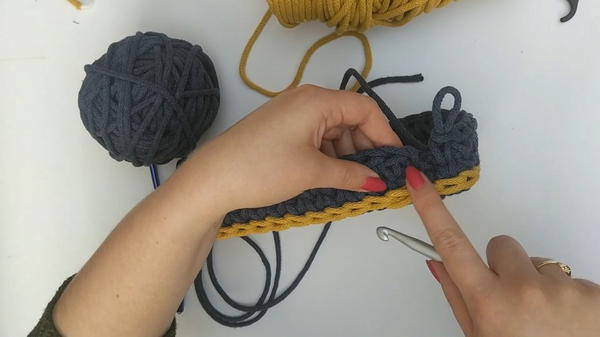
Finishing Top Edge
- At the end of the eighth wall round:
- Work a final round of slip stitches into each V-stitch sc between the “legs.”
- Fasten off, weave in ends deeply for security.
Final Decorative Top Trim
- Join secondary color cord at any point along the top edge.
- Insert hook between stitches as before, work sl st into every space around the edge.
- As you finish, tie a small bow or neat knot with the cord ends for a polished, decorative accent.
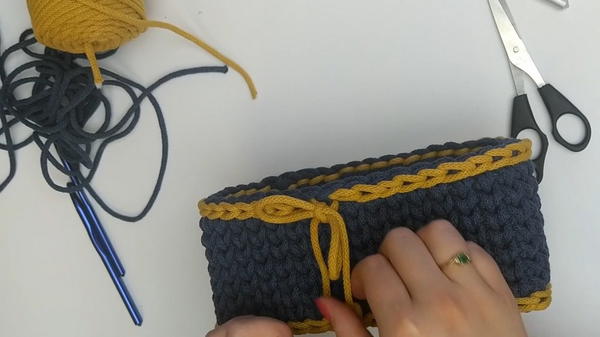
Assembly
- Use fingers or a blunt instrument to gently press all basket walls upright and ensure the base sits flat.
- Pull all ends through to the inside and weave securely.
- Block slightly (with hands) if shape needs adjustment.
- Fill with contents as desired; basket will hold its structure due to firmness of cord and wooden base.
Conclusion
A plywood-based crochet basket is not only practical, but also a showcase for sturdy contemporary crochet technique. The solid base, crisp basket walls, and creative color trims deliver both function and visual interest. The use of simple stitches in a textured manner, combined with bulky cord, means this project works up quickly and adapts to a variety of base shapes and dimensions. Personalization with colors, handles, or bows is highly encouraged, making each basket both useful and uniquely beautiful—a perfect handmade addition to home storage or décor.