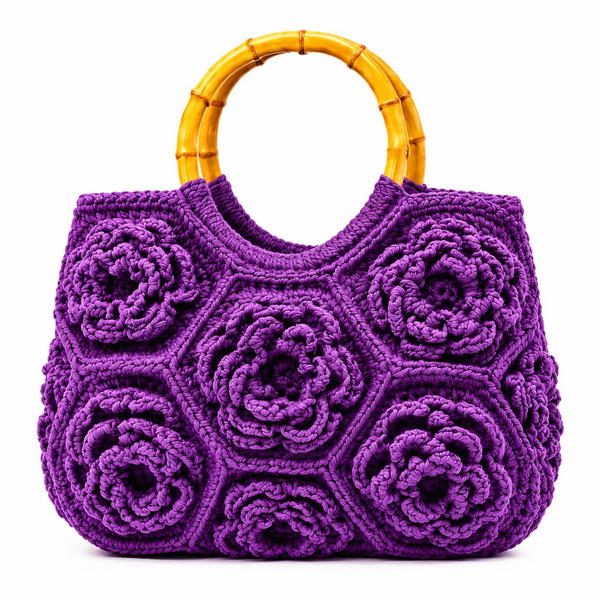
Refresh your everyday style with the Free Crochet Handbag with Leather Fittings Pattern, pairing soft cord stitches with smart leather details and a lining.
An everyday handbag should hold what you need while still feeling smart enough to take out with different clothes. The Handbag with Leather Fittings Free Crochet Pattern combines a textured cord body with more structured finishing details.
Modern Handbag with Leather Fittings Free Crochet Pattern
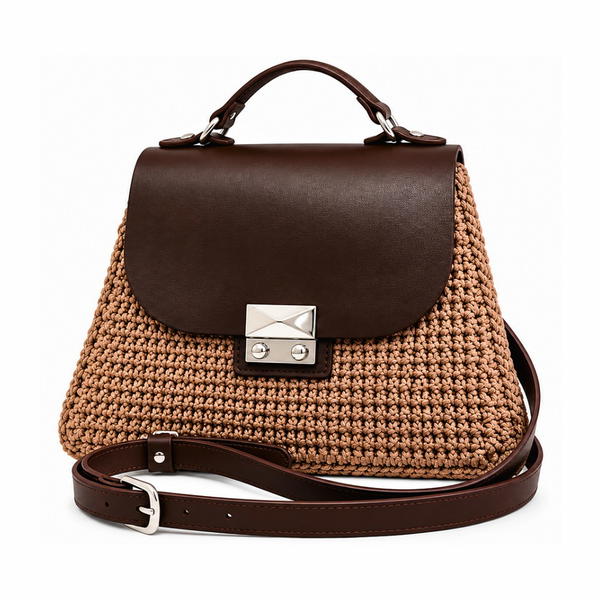
The contrast between soft crocheted stitches and smooth leather fittings gives this accessory a polished appearance. Rather than relying on extra decoration, it lets the materials do the work. The firm base supports the bottom, while the flap and strap help define the overall shape. It can go with a casual shirt and trousers, a simple dress, or a neat weekend outfit.

Keep the fabric smooth and check the placement of each attachment before securing it. A carefully fitted lining can help protect smaller belongings, and a tidy closure keeps the bag comfortable for regular use. With its mix of textures and useful details, this handbag fits into a wardrobe without feeling too plain or overly formal.
The Materials Behind the Work
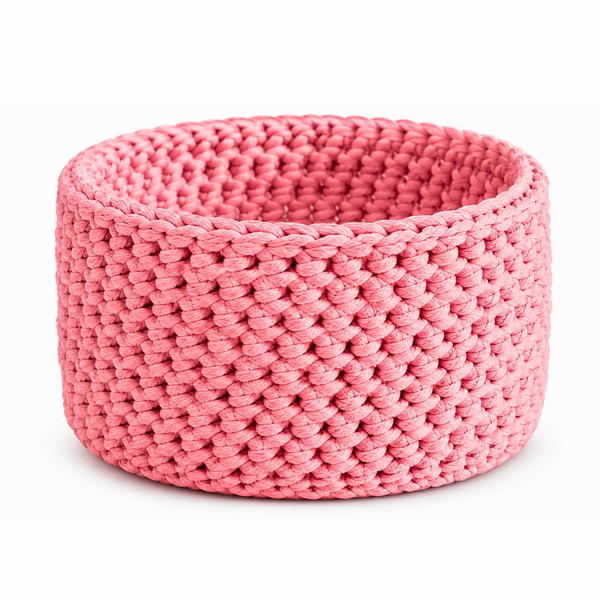
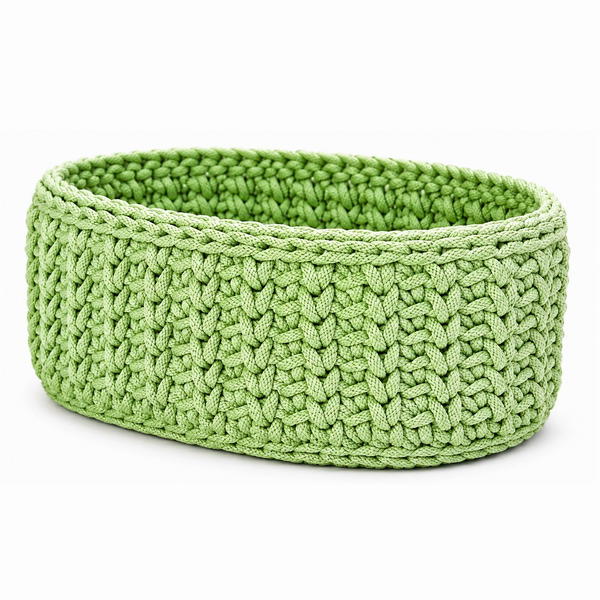
Cord is a key part of the work shown by Promlatex. Knitting cord. Polyester strands give many projects a defined outline, making them especially suitable for baskets and bags. The videos introduce different practical cord thicknesses and finished shapes, helping viewers understand why material choice matters for the final appearance.
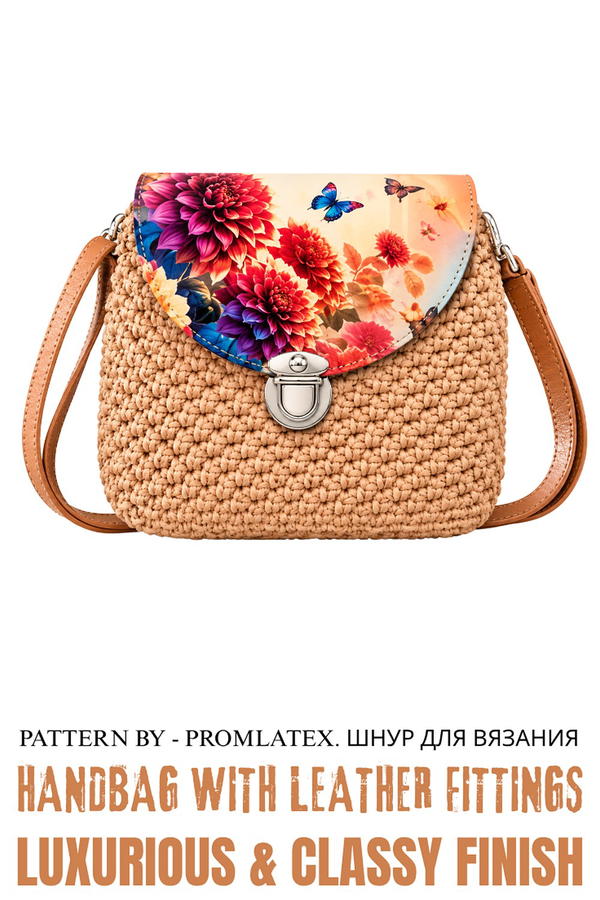
Crochet Bag with Leather Accents and Fabric Lining
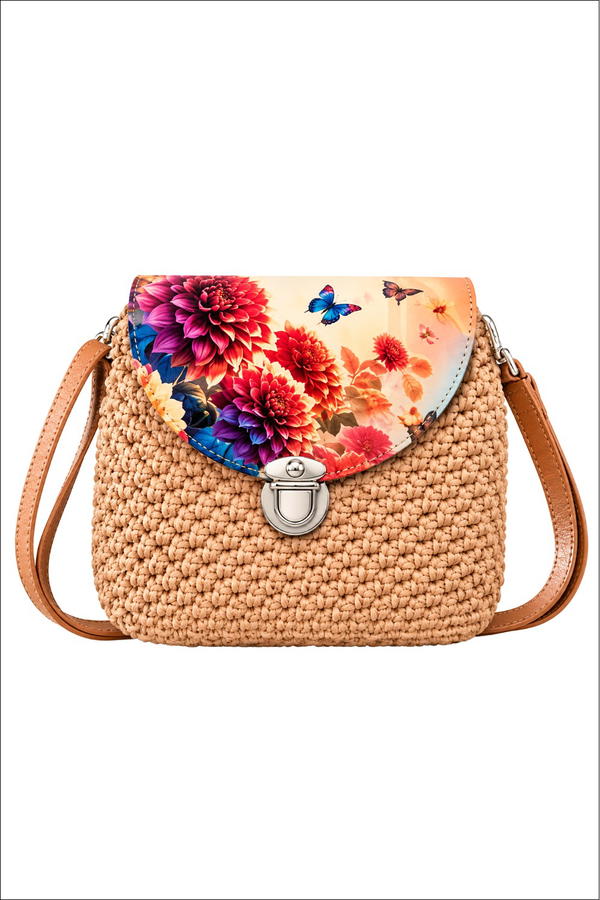
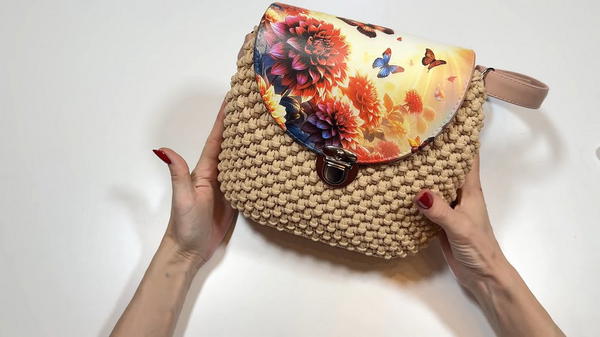
This pattern explains how to crochet a sophisticated bag with leather accents, including a leather base, flap, and functional lock. The stylish combination of crochet and leather gives the bag a luxurious finish, while the fabric lining enhances its functionality. The bag’s compact size makes it perfect for daily use while maintaining an elegant appearance.
Skill Level
Intermediate
This pattern involves working with polyester cord, leather components, and fabric lining, making it suitable for crocheters familiar with handling mixed materials and precision stitching.
Materials
- Polyester Cord:
- Thickness: 4 mm.
- Approximate Total Amount: 160–170 meters.
- Leather Set:
- Leather base: 20 x 10 cm (pre-punched with holes).
- Leather flap with pre-installed lock.
- Hooks:
- 3.5 mm crochet hook (for the main body).
- 3 mm crochet hook (for attaching the cord to the base).
- Accessories and Tools:
- Metal rods (shanki): For attaching handles.
- Fabric Lining: Approx. 52 x 29 cm with optional interfacing (flizelin).
- Sewing thread and needle: For lining assembly.
- Stitch markers: To mark corners and pattern placement.
- Scissors and lighter: For trimming and sealing cord ends.
Stitch Abbreviations
- sc – Single Crochet
- sl st – Slip Stitch
Useful Tips
- Tension Consistency: Maintain consistent tension throughout the project. Polyester cord can loosen if worked too loosely, leading to an uneven shape.
- Leather Base Preparation: Mark the corners of the leather base for accurate increases during the first round.
- Pattern Accuracy: The checkerboard stitch pattern requires precision in stitch placement and alternating rows. Using stitch markers can help keep track.
- Lining Dimensions: Double-check the final bag dimensions before cutting the fabric lining to ensure it fits snugly.
- Cord Ends: Use a lighter to gently melt the cord ends and prevent fraying.
Pattern Instructions
1. Preparing the Base
Round 1 – Attaching Cord to the Leather Base:
- Using the 3 mm crochet hook, attach the cord to the leather base by pulling loops through the pre-punched holes.
- Mark Corners: Place 4 stitch markers in the corner holes where the leather curve begins. These will define where increases are needed.
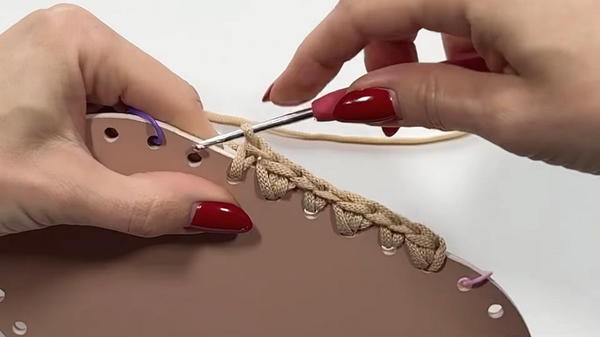
- Work as follows:
- 1 sc into each hole along straight edges.
- At corners, work 2 sc into each corner hole to maintain the rounded shape.
- Ensure the stitch count is even when completing the round.
- Seamlessly close the round using the "tail" method for a clean edge.
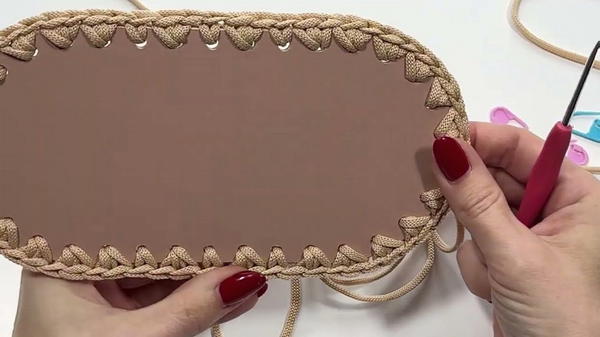
2. Shaping the Bag Body
Round 2 – Transitioning to the Body (Building Walls):
- Switch to the 3.5 mm crochet hook.
- Work 1 sc into each stitch from the previous round.
- At the marked corners, increase by working 2 sc into the corner stitches (total of 4 increases).
Rounds 3–25 – Checkerboard Body Pattern:
- Work in the checkerboard stitch pattern, alternating between standard single crochet and relief stitches.
- Relief Stitch (Braid Stitch):
- Insert the hook under the top braid of the stitch from the previous row.
- Then insert the hook into the center of the "V" below the top braid (check stitch).
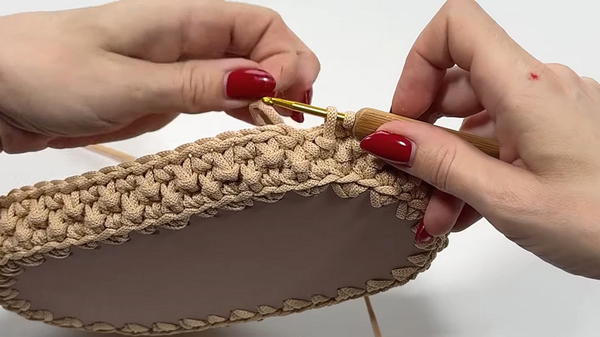
- Pull up a loop and finish the stitch like a standard sc.
- Continue alternating rows to produce the braided checkerboard texture.
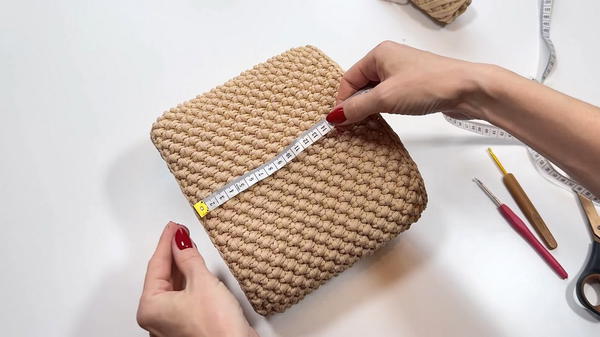
- Complete 24 rows total for the height of the bag.
Round 26 – Decorative Edge:
- Work sl st across the top edge of the bag to create a braided and sturdy finish.
- Ensure all stitches are evenly spaced for a neat look.
3. Attaching Leather Accents
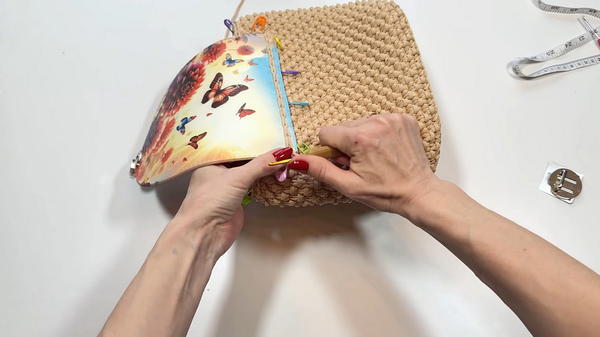
Leather components (flap and locking mechanism) are integrated with the crochet body for a seamless and professional finish.
Attaching the Leather Flap:
- Position the flap centrally along the back side of the crochet bag opening.
- Use the cord to pull loops through the leather holes and the corresponding crochet stitches to attach the flap securely.
Installing the Lock:
- Install the base locking mechanism by inserting the metal prongs through the crochet stitches.
- Secure the prongs at the back of the flap to reinforce the lock's stability.
4. Adding Lining and Hardware
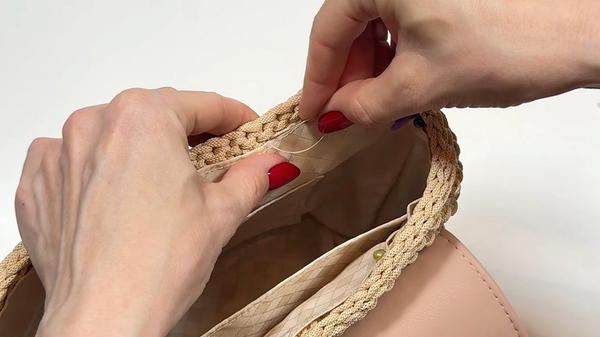
The lining adds durability and enhances the bag’s functionality, while metal rods secure the bag’s handles.
Fabric Lining:
- Measure the internal dimensions: Approx. 52 x 29 cm.
- Cut the Fabric: Include interfacing (optional) for the pockets and base.
- Sew the Lining: Sew the sides and base corners to match the shape of the crochet bag.
- Attach the Lining: Hand-sew the fabric lining to the inside rim of the bag, ensuring clean edges and alignment with the crochet stitches.
Metal Rods for Handles:
- Attach metal rods to the side of the bag using the holes provided in the leather base.
- Ensure the rods are secured tightly and evenly aligned on both sides. Handles can now be attached to the rods for a polished finish.
Measurements
- Width: 20 cm.
- Height: 22 cm.
- Depth: 12 cm.
- Weight: Approximately 600 grams, depending on materials.
Conclusion
This crochet bag effortlessly combines functionality and elegance with its leather accents, structured body, and fabric lining. The checkerboard texture stitch and seamless attachments elevate the overall design, making it a versatile accessory for various occasions. Follow the step-by-step instructions for a stunning, handcrafted bag that stands out in style and durability.