Treat your cat to a handmade cozy retreat with this free Crochet Cozy Cat Bed pattern that promises warmth, charm, and endless purrs of approval.
Providing a cozy and secure resting place for pets enhances their comfort and adds charm to any home. Cats, in particular, love to curl up in snug, soft spaces that make them feel safe and warm. For crafters seeking a delightful project, there’s an inviting option that marries function with style, the free crochet Cozy Cat Bed pattern. This particular design can be found on the channel Promlatex. Шнур для вязания., a resourceful hub known for creative crochet ideas using polyester cord.
Free Crochet Cozy Cat Bed Pattern to Keep Your Kitty Warm

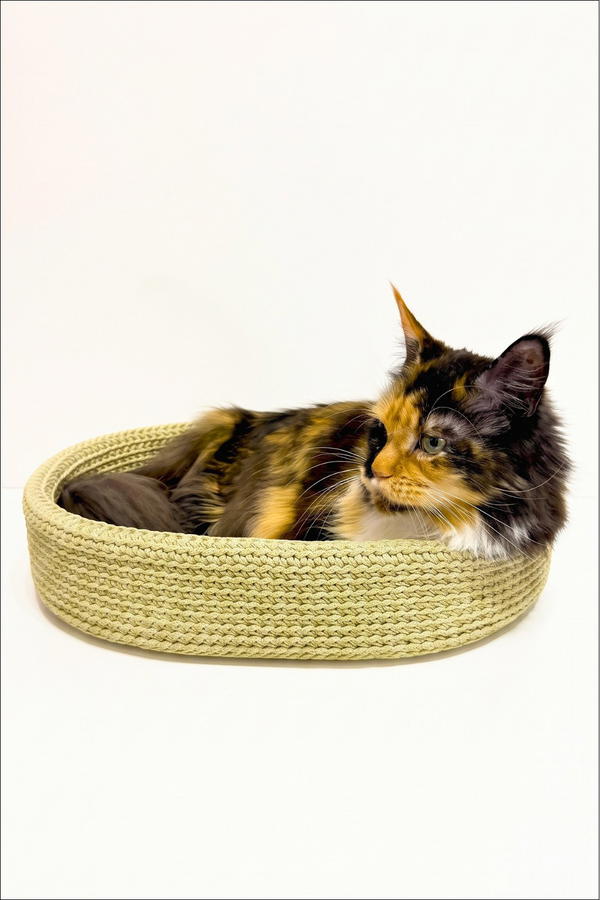
This crochet cat bed stands out with its thick, sturdy walls and gently rounded oval shape, creating the perfect snuggle spot for cats or even small dogs. Its durable yet soft structure makes it resilient to playful claws, keeping it looking fresh while offering plush comfort. Thanks to its substantial weight and dense material, the bed stays firmly in place, avoiding shifts that pets might find uncomfortable.
Beyond comfort, this cozy bed carries decorative value with its minimalist, natural texture that complements various interior styles, from rustic countryside charm to modern simplicity. Its neutral tone blends effortlessly with home décor, making it a stylish addition without overpowering the space. Plus, its customizable size ensures it can be tailored to any pet’s needs, which is why this project is such a thoughtful and practical gift for pet lovers. Whether for a beloved cat, a small dog, or as a handmade present, this free crochet Cozy Cat Bed pattern offers both beauty and utility in one charming package.
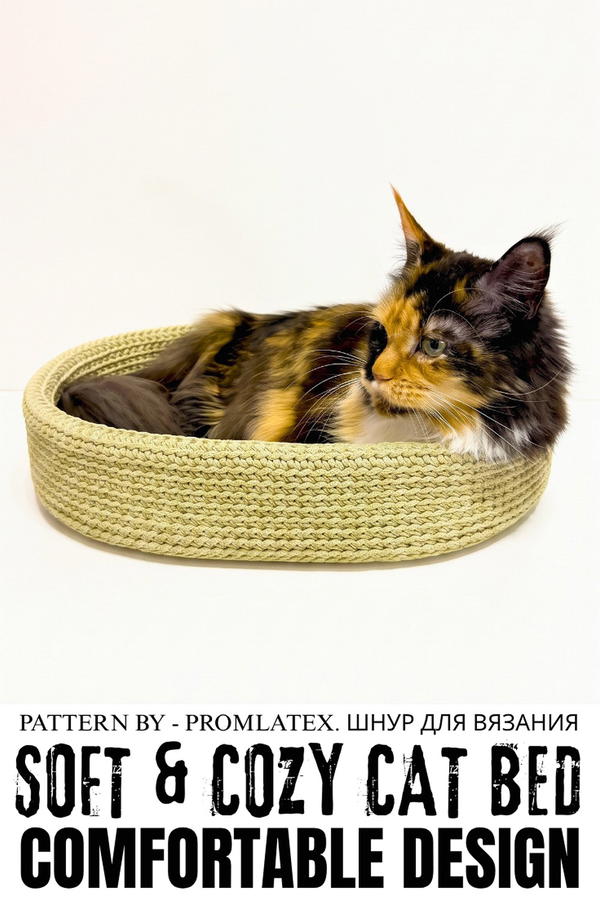
Crochet Oval Cat Bed Pattern
This crochet cat bed pattern creates a sturdy, oval-shaped bed, perfect for your furry friend to curl up in. Crafted using polyester cord, which provides a dense, durable structure, this bed is designed to hold its shape over time while offering comfort and style. The project focuses on building a stable base, forming vertical walls, and securing every detail for a tidy and polished finish.
Skill Level
Intermediate – This pattern is ideal for crocheters familiar with working in rounds, stitch increases, transitioning to vertical walls, and ensuring even tension throughout the project.
Materials
- Polyester Cord (5 mm): Approximately 400 meters.
- Crochet Hook: Size 5 mm.
- Markers: For keeping track of stitches, especially during increases.
- Lighter: To seal cord ends and prevent fraying.
Stitch Abbreviations
- Chain (ch): Yarn over, pull through the loop on the hook.
- Single Crochet (SC): Insert hook into stitch, yarn over, pull through, yarn over again, pull through both loops on hook.
- Increase: Two stitches worked into the same stitch.
- Back Loop and Rear Bar: A technique for transitioning to vertical walls, where the hook passes through the back loop and bar of the stitch below.
Helpful Tips
- Mark Important Points: Place stitch markers at the turning points of each round to ensure correct placement of increases.
- Consistent Tension: Keep your tension firm and even to maintain the integrity and structure of the base.
- Check as You Go: Flatten the base frequently to ensure it remains smooth and evenly shaped.
- Cord Ends: Use a lighter to carefully seal the ends of the polyester cord whenever cutting—it prevents fraying and helps with a professional finish.
- Wall Height: You can adjust the height of the walls by adding or reducing the number of rounds to suit the needs of your pet.
Pattern Instructions
1. The Base (Donyshko)
The base is shaped in an elongated oval, with increases placed strategically at the turning points to maintain an even, flat surface.
Foundation
- Create a double chain of 15 loops. Keep the chain even to form a clean base for subsequent rows.
Round 1
- Chain one, then work 13 SC along the double chain base.
- Into the final chain, work 3 SC to form the turning point.
- Continue working back along the opposite side of the foundation chain with 13 SC, then finish the round by closing with a slip stitch.
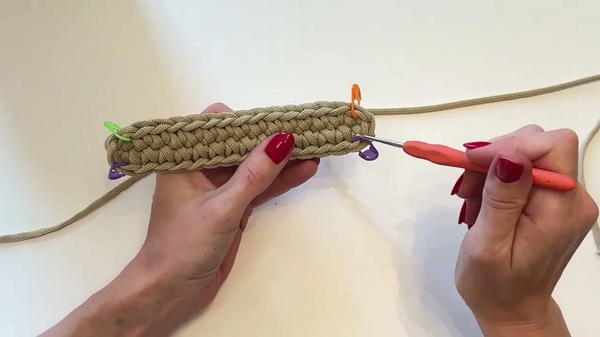
Rounds 2-18
- Build the base by adding specific increases at the ends of the oval on each round. Follow this progression of increases:
- Round 2: Increase in each of the 3 turning stitches at both ends of the oval.
- Round 3: Alternate 1 Single Crochet (SC) with 1 Increase (2 SC in the same stitch) at each turning point.
- Round 4: Alternate 2 Single Crochets with 1 Increase at the turning points.
- Round 5: Alternate 3 Single Crochets with 1 Increase at each turning point.
- Round 6: Alternate 4 Single Crochets with 1 Increase at the turning points.
- Round 7: Alternate 5 Single Crochets with 1 Increase at the turning points.
- Round 8: Alternate 6 Single Crochets with 1 Increase at the turning points.
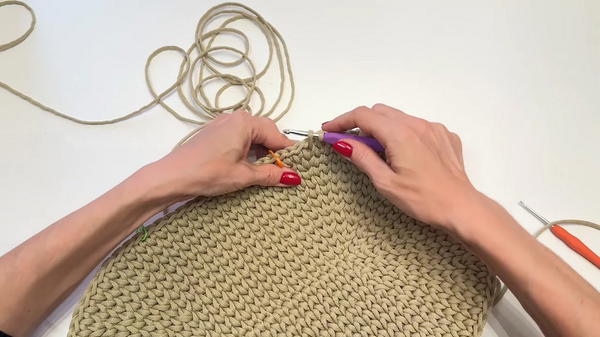
- Round 9: Alternate 7 Single Crochets with 1 Increase at the turning points.
- Round 10: Alternate 8 Single Crochets with 1 Increase at the turning points.
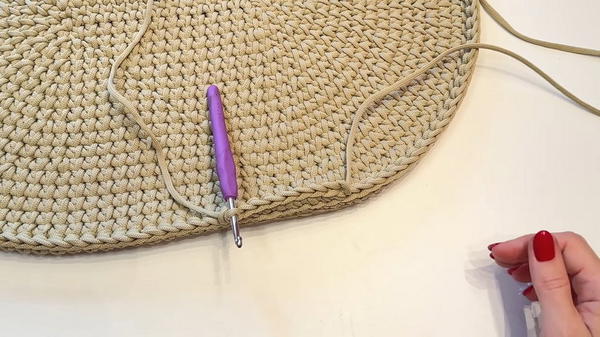 Rounds 11-18: Continuously increase by adding 1 additional single crochet between each increase for each new round.
Note: After each round, flatten the base to ensure it remains even. Adjust tension or restart a round if necessary to maintain stability.
2. Working the Walls
Once the base is complete and measures approximately the desired size, begin the transition to form vertical walls.
Transition to Vertical Walls
- At the end of Round 18, stop increasing.
- Begin crocheting into the back loop and rear bar of each stitch across the entire round.
- This creates a sharp, defined edge to separate the walls from the base.
Main Body (Walls)
- Continue working in single crochets around the perimeter without adding increases.
- As you approach the end of each round, ensure a consistent, seamless join. Use the tail end of the cord to close gaps smoothly if needed.
- Repeat for approximately 19 rounds or until the walls reach a height that suits your pet's bed.
- Check periodically to confirm that the walls are rising evenly and maintaining shape.
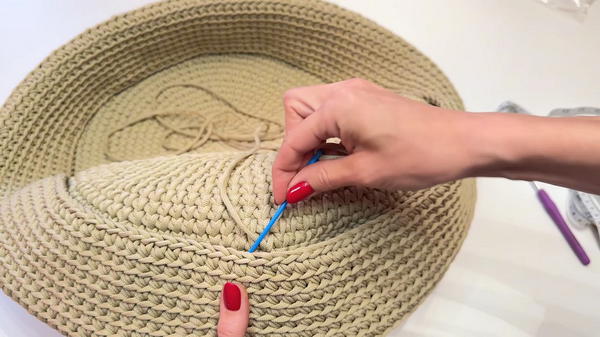
Finishing the Walls
- When the desired height is achieved, finish the final round by sewing the edge securely into the previous row for extra structure and stability.
- Trim any excess cord, leaving a small tail, and seal the end with a lighter to prevent fraying.
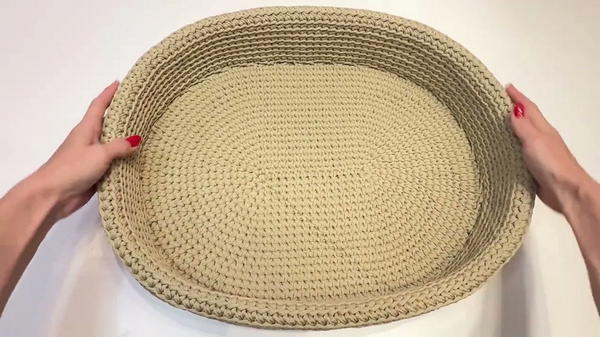
3. Final Assembly and Refinements
- Inspect the Bed: Check all joins, ensuring there are no loose stitches or uneven sections.
- Smooth the Edges: Use the lighter sparingly to seal any frayed areas of cord.
- Shape the Bed: Use your hands to shape and adjust the curves of the walls and base, creating a polished, professional appearance.
Conclusion
This crochet cat bed pattern combines functionality and aesthetic appeal, resulting in a stylish and comfortable resting space for your pet. The durable polyester cord maintains the bed’s shape and ensures longevity. Whether you choose to adjust the dimensions or stick to the instructions, this practical project is a great addition to any pet-loving household. Make your cat bed unique by experimenting with colors or decorating the edges for a personal touch.