 Mint Design Blog



Give your pouf a fresh look with a free crochet pouf seat cover pattern that’s simple to make and adds a cozy, handmade charm to any seating area.
Transform your living space with a cozy and stylish handmade accessory that adds both comfort and charm. On the rasha Crochets channel, a thoughtfully crocheted project brings new life to ordinary pouf seats, turning them into eye-catching and inviting pieces. This tutorial provides a beautiful way to customize your home decor with a touch of creativity and warmth.
Make a Crochet Pouf Seat Cover with This Free Easy Pattern
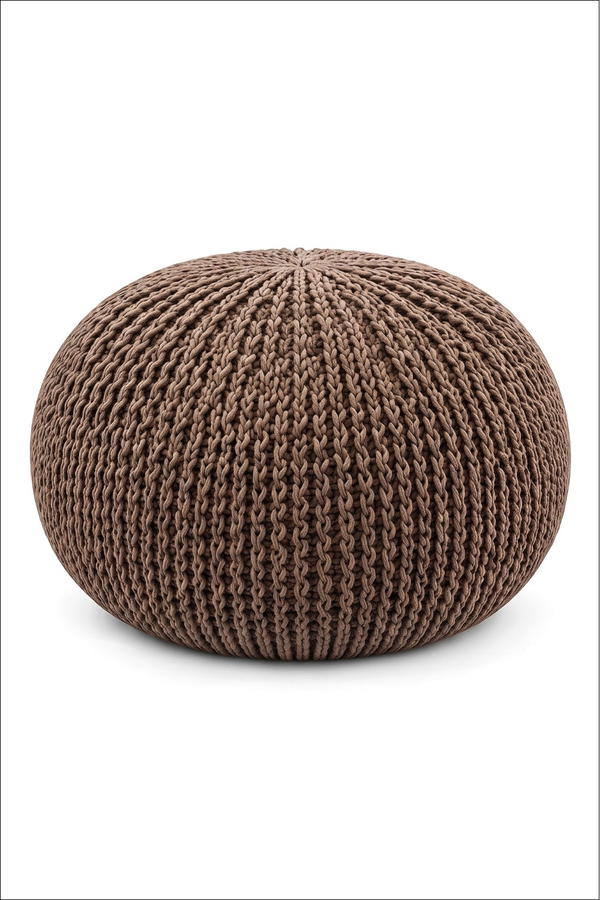
The Free crochet Pouf Seat Cover pattern offers a practical yet decorative solution for updating pouf covers. Designed to fit snugly over standard pouf seats, this cover combines durability with a soft, inviting texture. Its circular shape and textured stitches bring an elegant but homey feel, making any room instantly cozier. Whether you want to refresh an old pouf or personalize a new one, this pattern has the versatility and charm to suit various styles.
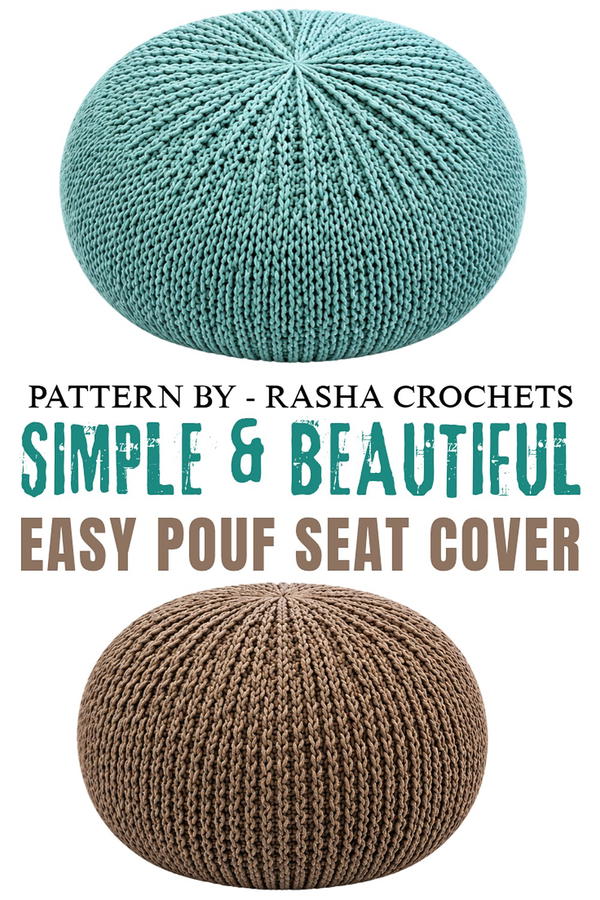
This project is not only a wonderful way to upgrade your own furniture but also an ideal gift choice. Handcrafted pouf covers convey thoughtfulness and care, perfect for housewarmings or special occasions. The design’s adjustable size means it can accommodate different poufs, making it an adaptable and appreciated present. Its strong, thick yarn ensures longevity, especially in busy households, combining function with style.
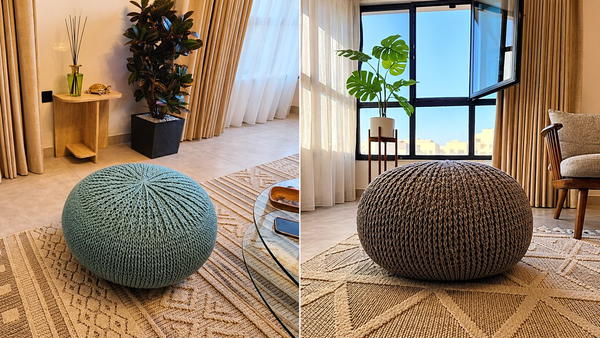
Featuring a balanced blend of simplicity and texture, this crochet cover enhances any seating area, whether used as extra seating or a footrest. Its handmade appeal adds a unique decorative element that complements diverse interiors, from modern cozy spaces to more rustic settings.
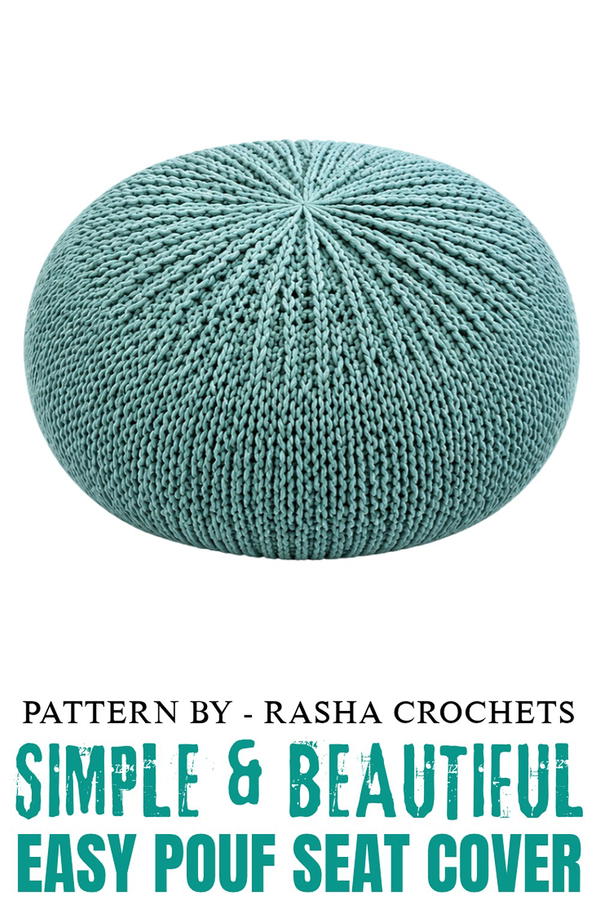
Crochet Pouf Seat Cover Pattern
This crochet pattern is designed to create a durable and stylish seat cover for a pouf. The pattern focuses on sturdy construction and texture, providing both functionality and aesthetic appeal. With a fitted design, reinforced edging, and an adjustable drawstring, you’ll achieve a beautiful handmade cover that can withstand regular use.
Skill Level
Intermediate
This pattern is suitable for intermediate crocheters, as it involves working in rounds, alternating stitch types, making increases and decreases, and creating a reinforced edge with a drawstring.
Materials Needed
- Yarn:
- 10 balls of thick yarn (100g each) recommended for durability and strength. A sturdy material ensures longevity of the cover.
- Crochet Hook:
- 8mm hook: This larger hook size creates a more flexible and forgiving fabric despite the label's recommendation of 5–7mm.
- Other Tools:
- Measuring tape: For ensuring the seat cover reaches the required dimensions (approximately 45 cm diameter).
- Stitch marker: Particularly useful for tracking the start of your rounds in continuous crochet.
Special Stitches Used
- Magic Ring (MR):
A foundational technique to create a tight, closed center when working in the round. - Front-Post Double Crochet (FPdc):
Yarn over, insert the hook around the front post of the stitch (instead of the top loops), yarn over and pull through. Complete the double crochet as normal. This creates a raised texture. - Two Double Crochet Together (dc2tog) – Decrease:
- Yarn over, insert the hook into the stitch, pull up a loop (3 loops on hook).
- Yarn over, pull through the first 2 loops (2 loops on hook).
- Yarn over, insert hook into the next stitch, pull up a loop (4 loops on hook).
- Yarn over, pull through 2 loops (3 loops on hook).
- Yarn over and pull through all remaining loops.
Stitch Abbreviations
- MR: Magic Ring
- ch: Chain
- sc: Single Crochet
- dc: Double Crochet
- FPdc: Front-Post Double Crochet
- sl st: Slip Stitch
- dc2tog: Two Double Crochet Together (Decrease)
Useful Tips
- Consistent Diameter Sizing: Regularly check your measurements during base construction to ensure the diameter matches the size of your pouf (approximately 45 cm).
- Track Increase Rounds: Use a stitch marker to differentiate between increase and "resting" rows for an even base.
- Avoid Overstretching: Across the main body of the pouf, don’t tug too tightly on FPdc stitches, as this can distort the texture.
- Reinforced Drawstring: Reinforce the drawstring with slip stitches for durability and ease of pulling.
- Yarn Substitution: If using alternative yarn, test your gauge first to make sure the finished product fits the desired size.
Pattern Instructions
Part 1: Foundation (Base Start)
Round 1:
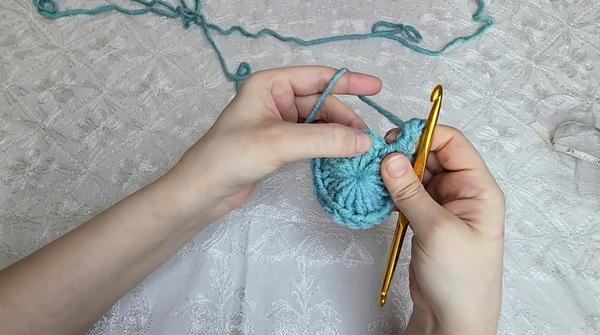
- Start with a magic ring. Work 22 dc into the ring.
- Pull the magic ring tightly to close. Sl st to join. (22 dc)
Part 2: Structuring the Base
Round 2:
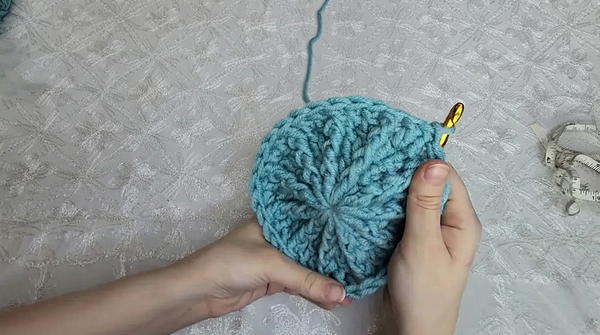
- Ch 2 (does not count as a stitch). Work 1 dc in the first stitch. In the next stitch, work 1 FPdc.
- Alternate dc and FPdc around. This combination provides the textured base.
- Sl st to join. (22 alternating dc and FPdc)
Increasing Rounds:
- Begin alternating increase rounds and resting rounds as detailed below to build the base.
- Round 3 (Increase Round):
- Ch 2. Work 2 dc into the first stitch, then 1 dc in the next stitch. Repeat (2 dc, 1 dc) around. Sl st to join. (33 dc)
- Round 4 (Resting Round):
- Ch 2. Work 1 dc into each stitch from the previous round. Sl st to join. (33 dc)
- Rounds 5–10:
- Continue alternating between increase rounds and resting rounds to gradually expand the base.
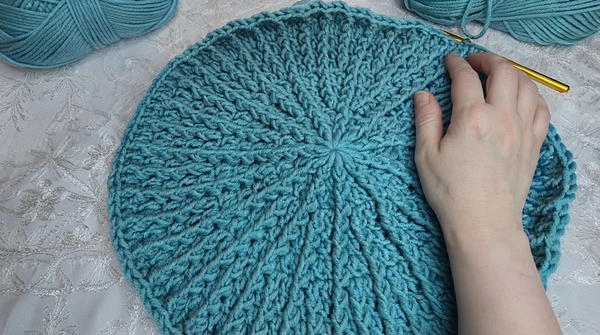
- Example: In the next increase round, work (2 dc, 1 dc, 1 dc). In the following round, work one stitch in every stitch.
- Continue alternating between increase rounds and resting rounds to gradually expand the base.
- Stop increasing once the base reaches the desired diameter (approx. 45 cm).
Part 3: Main Body
Round 11:
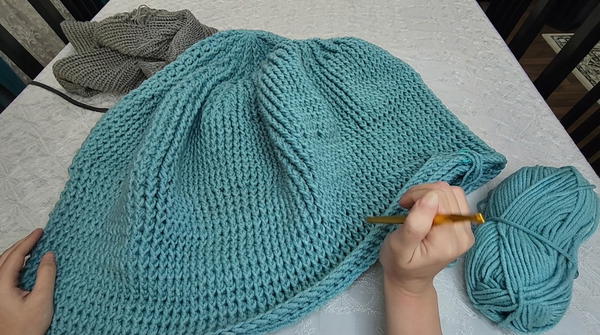
- Switch to continuous rounds (do not join with a slip stitch).
- Work FPdc into every stitch. Place a stitch marker to track the start of each round.
Rounds 12–23:
- Repeat FPdc in every stitch around. Continue working in rounds without increases or decreases to create the height for the pouf cover.
Part 4: Shaping
Round 24 (Decrease Round):
- Work dc2tog (as instructed earlier) evenly around the round. For every 5 stitches, combine 2 stitches into 1 using dc2tog. This step will begin tapering the cover toward the base.
Rounds 25–28:
- Continue working straight rounds without any decreases, maintaining the new stitch count.
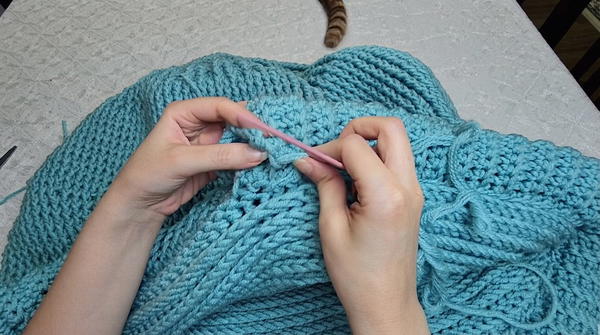
Part 5: Finishing Border
Round 29:
- Ch 1. Work 1 sc into each stitch around to even out the edges.
Round 30:
- Create a channel for the drawstring: Ch 3, skip 1 stitch, sc in next stitch. Repeat this pattern all the way around.
Part 6: Drawstring & Assembly
Step 1: Crochet Drawstring:
- Using the same yarn, create a long chain (about 120 cm long).
- Once the chain is complete, reinforce it with slip stitches across the length.
Step 2: Thread the Drawstring:
- Insert the drawstring through the chain loops created in the final round of the border. Use a tapestry needle or a small safety pin to guide the string through effortlessly.
Step 3: Final Assembly:
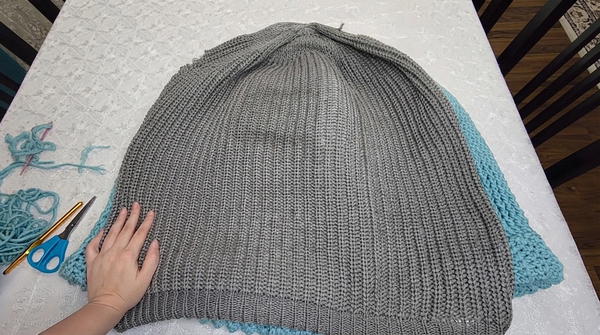
- Place the cover over your pouf. Pull on the drawstring to tighten evenly, securing the cover snugly in place over the pouf. Tie the ends of the drawstring into a decorative bow or secure them tightly with a double knot.
Conclusion
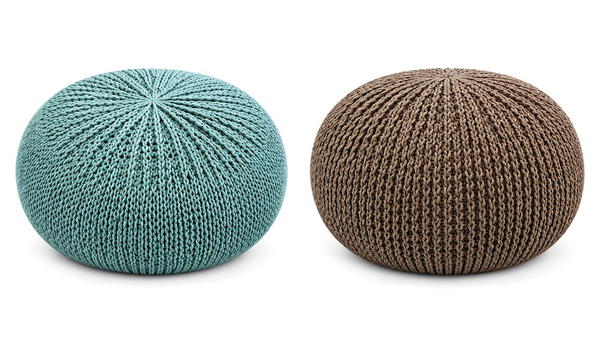
This crochet pouf seat cover is a functional and visually appealing project that breathes new life into any pouf or ottoman, protecting it while adding a layer of texture and style. With its durable construction, reinforced edges, and modern design, this project is a perfect addition to your living space. Adjust the size and colors to suit your preferences and enjoy this handmade creation for years to come.