 Mint Design Blog



Open up creativity with our free crochet 3D flower granny square cardigan guide perfect for adding floral elegance and cozy comfort to your handmade clothes.
Creating a handmade cardigan that beautifully combines classic style with eye-catching details is always a rewarding project. Imagine a cozy, charming garment built from granny squares, each adorned with delicate roses that seem to bloom right off the fabric. This unique blend of texture and design is captured in a special crochet pattern shared on the rasha Crochets channel, where attention to simplicity and elegance brings this idea to life.
Free Crochet 3D Flower Granny Square Cardigan Pattern
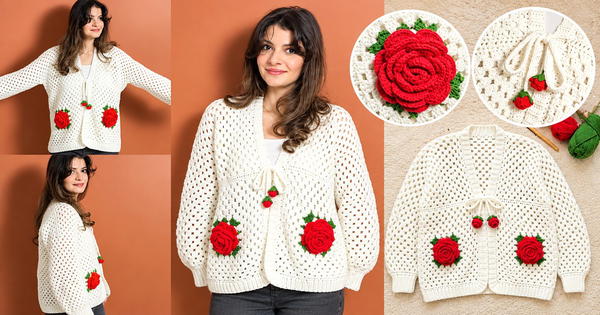
The Free crochet 3D Flower Granny Square Cardigan pattern is an exceptional project for anyone who loves both timeless crochet motifs and whimsical floral elements. It features classic granny squares alongside three-dimensional roses that add a delightful pop of character. The cardigan not only keeps you warm but also serves as a striking piece of wearable art, perfect for layering and enhancing any outfit.
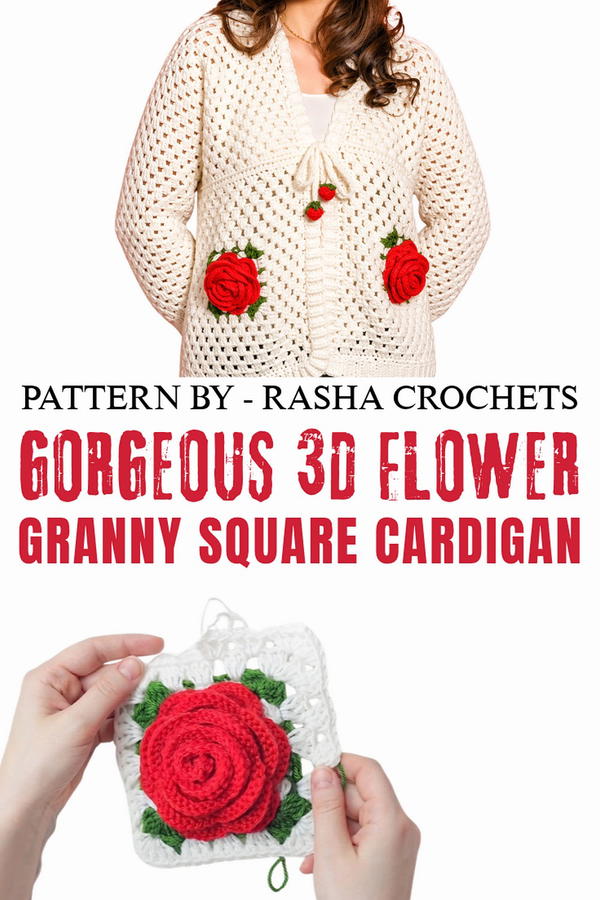
Beyond its undeniable charm, this crochet cardigan offers wonderful gifting potential. Its handcrafted nature means it’s ideal for special occasions like birthdays or holidays, and it can be thoughtfully customized in different colors or sizes. The versatile style works well for casual days out or cozy nights in, blending softness with a bit of vintage flair thanks to those signature granny squares.
Whether you're a seasoned crocheter or looking for a fresh new project to express your creativity, this cardigan pattern balances ease with an artistic touch. The 3D flower accents provide that little extra something that makes each piece truly stand out.
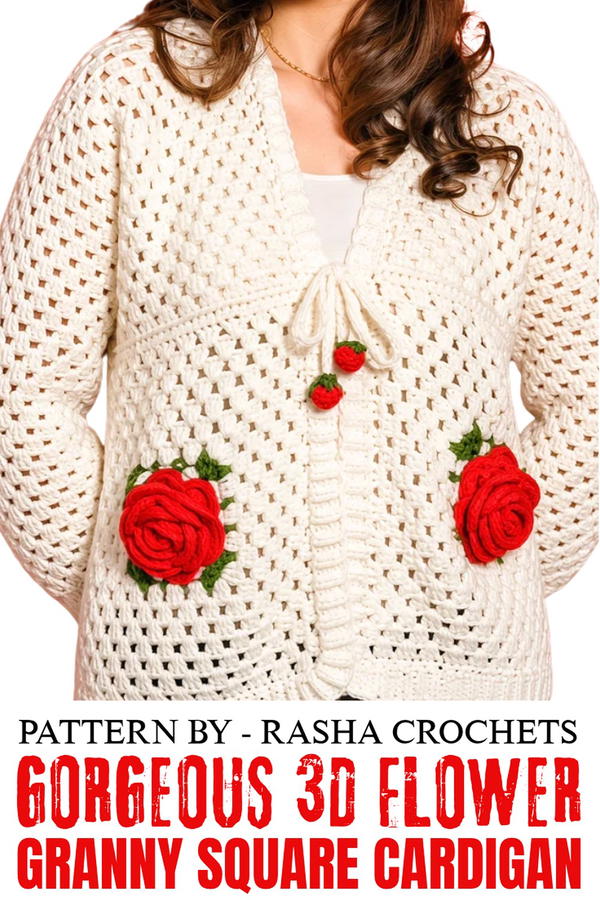
Crochet Cardigan Pattern – Featuring 3D Flowers and Granny Squares
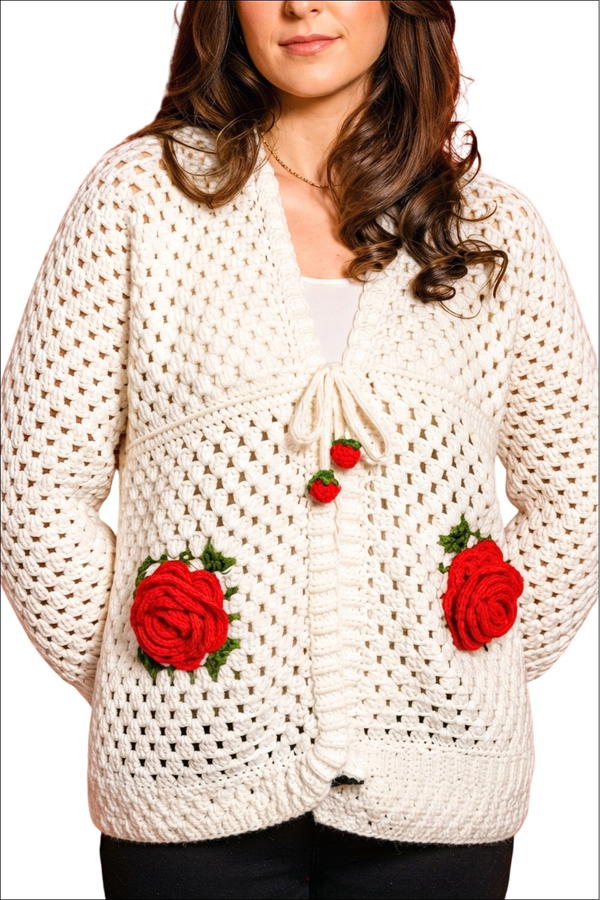
This crochet cardigan combines granny squares with vibrant 3D flower embellishments and delicate leaf details for a stylish and elegant look. Designed for functionality and beauty, this pattern is perfect for layering and gives the wearer a unique handmade garment. The cardigan includes textured features and a well-structured fit created through detailed techniques and stitches.
Skill Level
Intermediate
This pattern is suitable for those comfortable with basic and advanced crochet techniques, including working in rounds, creating 3D elements, constructing granny squares, and assembling pieces.
Materials
- Main Yarn:
- Alize Baby Best (approx. 600g), or any durable yarn suitable for garment construction.
- Flower Yarn:
- Himalaya Everyday Anti-Pilling (100g in red) for 3D flowers.
- Leaf Yarn:
- Himalaya Everyday Anti-Pilling (100g in green) for delicate crochet leaves.
- Hooks:
- 4.5mm crochet hook for the main structure.
- 3mm hook for finer details, including flower petals.
- 2mm hook for intricate decorations like leaf details.
- Additional Tools:
- Stitch markers, scissors, yarn needle for sewing and attaching components.
Special Stitches Used
- Magic Ring (MR):
A foundational technique for working in rounds. Wrap yarn around your fingers to create a loop, insert hook into the ring, yarn over and pull through the loop, chain 1 to secure. Work the specified stitches into the center of the ring before pulling the tail tight to close. - V-Stitch:
Work double crochet (dc), chain 1, and double crochet (dc) into the same stitch to create a “V” shape. - Front-Post Double Crochet (FPdc):
Yarn over, insert the hook around the post of the stitch (rather than through the top loops), yarn over and pull through. Complete the double crochet as usual. - Back-Loop-Only Single Crochet (blsc):
Insert hook into the back loop of the stitch, yarn over and pull through, yarn over again and pull through both loops.
Stitch Abbreviations
- MR: Magic Ring
- ch: Chain
- sc: Single Crochet
- dc: Double Crochet
- sl st: Slip Stitch
- FPdc: Front-Post Double Crochet
- blsc: Back-Loop-Only Single Crochet
Useful Tips
- Mark Sections for Assembly: Use stitch markers to note the position of granny squares, sleeve edges, and flower connections for precise finishing.
- Flower Texture: Ensure you work evenly on front post stitches to achieve a consistent 3D flower effect.
- Clean Edging: Work the border stitches slowly to create a uniform appearance along all edges.
- Joining Granny Squares: Use seamless joining techniques, such as whip stitching with a yarn needle, to maintain a polished and professional look.
- Customization: Adjust the number of granny squares or rows in sleeves and body to achieve tailored sizing.
Pattern Instructions
Part 1: Creating the 3D Flowers
Step 1: Starting Foundation:
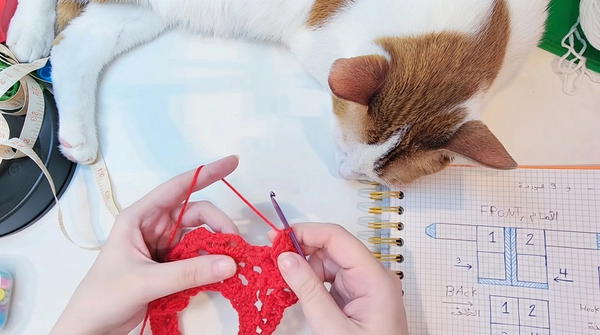
- Ch 74 to begin.
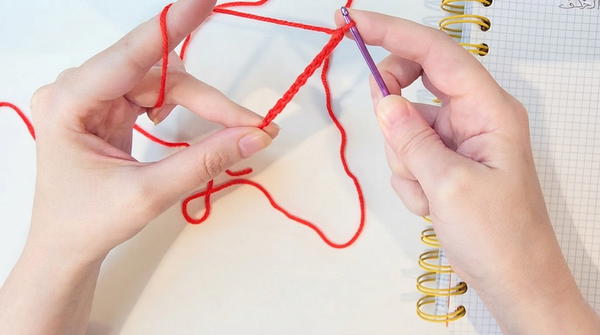
Step 2: Foundation Row:
- Skip the first chain, work sc in the second chain, then create V-stitches along the row by working (dc, ch 1, dc) into every other chain.
Step 3: Petal Base:
- Work (dc, ch 3, dc) into each gap formed by the V-stitches. This forms the base for the flower petals.
Step 4: Petal Filling:
- Into each ch-3 space, work 10 dc to create full petal shapes.
Step 5: Front Petal Layer:
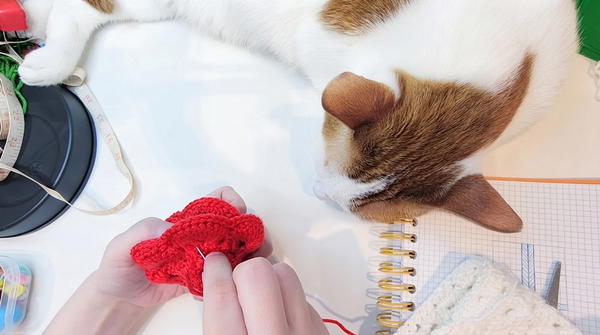
- Using front-post stitches, create a second layer of petals for a raised 3D effect. Slip stitch between posts to secure the shape.
Part 2: Granny Square
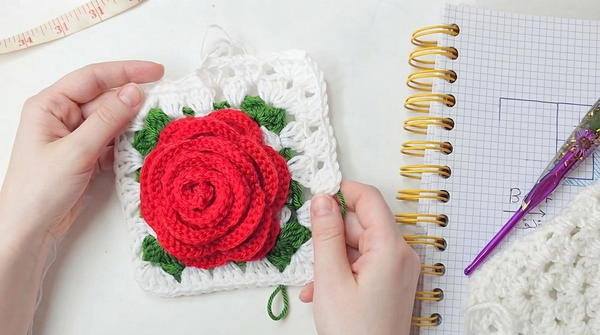
Granny squares form the cardigan’s structure.
Main Square:
- Create a magic ring.
- Round 1: Into the ring, work (3 dc, ch 2) four times, then sl st to join. (4 corners created)
- Round 2: Work (3 dc, ch 2, 3 dc) into each ch-2 space to form the next round. Continue in this pattern.
- Rounds 3–6: Build the granny square to your desired size by repeating the corner formula (3 dc, ch 2, 3 dc) and working (3 dc) along flat edges between corners.
Part 3: Assembly & Construction
Step 1: Joining Granny Squares:
- Arrange your squares to create back and front panels. For a standard fit, join squares in a 2x2 layout for the back and 1x2 layout for each front panel.
- Use whip stitching or slip stitches to join squares at the edges.
Step 2: Sewing the Panels Together:
- Align the back panel with the left and right front panels. Seam the pieces together, leaving gaps for the sleeves.
Part 4: Sleeves
Step 1: Sleeve Setup:
- Attach yarn to the sleeve opening at the underarm.
Step 2: Sleeve Body:
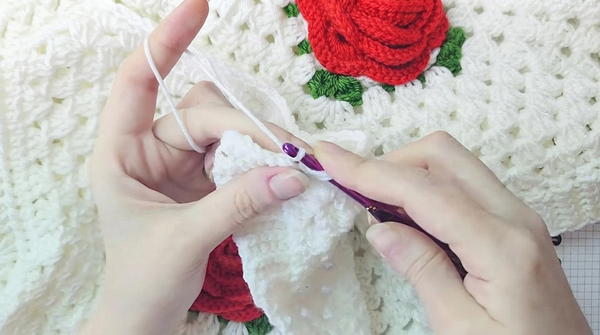
- Use the granny square stitch pattern (3 dc clusters separated by ch-1 spaces) and work rounds evenly.
- Continue for approximately 27 rounds, or until the sleeve reaches the desired length.
Step 3: Cuff/Border:
- Switch to the smaller hook (4mm).
- Work blsc in rounds to create a fitted and stretchy cuff.
Part 5: Finishing Details
Step 1: Edge Border:
- Attach yarn to the cardigan perimeter.
- Using dc stitches, work a decorative edging to refine the cardigan’s look.
Step 2: Ties/Fasteners:
- Use a 3mm hook and crochet 65 chains for ties or fasteners.
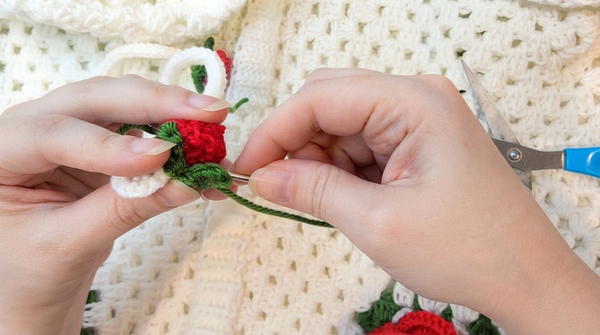
Step 3: Attaching Leaves & Flowers:
- Using a needle, securely sew green crochet leaves and red 3D flowers onto the cardigan. Arrange them symmetrically or as per your preference.
Conclusion
This crochet cardigan combines timeless granny squares and intricate 3D flower embellishments to create a sophisticated and stylish garment. The detailed design allows for customization in size, color schemes, and flower placement, making it a versatile and personalized project. With the elegant combination of structure and texture, this cardigan is perfect for showcasing your crochet skills while creating a functional and artistic piece.