Ready for a fresh DIY challenge Craft a fashionable crochet cap with macramé cord using our free pattern perfect for adding flair to any outfit.
Bringing a fresh and stylish accessory to your wardrobe can be both fun and functional. The Free crochet Cap With Macramé Cord Pattern is a wonderful way to make a unique, handmade hat using macrame cord. Zehranın Atölyesi offers a detailed and easy-to-follow video tutorial that carefully walks you through every stitch and technique to create this eye-catching piece.
Trendy Free Crochet Cap with Macramé Cord Pattern to Try Now
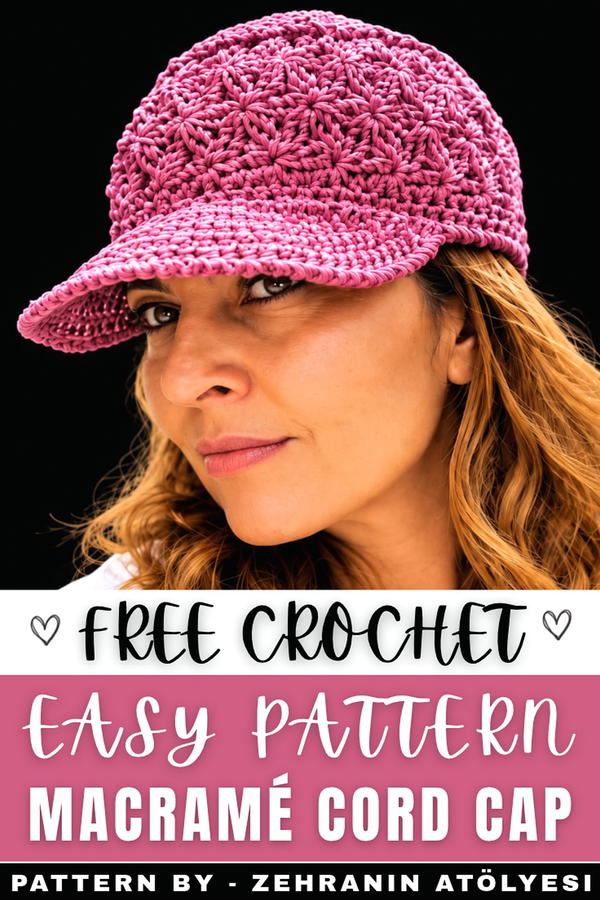
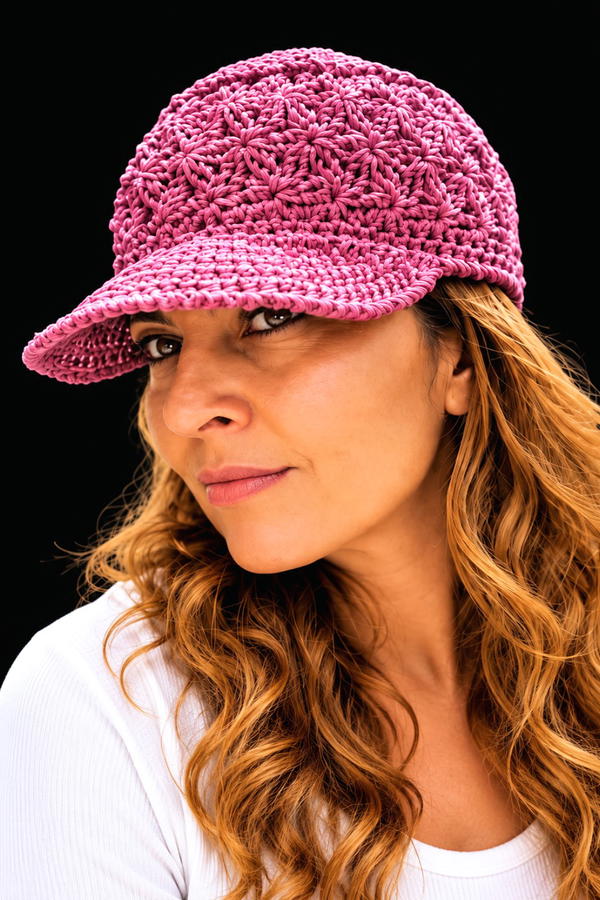
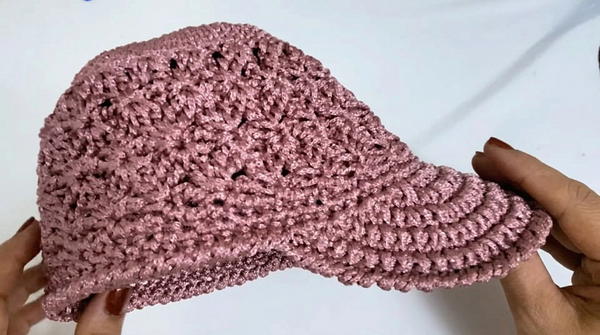
This cap features a textured, star-shaped pattern on its body, formed by an intricate combination of single crochet stitches and chain loops. Using a 3.5mm crochet hook with soft macrame cord gives the hat a sturdy yet comfortable feel, ideal for daily wear. The shape is classic but raised by the playful peaks and artistic detailing, making it stand out beautifully. Stretching the edges slightly at the end adds a neat finish that enhances the overall structure.
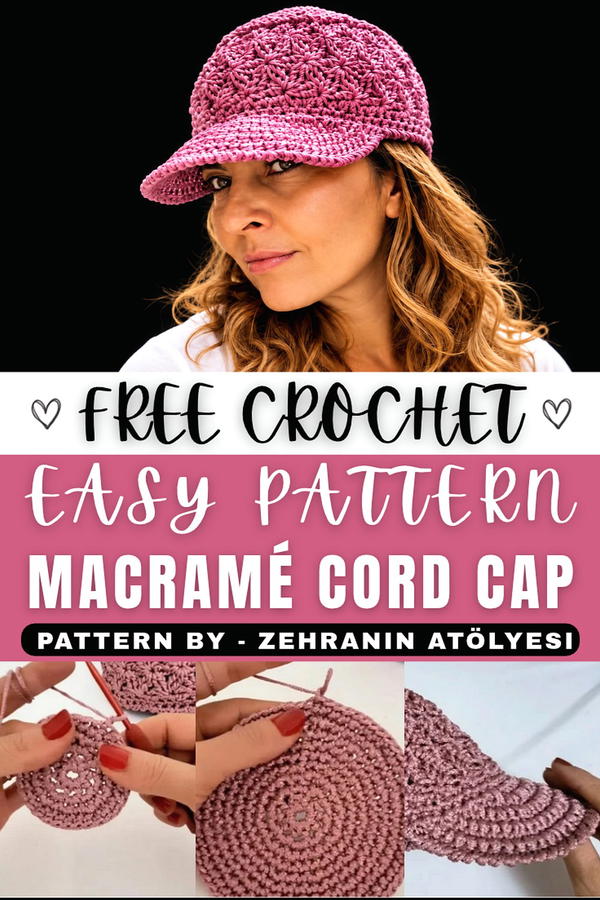
Designed as a peaked hat, its vibrant style and durable material make it a versatile accessory perfect for gifting. It not only adds decorative charm to outfits but also offers practical warmth and shade. The lightweight texture ensures comfort without bulkiness, suitable for various seasons.
Creating this cap is an enjoyable project with great results that combine trendy macrame techniques and timeless crochet skills. The Free crochet Cap With Macramé Cord Pattern invites anyone to add a handmade touch of creativity and elegance to their look or gift it to friends who appreciate thoughtful, stylish accessories.
Macramé Cap Hat with Star Motif Crochet Pattern
Create a stylish and elegant macramé cap hat featuring a structured crown, decorative star motifs, and a sturdy brim. This design is perfect for casual outings, blending aesthetics with functionality. The use of macramé cord ensures a firm and structured look, ideal for hats that need to hold their shape.
Skill Level
Intermediate
This pattern is suitable for intermediate crocheters who are comfortable with basic crochet stitches and familiar with working in rounds and motifs.
Materials
- Macramé Cord: Use a durable macramé yarn or cord that provides structure to the hat.
- Crochet Hook: 3.5 mm or an appropriate size to match the thickness of your macramé cord.
- Stitch Markers: Useful for marking the start of rounds and brim areas.
- Scissors: Sharp scissors to cut yarn cleanly.
- Optional: Glue for reinforcing any joins securely.
Special Stitches Used
- Magic Ring (MR): A foundational way to start crocheting in the round. Wrap the yarn around your fingers to create a loop, then insert your hook, yarn over, and pull through. Chain 1 to secure. Work your stitches into the loop and pull the end tight to close the circle.
- Double Treble Crochet (dtr): Yarn over three times, insert the hook into the stitch, yarn over and pull through one loop. Then yarn over and pull through two loops at a time sequentially until only one loop remains.
- Crab Stitch (Reverse Single Crochet): To give a clean, unique edging, work single crochet stitches from left to right (reverse direction).
Stitch Abbreviations
- MR: Magic ring
- sc: Single crochet
- inc: Increase (2 sc in the same stitch)
- dec: Decrease (combine two stitches into one stitch)
- ch: Chain
- sl st: Slip stitch
- dtr: Double treble crochet
Useful Tips
- Consistent Tension: Maintain even tension to create a structured and polished look.
- Use Stitch Markers: Place markers to keep track of rounds, increases, and motifs.
- Brim Reinforcement: Using macramé cord provides stiffness to the brim without needing additional support.
- Motif Positioning: Carefully align motifs in the body to ensure uniformity.
- Gradual Stuffing (if stuffed): If you're adding filler for any stability, do so as you crochet.
Pattern Instructions
Part 1: Crown (Tepe)
Round 1:
- 10 sc into a MR.
- Pull the yarn tail to tighten the loop and sl st into the first stitch to join. (10 sc)
Round 2:
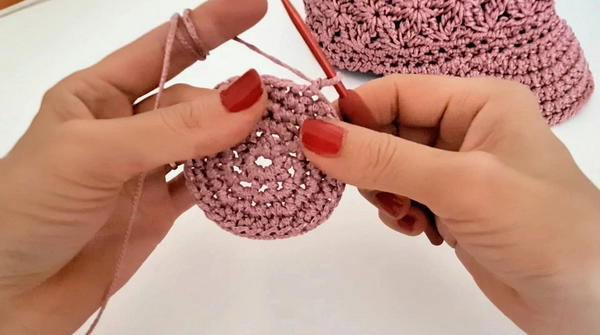
- 2 sc in each stitch (inc) around. Sl st into the first stitch. (20 sc)
Round 3:
- (1 sc, 1 inc) around. Sl st into the first stitch. (30 sc)
Round 4:
- 1 sc, inc, then [2 sc, 1 inc] until row ends. Sl st into the first stitch. (40 sc)
Round 5:
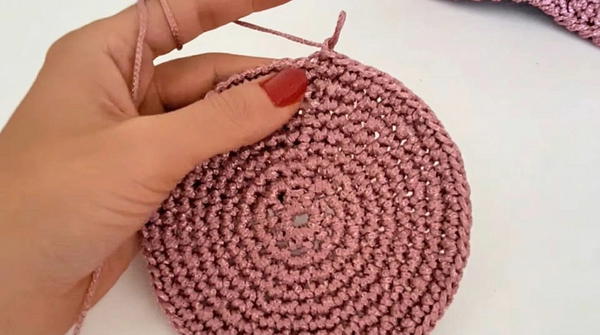
- Work 1 sc in each stitch. (40 sc)
Round 6:
- (3 sc, 1 inc) around. Sl st into the first stitch. (50 sc)
Round 7:
- (4 sc, 1 inc) around. Sl st into the first stitch. (60 sc)
Round 8:
- 2 sc, 1 inc, then [5 sc, 1 inc] until row ends. Sl st into the first stitch. (70 sc)
Rounds 9-13:
- Work 1 sc in each stitch, maintaining 70 stitches per round.
Part 2: Body with Star Motif (Gövde)
The body is decorated with a star motif to add texture and visual interest.
Star Motif Row 1:
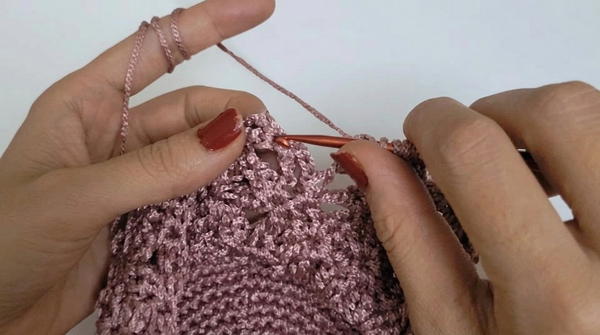
- Ch 3 to begin. Work double treble crochet stitches spaced evenly around the circumference to create the star designs. The stars are formed by working clusters of dtr stitches.
Star Motif Row 2:
- Ch 3, and connect the newly formed stars to the center points of the previous row's star motifs. Maintain consistent spacing between motifs for a symmetrical design.
Star Motif Row 3:
- Continue with dtr stitches, connecting in the centers of the stars from the previous row while maintaining the overall evenness of the pattern.
Part 3: Firm Brim Construction
The brim uses macramé cord to provide structure and form.
Preparation & Row 1:
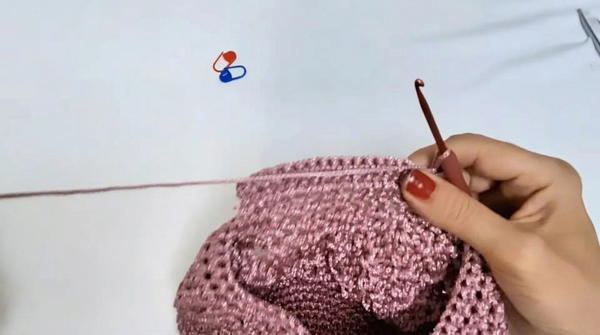
- Mark the center stitch of the brim, then count 5 stitches to either side to identify the starting range.
- Work 1 sc in each stitch for 16 stitches, with 1 inc every 2 stitches.
Turning Row 1:
- Ch 1, turn the work, and create 16 sc. At the end, make 2 additional increases to bring the count to 18.
Flat Row 2 & Turning Row:
- Work 1 sc, 1 inc, 2 sc, 1 inc, repeating this pattern evenly across the row.
- Complete the row with 4 sc in the center stitches, then include inc at both ends. (26 sc total)
Row 3 & Turn:
- Repeat the previous row, increasing the total count to 30 sc by the end.
Row 4 & Turn:
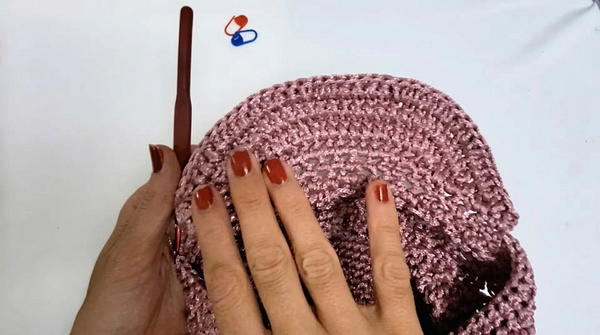
- Continue expanding: Work 6 sc, 1 inc, repeating evenly. By the end of the row, your stitch count will be 36 sc, including 2 end increases.
Final Row:
- Work a single flat row of sc without any increases.
Edge Finishing:
- Finish the brim with a final row of crab stitch/reverse single crochet. This technique cleans up the edge with a firm, decorative finish.
Conclusion
This macramé cap hat crochet pattern combines structure and elegance, making it a beautifully functional accessory for any occasion. The structured crown transitions seamlessly into the star motif body, with the firm brim providing the perfect balance to the design. By following these detailed instructions, you will create an intricate and durable hat that highlights your crochet skills while serving as a timeless addition to your wardrobe.