Turn paper string into a fashionable cap using our free crochet pattern perfect for crafting breathable, lightweight headwear that stands out
Sunny days and casual outings call for accessories that marry style with practicality, and this project delivers just that. The free crochet paper string cap pattern offers a sleek, breathable headwear option perfect for warm weather activities like beach trips, garden parties, or daily errands. Its modern yet timeless look makes it an excellent companion for any outdoor occasion where sun protection meets fashion.
Free Crochet Paper String Cap Pattern – Perfect Sun Hat Tutorial
This versatile cap pairs wonderfully with light summer dresses, casual tees, or even a laid-back jumpsuit, enhancing your outfit without overpowering it. Whether you're enjoying a picnic or city walk, the cap adds a subtle statement of effortless style while keeping you comfortably shaded.
Creator Appreciation and Recognition
Our appreciation goes to Zehranın Atölyesi and its owner for their valuable creative contributions. We acknowledge the creator as the original source and give full credit for the work shared through the channel. We admire the imagination and dedication behind these projects and encourage everyone to support the creator by visiting the original channel.
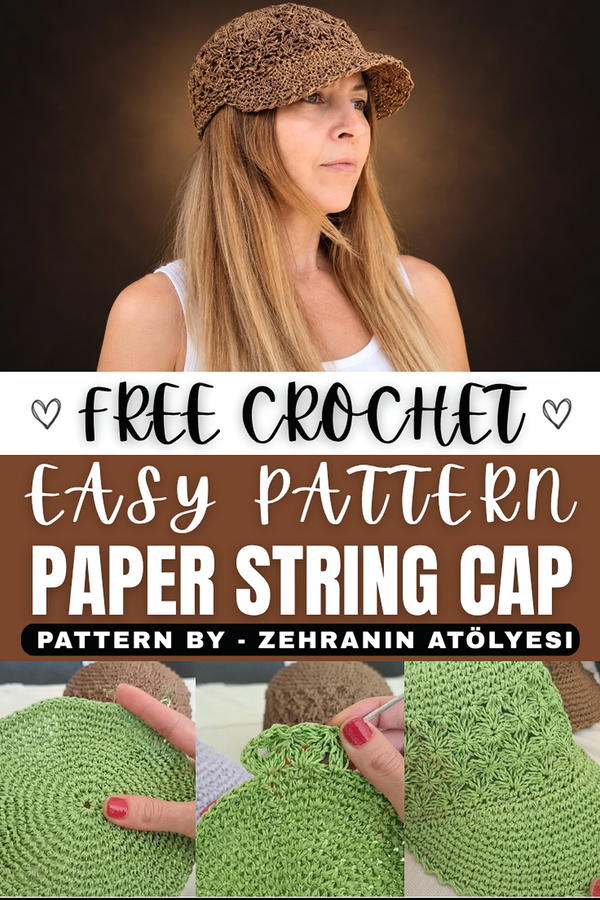
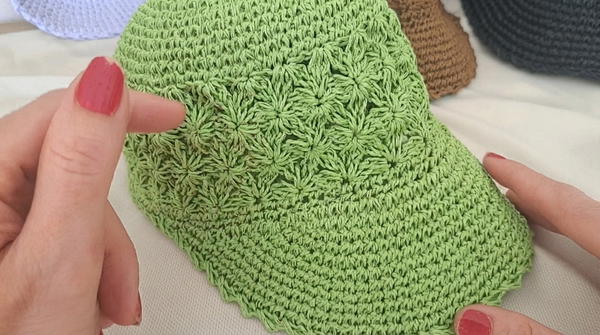
The texture of this cap is distinctive, thanks to the use of paper string yarn that offers a sturdy but lightweight feel. This material creates a firm structure that maintains the cap’s shape, ensuring it looks polished while remaining comfortable on the head. The design features gently curved lines and a neatly shaped brim that provides just the right amount of sun coverage, combining function with elegance.
One of the most attractive aspects is the balanced simplicity of the cap, which highlights the natural beauty of the paper string fiber without unnecessary embellishments. This project is a wonderful way to embrace minimalist fashion with maximum impact, making it a smart addition to your seasonal wardrobe.
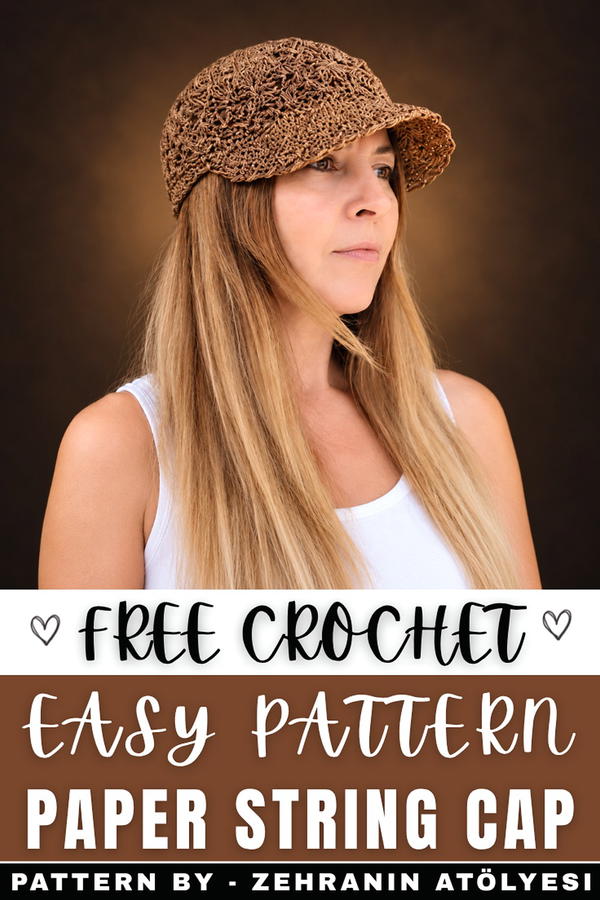
Crochet Paper Yarn Visor Hat Pattern
This pattern provides instructions for crocheting a lightweight yet structured visor hat using paper yarn. The design combines clean, crisp lines with a star stitch pattern, offering both practicality and style. The wide visor provides excellent sun protection, while the breathable yarn makes it ideal for warm weather.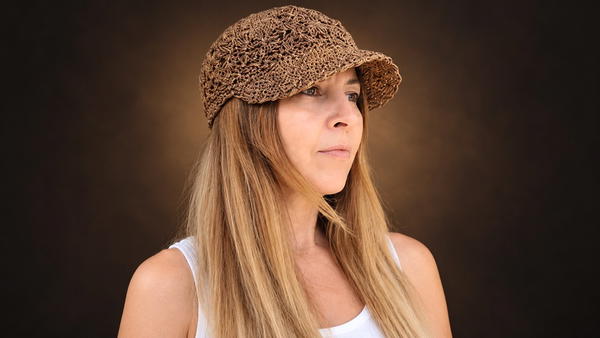
Skill Level
Intermediate
This pattern is suitable for crocheters who are comfortable with basic and intermediate techniques, like magic rings, star stitches, maintaining consistent tension, and shaping increases and edges.
Materials
- Yarn:
- Thin-gauge paper yarn (pistachio green was used in the original design).
- Crochet Hook:
- Use a hook size appropriate for the weight of your yarn (commonly 2.5–3 mm for fine paper yarn).
- Additional Tools:
- Scissors for cutting the yarn.
- Steaming Iron to shape and mold the final product.
Special Stitches
Magic Ring (MR):
- Wrap the yarn around your fingers to create a loop.
- Insert the hook through the loop, pull the working yarn through, and chain 1 to secure the ring.
- Work the required number of stitches into the ring. Pull the tail to tighten.
Star Stitch:
- Chain 3: This creates the base of the star.
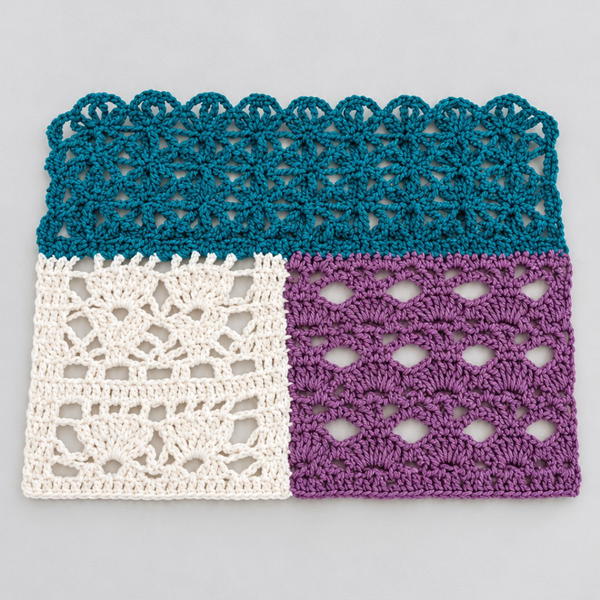
- Draw up a loop in the base of the chain, in the same stitch, and in the next stitch until you have 7 loops on the hook.
- Yarn over and pull through all 7 loops.
- Chain 1: This secures the star.
- Continue the sequence for each star around.
Stitch Abbreviations
| Abbreviation | Meaning |
|---|---|
| MR | Magic Ring |
| SC | Single Crochet |
| DC | Double Crochet |
| Ch | Chain |
| Sl St | Slip Stitch |
| Inc | Increase (2 stitches in the same space) |
Useful Tips
- Consistent Tension: Paper yarn can be stiff, so maintain firm and even tension to achieve clean, structured stitches.
- Count Your Stitches: Precise stitch counting is critical for the star pattern and increasing rows. Consider using stitch markers to stay on track.
- Steam Blocking: Use a steaming iron to shape the hat once it is complete. It will soften the yarn and hold the desired form.
- Adjusting Fit: Modify the number of rows in the body or visor section to adjust the length and fit.
- Work Relaxed Increases: Keep increases consistent and evenly spaced to prevent puckering.
Pattern Instructions
1. Starting the Base (Magic Ring)
The hat begins with a circular crown constructed from single crochet stitches in increasing rounds.
- Round 1:
- Create a Magic Ring (MR), then work 10 SC into the ring. Pull the ring tight, and secure the round with a Sl St into the first stitch.
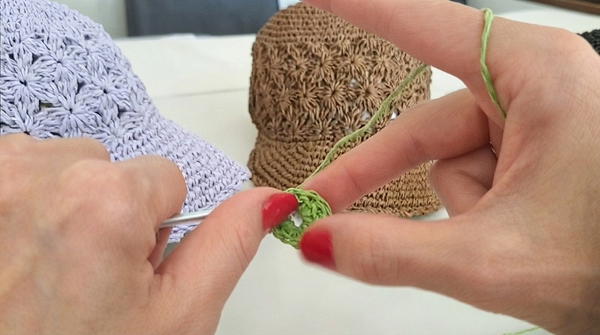
- Create a Magic Ring (MR), then work 10 SC into the ring. Pull the ring tight, and secure the round with a Sl St into the first stitch.
- Round 2:
- Work 2 SC in each stitch around.
- Total Stitches: 20.
- Round 3:
- (1 SC, 1 Inc) repeat around the row.
- Total Stitches: 30.
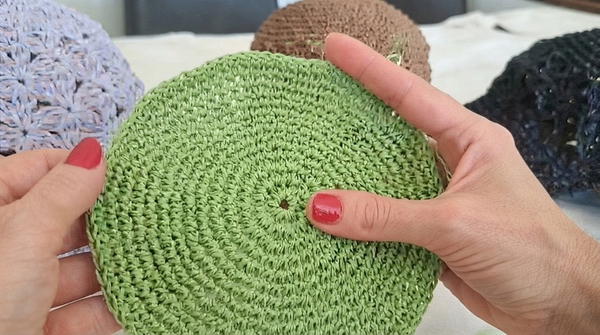
- Rounds 4–13:
- Work 1 SC in every stitch to form the crown. No increases.
- At the end of Round 13, you will have a flat crown section that serves as the base for the rest of the hat.
2. Body Construction (Star Pattern)
The body of the hat is built with a decorative star stitch that creates a beautiful mesh pattern.
- Round 14:
- Chain 3 to create the base of the first star stitch.
- Work the Star Stitch pattern as described in the Special Stitches section, drawing 7 loops and locking the star with a chain.
- Repeat the star stitch around the row.
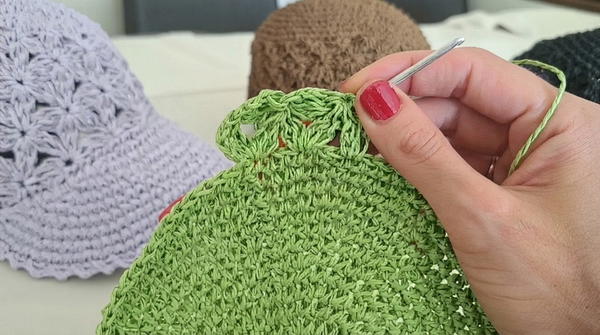
- Rounds 15–20:
- Continue the Star Stitch Pattern in each round. Ensure stars align above those in the previous rows to maintain the mesh design.
3. Completing the Body
To finish the body of the hat, work rows of single crochet to stabilize the base.
- Rounds 21–22:
- Work 1 SC in every stitch for 2 full rows.
- Keep tension relaxed to avoid puckering.
4. Visor Construction
The visor is added to the edge of the hat. It is constructed in rows with increases to achieve the desired width and shape.
- Row 1:
- Attach yarn and work 14 double-stitch (DC) increase groupings evenly spaced around the edge.
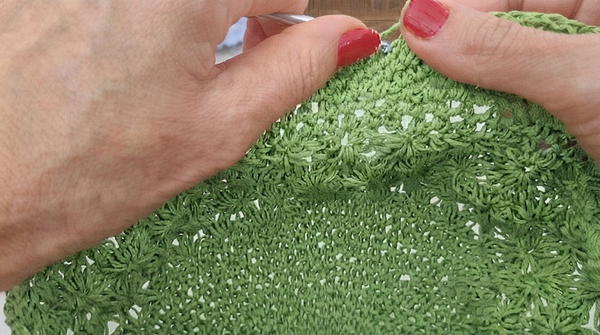
- Attach yarn and work 14 double-stitch (DC) increase groupings evenly spaced around the edge.
- Rows 2–4:
- At the start and end of each row, continue increasing by adding 1 additional stitch to each side.
- Row 5:
- Work an increase sequence of (6 SC, 1 Inc). This shapes the visor edge and creates a slight curve.
- Rows 7–9:
- Continue increasing to widen the visor, maintaining consistent tension.
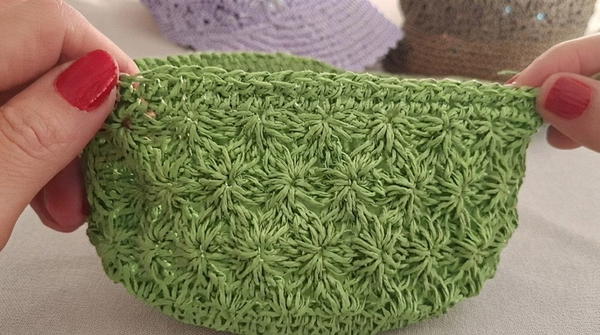
- Continue increasing to widen the visor, maintaining consistent tension.
- Final Row:
- Add a distinct shaping row by working into the base of previous stitches.
5. Finishing Touches
The hat is completed with a supportive single crochet border and steam shaping to hold its structure.
- Border Row:
- Work 1 SC into every stitch around the hat’s base and visor edge for a clean and structured finish.
- Finishing:
- Weave in all loose ends with a tapestry needle.
- Weave in all loose ends with a tapestry needle.
- Shaping:
- Use a steaming iron to soften the paper yarn and shape the visor to your desired curve. Hold the iron just above the surface without touching the yarn, and carefully mold the brim while steaming.
Customization Options
- Adjust Fit: Add or remove rows in the body section or adjust the visor size for a closer or wider fit.
- Choose Colors: Experiment with different paper yarn colors to achieve a unique look.
- Add Embellishments: Attach ribbons, flowers, or beads to personalize your visor hat further.
Final Notes
This paper yarn visor hat is a versatile and functional addition to your summer wardrobe. The lightweight design provides excellent sun protection while maintaining a breathable and stylish look. The structured brim holds its shape, making the hat perfect for outdoor activities. Adjust the fit and embellishments as desired to create a uniquely personalized accessory.