Recently, a delightful little project caught my attention and added a charming touch to my crochet collection. The Crochet Amigurumi My Melody, featured on the Fairycrochett channel, offers a sweet way to bring this beloved character to life through crochet.
Mini Crochet Amigurumi My Melody Free Pattern With A Lovely Bow
This amigurumi is a small, soft doll inspired by My Melody’s iconic hood and gentle expression. With pastel hues and tiny ears peeking from beneath her hood, she adds a cozy, kawaii charm to any space—be it a shelf, desk, or nursery. Beyond serving as a lovely decoration, this doll makes a thoughtful, personal gift that suits both children and adults who appreciate cute, miniature designs.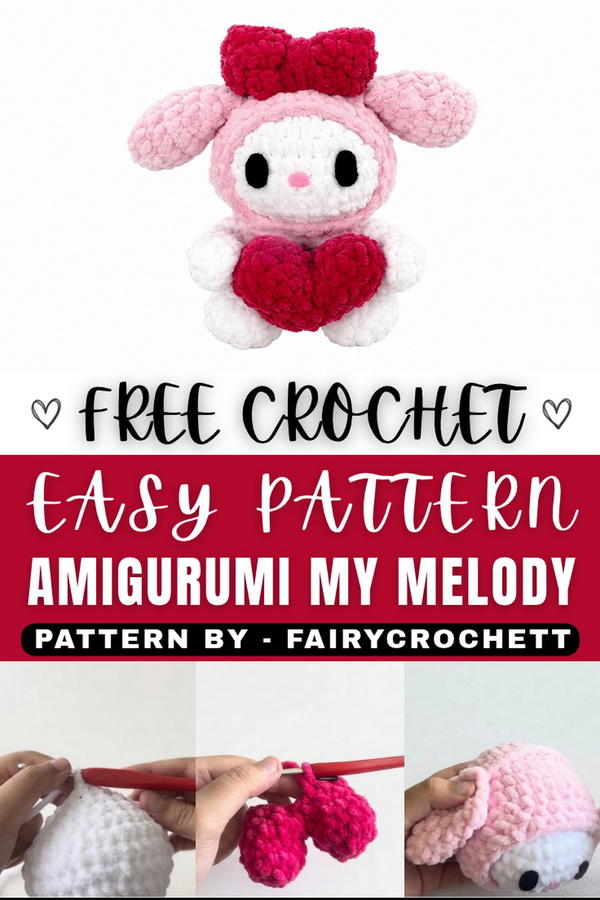 The project offers a friendly pace that suits crocheters eager to tackle a fun, manageable doll. Its compact size allows for satisfaction without requiring long hours, while the detailed shaping offers an engaging experience in handling small elements and assembling them with care. This makes it a great option for anyone wishing to develop confidence in amigurumi techniques.
This charming Crochet Amigurumi My Melody adds warmth and personality wherever she stays, making her a delightful addition to any collection or gift. Feel free to check out the free pattern—you’re sure to appreciate the simple joy this little doll brings!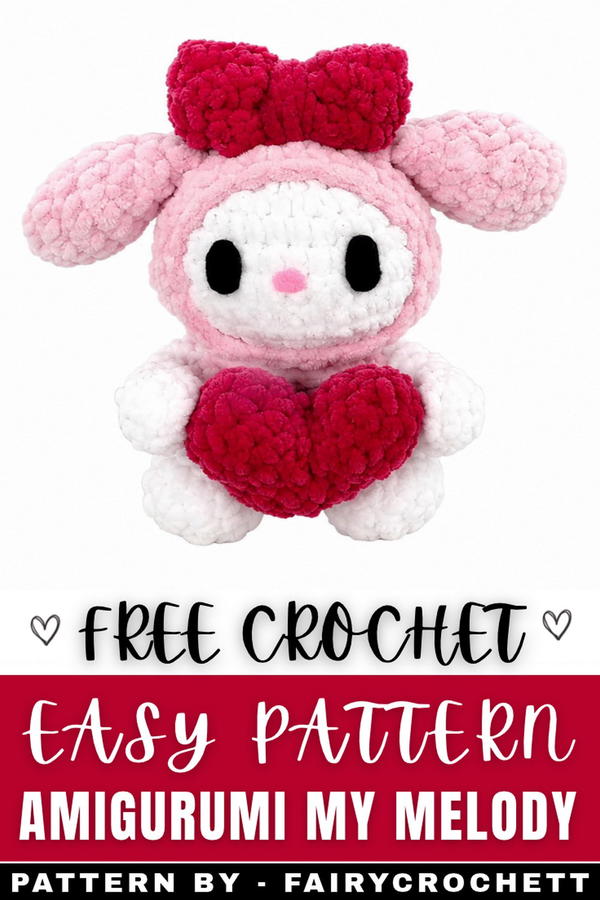
1234
About the Pattern
Cupid My Melody Amigurumi is a meticulously structured project that brings to life the classic Sanrio character My Melody with a whimsical cupid twist. The amigurumi consists of well-defined elements: a rounded head encased in a removable hood, plump and stable body, small arms, a decorative bow, a shaped heart, and distinctively sculpted wings. Each segment is constructed with attentive shaping and seamless joining, creating an expressive, cuddly, and visually appealing collectible. Suitable for display, gifting, or as a heartwarming symbol of affection, this project utilizes fundamental and slightly advanced amigurumi techniques.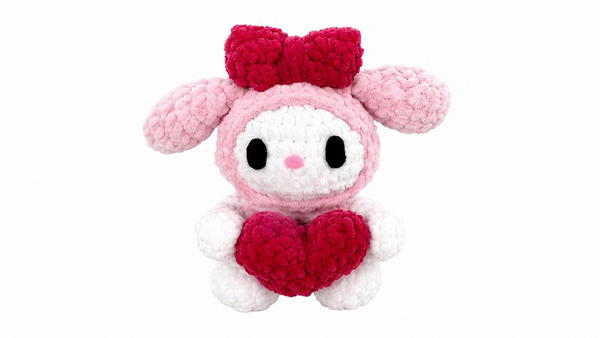
Pattern at a Glance
- Design: 3D amigurumi of My Melody dressed as Cupid, complete with hood, heart accessory, bow, and wings.
- Construction: Individual body segments are created separately through increasing and decreasing rounds, then assembled with precise sewing for contour and stability.
- Features: Stuffed spherical head and core, closely-fitted hood, flat wings, and a rigid heart accessory set this plush apart.
- Finishing: All pieces are joined with neat, invisible stitches, ensuring clean lines and durability.
Important Notes
- Stuff all amigurumi parts firmly but avoid over-filling, maintaining shape and stitch closure.
- Join parts by alternating stitches between the adjoining pieces for a secure, even finish.
- Attach the hood before assembling the rest of the features to ensure proper sizing and fit.
- Leave long tails for sewing each part.
- Complete detailed facial embroidery or add safety eyes before closing the head if desired.
- Take care with heart and wing shaping for crisp cupid symbolism.
Difficulty Level
The pattern is ideal for intermediate crocheters, given some complexity in increasing/decreasing rounds and multi-part assembly. Amigurumi basics are required, with additional attention to seamless joining and decorative assembly.
Supplies Needed
- Yarn: DK or worsted weight in pink (hood/bow), white (body, wings), red (heart), and accent colors.
- Hook: 2.5–3 mm crochet hook (appropriate for tight amigurumi).
- Stuffing: Polyfill fiber.
- Scissors
- Yarn needle for assembly.
- Stitch markers (helpful for rounds).
- Optional: Embroidery thread for facial details.
Size & Measurements
- Height (completed): 10–13 cm (varies with yarn and hook size)
- Heart width: approx. 2.5–3 cm
- Bow width: 3–4 cm
- Wingspan: 5–6 cm
Gauge & Stitch Details
- Tight, even amigurumi tension.
- Single crochet rounds for body/appendages, denser stuffing for form.
- All rounds are worked continuously unless stated (use a marker to keep track).
Crochet Abbreviations
- MR: Magic ring
- ch: Chain
- sl st: Slip stitch
- sc: Single crochet
- hdc: Half double crochet
- dc: Double crochet
- inc: Increase (2 sc in one stitch)
- dec: Decrease (sc two together)
- st(s): Stitch(es)
Special Stitch Guide
- Magic ring (MR): Adjustable closed loop for starting amigurumi.
- Increase (inc): Work 2 sc in the same base stitch.
- Decrease (dec): Crochet 2 sc together (invisible decrease recommended).
- Row (back and forth): Chain 1 at start, turn, work single crochets as flat rows (for bow center).
Complete Crochet Pattern
Head
- Rnd 1: MR, 6 sc (6)
- Rnd 2: inc in each st (12)
- Rnd 3: (1 sc, 1 inc) repeat (18)
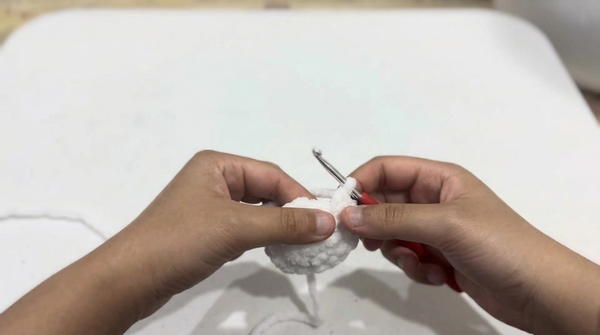
- Rnd 4: (2 sc, 1 inc) repeat (24)
- Rnd 5: (3 sc, 1 inc) repeat (30)
- Rnd 6: (4 sc, 1 inc) repeat (36)
- Rnd 7–8: sc in each st (36)
- Rnd 9: (4 sc, 1 dec) repeat (30)
- Rnd 10: (3 sc, 1 dec) repeat (24)
- Rnd 11: (2 sc, 1 dec) repeat (18)
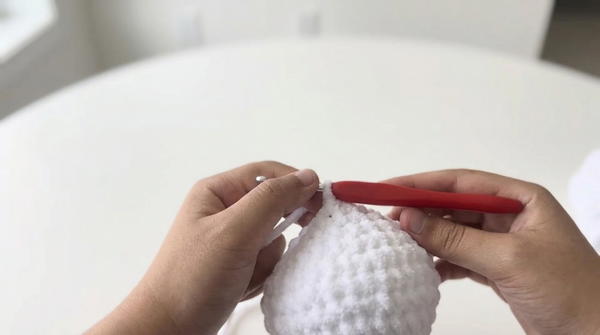
- Rnd 12: (1 sc, 1 dec) repeat (12)
- Stuff head firmly before final round and closing.
Hood
- Follow the Head pattern exactly, but add one extra round of 36 sc after Round 6 for a larger hood fit.
- Place hood over head at round 13:09 and continue crocheting, joining two pieces with the working yarn for secure fit.
Body
- Rnd 1: MR, 6 sc (6)
- Rnd 2: inc in each st (12)
- Rnd 3: (1 sc, 1 inc) repeat (18)
- Rnd 4: (2 sc, 1 inc) repeat (24)
- Rnd 5: (3 sc, 1 inc) repeat (30)
- Rnd 6–10: sc in each st for 5 rounds (30)
- Stuff body firmly and close as instructed.
Arms (Make 2)
- Rnd 1: MR, 6 sc
- Rnd 2–8: sc in each st for 7 rounds
- Stuff lightly, leave tail for sewing.
Bow
- Ch 20 plus 1 extra turning ch.
- Row 1: sc in each ch across (20)
- Row 2: ch 1, turn, sc across
- Fold the piece and sew the narrow ends together to form a ring.
- Wrap the remaining yarn tail tightly around the center several times to cinch the bow, securing with a knot.
Heart
- First Half:
- MR, 6 sc
- 6 inc (12)
- 2 rounds of sc
- Fasten off (leave a tail).
- Second Half:
- Same as first, but do not cut yarn.
- Join halves with a sl st (now working in the round).
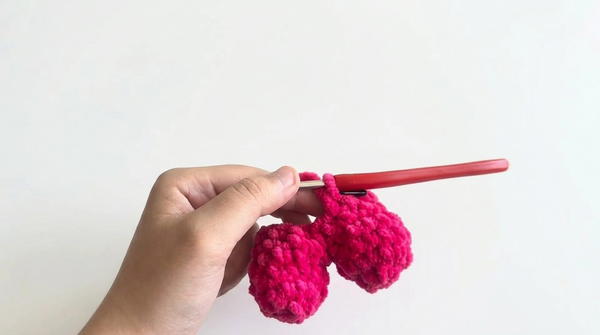
- 12 sc around first half, 12 sc around second half (24)
- Begin decreasing: (2 sc, 1 dec) around several rounds, stuff heart as you go.
- Continue decreasing every round until shape forms and stitch is closed.
Wings (Make 2)
- Ch 15
- Starting in second ch from hook:
- 1 hdc
- 1 dc
- 1 dc
- 1 hdc
- 5 sl st
- 1 hdc
- 1 dc
- 1 dc
- 1 hdc
- Fasten off, shape gently, leave tail for sewing.
Assembly & Finished Size
- Place the hood over the head and sew together, alternating stitches between the two pieces for a snug, neat line.
- Sew the ears and arms securely to the body, again alternating stitches for best join.
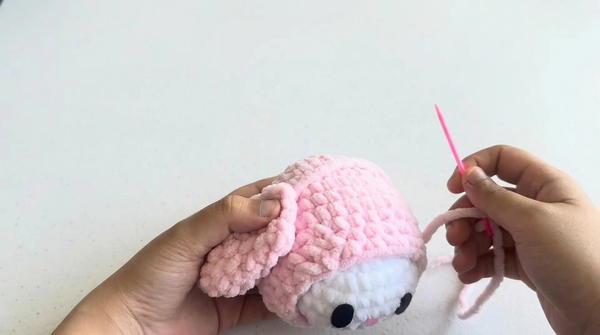
- Stitch the bow under one ear or where desired, anchoring with multiple passes.
- Attach the heart to the front or in the hands, sewing at multiple points for strength.
- Secure the wings to the upper back, angled outward for a cupid effect.
- Use all tails for invisible, tight joins to preserve the plushie's shape and articulation.
The assembled Cupid My Melody stands around 10–13 cm, robust and expressive, with seamless joins where limbs, accessories, and features meet.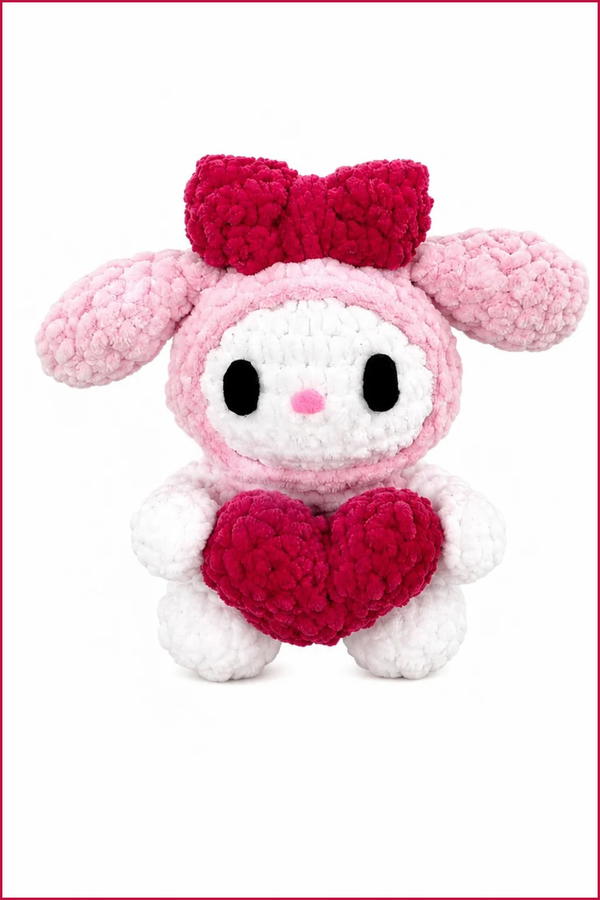
Conclusion
Cupid My Melody Amigurumi synthesizes structured rounds, sculpted details, and expressive embellishments for a plushie both cute and meaningful. The careful dance of shaping, alternating increases/decreases, and skilled finishing ensures each part is instantly recognizable and durable. Its delightful hood, plush heart, cinched bow, and whimsical wings make it a joy for advanced beginners and intermediate crocheters, providing both a sense of accomplishment and a huggable token of adoration.