Celebrate your special day with a free crochet bridal vest pattern that adds elegance and a unique handmade touch to your wedding ensemble.
Elegant and delicate, a well-made vest can transform any outfit with charm and grace. The Free crochet Bridal Vest Pattern brings a fresh and romantic touch to your wardrobe, perfect for special occasions or as a thoughtful gift. TrebleCat Crochet offers a beautiful tutorial that guides you through each step, making this project approachable and enjoyable.
Free Crochet Bridal Vest Pattern – Stylish and Easy to Follow
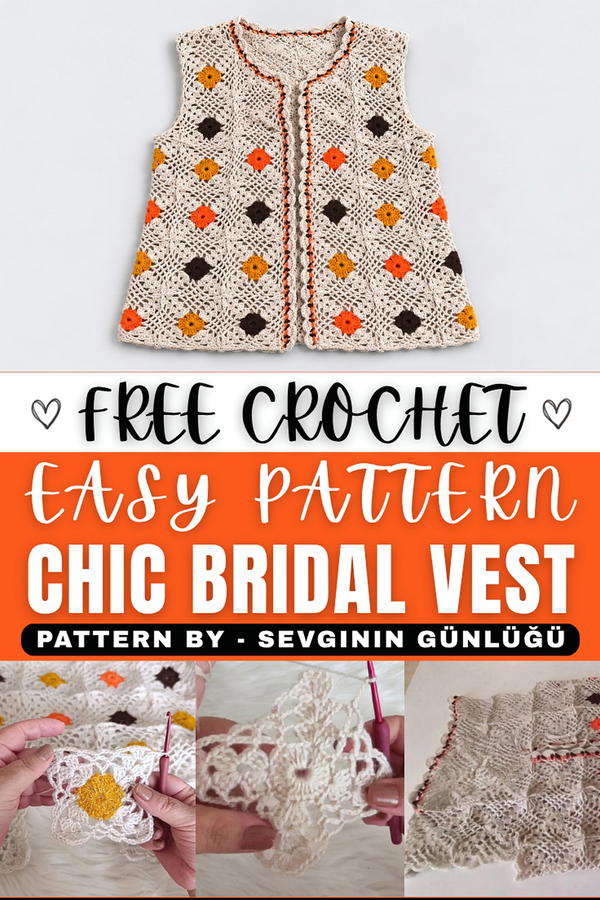
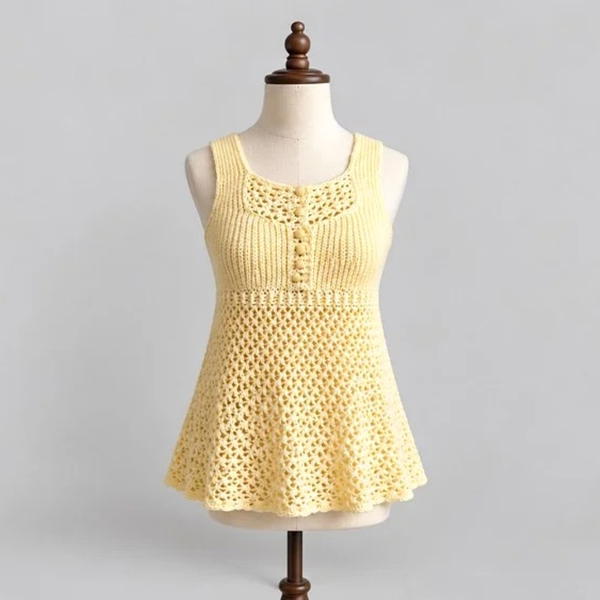
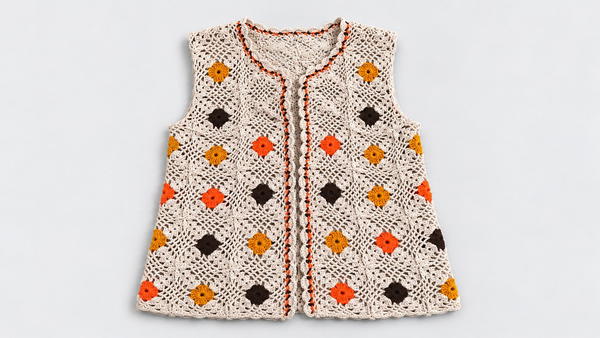
This bridal vest is designed with intricate lacework that creates a light and airy texture, ideal for layering over dresses or blouses. Its soft, flowing shape gently hugs the body, enhancing feminine silhouette while remaining comfortable. The standout design features include fine openwork patterns and subtle scalloped edges, which add sophistication and a handmade feel to the piece.
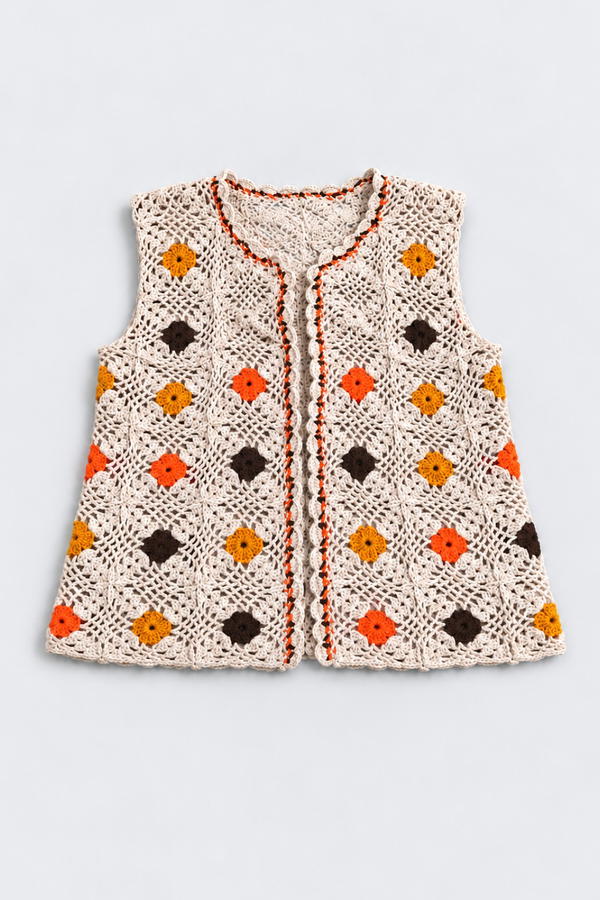
Besides its decorative appeal, this vest provides versatility by complementing both casual and formal attire. It works wonderfully as a meaningful present for weddings, anniversaries, or special celebrations, showing care through a delicate, wearable accessory. The balance between style and ease makes it a delightful addition to any wardrobe.
This project blends beauty and practicality in a timeless design. Its gentle texture, elegant shape, and well-thought details make the Free crochet Bridal Vest Pattern a charming project that anyone can enjoy making and wearing.
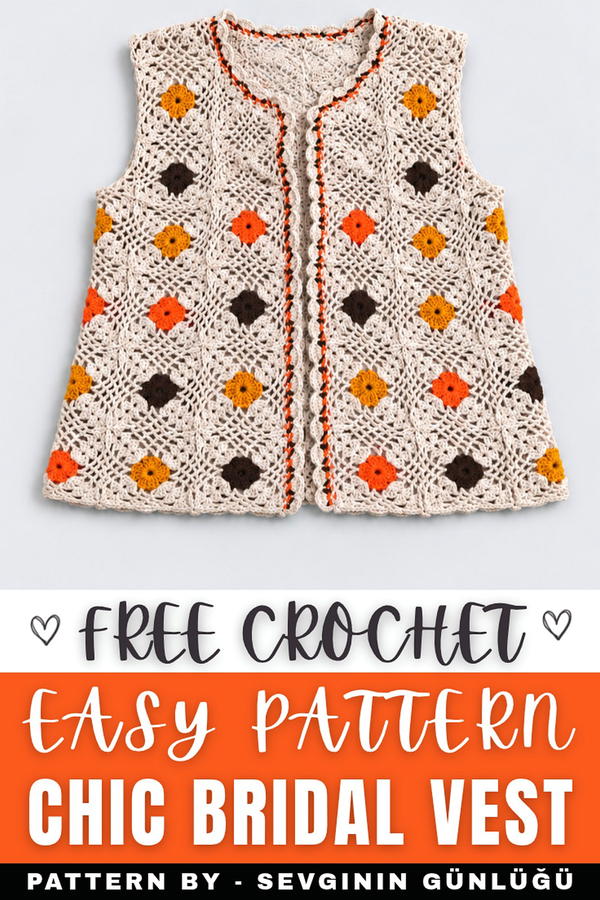
Crochet Pattern: Versatile Motif Vest
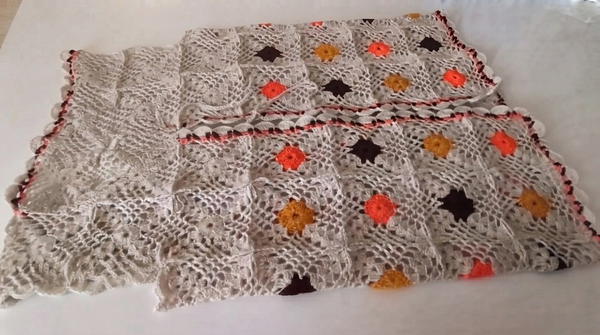
This crochet pattern creates a stunning versatile motif vest using individual squares that can be customized in color and stitched together to suit different design purposes, such as garments, tablecloths, or decorative items. The design features flower-inspired motifs with a lacy, open appearance, making the final piece light, airy, and visually appealing.
Skill Level
This pattern is ideal for intermediate crocheters, as it involves foundation chains, circular motifs, cluster stitches, and joining multiple squares. While beginners may attempt the pattern, prior experience with working in rounds and joins is recommended.
Materials
- Yarn: Two strands of thin yarn or one strand of medium-weight yarn. Choose colors such as white or cream for the background (base color) and accents such as orange, yellow, or brown for the flower centers and petals.
- Crochet Hook: 3mm crochet hook, or a size appropriate to the yarn weight.
- Scissors: To trim yarn ends accurately while crafting.
- Tapestry Needle (optional): Useful for weaving in ends after finishing the motifs.
Special Stitches
- Magic Ring: Begin crocheting in the round with a secure, adjustable center to avoid gaps.
- Cluster Stitch: A combination of multiple double crochets worked into one space, with the final pull-through creating a petal-like texture.
- Double Crochet (DC): Yarn over, insert the hook into the target stitch, yarn over, draw through (three loops on the hook), yarn over and pull through the first two loops, yarn over and pull through the last two loops.
- Single Crochet (SC): Insert the hook into a stitch, yarn over, pull through, then yarn over and pull through both loops.
- Slip Stitch (SL ST): Insert the hook into a stitch, yarn over, and pull through both loops on the hook.
Stitch Abbreviations
- CH: Chain Stitch
- DC: Double Crochet
- SC: Single Crochet
- SL ST: Slip Stitch
- Cluster: Group of stitches crocheted together in the same space.
Useful Tips
- Maintain Stitch Tension: Keep your stitches consistent in size for uniform motifs that fit together perfectly.
- Blocking: Once the motifs are complete, gently block them to set their shape and size for easier joining.
- Color Changes: For clean transitions between colors, fasten off the previous color before attaching the new one.
- Plan the Placement: Lay out motifs before joining to ensure symmetry and alignment across the finished piece.
Pattern Instructions
1. Center Motif Foundation
Round 1:
- Use two strands of thin yarn or one strand of medium-weight yarn with a 3mm crochet hook.
- Form the Ring:
- CH 5 and join into a ring using a SL ST.
- Alternatively, start with a magic ring for a tighter center.
- CH 3 (counts as the first DC). Work 23 DC into the ring (24 stitches total)
- CH 5 and join into a ring using a SL ST.
- Join: Secure the round by joining with a SL ST to the 3rd chain of the starting CH 3
- Fasten off.
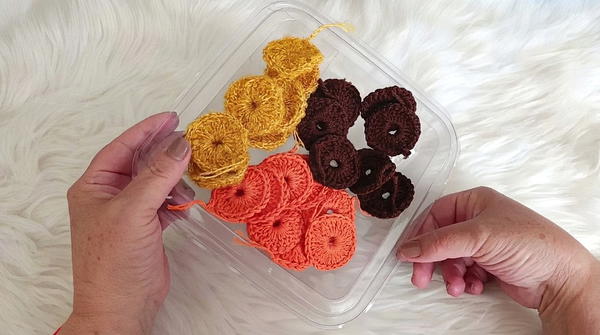
2. Motif Rows 1–4
Row 1:
- Reattach the yarn to any stitch of the foundation circle.
- CH 3 (counts as the first DC), then work 2 DC in the same space.
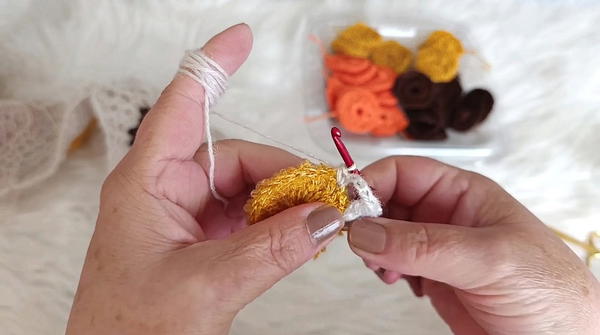
- CH 2 (to form a corner) and work 3 DC in the same space.
- CH 4, skip 2 stitches, then make an SC into the 3rd stitch.
- Repeat this sequence around the circle to create 4 corners separated by CH 4 arches.
- CH 3 (counts as the first DC), then work 2 DC in the same space.
- Join with a SL ST to the top of the starting CH 3.
Row 2:
- Slip Stitch: Move the yarn to the nearest corner space.
- In the corner space, stitch 3 DC, CH 2, 3 DC to form the corner.
- CH 4, SC into the first space, then CH 4 again and SC into the next space.
- End with CH 4 and move to the next corner space, repeating the corner cluster pattern.
- Continue the sequence around the motif and join with a SL ST to close the row.
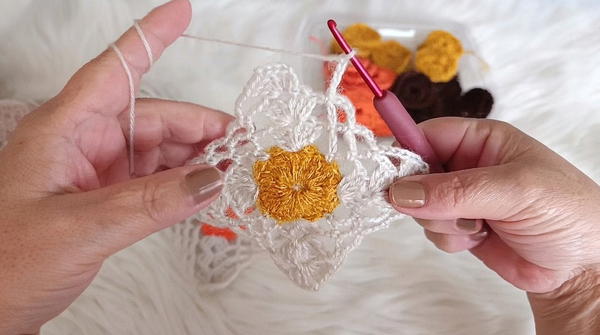
Row 3:
- Maintain the corner cluster pattern in all corners (3 DC, CH 2, 3 DC) while increasing the number of side arches:
- Work 4 CH-4 spaces between corners on each side.
- Ensure symmetrical placement by following the pattern's spacing rules.
Row 4:
- Finalize the motif by continuing the established corner pattern (3 DC, CH 2, 3 DC) with 4 CH-4 spaces per side.
- Maintain even tension to ensure the motif keeps its square shape.
- Join with a SL ST to close the row, and fasten off.
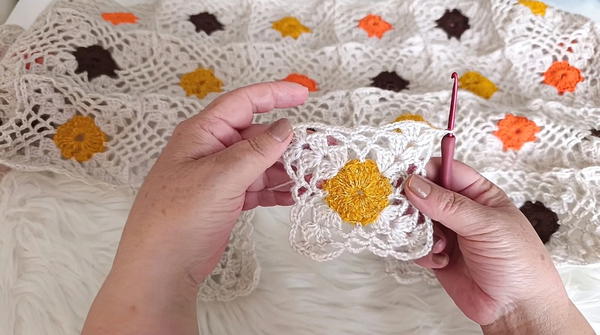
3. Joining Motifs
Completed motifs can be joined seamlessly without sewing, creating larger pieces for your vest or decorative item.
Single-Side Join
- While working the 4th row of a new motif:
- Replace one CH 2 corner space with a SL ST/SC into the CH 2 corner space of the adjacent motif.
- For side arches, join with chains and single crochets: replace one CH 4 space with CH 2, SL ST, CH 2 into the corresponding arch of the adjacent motif.
L-Shaped Join
- For a motif placed at the corner of the vest:
- Join the motif’s three corners to adjacent motifs with SL ST/SC connections.
- Align the motifs carefully to ensure overall symmetry, connecting side arches seamlessly as described in the Single-Side Join.
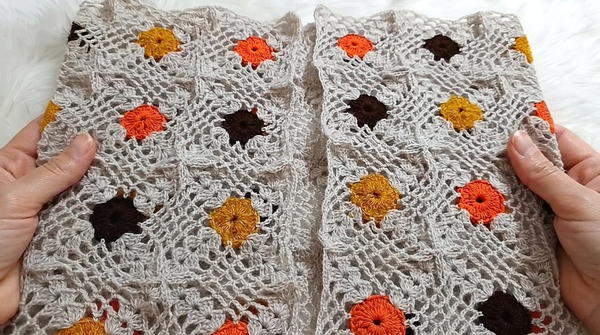
Four-Corner Join
- When joining motifs surrounded on all four sides:
- Replace the CH 2 corner spaces with connections to the corresponding corners of all surrounding motifs.
- Link side arches using CH 2, SL ST, CH 2 spacing into the respective arches of all adjacent motifs.
- Arrange motifs thoughtfully for consistent spacing and alignment.
Conclusion
This crochet pattern creates an elegant and highly adaptable vest using versatile motifs and seamless joins. The "Fall Flower Motif" design lends itself beautifully to garments and home décor, allowing crafters to explore their creativity with color combinations and layout arrangements. With proper tension control and attention to connection techniques, you'll have a finished piece that exudes charm and craftsmanship.