Upgrade your layering game with a stylish crochet vest using our free pattern designed for comfort and versatile fashion all year round.
A comfortable and stylish vest can be a wonderful addition to any wardrobe, offering both warmth and fashion without feeling heavy. This particular design is lightweight and breathable, making it perfect to wear during different seasons. It can be layered over shirts or dresses, adding a charming touch to casual or semi-formal outfits. The technique used to make this vest involves simple and repeatable stitches that create a delicate lace-like texture, allowing air to pass through easily while still providing a nice shape and structure. Many thanks to Sevginin Günlüğü for sharing clear and easy-to-follow instructions, enabling everyone to create this versatile piece with confidence.
Free Crochet Vest Pattern + Tips for Choosing the Best Yarn
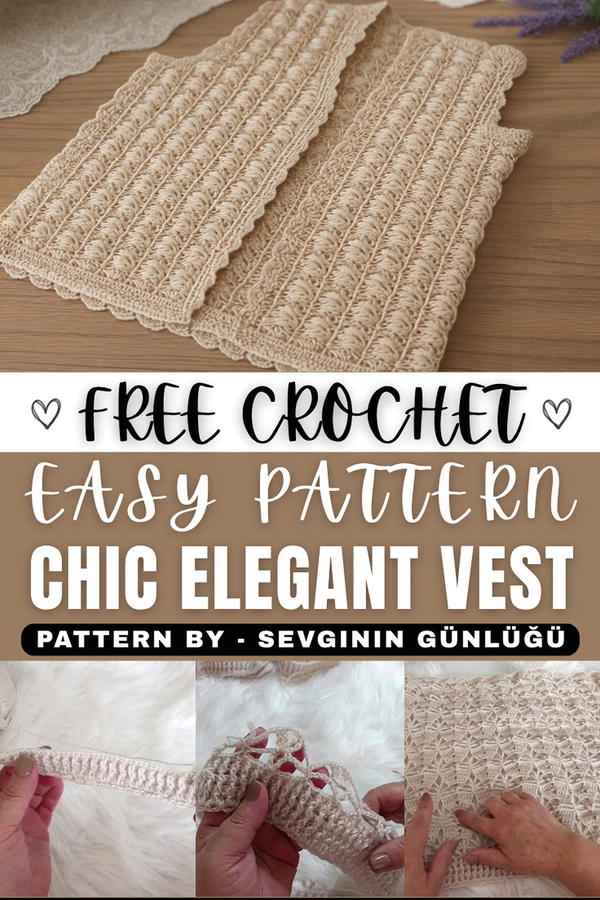
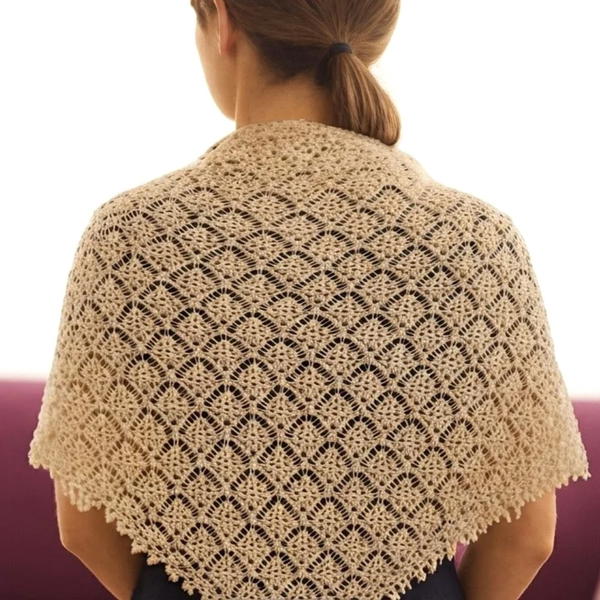
The vest is worked row by row, building a rectangular shape with an open front, which adds comfort and freedom of movement. Its most attractive feature is the elegant pattern of loops and spaces that form a beautiful, airy design resembling gentle waves or leaves. This pattern not only looks pleasing but also gives the vest a soft drape that fits well on the body. The edges are finished carefully to keep the garment neat and lasting, enhancing its overall appearance.
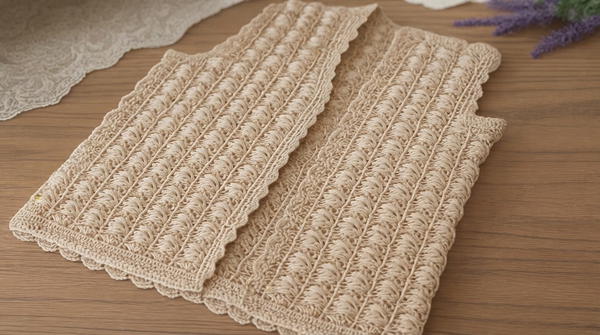
What makes this vest pattern stand out is its perfect combination of simplicity and elegance. It can be made with any yarn type and is easy to adjust to different sizes. This versatility allows everyone to enjoy wearing something handmade that looks modern and feels good all day. The design balances beauty and utility, making it a truly special piece for any closet.
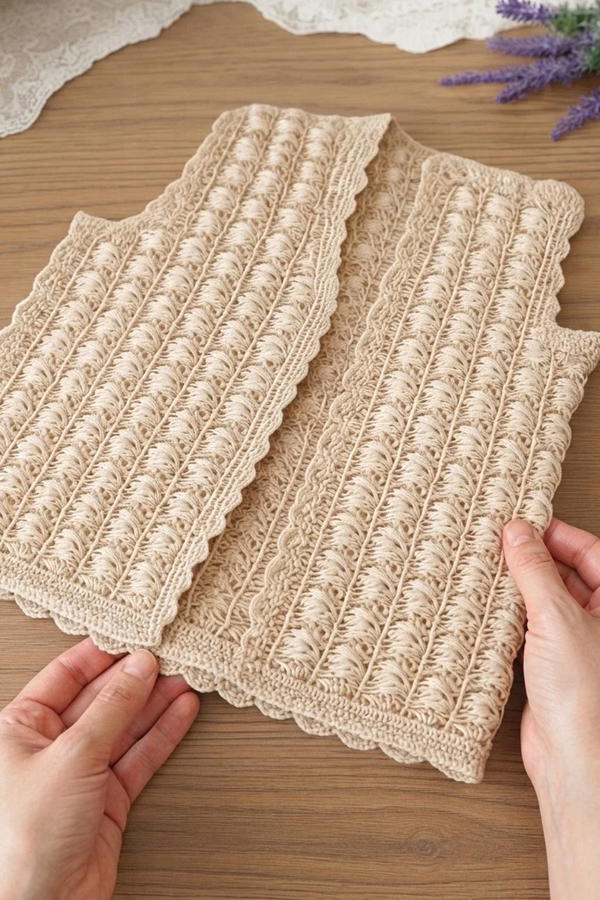
Crochet Vest Pattern
This vest pattern is lightweight, elegant, and especially suited for bridal trousseau designs. Featuring ribbed edges, seamless transitions, and beautifully detailed motifs, the vest is adaptable to different sizes and yarn types. The pattern includes armhole shaping, neckline adjustments, and edge trimmings, allowing for customization to suit your preferences. Ideal for sizes 42–44, the vest stretches both lengthwise and widthwise, making it versatile and comfortable to wear.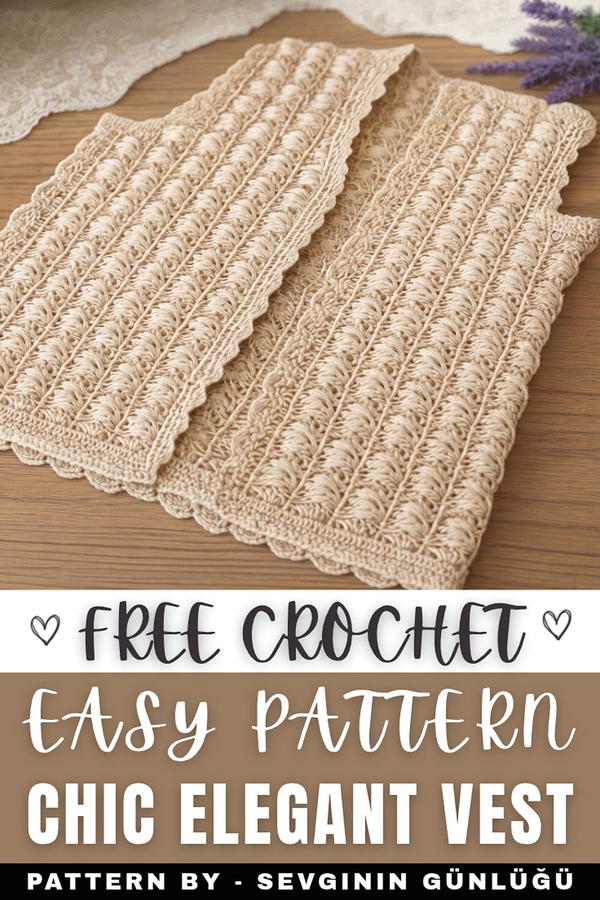
Skill Level
Intermediate
This pattern is suitable for crocheters with experience in creating detailed stitches, managing shaping techniques (armholes and neckline), and working with lace edging.
Materials
- Yarn: Alize Angora Gold
- Thin yarn, 550 meters in length, color number 599.
- Alternative: Any lightweight yarn of your preference.
- Crochet Hook: 3 mm crochet hook (adjust size as needed for your tension and yarn).
- Additional Tools:
- Measuring tape for accurate adjustments.
- Scissors for trimming yarn ends.
- Needle (optional for stitching parts).
Special Stitches Used
- Double Crochet (dc): Yarn over, insert the hook into the stitch, yarn over, pull through, yarn over again, pull through two loops, yarn over again, and pull through the remaining two loops.
- Single Crochet (sc): Insert the hook into the stitch, yarn over, pull up a loop, yarn over again, and pull through both loops on the hook.
- Extended Double Crochet: Yarn over, insert hook, pull up a loop, yarn over, pull through two loops, yarn over again, pull through remaining loops for an elongated stitch.
Stitch Abbreviations
| Abbreviation | Description |
|---|---|
| ch | Chain |
| sc | Single Crochet |
| dc | Double Crochet |
| sl st | Slip Stitch |
| ext-dc | Extended Double Crochet |
Useful Tips
- Sizing Adjustments: This pattern is based on multiples of 12 stitches for the motifs. Adjust width and length accordingly.
- Stretchable Design: The vest’s design stretches both lengthwise and widthwise, making it flexible for various sizes.
- Blocking: Lightly block your finished vest to ensure it sits flat and showcases the motifs elegantly.
- Edge Trim: Use extended stitches, leaving spaces between each group to avoid tightness or puckering.
Pattern Instructions
1. Starting the Back Panel
The back panel is constructed with a ribbed edge and a series of motifs.
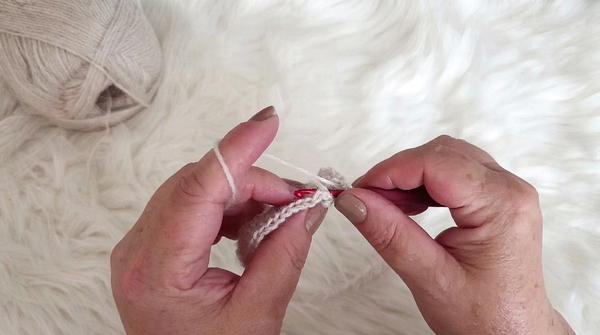
- Foundation Row:
- Chain 10 stitches (ch 10).
- Wrap yarn around the hook twice and work 1 double crochet (dc) into the 4th chain.
- Continue working 1 double crochet into each chain across (total 8 double crochet stitches with the edge chain).
- Round 1 (Ribbing):
- Start ribbing with 3 chains (ch 3) to turn.
- Alternate stitches: work 1 front-facing stitch (insert hook from front) followed by 1 back-facing stitch (insert hook from back).
- Continue alternating between front-facing and back-facing stitches across to achieve a ribbed texture.
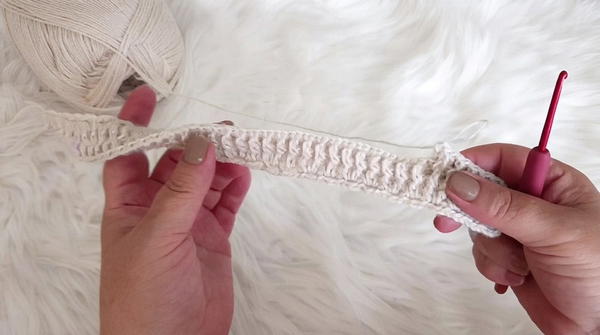
- Repeat Round 1 until you achieve your desired ribbing width.
2. Adding the Motifs
The motifs add texture to the vest body. Each motif consists of double crochet stitches and lace-like spacing.
- Round 2:
- Turn with 4 chains (ch 4).
- Wrap yarn twice (to make tall stitches) and work a double crochet (dc) into the space.
- Chain 5 stitches (ch 5), continue alternating between single crochet and double crochet across the row:
- Single crochet into the 6th stitch.
- Work two double crochets into space, chain 2 stitches, and two more double crochets to form a "V."
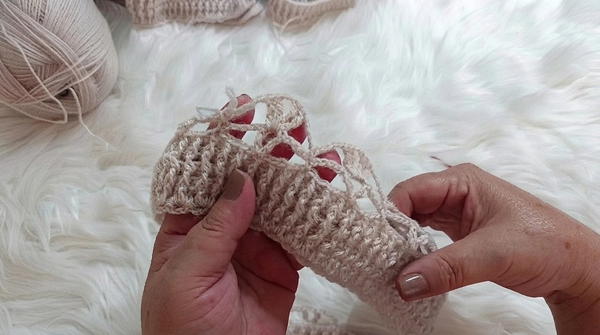
- Repeat until the end of the row.
- Round 3:
- Turn with 3 chains (ch 3).
- For each “V” shape: Work two double crochets into the space, chain 2 stitches, and two double crochets on top.
3. Armhole and Neckline Shaping
- Armhole Decreases:
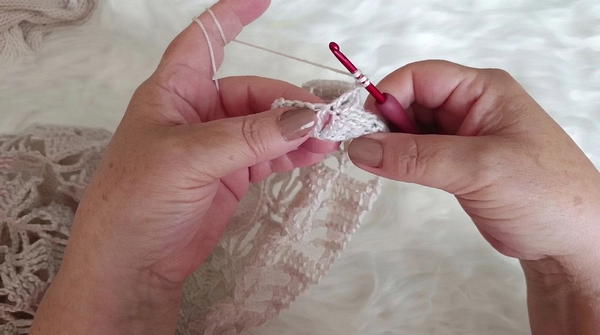
- At the armhole edge, reduce rows by crocheting fewer motifs as you progress. Continue ribbing up to 6 rows, gradually narrowing the width.
- Make a half-motif on the edge to ensure symmetry.
- Neckline Decreases:
- Begin reductions for the neckline after completing the back and two front panels. Adjustments involve transitioning directly to ribbing, reducing motifs accordingly.
4. Joining the Panels
The back and front panels are joined to form the vest.
- Shoulder Seams:
- Lay flat with the right sides facing. Seam using single crochet stitches (or a needle if preferred). Insert hook into the railing tops of both sections. Alternate between chain and single crochet stitches to maintain flexibility.
- Side Seams:
- Crochet stitches along the side edges of the panels, aligning motifs carefully:
- Work chain and single stitches evenly without tightening.
- Crochet stitches along the side edges of the panels, aligning motifs carefully:
5. Edge Trim
The edge trim enhances the vest’s finished look and prevents stretching or fraying.
- Edge Lace Trim:
- Work 8 extended double crochet stitches into the same slot, elongating the first stitch.
- Skip one space, work 1 single crochet (sc) into the next.
- Skip another space, then repeat 8 extended double crochet stitches into the next space.
- Sleeve Edge:
Use the same sequence for the sleeve opening:- Work 1 single crochet into the space, followed by 8 extended double crochets into the next.
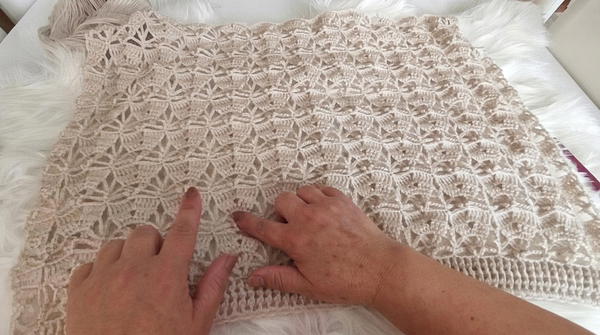
- Work 1 single crochet into the space, followed by 8 extended double crochets into the next.
6. Finishing Touches
Ensure all parts are seamlessly joined and properly aligned.
- Blocking:
Lightly block the vest to refine the texture, straighten edges, and ensure the motifs are emphasized. - Measuring:
Before stretching, measure the vest width (55 cm) and height (68–70 cm) for accuracy.
Conclusion
This crochet vest combines elegant motifs, ribbing, and lace trim to create a timeless garment design that is suitable for multiple occasions. Its stretchable structure and customizable decreases for armholes and neckline allow room for personal adjustments. Whether using this pattern for bridal wear or everyday fashion, the versatile design ensures a rewarding crocheting experience.