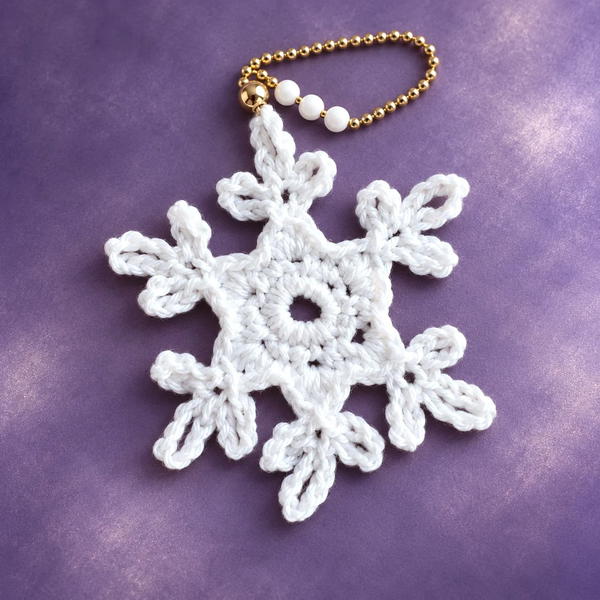
Searching for a charming winter project try our Free Crochet Snowflake Pattern and make intricate snowflakes that bring elegance to any space or gift.
As winter settles in and the first snowflakes begin to twirl gently from the sky, there's something magical about capturing that delicate beauty in your own hands. This project brings the essence of a snowy day inside, transforming a simple thread into an elegant work of art that brightens any space.
Free Crochet Snowflake Pattern – Easy & Beautiful Winter Decor
Sending warm appreciation to Treble Cat Crochet for this enjoyable crochet video. Their seasonal tutorials provide helpful tips and lovely ideas for adding a cheerful handmade feeling to special occasions.
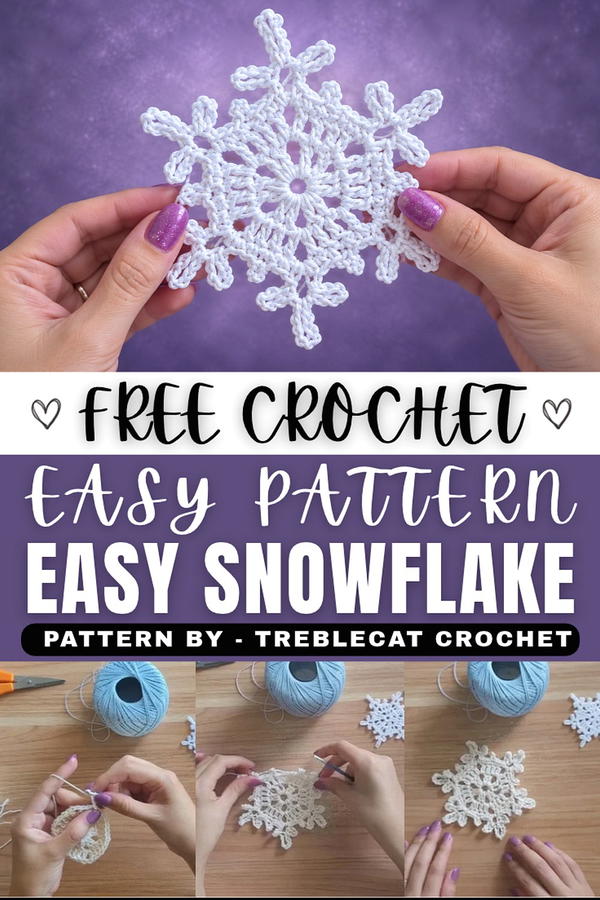
The free crochet snowflake pattern featured in this video tutorial offers a perfect way to celebrate the season with timeless charm. Whether adorning your holiday tree, enhancing a festive wreath, or even creating unique gift accents, these snowflakes lend a touch of wintery wonder to your decorations. Their intricate design pairs beautifully with cozy blankets, twinkling lights, and rustic farmhouse décor, making them versatile for both traditional and modern holiday settings.
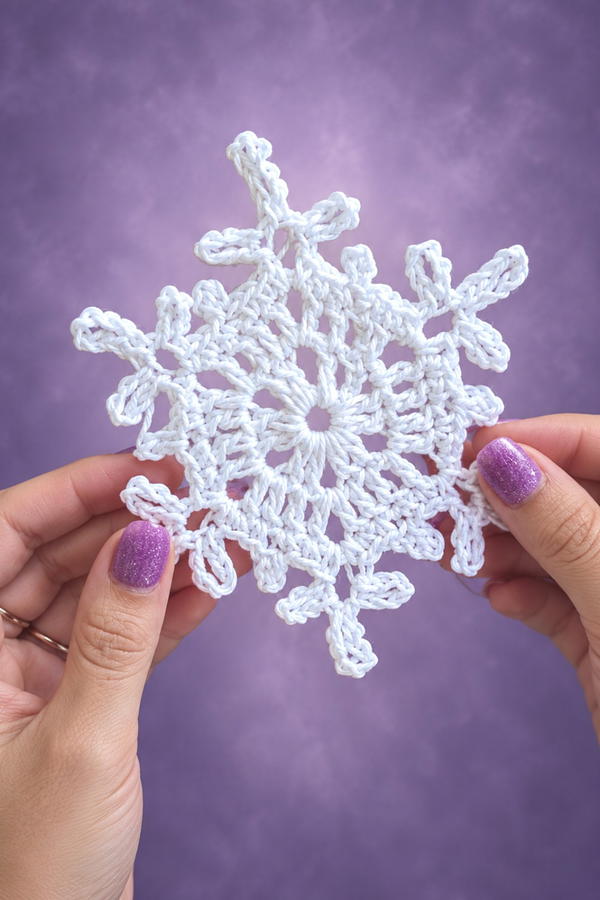
Beyond their visual appeal, these snowflakes boast a lovely texture that balances softness with subtle structure. The interplay of loops and delicate picots mimics the natural symmetry of real snowflakes, while the open, airy design allows each stitch to shine with its own character. This pattern’s standout features include slightly raised points and a refined lacy appearance that make each finished piece feel special and unique.
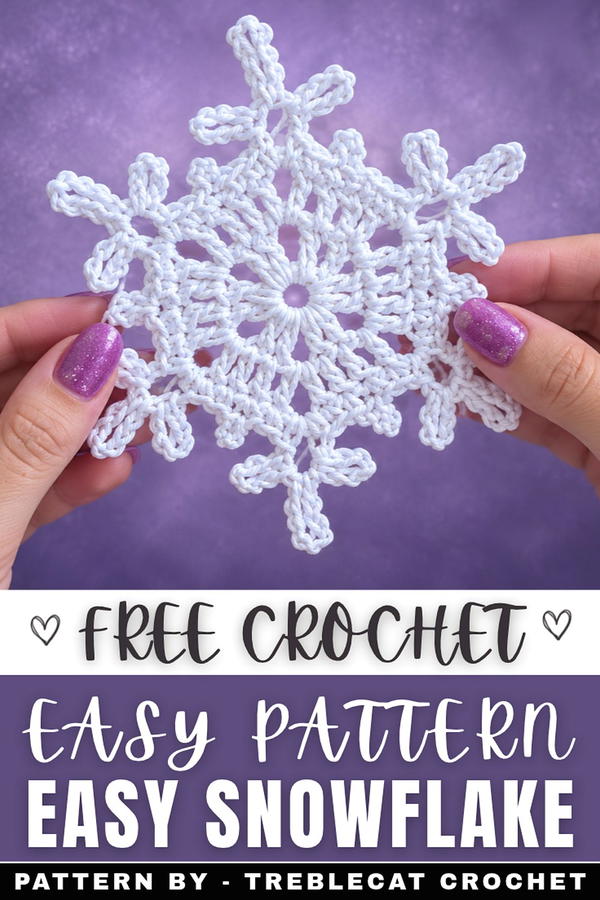
Crochet Snowflake Pattern
This charming crochet snowflake pattern creates a delicate piece perfect for winter decorating, from Christmas tree ornaments to table centerpieces. This project serves as an excellent opportunity for beginners to practice basic crochet techniques while producing a stunning and practical result. With a mix of simple stitches and decorative picots, the snowflake takes on its characteristic points, further emphasized through the process of blocking to amplify its intricate details and symmetrical design.
Skill Level
Beginner to Intermediate
This pattern is suitable for beginners familiar with basic crochet skills such as chain, single crochet, and double crochet stitches, as well as working in the round. Decorative techniques, such as creating picots and blocking to set the final design, elevate this project to a rewarding yet simple skill-building opportunity.
Materials
- Yarn: Worsted weight cotton yarn (white, silver, or any color to suit your winter theme).
- Crochet Hook: 4.5 mm crochet hook.
- Tools:
- Scissors.
- Tapestry needle for weaving in ends.
- Blocking tools: pins, foam board or matboard.
- Spray bottle filled with soapy water (optional for blocking).
Special Stitches and Techniques
- Slip Stitch (sl st): Used to join rounds or secure sections in place.
- Chain Stitch (ch): Foundation and spacing stitch, fundamental to most crochet patterns.
- Single Crochet (sc): A basic stitch that forms dense, secure fabric.
- Half Double Crochet (hdc): Slightly taller than single crochet, useful for building height and structure.
- Double Crochet (dc): Taller than hdc and commonly used to create openwork and texture.
- Picot: Decorative loop formed by chaining 6 or 8 stitches and slip stitching into the first chain.
- Blocking: A finishing technique that defines the shape and enhances the overall appearance of the snowflake.
Stitch Abbreviations
| Abbreviation | Meaning |
|---|---|
| ch | Chain |
| sc | Single crochet |
| hdc | Half double crochet |
| dc | Double crochet |
| sl st | Slip stitch |
| picot | Chain 6 (or 8), slip stitch to the first chain |
Useful Tips
- Tension: Maintaining consistent tension ensures uniform stitches and a well-shaped snowflake.
- Stitch markers: Place a marker at the beginning of each round if necessary to keep your place.
- Picot Design: Be precise with chain counts when making picots as they are vital for symmetrical points.
- Blocking: This step is crucial for enhancing and defining the snowflake’s structure. Use plenty of pins to hold the shape during drying.
Pattern Instructions
Round 1: The Foundation
- Make a slip knot and chain 6.
- Join the first and last chain with a slip stitch to form a small ring.
- Chain 1 (counts as the first single crochet of the round).
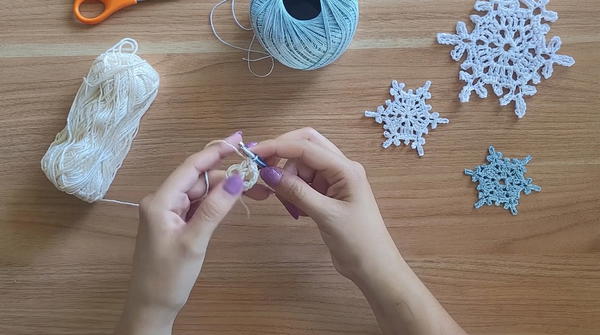
- Work 11 single crochet (sc) stitches directly into the center of the ring (including the chain-1, this makes 12 stitches in total).
- Join the round with a slip stitch to the top of the starting chain.
Round 2: Creating the Gaps
- Chain 1.
- Single crochet into the first stitch.
- Chain 2, skip to the next stitch, and single crochet into it.
- Repeat this sequence — [sc, ch 2, sc] — around the entire ring. You should create 6 evenly spaced chain-2 gaps between single crochet stitches.
- Join the round with a slip stitch into the first single crochet.
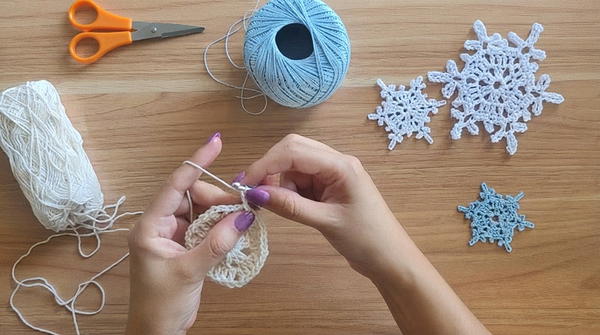
Round 3: Snowflake Arms
Part 1: Building the Arm Base:
- Chain 1.
- Single crochet into the next stitch.
- In the first chain-2 space:
- Work 1 half double crochet (hdc).
- Work 1 double crochet (dc).
Part 2: Creating the Decorative Picot Points:
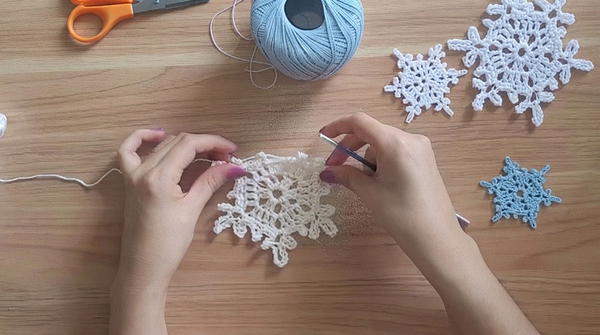
- Chain 6, then slip stitch into the first chain to form a small loop (the first picot).
- Chain 8, slip stitch again into the base of the first chain to create a larger picot loop.
- Chain 6, then slip stitch into the same base to form the third and final picot on this arm.
Part 3: Completing the Arm Base:
- After finishing the picot points, return to the chain-2 gap:
- Work 1 double crochet, followed by 1 half double crochet.
Part 4: Moving to the Next Gap:
- Slip stitch into the next single crochet from Round 2 to attach the snowflake arm.
Repeat the Entire Arm Sequence:
- Repeat this entire structure in each of the 6 chain-2 gaps around the ring:
- Build the arm base with hdc and dc stitches.
- Form the 3 layered picot points.
- Finish the arm base and attach it with a slip stitch to move to the next gap.
Final Steps:
- After completing the last arm, join with a slip stitch to the starting stitch of the round.
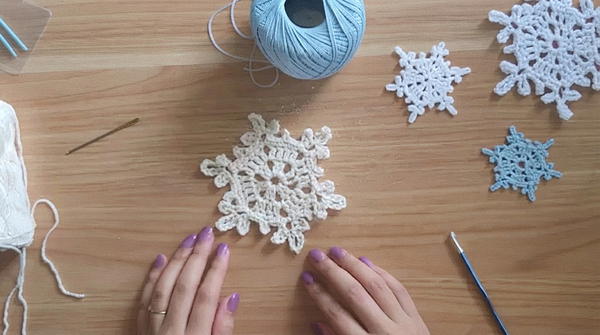
- Fasten off your yarn securely, leaving a small tail.
- Use a tapestry needle to weave in the loose ends neatly.
Blocking Instructions
Blocking is crucial to achieving the crisp and symmetrical structure of your snowflake. Without this step, the stitches may appear uneven, and the shape will not hold its delicate points.
Steps for Blocking:
- Prepare for Blocking:
- Lightly dampen the snowflake using a spray bottle filled with soapy water, or briefly soak it in a bowl of water mixed with a small amount of mild soap. Be sure to wring out any excess moisture carefully without twisting the fabric.
- Shape the Snowflake:
- Place the damp snowflake flat on a foam board, matboard, or a similarly soft surface.
- Gently stretch the snowflake, focusing on pulling, straightening, and aligning the arms and points so they lie evenly.
- Use pins to secure each point and arm in place. Adjust the alignment as necessary to ensure the snowflake is symmetrical.
- Let It Dry:
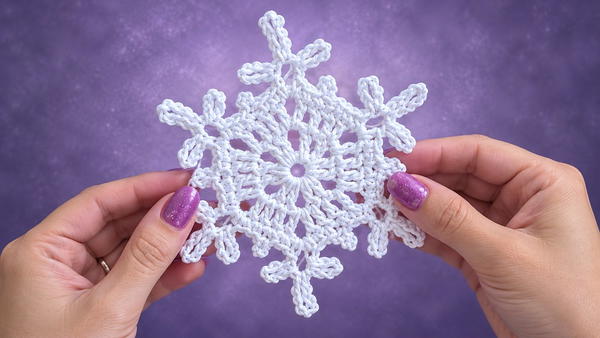
- Allow the snowflake to air-dry for 24 hours or until completely dry before removing the pins. This process sets the fibers and helps maintain the shape.
- Allow the snowflake to air-dry for 24 hours or until completely dry before removing the pins. This process sets the fibers and helps maintain the shape.
Conclusion
This detailed crochet snowflake pattern is a delightful mix of structure, craftsmanship, and elegance. The combination of simple stitches, gaps, and decorative picots creates a design that is symmetrical and visually stunning. Blocking ensures that the snowflake looks polished and crisp, making it ideal for ornaments, table decorations, or seasonal accents. With some patience and attention to detail, this project offers a rewarding experience for crocheters of all levels while providing a keepsake that celebrates the beauty of winter.