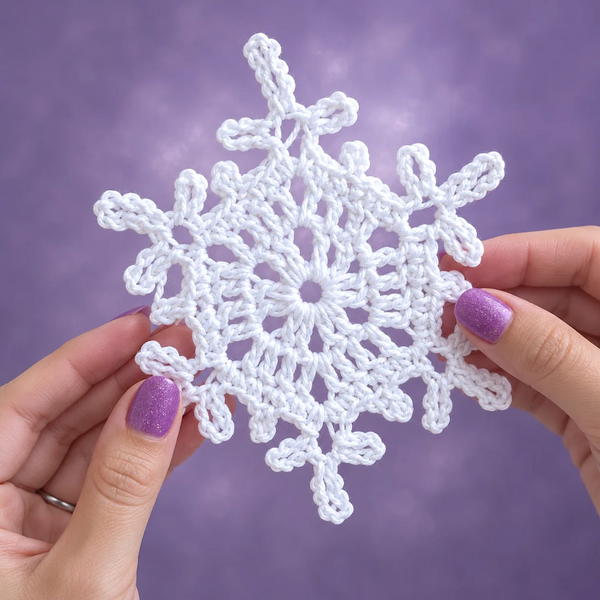
Celebrate the season by making stunning crochet snowflake with our free pattern a simple and beautiful project for winter decoration lovers.
Catching a snowflake on your glove, marveling at its unique beauty, now picture recreating that wonder with yarn! This free crochet snowflake pattern is your ticket to adding a sprinkle of winter magic to your décor without braving the cold.
Beginner’s Free Crochet Snowflake Pattern – Easy & Fun Project
Perfect for brightening up your holiday celebrations, these delicate snowflakes make fantastic ornaments, charming gift toppers, or even stylish window decorations that dance with the light. Their crisp, frosty appearance pairs effortlessly with festive colors, cozy knits, and sparkling lights, bringing an extra layer of charm to any seasonal setup.
This wonderful tutorial comes from the talented creator behind Treble Cat Crochet. Many thanks for sharing inspiring seasonal decoration ideas that encourage viewers to try something special for their homes.
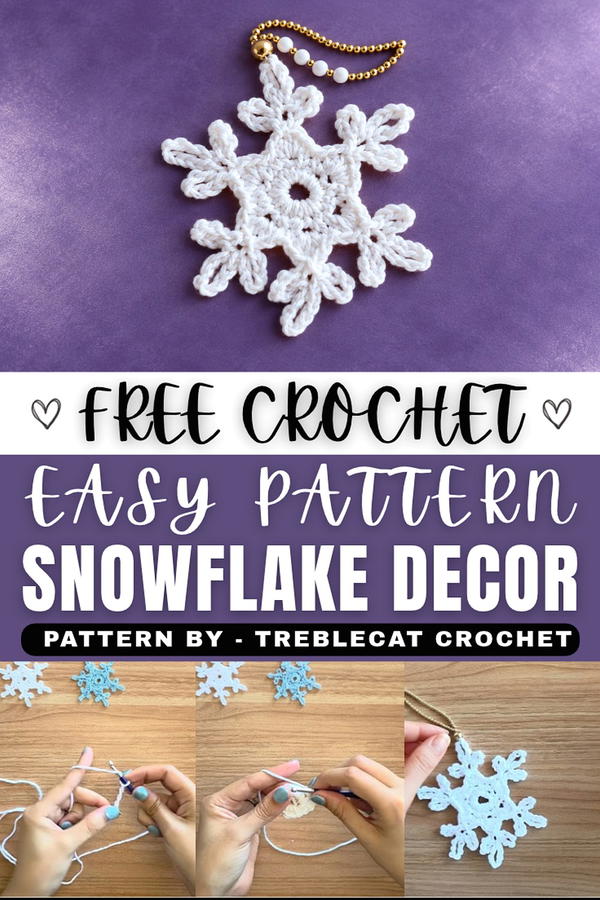
What makes these snowflakes truly special is their delightful texture—soft yet structured, with intricate loops and spikes that mimic the natural geometry of winter’s finest flakes. The design cleverly balances open spaces and detailed stitches, creating a lacy, elegant effect that’s both eye-catching and sophisticated without being overwhelming.
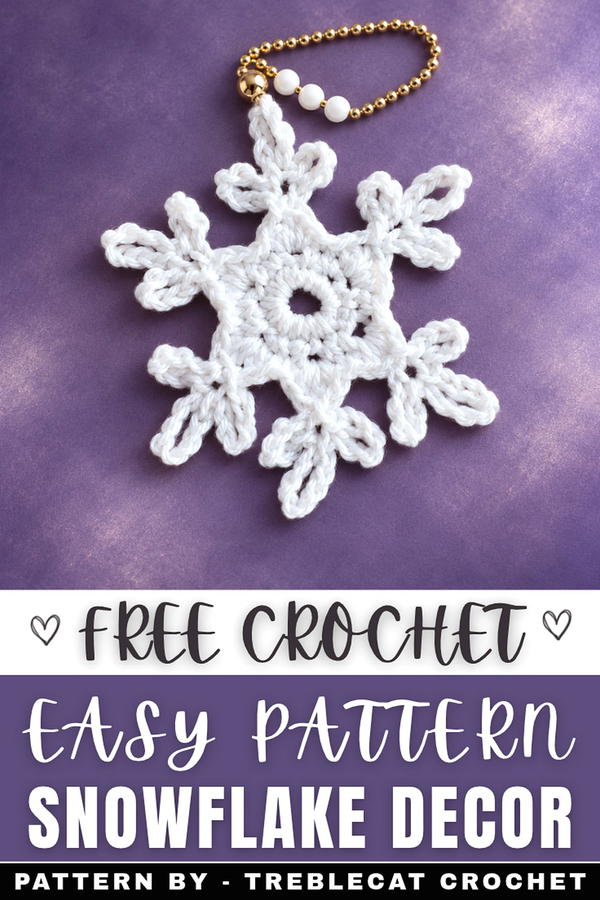
Crochet Snowflake Pattern
This crochet snowflake pattern offers a simple yet stunning design perfect for holiday decorations, winter-themed accents, or festive ornaments. The snowflake is worked in three rounds, starting from a foundational ring, followed by creating decorative gaps, and finishing with beautiful, intricate snowflake arms. The details are brought to life with blocking, which enhances the structure for a crisp, refined look. Using worsted weight cotton yarn and a 4.5 mm crochet hook, this pattern is both beginner-friendly and engaging for intermediate crocheters.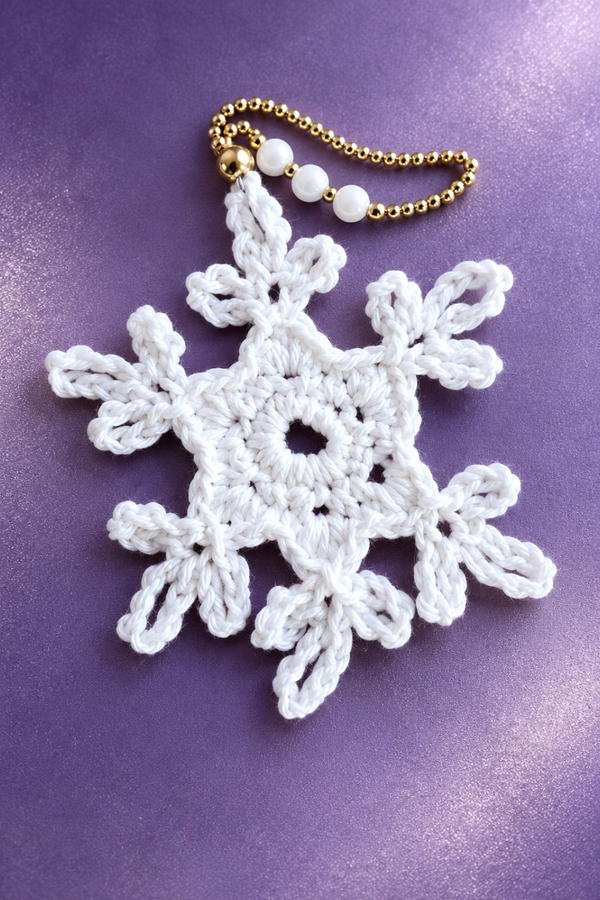
Skill Level
Beginner to Intermediate
This pattern is ideal for beginners who have mastered basic stitches (single crochet, half double crochet, and double crochet) and are ready to advance their skills. The use of decorative elements like picots and proper blocking adds a skill-building opportunity.
Materials
- Yarn: Worsted weight cotton yarn (white or any desired color).
- Hook: 4.5 mm crochet hook.
- Tools:
- Scissors.
- Tapestry needle for weaving in ends.
- Blocking materials: foam board or corkboard, stainless steel pins, and a spray bottle with water or a mild soapy solution.
Special Stitches
- Slip Stitch (sl st): Used to join rounds and secure stitches.
- Chain Stitch (ch): The foundation and spacer stitch in crochet.
- Single Crochet (sc): A compact and dense stitch forming the foundational base.
- Half Double Crochet (hdc): A medium-height stitch used for smooth transitions.
- Double Crochet (dc): Taller and more open than hdc; ideal for creating height and texture.
- Picot: A decorative point formed by chaining and slip-stitching back into the original chain to add detail.
Stitch Abbreviations
| Abbreviation | Meaning |
|---|---|
| ch | Chain |
| sc | Single crochet |
| hdc | Half double crochet |
| dc | Double crochet |
| sl st | Slip stitch |
| picot | Chain loop for decorative points |
Useful Tips
- Keep stitch tension consistent throughout the pattern to ensure uniformity in shape.
- Place markers at the beginning of each round if necessary to avoid losing your place.
- Be precise with picot stitches to create sharp, well-defined points on the snowflake.
- For blocking, take your time to pin out all arms and points evenly to ensure a symmetrical final product.
- Adjust yarn and hook size for smaller or larger snowflakes to suit your needs.
Pattern Instructions
Round 1: The Foundation
- Start with a slip knot and chain 6.
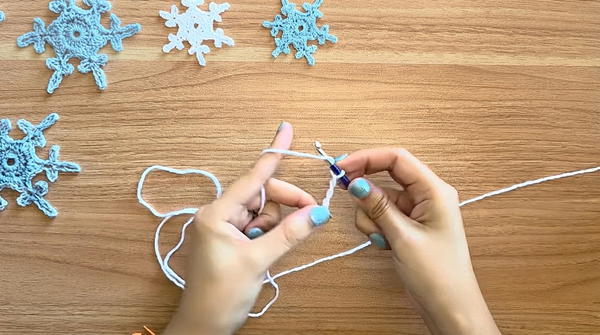
- Join the 6th chain to the 1st chain with a slip stitch to form a small ring.
- Chain 1 (this counts as the first single crochet).
- Work 11 single crochet (sc) stitches into the center of the ring, for a total of 12 stitches (including the chain-1).
- Join with a slip stitch to the top of the starting chain to close the round.
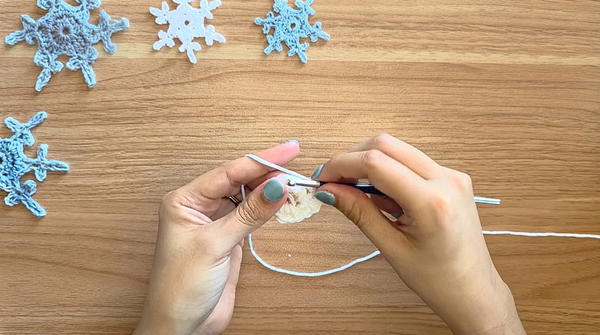
Round 2: Creating the Gaps
- Chain 1 (serves as the first single crochet).
- Single crochet into the next stitch.
- Chain 2, then single crochet into the next stitch.
- Repeat the sequence [single crochet, chain 2] around the entire ring, forming 6 evenly spaced gaps.
- Join with a slip stitch to the top of the first single crochet of the round.
Round 3: The Snowflake Arms
Part 1: Building the Arm Base
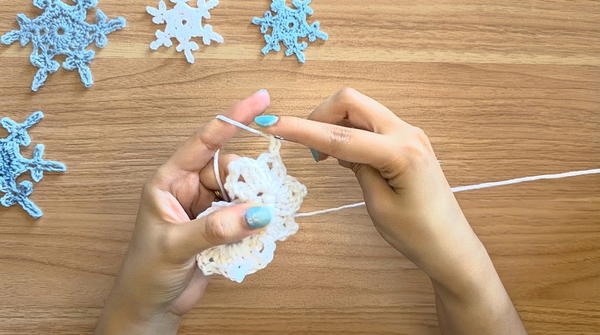
- Chain 1, then single crochet into the next stitch to position your hook in place.
- In the first chain-2 gap:
- Work 1 half double crochet (hdc).
- Work 1 double crochet (dc).
Part 2: Creating the Decorative Points
- Chain 6, then slip stitch into the 1st chain to form a small loop (picot).
- Chain 8, then slip stitch into the same chain for a larger picot.
- Chain 6, then slip stitch again into the same chain to form the final picot, creating a decorative set of layered points.
Part 3: Completing the Arm Base
- Return to the same chain-2 gap:
- Work another double crochet (dc), followed by a half double crochet (hdc).
- Slip stitch into the next single crochet stitch to attach the completed arm.
Part 4: Repeating the Arm Sequence
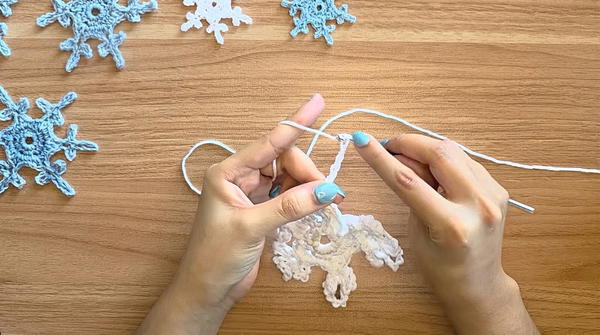
- Repeat the full arm sequence — base stitches (hdc and dc), picot points, and attachment — in each of the other 5 chain-2 gaps around the ring.
- Ensure all six snowflake arms are evenly sized and spaced for symmetry.
Final Step:
- After completing the last arm, join with a slip stitch to the starting chain of the round.
- Fasten off the yarn and leave a short tail.
- Use the tapestry needle to securely weave in the loose ends, making sure all work holds together.
Finishing: Blocking the Snowflake
Blocking is essential to finalize the shape of the snowflake and to emphasize the crisp points and openwork design.
- Dampen the Snowflake:
- Lightly mist the finished snowflake with water or a mild soapy solution using a spray bottle. Avoid soaking it completely, as cotton yarn may stretch when overly wet.
- Shape the Snowflake:
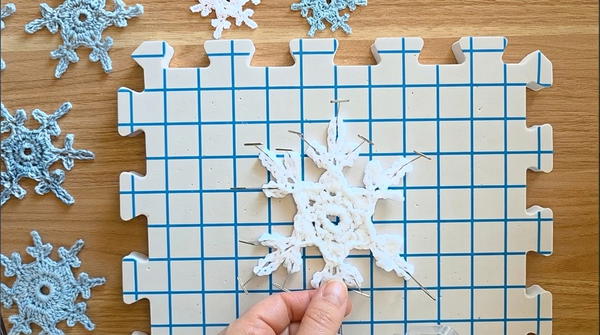
- Lay the snowflake on a flat surface, such as a foam board or corkboard.
- Stretch out each arm and point carefully to achieve symmetry.
- Pin each point securely, adjusting as needed to ensure the snowflake appears balanced and evenly shaped.
- Allow to Dry:
- Leave the snowflake pinned in place for 12–24 hours or until it is thoroughly dry. Ensure that it is completely set before unpinning.
- Optional Stiffening:
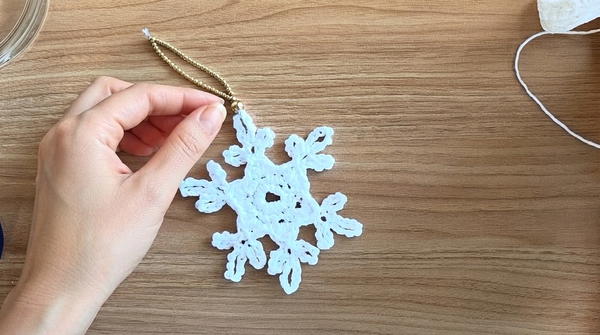
- If desired for ornaments or decorations, apply a diluted fabric stiffener during blocking.
- If desired for ornaments or decorations, apply a diluted fabric stiffener during blocking.
Conclusion
This crochet snowflake pattern results in a delightful seasonal accent that balances simplicity with intricate detailing. Its combination of foundational stitches and decorative picot points makes it both a beginner-friendly and engaging project for more experienced crocheters. Blocking is the finishing touch that transforms the snowflake into a polished design, ready to be displayed as a festive ornament or elegant winter decoration. With its adaptable size and timeless design, this piece is a versatile addition to your crochet repertoire.