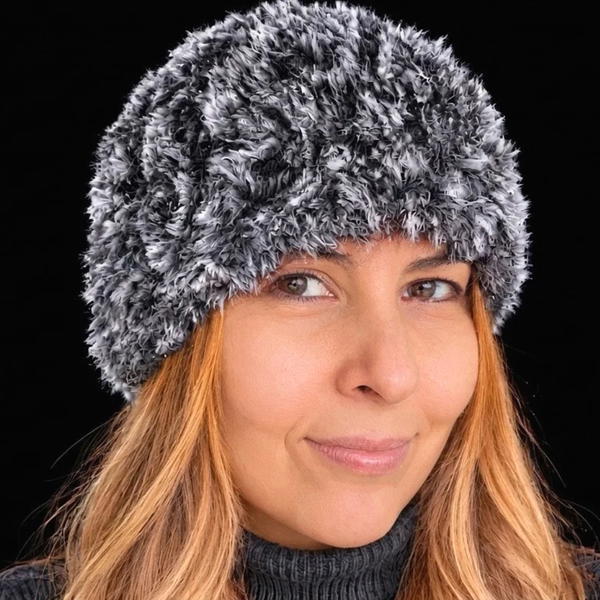
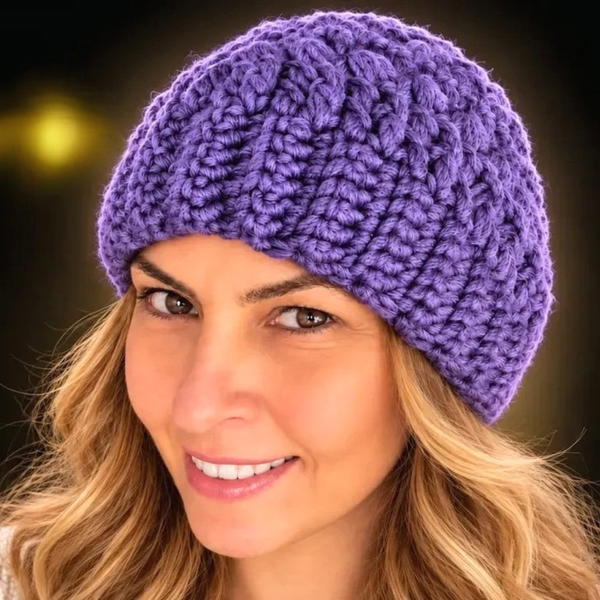
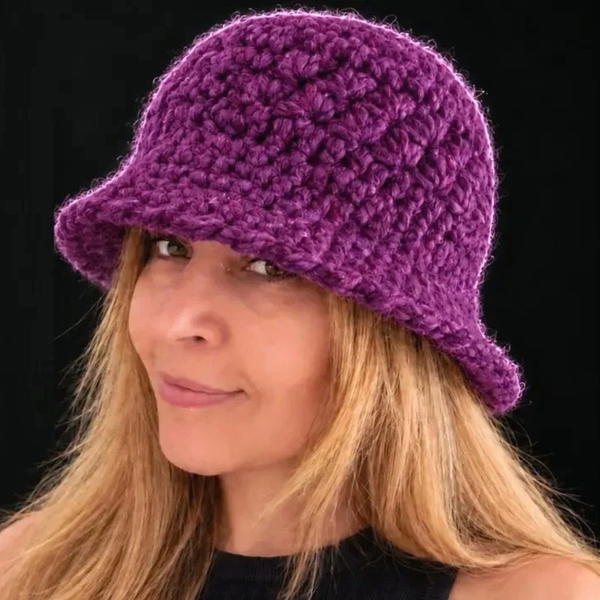
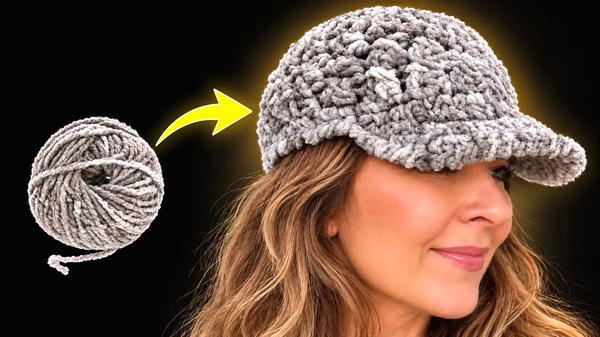
Top off your look with a free crochet peaked cap pattern that’s stylish, easy to make, and perfect for adding flair to any outfit or season.
On crisp, breezy days when you want to keep the sun out of your eyes without sacrificing style, a well-designed cap becomes an essential accessory. The Free Crochet Peaked Cap pattern offers a perfect blend of fashion and function, designed to provide comfort and a flattering fit through all seasons. Whether you’re heading out for a casual walk, running errands, or enjoying outdoor activities, this cap adds a charming, sporty touch to your outfit.
Easy Free Crochet Peaked Cap Pattern | Lightweight Headwear
Special Thanks to the Owner
A special thank you to the owner of Zehranın Atölyesi for sharing such inspiring creative work. We respect the creator's originality and give full credit for the content presented on the channel. We appreciate the talent and dedication behind these projects and encourage our readers to explore more creations through the original YouTube channel.
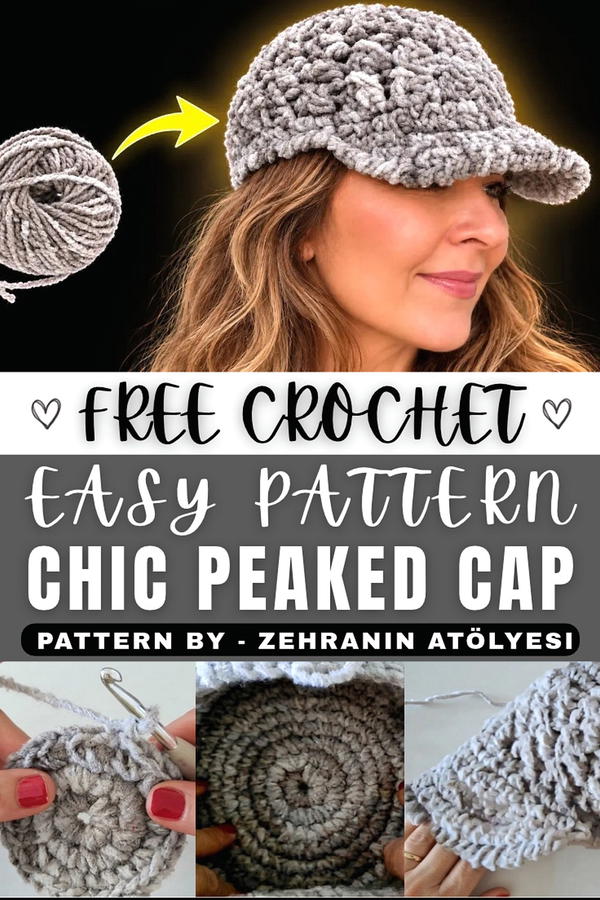
This design features a classic peaked cap silhouette, delivering an effortlessly stylish appeal. Its structured body and defined brim work together to frame the face beautifully, while offering practical sun protection. The cap pairs wonderfully with casual jackets, denim, or even sporty ensembles, making it a versatile addition to any wardrobe.
Made using medium-weight yarn with specific hook sizes for the body and brim, the texture balances softness and sturdiness. The stitch work creates a dense yet flexible fabric that comfortably molds to your head. Standout elements include carefully shaped increases that form a smooth crown and a well-constructed brim that maintains its shape, distinguishing this piece from standard hats.
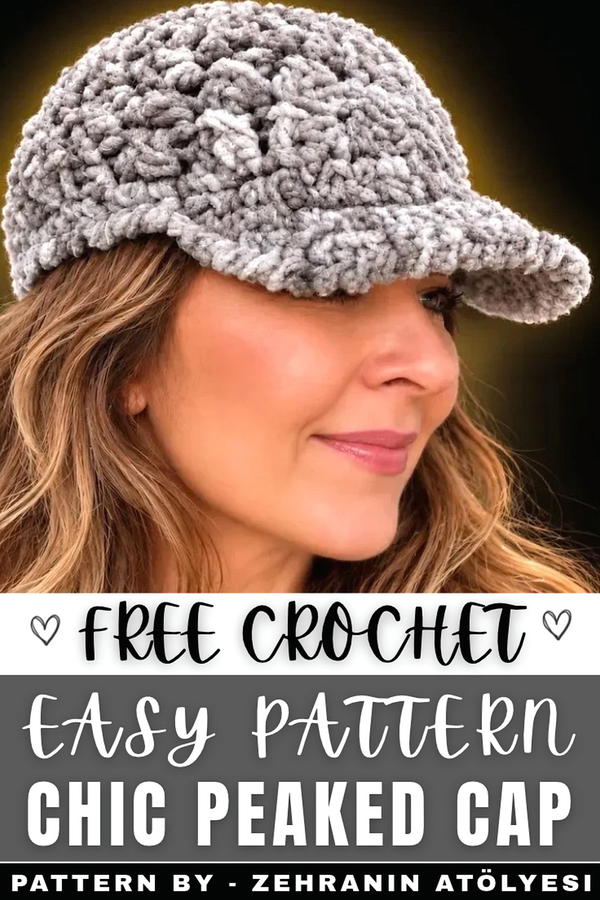
Winter Crochet Cap with Brim
This winter crochet cap is both functional and stylish, featuring a snug top section, dense body, and structured brim. Made with winter-appropriate yarn, the cap is warm and durable—perfect for cold weather. This pattern includes detailed instructions for the top section, body, and brim. The clean and modern design makes this cap a great option for personal use or gifting.
Skill Level
Intermediate
This pattern requires familiarity with foundational crochet techniques such as magic ring, single crochet, double crochet, and reverse single crochet (crab stitch). The brim section uses increases and turning rows, making it slightly more advanced.
Materials
- Yarn:
- Winter-appropriate weight yarn (details can be adapted based on your preferred yarn).
- Hooks:
- 7 mm crochet hook for the top section and body.
- 5 mm crochet hook for the brim.
- Additional Tools:
- Stitch markers: Essential for marking brim placement and keeping track of row beginnings.
- Tapestry needle: For weaving in ends.
- Scissors.
Special Stitches
1. Magic Ring:
- Form a loop with the yarn, insert the hook into the loop, yarn over, and pull up a loop. Work your starting stitches into the loop and pull the yarn tail tight to close the circle.
2. Single Crochet (SC):
- Insert the hook into the stitch, yarn over, pull up a loop (two loops on the hook). Yarn over, pull through both loops.
3. Double Crochet (DC):
- Yarn over, insert hook into the stitch, yarn over, and pull up a loop (three loops on the hook). Yarn over, pull through the first two loops, yarn over again, pull through the remaining two loops.
4. Reverse Single Crochet (Crab Stitch):
- Work single crochet stitches in reverse (right to left for right-handed crocheters). Insert the hook into the previous stitch, yarn over, pull up a loop, yarn over again, and pull through both loops.
Stitch Abbreviations
| Abbreviation | Description |
|---|---|
| ch | Chain |
| SC | Single Crochet |
| DC | Double Crochet |
| st(s) | Stitch(es) |
| sp | Space |
| inc | Increase (2 stitches in one stitch) |
Useful Tips
- Consistent Tension: Keep consistent tension throughout the project to ensure uniform stitches, especially when transitioning between the top section, body, and brim.
- Placement Markers: Use stitch markers for the brim placement and to track increases, especially if using textured yarn that may obscure stitches.
- Check Fit: After completing the body section, check the fit of the hat before starting the brim to ensure it suits your preferences.
- Density Adjustment: If the double crochet stitches in the body are too dense or loose, adjust by changing the hook size slightly.
- Brim Structure: The brim can be widened or shortened by adding or reducing rows based on your personal style. Remember to distribute increases evenly for shape maintenance.
Pattern Instructions
Top Section
This section creates the snug, rounded crown of the cap.
Foundation
- Create a magic ring.
- Work 10 SC stitches into the ring. Pull the yarn tail tight to close the center.
Row 1: Increase Round
- Work 2 SC stitches in each stitch from the previous round.
- Total: 20 stitches.
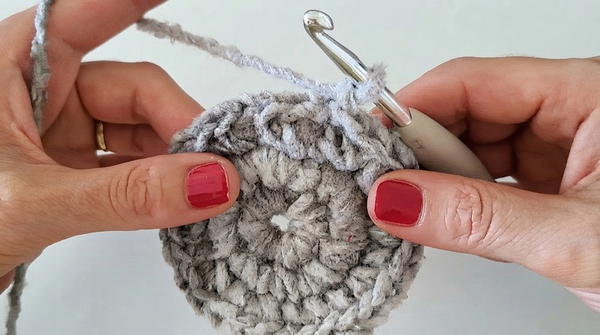
- Total: 20 stitches.
Row 2: Increase Round
- Alternate: 1 inc (2 SC in one stitch), 1 SC. Repeat around the row.
- Total: 30 stitches.
Row 3: Straight Round
- Work 1 SC into each stitch around. Maintain 30 stitches total.
Row 4: Increase Round
- Alternate: 2 SC, 1 inc (2 SC in one stitch). Repeat around the row.
- Total: 40 stitches.
Row 5: Increase Round
- Alternate: 3 SC, 1 inc (2 SC in one stitch). Repeat around the row.
- Total: 50 stitches.
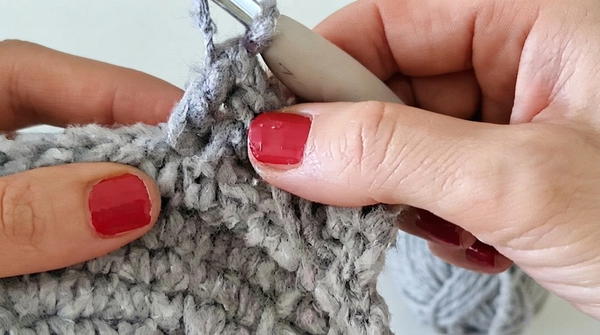
- Total: 50 stitches.
Row 6: Straight Round
- Work 1 SC into each stitch around. Maintain 50 stitches total.
Row 7: Increase Round
- Alternate: 4 SC, 1 inc (2 SC in one stitch). Repeat around the row.
- Total: 60 stitches.
Row 8: Straight Round
- Work 1 SC into each stitch around. Maintain 60 stitches total.
Body Section
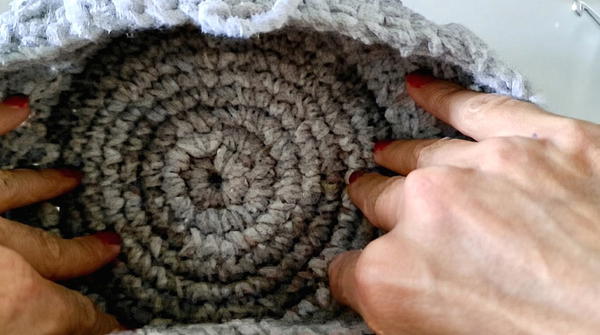
This section adds depth to the cap and is worked with a textured pattern using double crochet stitches.
Row 1:
- Chain 2. Skip the base stitch, then work DC stitches into the spaces between the stitches of the previous row. Pull loops through the "gaps" of the last row to maintain the design's density.
Row 2:
- Continue with the textured double crochet pattern, working evenly around the row.
Row 3:
- Repeat the pattern as in previous rows, with a consistent DC stitch in each space.
Row 4:
- Finish the body section with 1 SC in each stitch, totaling 60 SC stitches.
Brim Section
The brim adds structure and a practical visor to the cap.
Preparation:
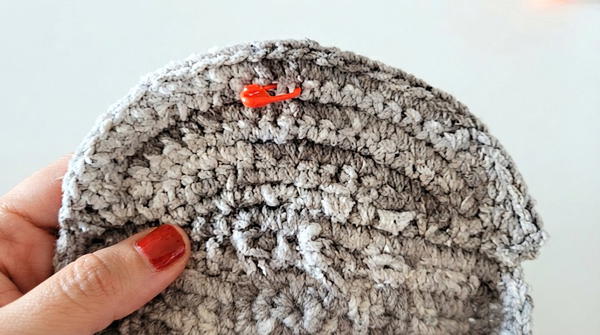
- Fold the cap in half to find the center front.
- Place a marker at the center point, then mark 4 stitches to the left and 4 to the right, creating a total section of 9 stitches for the brim base.
Row 1:
- Work into the 9 marked stitches using the following sequence: (1 inc, 1 SC) alternating, 1 inc in the center, then (1 SC, 1 inc) alternating.
- Total: 14 stitches.
Return Row 1:
- Chain 1, turn. Work 1 SC into each stitch, and finish with 1 SC into the adjacent body stitch for connection. Chain 1, turn.
Row 2:
- Work 7 SC, 2 inc in the center, then 7 SC.
- Total: 18 stitches.
Return Row 2:
- Chain 1, turn. Work 1 SC in each stitch, ending with 1 SC into the adjacent body stitch.
Row 3:
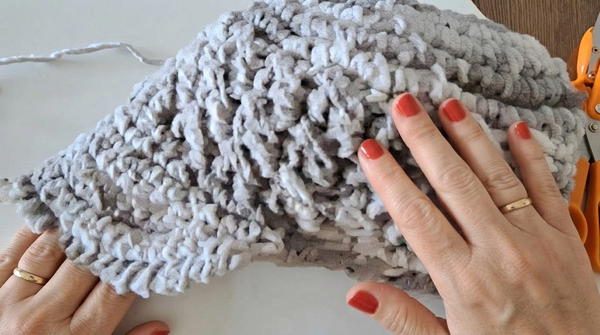
- Work 1 inc, 5 SC, 1 inc, 6 SC, 1 inc, 5 SC, 1 inc.
- Total: 23 stitches.
- Total: 23 stitches.
Return Row 3:
- Chain 1, turn. Work 1 SC in each stitch, adding 2 SC into the final edge stitches for stability.
- Total: 25 stitches.
Row 4: Final Row
- Work 13 SC, 2 increases, then 13 SC.
- Total: 30 stitches.
Edge Row:
- Work a final round of reverse single crochet (crab stitch) along the brim edge for a clean and textured finish.
Finishing
- Fasten off and weave in the ends with a tapestry needle.
- Flatten the brim for shaping, and lightly block the finished cap, if necessary, to hold its structure.
- Try on the hat, ensuring the brim curves gently for a polished winter-ready design.
Final Notes
This winter cap is a versatile and stylish project that strikes the perfect balance between elegance and practicality. The combination of textured stitches and structural details allows for endless customization, making this design both functional and unique. Whether worn as part of your winter outfit or gifted to someone special, this cap is a delightful accessory for any wardrobe.