Level up your accessory game by crocheting a trendy free beanie pattern that blends comfort and fashion for everyday wear and thoughtful gifts.
On chilly mornings, having a reliable hat that offers both warmth and style is essential. The Free Crochet Beanie pattern provides an excellent solution by combining comfort with a visually interesting design ideal for cooler seasons. This beanie suits a variety of occasions, from casual outdoor activities like walking or running errands to cozy indoor settings where you want to keep warm yet fashionable.
Crochet a Beanie – Free Easy Pattern You’ll Love
Respect for Original Work
All credit for the original creative work goes to Zehranın Atölyesi and its owner. We acknowledge the creator's dedication, creativity, and effort in producing these projects. Our intention is to recognize the original source and appreciate the owner's artistic contribution. We encourage readers to visit the channel and discover more of its inspiring work.
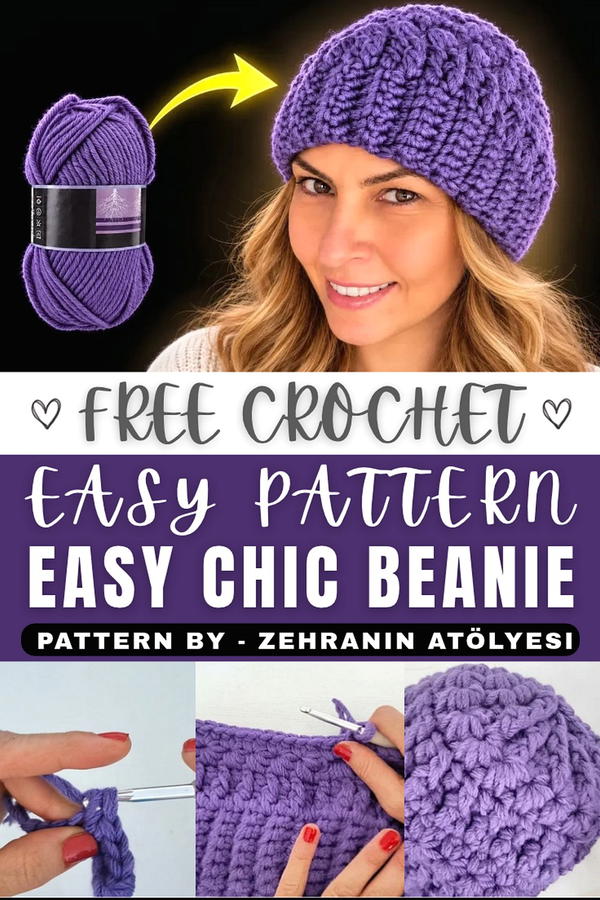
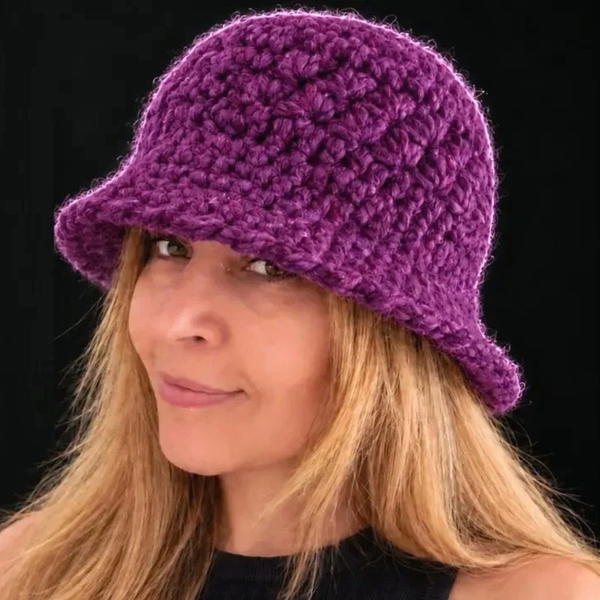
Designed with a modern take on a classic shape, this beanie features a textured stitch pattern that adds depth and dimension to the finished piece. Its double-layered band increases insulation, ensuring added protection against cold weather, making it especially suitable for fall and winter use. The pattern is adaptable to a wide range of yarn colors and weights, allowing users to customize their beanie according to personal preference or seasonal trends.
The construction involves alternating raised and smooth stitches, creating a star-like textured surface that enhances both the appearance and thickness of the hat. The stretchy band design guarantees a comfortable fit that stays securely on the head without feeling restrictive.
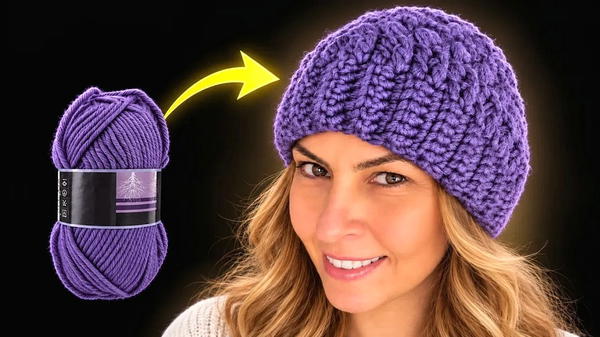
Key design elements include a carefully shaped crown for a neat finish and a reinforced edging formed by the double band, which contributes to durability and warmth retention. This Free Crochet Beanie pattern offers a practical, stylish accessory for anyone looking to add warmth and texture to their wardrobe or to produce a thoughtful handmade gift.
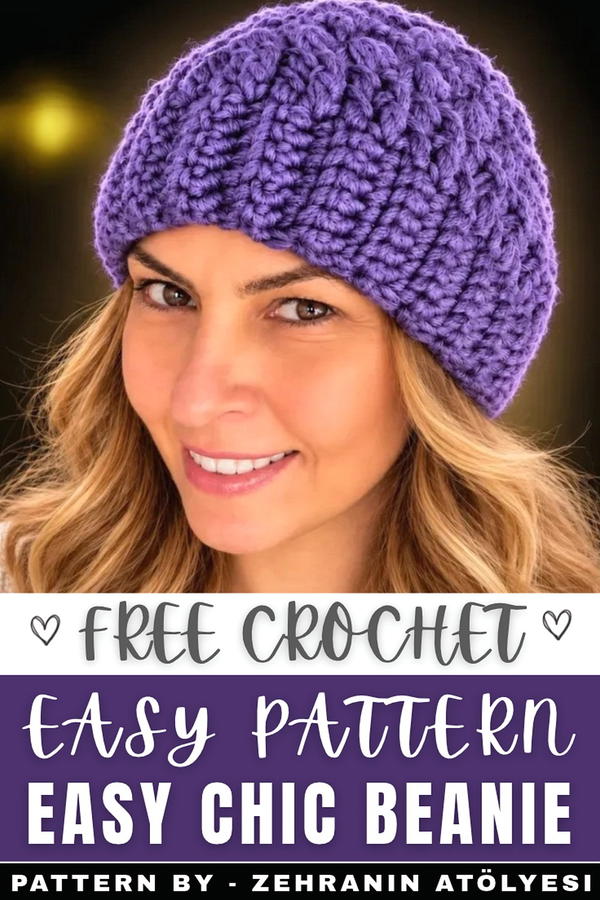
Textured Crochet Beanie Pattern
This cozy winter beanie combines two distinct textures to create a stylish and warm accessory suitable for colder months. By holding two strands of yarn together throughout the project, the beanie achieves added thickness and durability. The ribbed brim offers stretch and shape, while alternating textured stitches in the body provide visual interest. The crown is shaped for a snug fit, with options for customization such as adding a pom-pom or experimenting with variegated yarns.
Skill Level
Intermediate
This project is suitable for crocheters who are comfortable working with double crochet, front-post double crochet, loop-based stitches (such as clusters and star stitches), and crown shaping decreases. Holding two strands together requires moderate skills to maintain tension and consistency throughout the pattern.
Materials
1. Yarn
- 2 balls of yarn, used together as double strands. Acrylic or wool yarn in a weight suitable for winter accessories is recommended. Variegated yarn or contrasting colors can provide a unique look to the alternating textures.
2. Tools
- Crochet hook appropriate for your yarn's combined thickness (the video recommends a hook to match the double-strand size).
- Stitch markers (optional): Useful for marking the beginning of rounds.
- Tapestry needle: For weaving in ends and finishing the crown.
- Scissors.
Special Stitches
1. Single Crochet (SC):
Insert the hook into your stitch, yarn over, pull up a loop (two loops on the hook). Yarn over, pull through both loops.
2. Double Crochet (DC):
Yarn over, insert the hook into the stitch, yarn over, pull up a loop (three loops on the hook). Yarn over, pull through the first two loops, yarn over again, and pull through the remaining two loops.
3. Front-Post Double Crochet (FPDC):
Yarn over, insert the hook around the body of the stitch (from front to back and then to front again) of the previous row instead of the top loops. Yarn over, pull up a loop, yarn over, pull through the first two loops, and yarn over again, pulling through the final two loops.
4. Star Stitch/Cluster:
Pull up 6 loops from the base stitch and surrounding stitches (refer to detailed row instructions). Yarn over and draw through all loops on the hook, and chain to secure the cluster.
Stitch Abbreviations
| Abbreviation | Description |
|---|---|
| ch | Chain |
| SC | Single Crochet |
| DC | Double Crochet |
| FPDC | Front-Post Double Crochet |
| st(s) | Stitch(es) |
| sp | Space |
Useful Tips
- Tension Management: Using two strands of yarn can create uneven tension initially. Practice holding both strands evenly as you work to keep stitches uniform throughout the project.
- Textured Stitches: If unfamiliar with front-post double crochet or star stitches, practice these techniques on scrap yarn first to ensure accuracy in the beanie's design.
- Measure the Brim: Before joining the ribbing into a circle, wrap it around your head to confirm fit. Adjust the number of foundation chains based on your needs.
- Decreases for Crown: During decreasing rounds, skip stitches as instructed while maintaining the pattern alignment to ensure a smooth taper.
- Customization: Experiment with variegated yarns or mixed colors for added interest in the body. You can also add accessories like a pom-pom to personalize the design further.
Pattern Instructions
Ribbing
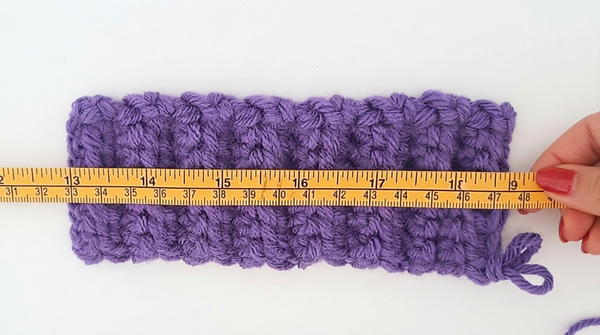
The ribbed brim provides elasticity and structure for the beanie.
Foundation Chain
- Work a chain of 7 stitches.
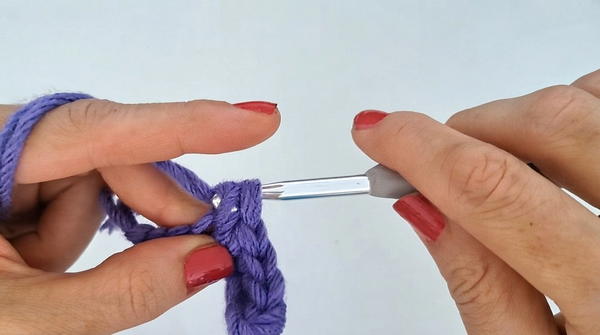
Rows: Create Ribbing
- Row 1: Work SC into the back loop of each chain stitch.
- Row 2 onward: Turn, ch 1, and continue working SC into the back loops only for every stitch.
- Repeat until the band measures approximately 19.5 cm.
Join Ends
- Join the two short edges of the ribbed band using slip stitches. This forms a circular base for the hat.
Body - First Pattern
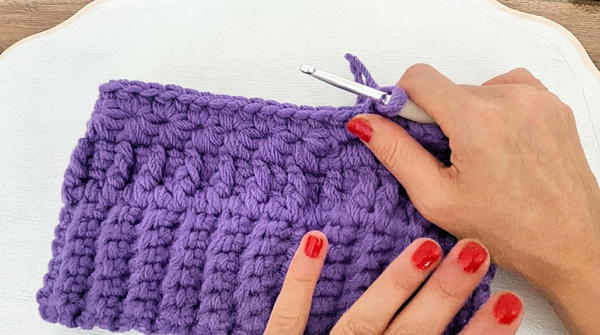
This section incorporates alternating double crochet and front-post double crochet to create a textured design.
Row 1: Foundation Round
- Work DC into every space around the edge of the ribbing to form the base of the beanie’s body.
Row 2: Add Texture
- Alternate DC and FPDC stitches around the row. Ensure the front-post stitches are wrapped around the body of the previous round’s DC stitches to achieve the textured effect.
Body - Second Pattern (Star Stitch/Cluster)
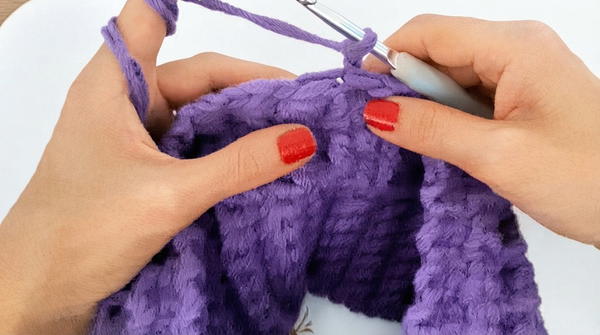
This section enhances the texture contrast with star clusters that add depth to the design.
Row 1: Star Stitch
- Pull up 6 loops by inserting the hook into the base stitch and surrounding stitches. Draw through all loops on the hook and secure the cluster with a chain. Repeat to complete the row.
Row 2: Bridge Rows
- Work 2 DC stitches into the gaps between each star stitch cluster to connect the pattern.
Body - Repeat & Shaping
Repeat Patterns
- Alternate the first and second patterns (FPDC rows and star stitch rows) until the body reaches your desired length. Ensure that each sequence extends evenly over the body section.
Crown Shaping
Begin decreasing the stitch count to taper the crown and finish your beanie.
Row 1:
- Work a mix of DC and FPDC, skipping stitches strategically to start narrowing the circle.
Row 2:
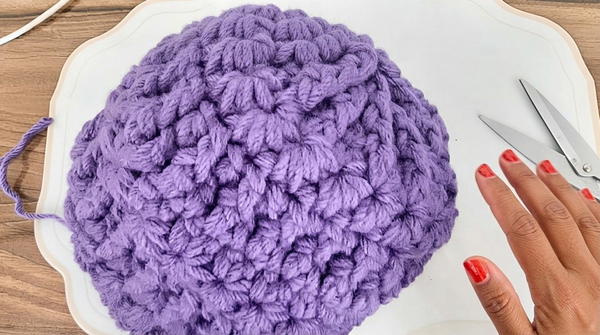
- Maintain the front-post texture but skip every second stitch to decrease and further narrow the crown.
Row 3:
- Continue decreasing by skipping stitches, ensuring alignment in post stitches.
Finishing
- After completing the crown, cut the yarn, leaving a long tail.
- Using a tapestry needle, weave the yarn tail through the remaining stitches. Pull tightly to close the circle.
- Secure the crown with a knot and weave in the ends carefully.
Customization
- Pom-Pom Addition: Add a pom-pom to the top of the beanie for extra flair. You can use the same yarn or experiment with a fur topper.
- Mixed-Strand Design: Use two different colored yarns for the double strands to create a unique striped or marbled look.
- Size Adjustments: Modify the ribbing length, body stitch count, or body and crown rows to adjust the fit of the beanie.
- Color Play: Alternate colors between the first and second textured patterns for greater contrast.
Final Notes
This textured crochet beanie is both visually appealing and functional, combining alternating stitch designs to provide a unique winter accessory. Its sturdy ribbing and double-strand construction ensure a warm and snug fit. Whether you opt for a simple monochrome look or a playful array of colors, this adaptable pattern allows you to customize it to your preferences, creating a one-of-a-kind piece.