Master crochet quickly with this free one row stitch pattern offering easy-to-follow steps perfect for beginners and speedy project success.
Adding simple yet striking details to your textile projects can transform their entire look. From the creative tutorials by Crochet with Olga Dyvinets!!! comes an inspiring Free crochet one row stitch pattern that offers a fresh take on texture and design. This stitch pattern works wonderfully for various items like scarves, blankets, or decorative accents, making it a versatile choice with great gifting appeal.
Easy and Free Crochet One Row Stitch Pattern for Any Project
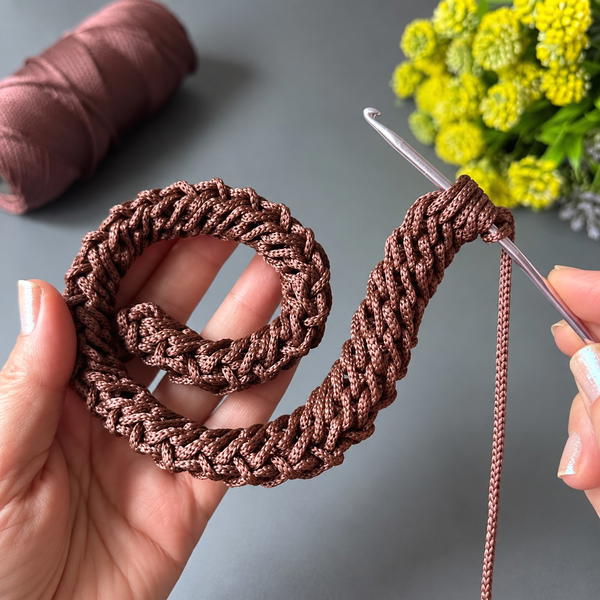
The stitch pattern features a combination of double and triple crochet stitches that create a beautiful layered texture. Its open, airy design gives projects a light feel while maintaining an interesting depth, perfect for adding both style and functionality. The pattern is worked in one row, allowing for quick progress and easy repetition, making it suitable even for those who enjoy simple yet elegant designs.
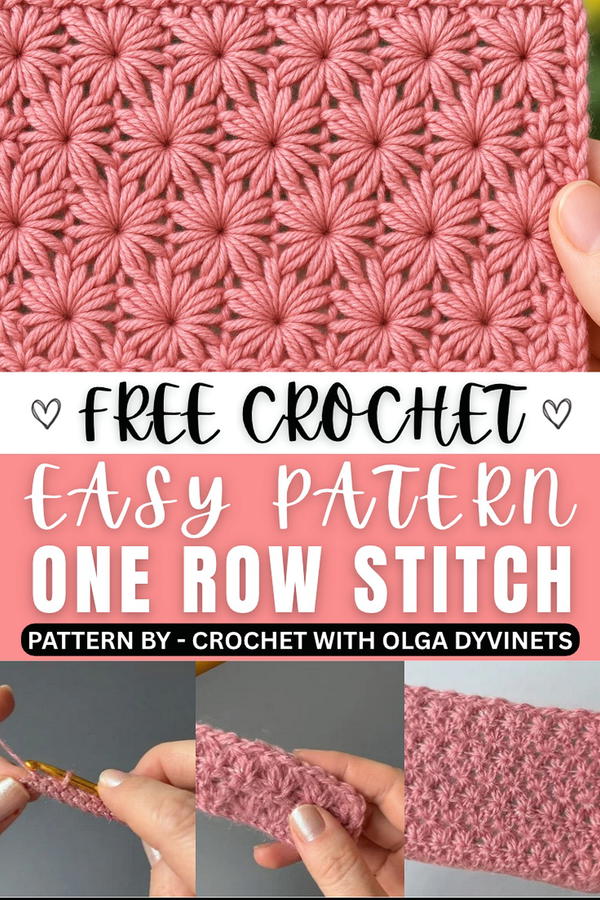
Visually, the stitch produces neat, wavy lines with subtle ridges that give the fabric a rhythmic flow. This unique texture enhances the overall appearance, delivering a modern and fresh twist. The project can be tailored in length and width depending on your intended use, whether to make a cozy wrap or a delicate table runner.
This step-by-step instructions make the pattern accessible and enjoyable to follow. Its blend of simplicity and decorative appeal ensures that your projects stand out beautifully while remaining practical and comfortable to use or gift. This pattern encourages creativity with a stylish, timeless charm.
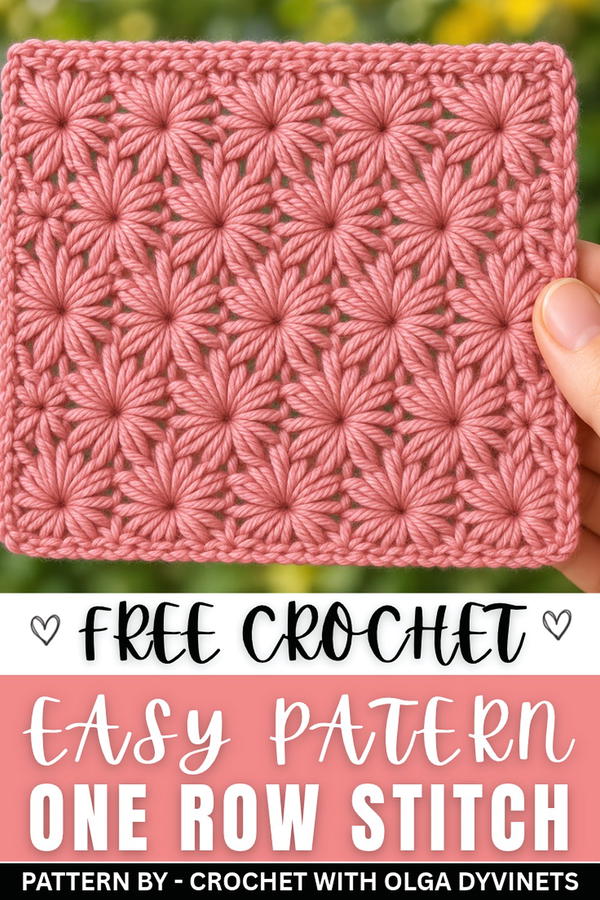
Crochet Pattern: Reversible Airy Star Stitch Fabric
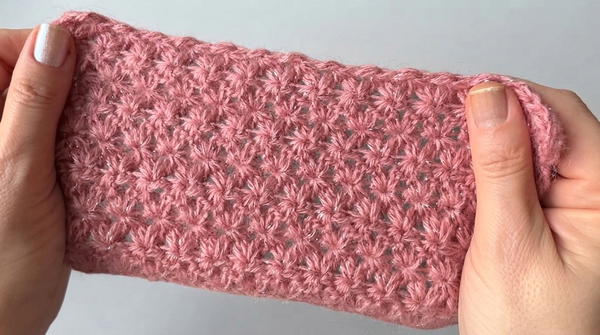
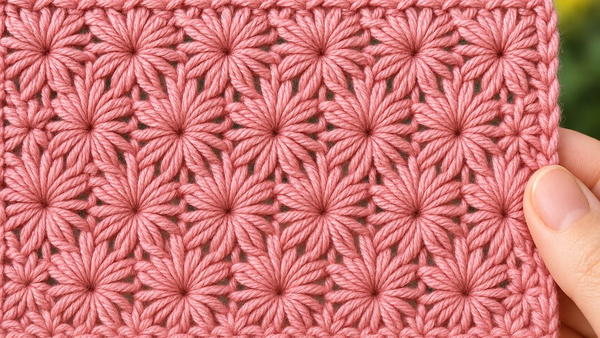
This reversible airy fabric combines a delicate texture and light construction, making it ideal for scarves, shawls, or garments. The repeating puffy star-stitch motif ensures the fabric looks identical on both sides, providing flexibility in styling. This pattern offers a visually stunning design without complex shaping, making it a joy to crochet.
Skill Level
Intermediate – This pattern requires proficiency in chaining, single crochet, working incomplete double crochets, and managing multiple loops on the hook simultaneously. It is suitable for crocheters already familiar with basic stitch combinations and working joined stitches.
Materials
- Yarn: Alize Angora Gold Simli or any lightweight, soft yarn that is suitable for delicate projects.
- Crochet Hook: Size 2.75 mm (or 2.5 mm, depending on desired tension).
- Additional Tools:
- Scissors for trimming yarn.
- Tapestry needle for weaving in ends.
Stitch Abbreviations
- Ch: Chain
- SC: Single Crochet
- DC: Double Crochet
- Inc DC: Incomplete Double Crochet (worked partially before pulling through to close pooled loops)
Special Stitches
Puffy Star Stitch (Cluster of Incomplete Double Crochets)
The puffy star stitch is formed using alternating clusters of incomplete double crochets pulled together in a tight closure:
- Yarn over, insert hook into the specified stitch or space.
- Yarn over, pull up a loop, then yarn over and pull through two loops. Leave the remaining loop on your hook.
- Repeat step 1–2 for the required number of incomplete double crochets (e.g., 2 in one stitch and 2 in another stitch).
- Once all loops for the star stitch are on your hook, yarn over and pull through all loops together.
- Close the stitch by chaining one, forming a “puffed” texture.
Useful Tips
- Consistency: Maintain consistent tension for smooth edges and evenly shaped puffy stitches.
- Foundation Chain: Ensure the starting chain is divisible by 5, plus an additional stitch for turning. Mark this number for larger projects.
- Blocking: Block the completed fabric gently to reveal the intricate star-like texture.
- Reversible Nature: Both sides of the fabric look identical, making it suitable for projects requiring no distinct “wrong” side.
Pattern Instructions
This fabric is worked in rows, starting with a foundation chain and forming the repeating star-like texture in subsequent rows. The airy nature of the design creates a soft, flowing fabric ideal for lightweight projects.
1. Foundation Chain
- Chain a number of stitches divisible by 5, plus 1 extra stitch for the turning chain. (Example: Ch 25 + 1 = 26 stitches)
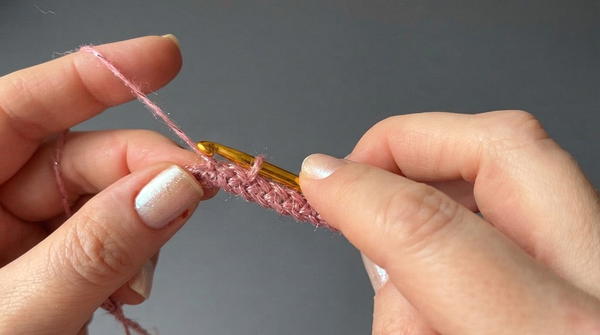
2. Base Row: Single Crochet
- Beginning in the second chain from the hook, crochet 1 SC into every chain stitch across the row. (Total stitches: 25 stitches)
- This row provides stability for the puffy stitch rows that follow.
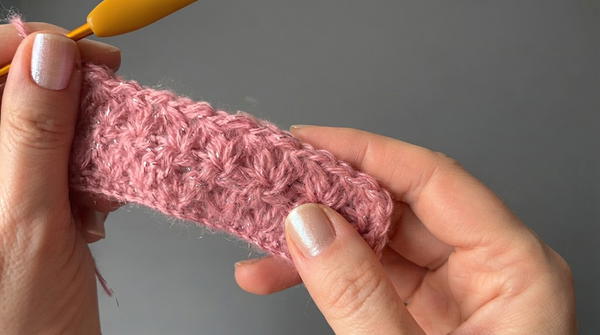
3. Pattern Row 1
The first puffy star stitch row begins the reversible textured pattern.
- Turn your work and Ch 4.
- Form the first puffy star stitch:
- Yarn over, then work 2 Inc DC into the first stitch of the row.
- Skip 2 stitches, then work 2 more Inc DC into the third stitch following the skipped stitches.
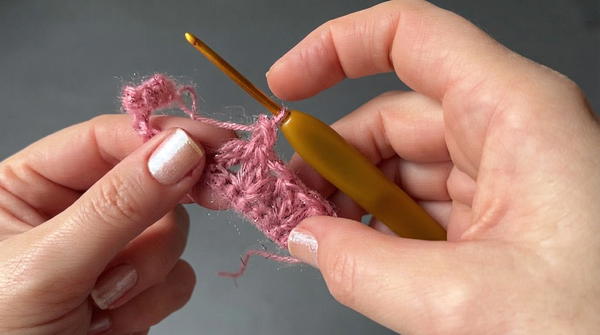
- You should have 5 loops remaining on your hook.
- Yarn over and pull through all 5 loops.
- Ch 1 to close this puffy star stitch cluster.
- Continue repeating the star stitch:
- Skip 2 stitches, then work 2 Inc DC into the next stitch, followed by 2 Inc DC into the next stitch.
- Pull through all 5 loops on your hook and Ch 1 to close the puff stitch.
- End of row:
- At the end of the row, work 2 Inc DC into the last stitch of the row and one final Inc DC into the turning chain.
- Yarn over and pull through 4 loops on your hook to close.
4. Subsequent Rows
The repeating motif makes the pattern easy to memorize and identical on both sides.
- Row Start: Turn and Ch 4.
- First Star Stitch:
- Work 2 Inc DC into the first stitch of the row.
- Work 2 Inc DC into the center of the first puffy star stitch from the previous row.
- Yarn over and pull through all 5 loops, then Ch 1 to complete.
- Remaining Stitches:
- Continue working 2 Inc DC clusters into the center spaces of each previous-row puffy stitch.
- Pull through loops and chain to close after completing each cluster.
- End of Row:
- At the end of the row, work a final Inc DC cluster into the turning chain from the previous row. Pull through loops to close.
- Repeat rows: Continue working each row identically until the project reaches your desired length.
Finishing
Final Row:
- After completing the last puffy stitch row, work a final row of SC stitches evenly across the fabric for stability.
- Fasten off, leaving a long tail for weaving in.
Blocking and Weaving In:
- Block the fabric lightly to reveal its airy star motif, ensuring sharp edges and smooth texture.
- Use a tapestry needle to weave in all loose ends securely.
Conclusion
This reversible airy star stitch fabric is perfect for creating delicate yet visually striking designs. The simple repeating pattern is easy to adjust for any length or width, allowing endless customization for scarves, shawls, or garments. Experiment with different yarns to achieve varying textures and effects.