Brighten your style with this free crochet raffia flower bag pattern that blends natural textures and floral charm for a stunning handmade accessory.
Bringing a touch of summer charm to your accessories brightens any outfit. Crochet with Olga Dyvinets!!! offers an inspiring Free crochet raffia flower bag pattern that transforms raffia yarn into a stylish and functional item. This project beautifully combines decorative appeal with everyday usefulness.
Beginner Friendly Free Crochet Raffia Flower Bag Pattern
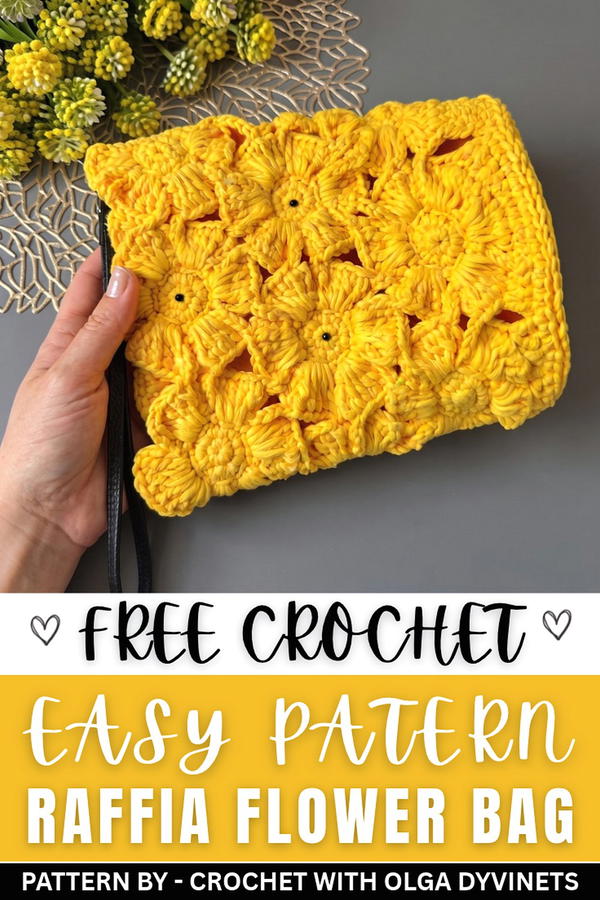
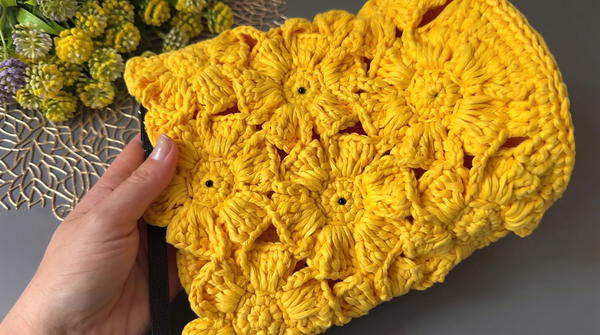
The bag is crafted by joining fifteen delicate crocheted flowers arranged in three neat rows. Each flower features soft, layered petals that create a rounded, textured look. Made from raffia, the bag has a light, natural feel perfect for sunny days and casual outings. Its round, sturdy bottom provides stability while keeping the bag lightweight and easy to carry.
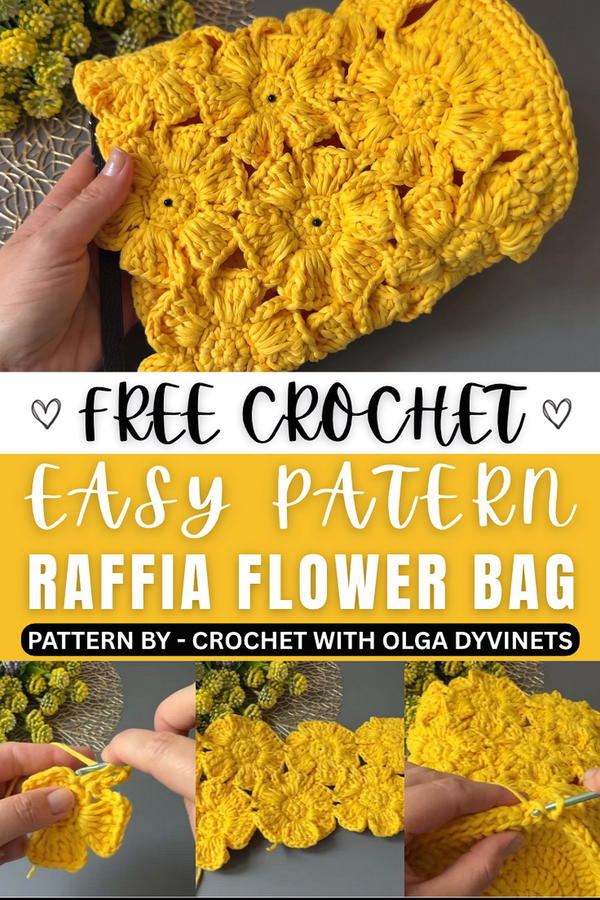
Natural raffia fibers give the bag an earthy texture and a fresh aesthetic, making it an eye-catching accessory. A simple strap, sometimes decorated with beads or buttons, adds charm and personal style to the piece. This delightful design offers great potential as a thoughtful, handmade gift.
The detailed pattern simplifies the process, making the project enjoyable for all skill levels. Combining beauty, practicality, and a touch of rustic elegance, this raffia flower bag is an ideal choice for anyone looking to brighten their wardrobe with a unique accessory.
Crochet Pattern: Floral Summer Bag
The floral summer bag is a delicate yet sturdy project made from raffia, perfect for summer outings or as a stylish accessory. The design incorporates 15 floral motifs joined together, edged evenly, and finished with a circular base. Optional decorative elements like beads or buttons can be added for personalization.
Skill Level
Intermediate – This project includes creating motifs, joining them as you crochet, following a circular base increasing formula, and assembling multiple elements into a finished product. It is suitable for crocheters comfortable with basic stitches and assembling pieces into a cohesive design.
Materials
- Raffia: 2 skeins (brand: Ovtsa Be Be, 100g/100m each or equivalent raffia yarn).
- Hook: Size 4 mm.
- Additional Items:
- Sew-on button: For closure.
- Bag strap: Optional, or use additional raffia to crochet one.
- Decorative beads: Optional, to embellish.
Stitch Abbreviations
- MR: Magic Ring
- SC: Single Crochet
- HDC: Half Double Crochet
- DC: Double Crochet
- Sl St: Slip Stitch
- Ch: Chain
Special Stitches
Arch Chain (Used in Floral Motif Round 3)
Chain 2, skip 1 stitch, and anchor with a Sl St. This is repeated to create arches that define the base of each petal.
Petal Stitch (Used in Floral Motif Round 4)
Each petal combines chains and DC stitches worked into arch spaces:
- Ch 4, then work 5 DC directly into the arch space.
- Complete with Ch 4 and anchor with a Sl St into the next arch space.
Useful Tips
- Joining Motifs: Use a slip stitch join while working the final petal round to create seamless connections between flowers.
- Circular Base Calculations: Follow the ideal circle increase pattern (adding consistent stitches per round) to ensure a flat base.
- Even Edging: Alternate SC, HDC, and DC stitches evenly to smooth the edges of joined motifs.
- Avoid Raffia Fraying: Handle raffia gently, especially while fastening off and weaving in ends.
Pattern Instructions
This project is divided into 5 sections: floral motifs creation, joining motifs, edging the bag body, circular base construction, and finishing assembly.
1. Creating the Floral Motif
Each floral motif contributes to the body of the bag. You will need 15 flowers total.
Center:
- Start with a Magic Ring (MR).
- Work 5 SC into the ring. (Total: 5 stitches)
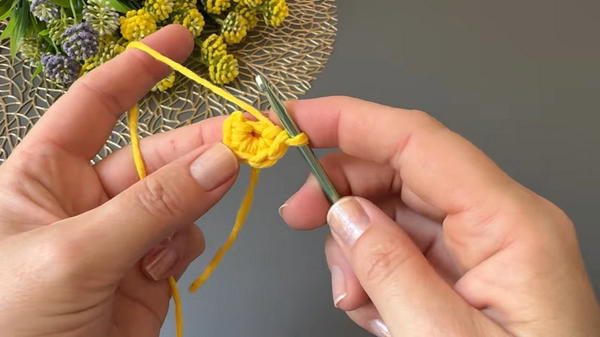
Round 2:
- Join with a Sl St, then Ch 1.
- Work 2 SC into each stitch from the previous round. (Total: 12 stitches)
Round 3 (Arches):
- Begin creating arches by Ch 2, then Sl St into every alternate stitch from the previous round.
- You will have 6 chain arches evenly spaced around the circle.
Round 4 (Petals):
- Into each arch space, work the following:
- Ch 4.
- DC 5 into the same arch space.
- Ch 4.
- Secure with a Sl St into the next arch space.
- Repeat for all 6 arches to complete the flower.
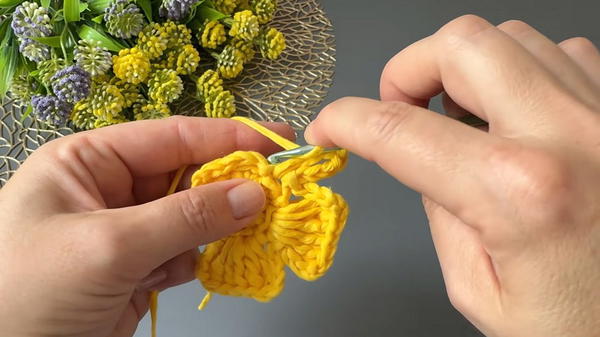
Repeat the process until you have created 15 flowers.
2. Joining Motifs
Join flowers into 3 horizontal strips of 5 motifs during Round 4 (Petals) using slip stitches:
- During the final petal round of each flower, use a Sl St to attach the petal’s chained edge into the corresponding petal chain space of the previous flower.
- Continue joining flowers as needed to create connected rows and strips.
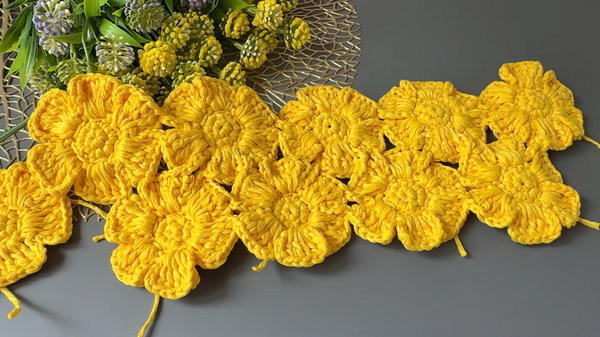
Once all motifs are joined, you will have the complete main body of the bag.
3. Edging the Main Body
Even out the border for easier attachment of the base:
Row 1:
- Start at any edge. Work alternating stitches: SC, HDC, and DC into flower edges. Smooth joins and transitions between flowers by working consistent stitch heights.
Row 2:
- Work 66 SC evenly around the perimeter to finish the edge and prepare for the base attachment.
4. The Circular Base
Form the circular base to match the bottom opening of the bag body.
Foundation:
- Start with a Magic Ring (MR).
- Work 13 DC into the ring. (Total: 13 stitches)
Increasing Rows:
Follow the ideal circle rule:
- Row 2: Work 2 DC into each stitch. (Total: 26 stitches)
- Row 3: Increase by working 1 DC into the next stitch, 2 DC into the following stitch, repeating around. (Total: 39 stitches)
- Row 4: Increase by working 2 DC into the next stitch, then 1 DC into the following 2 stitches. (Total: 52 stitches)
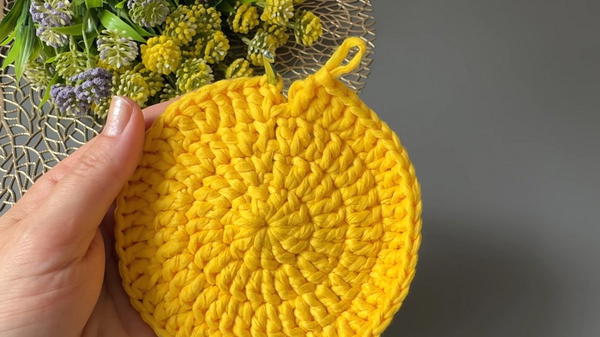
- Row 5: Increase by working 1 DC into each of the next 3 stitches, then 2 DC into the next stitch, repeating around. (Total: 65 stitches)
Final Row:
- Add extra increases as needed to reach 66 stitches total to match the body circumference.
5. Finishing
Joining the Base to the Body:
- Align the base to the bag opening edge.
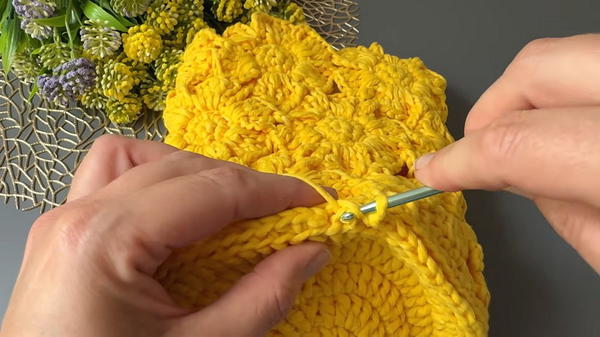
- Using a Sl St join, alternate grabbing loops from the base and the body to create a clean braided-effect seam.
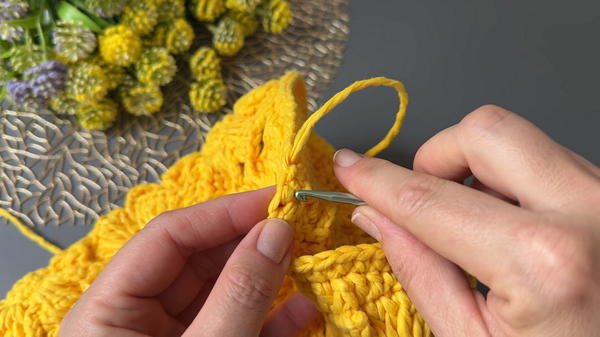
Final Details:
- Button Closure: Attach a sew-on button securely to the top edge for closure.
- Strap Attachment: Sew or crochet a strap using raffia or attach hardware straps.
- Optional Decor: Add beads or decorations to personalize your bag.
Conclusion
This floral summer bag combines lightweight raffia and elegant motifs to create a refined yet functional accessory suitable for sunny days or casual outings. Customize by altering motif colors, strap designs, or adding embellishments.