Refresh your daily outfits with this Free Crochet Shoulder Bag Pattern, featuring a wearable style that feels easy to pair with simple clothes and accessories.
Carrying a purse should feel comfortable when the day is full of little stops. This Shoulder Bag Free Crochet Pattern focuses on a familiar style that can rest near your side and leave your hands free for other things. It is a lovely choice for someone who prefers an accessory that feels casual but still looks considered.
Modern Shoulder Bag Free Crochet Pattern for Stylish Days
What sets a shoulder bag apart from a handheld style is the way it is worn. The strap becomes an important part of its look, connecting the shape of the bag with the outfit around it. Crochet stitches give the body a gentle texture that can look good beside plain cotton shirts, long skirts, or relaxed trousers. This contrast between soft yarn and everyday clothing helps the accessory stand out without needing extra decorations.
A Note on the Designer
magic knots shares projects that connect crochet with everyday fashion. The channel includes bag ideas as well as clothing and other accessories, so there is more than one direction to explore. Its focus on wearable pieces gives viewers useful inspiration for choosing styles that suit their tastes and daily needs.
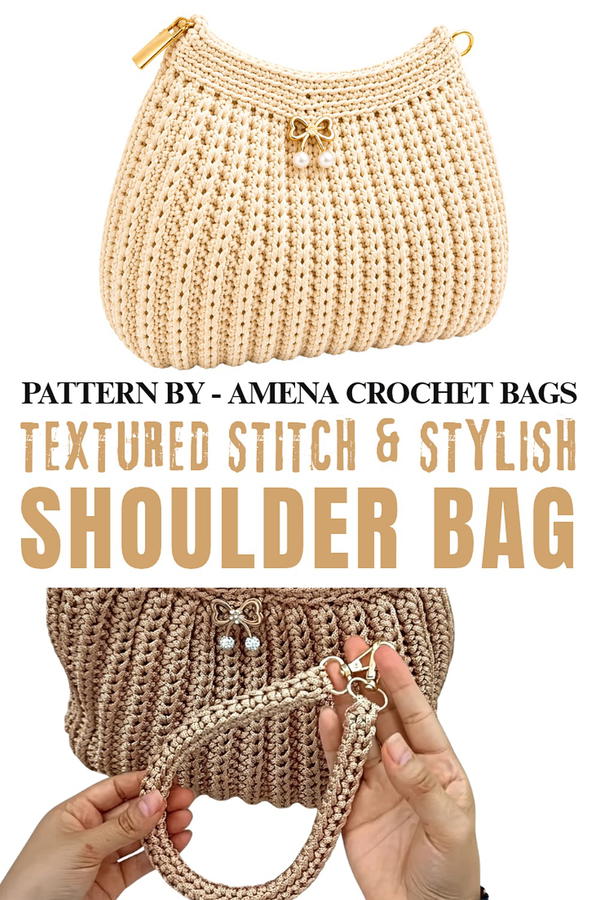
The finish deserves special attention. Smooth edges, an even body, and a securely joined strap can all help the bag feel tidy. If you decide to work with a different yarn color, think about the clothes you normally reach for. A soft shade is easy to combine, while a deeper tone can give the same style more presence.
For a walk around town, lunch with friends, or a family visit, a shoulder bag can be a handy place for a phone, wallet, and keys, depending on its size. It is also a lovely gift idea for someone who enjoys a simple piece they can wear again and again.
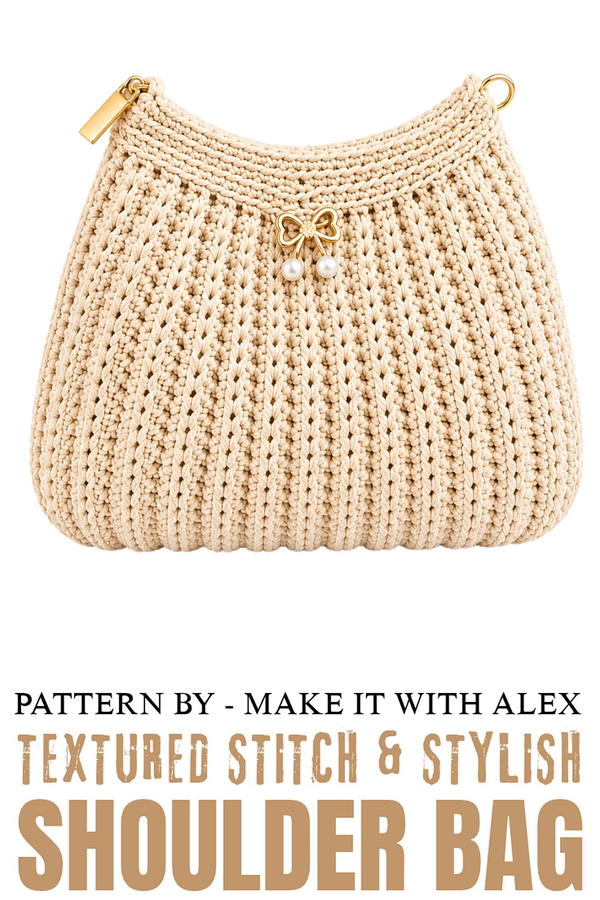
Easy Textured Crochet Bag Pattern
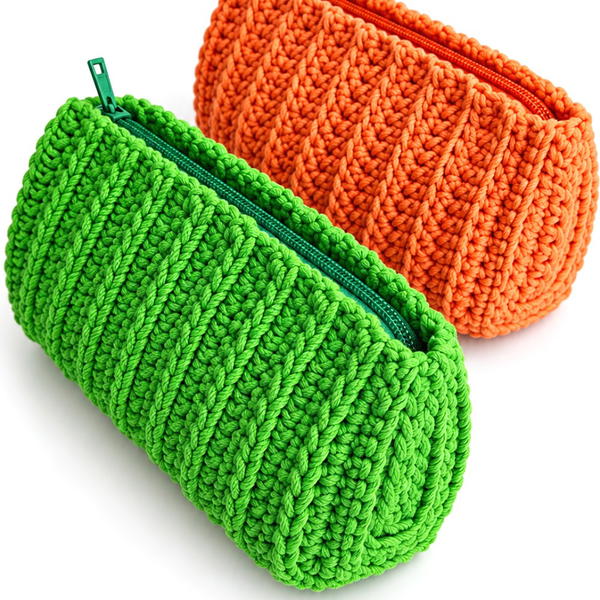
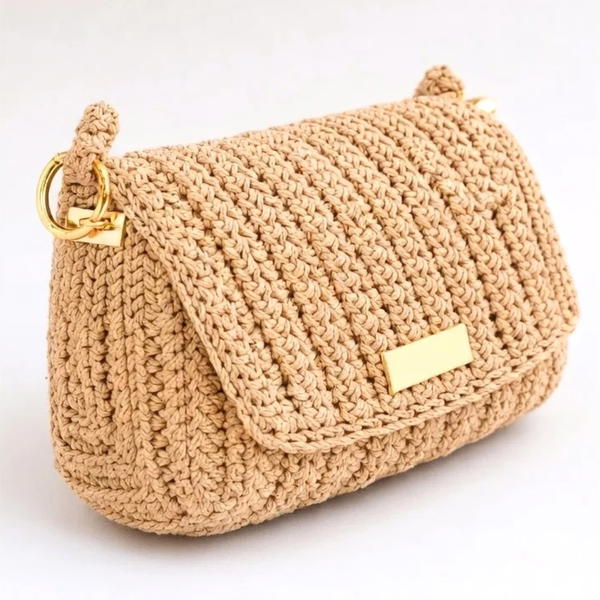
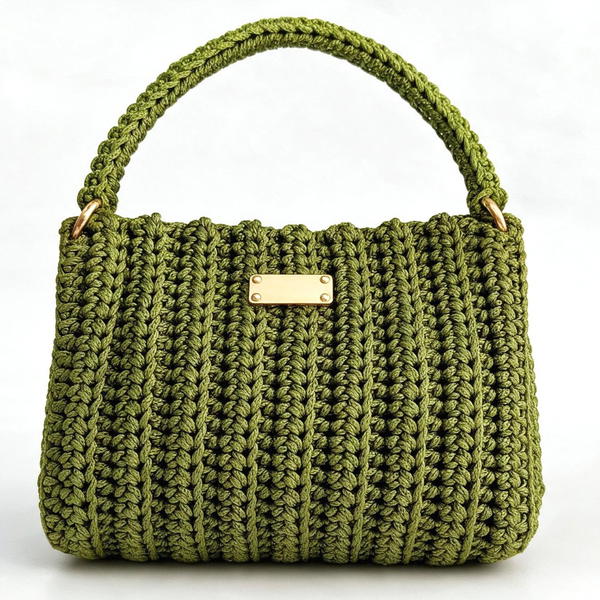
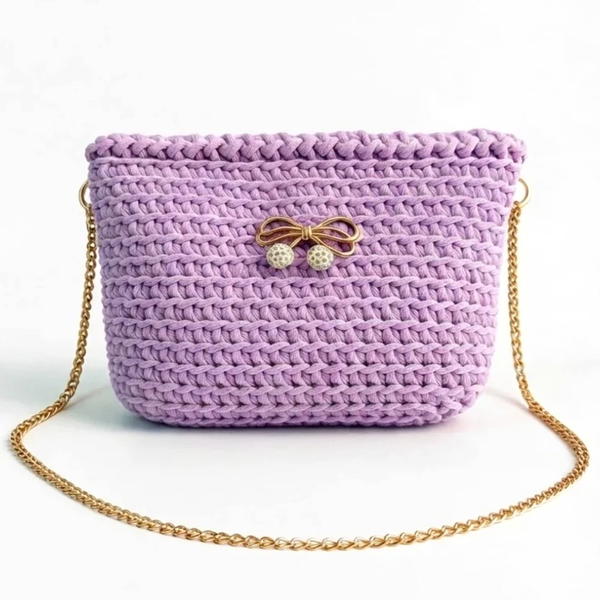
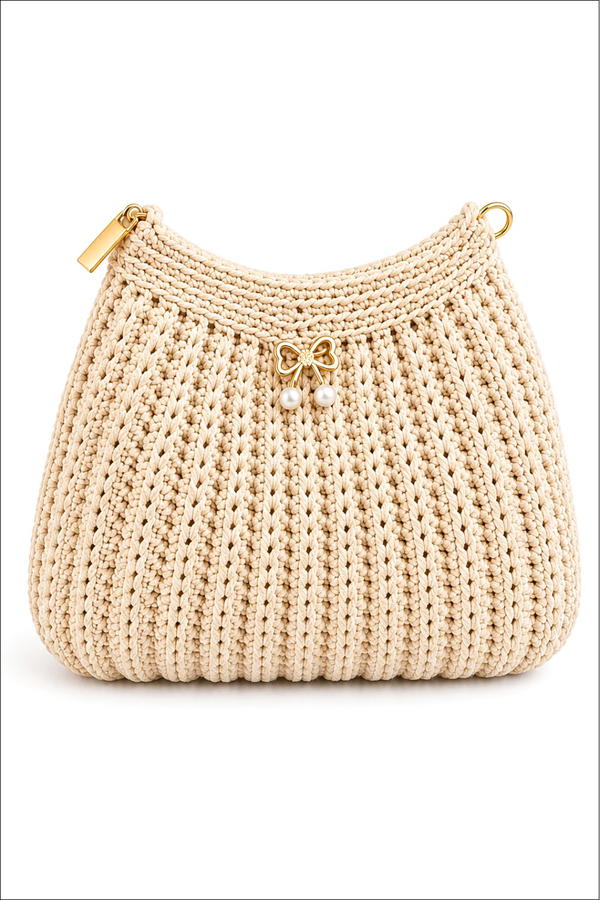
This design creates an easy, practical bag with a modern, textured body and shaped top. The construction is based on a simple rectangle of half double crochet worked in the back loop for subtle ridges, then shaped at both ends and finished with decorative single crochet sections that include decreases at the front and back and increases at the sides. The result is a soft yet structured bag that can be customized in size and proportions.
Skill Level
Intermediate
The stitches themselves are simple, but the pattern includes shaping (working one stitch over three stitches, and three stitches into one stitch), back-loop-only work, and seaming. Some experience with following structured patterns and assembling pieces is recommended.
Materials
- Yarn: Approximately 700 g of 3 mm chain yarn (or a similar cord/chain yarn that holds shape).
- Hook: 5 mm crochet hook.
- Notions:
- Yarn needle for sewing and weaving in ends
- Stitch markers (at least 4–6)
- Scissors
Stitch Abbreviations
(only stitches used in the transcription)
- ch – Chain
- sc – Single crochet
- hdc – Half double crochet
Helpful Tips
- Gauge and Size: The pattern begins with 60 chains; this sets the width of the bag. Adjust the number of chains for a wider or narrower bag, keeping the pattern structure the same.
- Back Loop Work: Many rows use hdc in the back loop only. This creates a flexible, ribbed fabric that drapes well and gives extra texture.
- Shaping Stitches:
- “One stitch over three stitches” means: work 1 hdc (or sc, depending on the section) across 3 stitches, effectively decreasing 2 stitches.
- “Three stitches in one stitch” means: work 3 sc into a single stitch, creating an increase.
- Sewing the Bag: Sewing is done “on the wrong side, stitch-to-stitch, through one loop in one direction,” for a neat, flat seam.
- Markers: Use markers where the instructions mention side and center stitches; they are crucial for correct placement of decreases and increases in the upper shaping.
Pattern Instructions
The bag is built in three main stages:
- Rectangular body in hdc.
- Shaping rows at both ends of the rectangle.
- Top edging and shaping in sc, with decreases at front/back and increases at sides.
1. Rectangular Body
Foundation and Main Hdc Section
- Round 1 (Row 1 – Foundation):
- Make a slip knot.
- Ch 60.
- Ch 2 more for the height of the first row (turning chain).
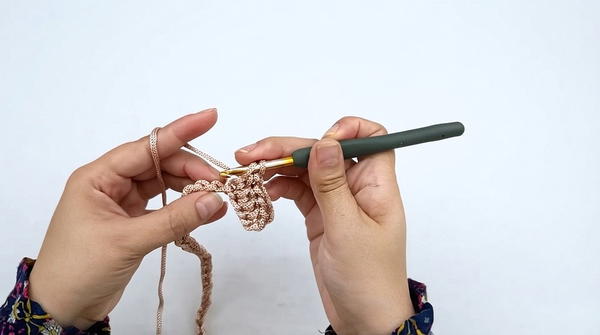
- Starting from the 3rd chain from the hook, work 60 hdc across.
- Round 2–24 (Rows 2–24 – Back Loop Texture):
- For each row: ch 2 for height, turn the work.
- Starting from the first stitch, work 60 hdc in the back loop only.
- Continue in this manner until you have completed 24 rows of hdc in the back loop.
2. Shaping the Ends of the Rectangle
You will now work shaping using hdc and decreases over three stitches. The counts refer to “half columns,” i.e., hdc stitches.
- Round 25:
- Ch 2, turn.
- Work 22 hdc in the back loop.
- Next decrease: Work 1 hdc over 3 stitches (hdc decrease across 3 stitches).
- Work 10 hdc.
- Work 1 hdc over 3 stitches again.
- Work 22 hdc to the end of the row.
- Round 26:
- Ch 2, turn.
- Work 22 hdc.
- Work 1 hdc over 3 stitches.
- Work 6 hdc.
- Work 1 hdc over 3 stitches.
- Work 22 hdc to complete the row.
- Round 27:
- Ch 2, turn.
- Work the first 22 hdc.
- Work 1 hdc over 3 stitches.
- Work 2 hdc.
- Work 1 hdc over 3 stitches.
- Work 22 hdc to the end of the row.
- After this row, cut the yarn, leaving a tail for sewing.
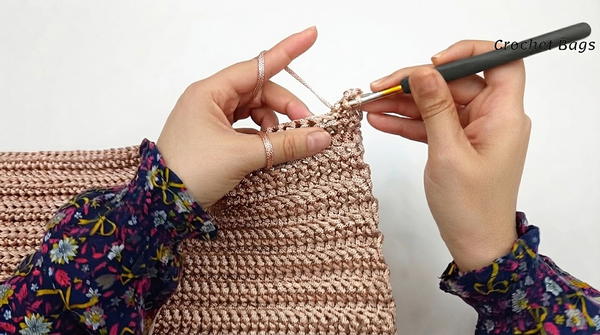
Sewing the First Side
- Turn the piece to the wrong side.
- Sew stitch by stitch, matching one loop from each side, and keep the sewing direction consistent for a straight, even seam.
Repeat for the Other Side
- Starting from the first of the foundation chains, repeat Rounds 25–27 on the opposite end of the rectangle to mirror the shaping.
- When these three rows are completed on the second side, sew that side in the same way: wrong side facing, stitch to stitch, through one loop.
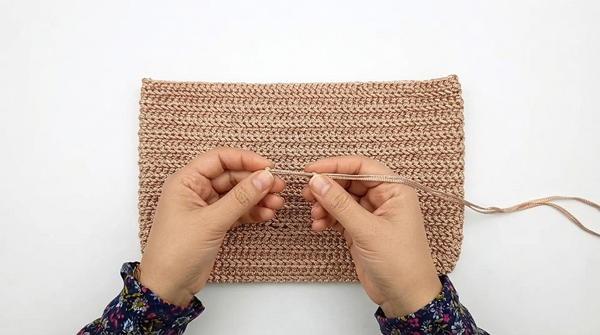
At this point, you have the shaped bag body closed at both short ends.
3. Top Edge and Shaping in Single Crochet
You will now work around the upper edge in sc, with chain spaces and shaping to form the final upper contour of the bag (decreasing at front and back, increasing at two side points).
First Edge Row – Eyelet/Spacing Row
- Round 28:
- Fix the yarn to the end of the last worked row on the top edge.
- Work sc, then ch 1.
- Skip one row, and work sc into the next row.
- Repeat this pattern around: sc, ch 1, skip one row, sc on the next row.
- Continue until you reach back to the starting point and close the round by pulling through to the first stitch (join with a slip-style pull-through into the first sc).
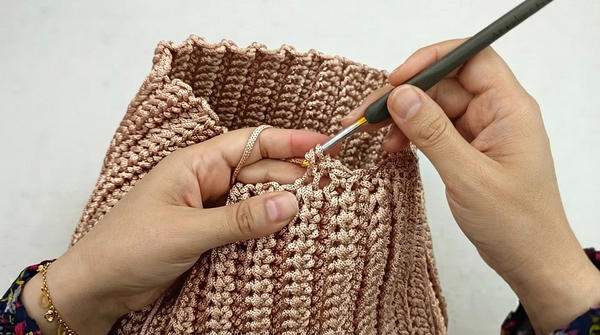
Now identify specific stitches:
- Mark the two side stitches (the exact midpoints on each side edge).
- Mark the center stitch on the front and the center stitch on the back (the midpoint of the front and back edges).
These marked stitches will be used for decreases (front/back center) and increases (sides).
Shaping Rows in Single Crochet
You will now work sc in the back loop, with chain spaces, and specific decreases and increases.
- Round 29:
- Start a new row around the top edge.
- Work sc in the back loop into each stitch as you go along, maintaining the rhythm of sc and ch (sc, ch 1, skip as previously structured where applicable).
- When you reach one stitch before the front center marker, work 1 sc over 3 stitches (a decrease across the center front).
- At the side marker, work 3 sc into the marked stitch (increase at the side).
- Continue along the back: when you reach one stitch before the back center marker, again work 1 sc over 3 stitches across the center back.
- At the second side marker, work 3 sc into that side stitch.
- Complete the round following the established sc and chain sequence.
- Round 30:
- Work this row exactly as Round 29:
- sc in back loop, maintaining sc and chain pattern.
- Decrease at front center and back center: 1 sc over 3 stitches at each center.
- Increase at each side: 3 sc in the marked side stitch.
- This continues the shaping: decreasing front and back, increasing at both sides.
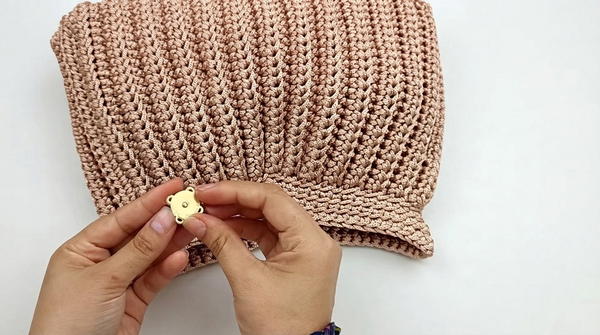
- Work this row exactly as Round 29:
- Round 31:
- Repeat once more in the same way as Round 29 and 30:
- Work sc in back loop, preserving the sequence of sc and ch.
- Make decreases (1 sc over 3 stitches) at both front and back center markers.
- Make increases (3 sc into one stitch) at both side markers.
- This third shaping row completes the contour of the upper edge.
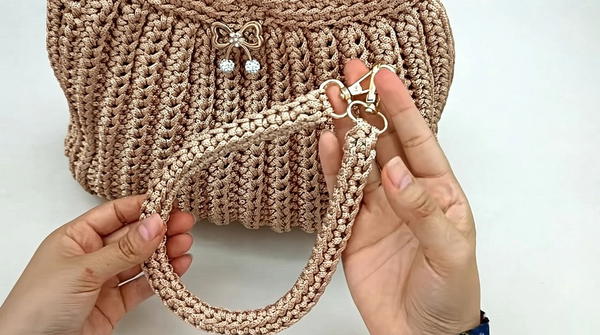
- Repeat once more in the same way as Round 29 and 30:
After these rows, fasten off and weave in all ends neatly.
Conclusion
This easy and practical bag design showcases the beauty of simple stitches combined with subtle shaping. The half double crochet body worked in the back loop gives texture and flexibility, while the sc shaping at the top creates a refined silhouette with structured sides and gently curved front and back. The pattern is straightforward yet interesting, and can be adapted in width and height by changing the initial chain count and the number of hdc rows, allowing for multiple versions of the same elegant design.