Try this free crochet pattern for a durable tote bag with built-in fabric lining that's a smart accessory for daily errands, shopping, or stylish carrying.
Handmade accessories add character to any wardrobe, and this free crochet pattern ensures your new tote bag stands out in durability and style. Using sturdy yarn or cord along with a cotton lining, the process is straightforward and well-suited for newcomers and seasoned crocheters. Every step, from shaping the base to attaching firm handles and finally sewing in the lining, is shown carefully so you feel confident all the way through.
How to Complete a Lined Tote Bag with This Free Crochet Pattern
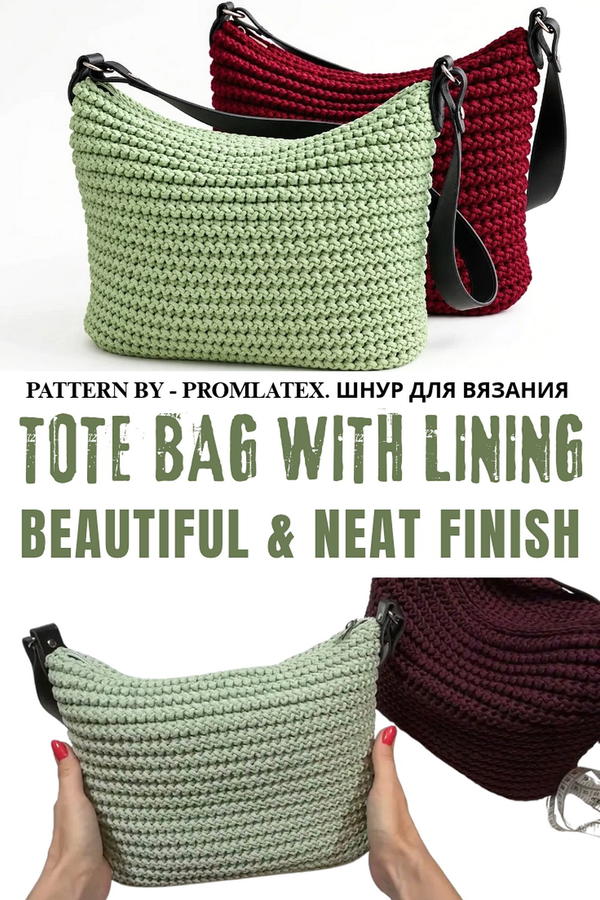
The addition of fabric lining prevents stretching and keeps the tote looking crisp, even after heavy use. Perfect for markets or everyday trips, this finished bag combines texture, structure, and a splash of personality to suit any season or outfit. Versatility and good looks come together in this tote bag project, thanks to a well-planned construction method shown in the step-by-step video.
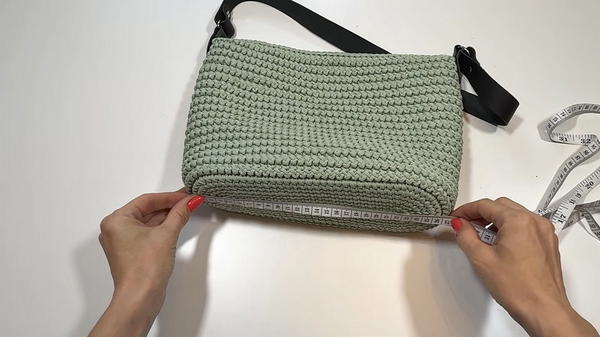
Start with a flexible yarn or cord, crochet the panels, and then piece them together for a strong, dependable bag body. Tips are shared for picking out a lining that fits perfectly without bunching, and the clear explanation of attaching it securely makes the whole process accessible. Once complete, the tote feels substantial in the hand, resists sagging, and carries everything from books to groceries with ease. Functionality and individual taste blend seamlessly in this practical, everyday carryall.
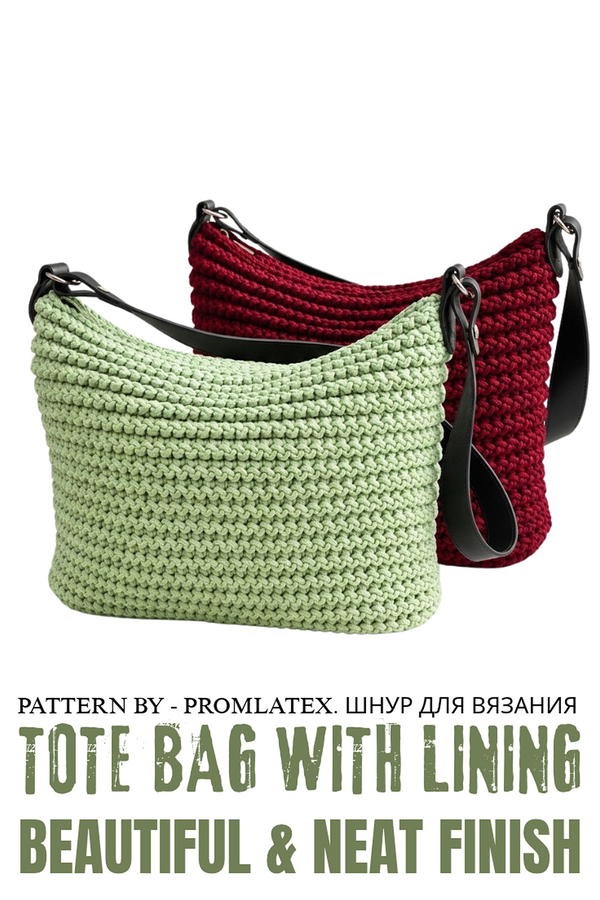
Step-by-Step Crochet Shopper Bag Pattern
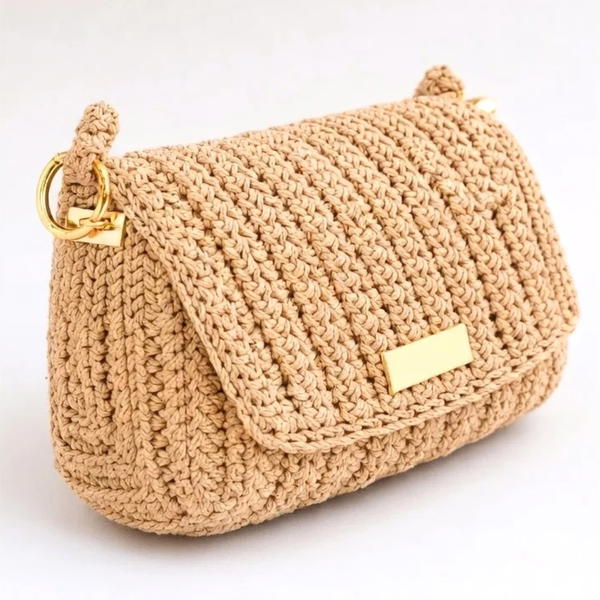
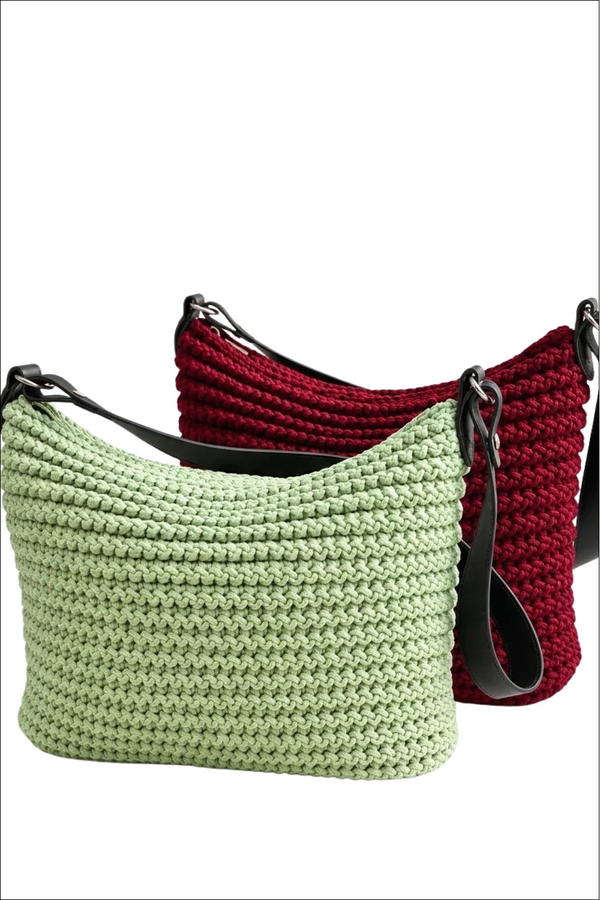
This crochet shopper bag is a sturdy, stylish, and functional tote perfect for your everyday errands or a casual outing. Made with durable 3 mm polyester cord and featuring a reinforced canvas base, this bag ensures longevity and is ready to withstand the weight of your essentials. The decorative and textured stitch pattern adds a unique touch to the bag, making it visually appealing as well as practical. Follow the detailed instructions for crafting this bag, complete with a lining, pockets, and leather handles for added elegance and functionality.
Skill Level
Intermediate
This project is ideal for crafters with experience in crocheting bags or working with polyester cord. Key techniques include working in the round, split single crochet stitches, and decorative stitch patterns. Basic sewing skills are also required for adding the lining and sewing the zipper.
Materials
To make this shopper bag, you will need:
- 3 mm polyester cord: 270 meters for the base, walls, and finishing.
- 3.5 mm crochet hook.
- Leather handle: Approx. 60 cm, along with handle holders and screws for attachment.
- Canvas fabric for reinforcing the bottom.
- Zipper:
- Main zipper (T5 size).
- Zipper for pocket (T4 or T3 size).
- Lining Fabric: Approx. 56 x 36 cm.
- Interfacing (flizelin) for pocket stability.
- Additional tools: Needles, scissors, stitch markers, sewing thread, and a lighter for sealing cord ends.
Stitch Abbreviations
- sc – Single Crochet
- split sc – Split Single Crochet (worked into the horizontal "V" of the stitch)
Useful Tips
- Joining Cord: Polyester cord can be joined seamlessly using the "solder/melt" method. Use a lighter to melt the ends slightly, then join them together. Be careful handling melted material as it can be hot.
- Tension Control: Maintain even tension, especially when using thicker cords, as inconsistent tension can cause uneven edges or misshapen structures.
- Reinforcement: Attaching a canvas bottom ensures extra durability and prevents sagging when carrying heavy items.
- Measure Carefully: Accuracy is key when cutting the canvas, lining fabric, and interfacing to ensure a neat and professional finish.
Pattern Instructions
This pattern is divided into three main sections: bottom construction, wall construction with a decorative stitch, and interior finishing with a lining and leather handles.
1. Bottom Construction
Foundation Chain:
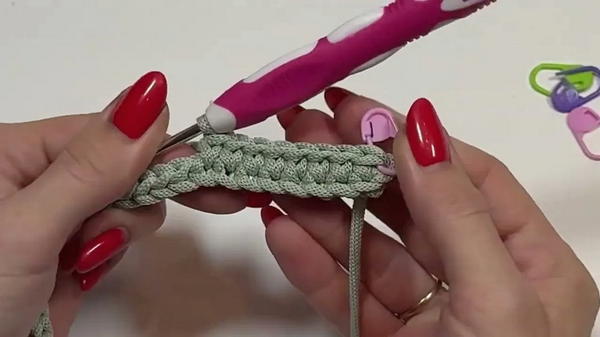
- Using the 3.5 mm crochet hook and polyester cord, start by creating a chain base of 26 chains.
- Ensure loose tension on the chain to allow flexibility for the bottom’s oval shape.
Round 1:
- Begin working around the chain to form an oval base.
- Work 24 sc stitches along one side of the chain.
- At the turning ends, work 3 sc into the last chain on both ends to create smooth rounded corners.
- Continue evenly along the other side of the chain for the remaining 24 sc.
- Close the round with a slip stitch and tighten the loop.
Rounds 2–6:
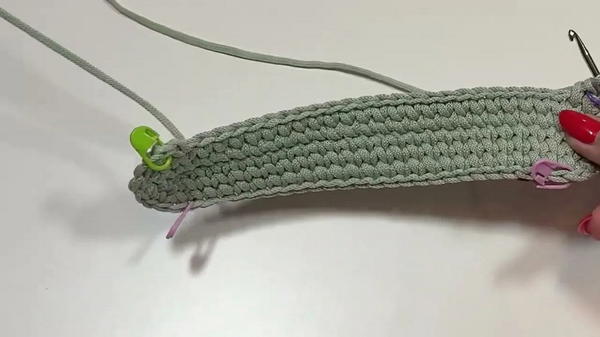
- Continue working in the round using the following pattern:
- Add 3 sc increases at each end of the oval in every row. This maintains the oval shape while enlarging the base.
- Ensure that the sides of the oval grow evenly, and adjust stitch placement as needed depending on tension.
- The finished base should measure approximately 15 cm in width.
Reinforcement:
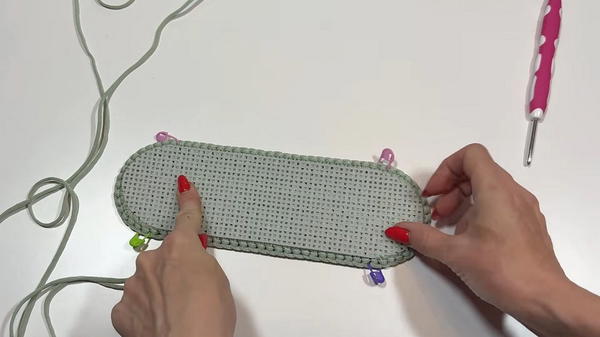
- Cut a canvas piece matching the size of your crocheted base. The canvas helps provide structure and added stability.
- Attach the canvas reinforcement to the inside of the crocheted base. Sew or glue the fabric securely so it remains in place during use.
2. Walls Construction
Transition Row (Row 1):
- Begin building the walls by working split sc stitches into the back loops of the final row of the base.
- Add 4 evenly spaced increases in this row to help transition into vertical walls while maintaining the basket's shape.
- Complete the round and join with a slip stitch.
Wall Rows:
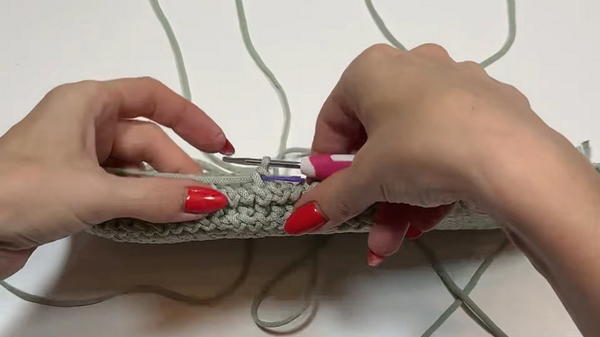
- The bag walls alternate between two types of stitch rows to create a textured and decorative pattern:
- Decorative Chain/Snake Row:
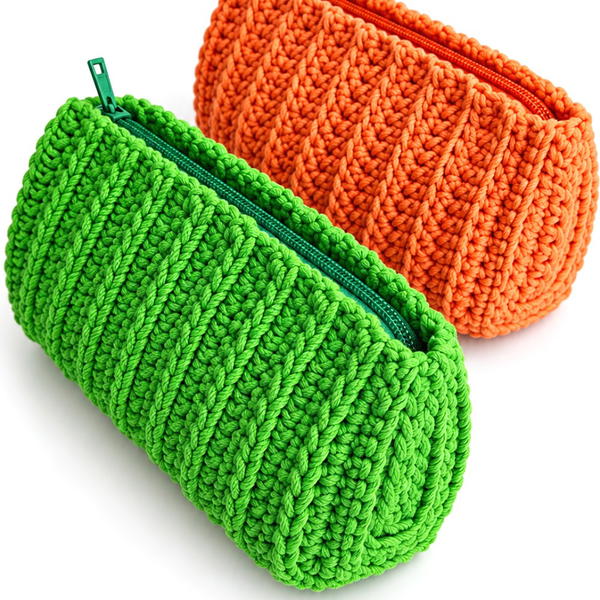
- Insert the hook into the stitch below and pull up the cord to create a twisted chain-like effect.
- Continue working this pattern around. Join with a slip stitch to finish the row.
- Standard Stitch Row:
- Work split sc stitches into the back diagonal loops of the previous row.
- This creates the standard vertical appearance for the basket walls.
- Decorative Chain/Snake Row:
- Repeat this alternating pattern until the basket reaches the desired height, approximately 22–23 cm.
3. Lining and Finishing
Lining Preparation:
- Cut the lining fabric to 56 x 36 cm.
- For the pockets:
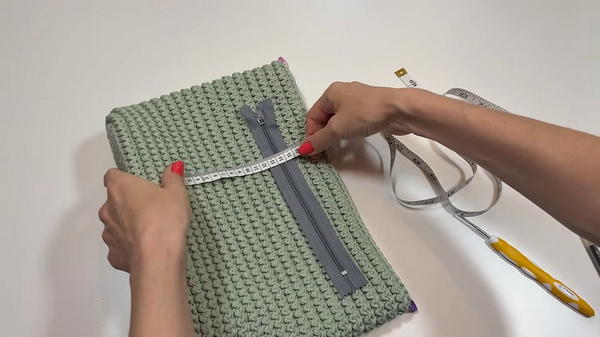
- Create an open pocket by folding and securing the fabric with stitching. Attach this to the lining.
- For the zippered pocket, attach interfacing (flizelin) to the fabric for reinforcement. Sew the zipper (T4 or T3 size) and attach the pocket to the lining fabric.
Lining Assembly:
- Sew the side of the lining to form a tube that fits the interior dimensions of the basket.
- Secure the bottom of the lining by sewing or gluing it to the canvas reinforcement already attached.
- Attach the zipper (T5 size) to the top of the lining for a functional closure.
Handle Attachment:
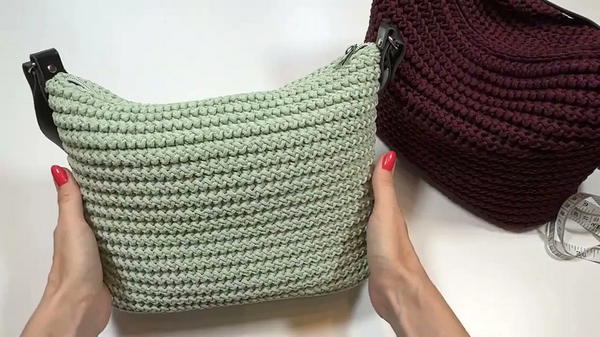
- Attach leather handle holders to the top edge of the bag. Position them symmetrically on opposite sides of the bag walls.
- Secure the 60 cm leather handle to the holders using screws or by sewing, depending on the design of your hardware.
Final Touches:
- Weave in all loose cord ends with a thinner hook, keeping the interior neat.
- Seal any exposed cord ends with a lighter to prevent fraying. Ensure the melted ends are tucked securely into nearby stitches.
Conclusion
This durable two-in-one shopper bag pairs practicality with elegance through the combination of a sturdy polyester cord exterior and a neatly finished fabric lining. The interesting textured pattern on the bag walls, along with polished details like leather handles and a reinforced canvas bottom, makes this tote both stylish and functional. Whether for groceries, essentials, or daily use, this bag stands out as a reliable and chic accessory in your collection.