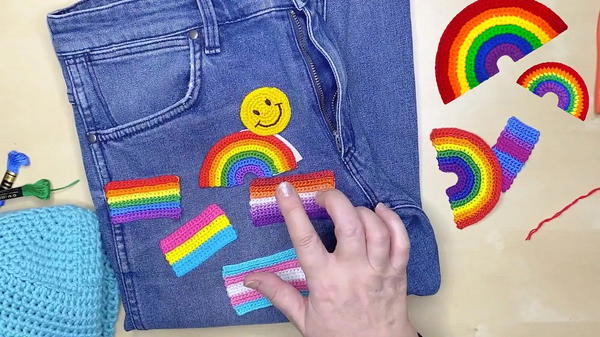
Show your colors with Free Crochet Iron-On Pride Patch Pattern which is a cheerful detail for jackets, backpacks, or favorite accessories that feel truly yours.
A plain jacket can say a lot more with one thoughtful detail. The Iron-On Pride Patch Free Crochet Pattern is a small accessory idea that lets color and personal expression take center stage. Pride-inspired designs often use vivid shades that stand out against denim, canvas, or simple clothing. A crochet patch has its own appeal because the stitches provide visible texture instead of the smooth surface of a printed badge.
Rainbow-Inspired Free Crochet Pattern for an Iron-On Pride Patch
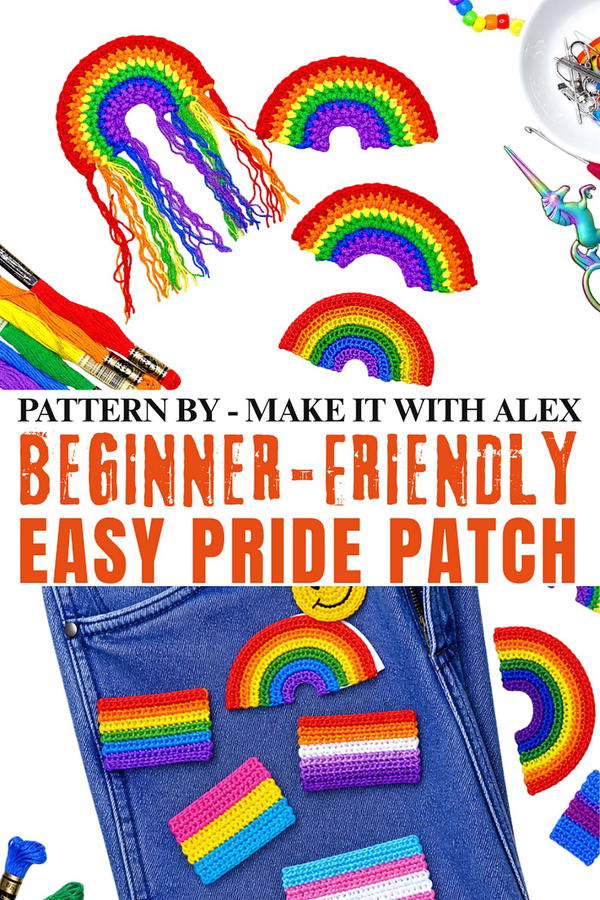
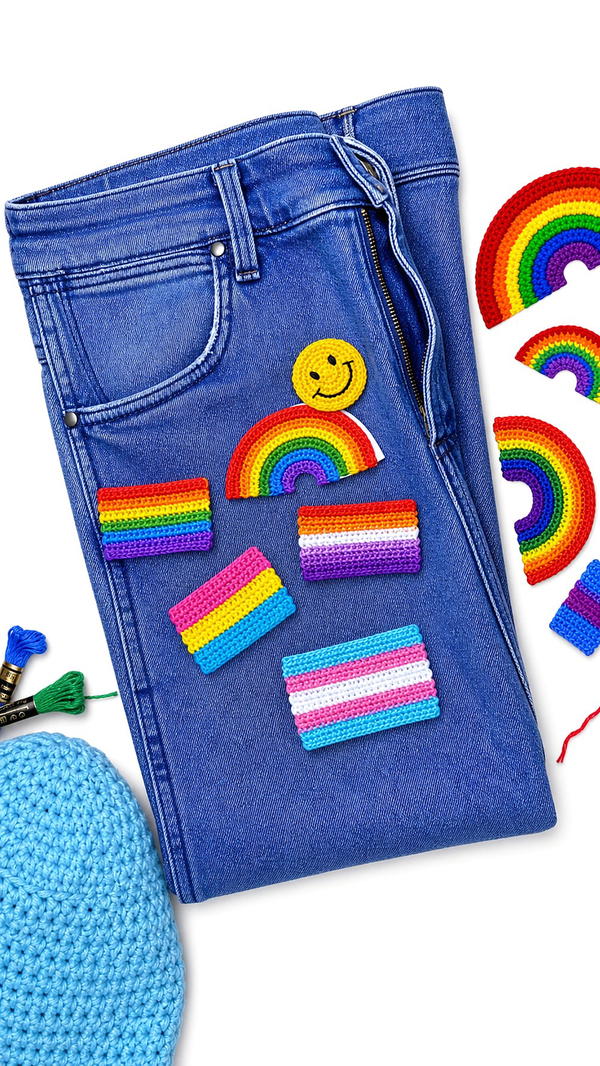
That contrast can give an everyday item a friendly, personal finish. The finished piece can be a symbol of identity, support, or celebration, depending on the person wearing it. There are several places where a patch can feel at home. A backpack is an easy choice for something seen every day, while a tote bag gives it a larger plain area to stand out. You might also place one on a jacket pocket or use it to personalize an older item that still has plenty of life left. Choose a spot where the patch will sit flat and remain visible.
The words iron-on describe the intended attachment style, but heat is not suitable for every yarn or fabric. Check the materials and care instructions before pressing anything, and consider sewing the patch on when needed. However it is attached, the finished detail is about expressing something meaningful in a small, colorful way.
Behind the Crochet Idea
The creator behind Make it with Alex shares a Pride patch idea centered on color and self-expression. This kind of small crochet piece can carry meaning beyond decoration, especially when placed on a favorite accessory. The original video gives viewers a place to explore the project and its personal style.
Crochet Iron-On Pride Patch Pattern
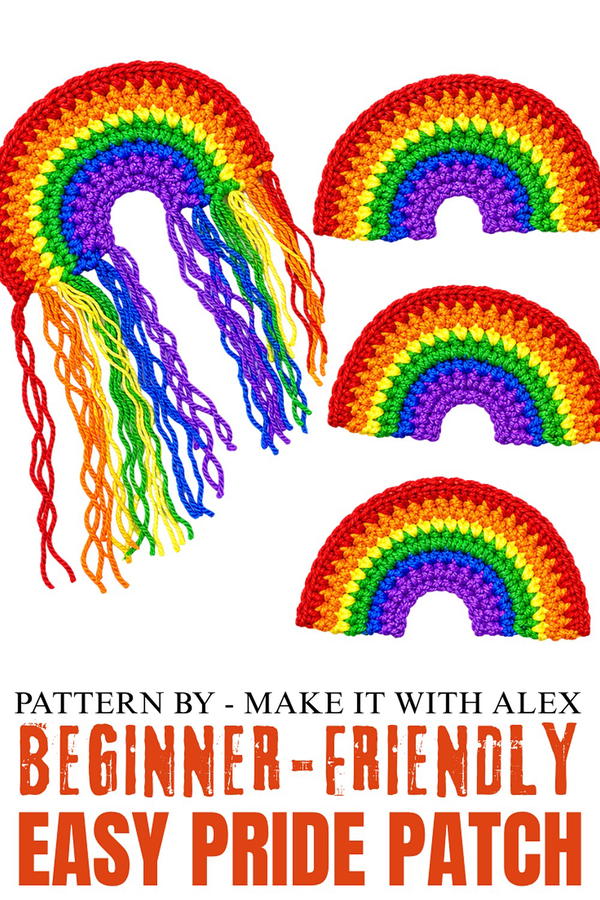
This step-by-step guide will help you create a customizable and vibrant crochet pride patch. Designed for versatility and inclusivity, this patch features color block sections to represent various pride flags. Once the crocheting is complete, the patch is backed with an adhesive layer so it can easily be ironed onto clothing, bags, or other fabrics for a bold and personal statement.
Skill Level
Intermediate
This pattern requires a basic understanding of single crochet (sc) stitches and changing colors, ensuring consistent tension, and attaching an iron-on backing.
Materials
To create the patch, the following tools and supplies are needed:
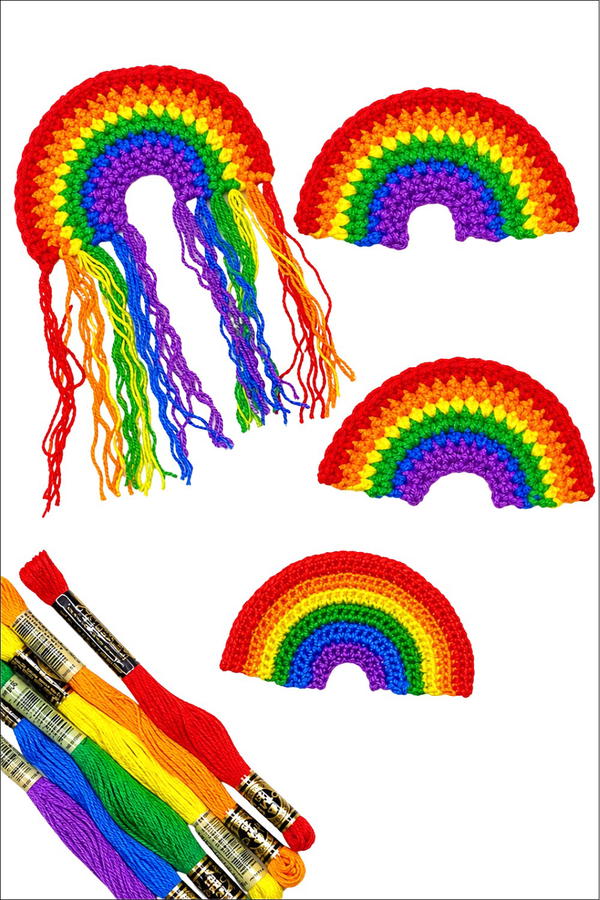
- Embroidery floss or cotton yarn: Choose colors that represent your flag or preferred design.
- Crochet hook: Between 1.5 mm to 2.25 mm, depending on the thickness of your floss or yarn.
- Scissors: For trimming yarn ends and adhesive backing.
- Sewing needle: For weaving in loose ends.
- Parchment paper: To protect the adhesive and fabric when ironing.
- HeatNBond Ultrahold adhesive: This creates the iron-on capability.
- Iron: Set to medium heat (wool setting, no steam).
Stitch Abbreviations
- ch – Chain
- sc – Single Crochet
Useful Tips
- Choose the Right Hook: Use a hook size that maintains firm tension, creating a compact and sturdy fabric. Loose stitches will make the patch less durable.
- Managing Color Changes: To avoid visible color transitions, work the new color yarn over the tail of the old color for a few stitches to secure it.
- Even Stitches: Consistency is key to avoid an uneven patch. If edges start to look uneven, double-check your tension and stitch count each row.
- Iron Carefully: Use parchment paper to prevent the adhesive from sticking to your iron, and avoid pressing directly on the yarn. If the adhesive spreads beyond the edges of the patch, use the tip of the iron to re-adhere it.
Pattern Instructions
This patch is worked row by row in single crochet (sc), with color changes to create each stripe of the flag or design.
1. Creating the Patch
Starting:
- Begin by creating a slip knot.
- Use the base color to chain your desired width. For a standard patch, chain 20 stitches to set the width of the flag.
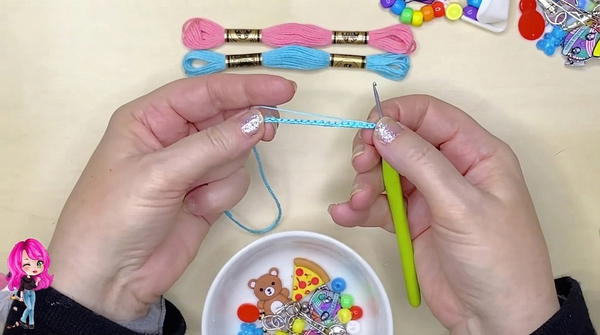
- Add 1 extra chain for the turning height.
Row 1:
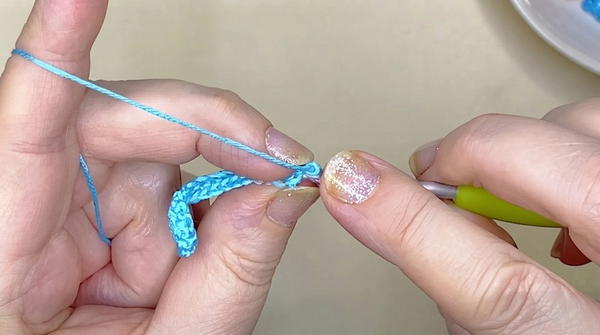
- Insert your hook into the second chain from the hook, and work 1 sc.
- Continue working 1 sc into each chain across.
- At the end of the row, chain 1 and turn your work to begin the next row.
Rows 2 and Onward:
- Work 1 sc into each stitch across the row, maintaining even tension.
- At the end of each row, chain 1 and turn your work.
- Repeat this row until the desired height of the first color block is reached.
Color Changing:
- To begin a new color:
- Finish your last stitch of the row, leaving two loops on the hook.
- Cut the old color, leaving a tail of a few inches.
- Pull the new color through the last two loops on your hook.
- Once the new color is secured:
- Work the new color over the tails of both the old and new yarns during the first few stitches of the row.
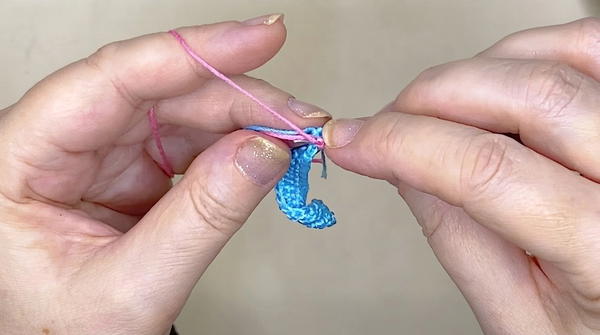
- Trim the tails close to the fabric after securing them with several stitches.
- Work the new color over the tails of both the old and new yarns during the first few stitches of the row.
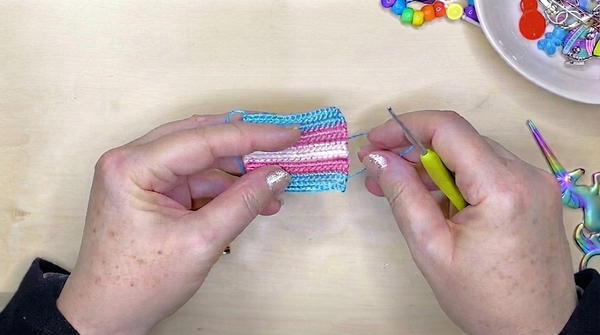
- Repeat this process for each new color block of the flag, maintaining a sharp and clean transition between stripes.
Finishing the Crocheted Patch:
- Once the patch has reached the final row, chain 1 at the end and trim the yarn, leaving a long tail of about 6 inches.
- Pull the tail through the last loop on your hook to secure it.
- Use a yarn needle to neatly weave any loose ends into the back of the patch, ensuring they are fully hidden.
2. Attaching the Iron-On Backing
Once your crochet patch is completed, it’s time to add an iron-on backing to transform it into a versatile and easy-to-attach design.
Adhering the Patch:
- Lay the completed patch on the glue side of the HeatNBond Ultrahold adhesive sheet, ensuring it is centered and all areas are completely covered.
- Cover the patch with a sheet of parchment paper to prevent the adhesive from sticking to the hot iron.
- Preheat your iron to medium heat (wool setting, no steam) and gently press it onto the parchment paper covering the patch. Hold the iron in place for 5–10 seconds on each section of the patch to activate the adhesive.
- Allow the adhesive to cool for a few minutes before proceeding.
Trimming the Adhesive:
- Once cooled, carefully peel away the protective backing from the adhesive sheet.
- If any excess adhesive remains extending beyond the patch:
- Trim the glue carefully with scissors.
- Alternatively, you can place the patch on parchment paper and gently heat the edges with the iron to shrink the adhesive to fit.
Attaching the Patch to the Garment:
- Position your patch on your target garment or accessory. The glue side should face down onto the fabric.
- Cover the patch with parchment paper and press the iron firmly onto the paper for a clean, strong bond. Ensure all areas of the patch are heated evenly.
- For added durability, flip the garment and press the iron on the reverse side directly behind the patch. Avoid using steam when ironing.
Conclusion
This iron-on crochet pride patch is a creative and personalized way to display pride and individuality. The stitch-by-stitch crochet process allows for full customization of size and colors for infinite possibilities, while the easy-to-attach backing ensures it can seamlessly become part of any garment. This patch is a wonderful project for anyone looking to combine their love of crochet with a meaningful statement accessory.