Plan a roomy accessory for your busy routine with this Free Crochet Large Bag Pattern, a useful choice for carrying more of your everyday belongings easily.
Busy days can mean carrying more than a phone and a set of keys. This Large Bag Free Crochet Pattern suits the idea of keeping several useful belongings in one place instead of balancing separate small bags. For people who like practical accessories, the generous size is the main reason to choose this style.
Useful Large Bag Free Crochet Pattern with Everyday Appeal
A larger bag has a noticeably different presence when worn or carried. It can become a clear part of an outfit rather than just a small finishing detail. Crochet softens its appearance, and the visible stitches give even a simple shape some character. Neutral colors work well with many outfits, while a rich shade can give the whole look a stronger finish. Both choices can feel stylish without being too formal.
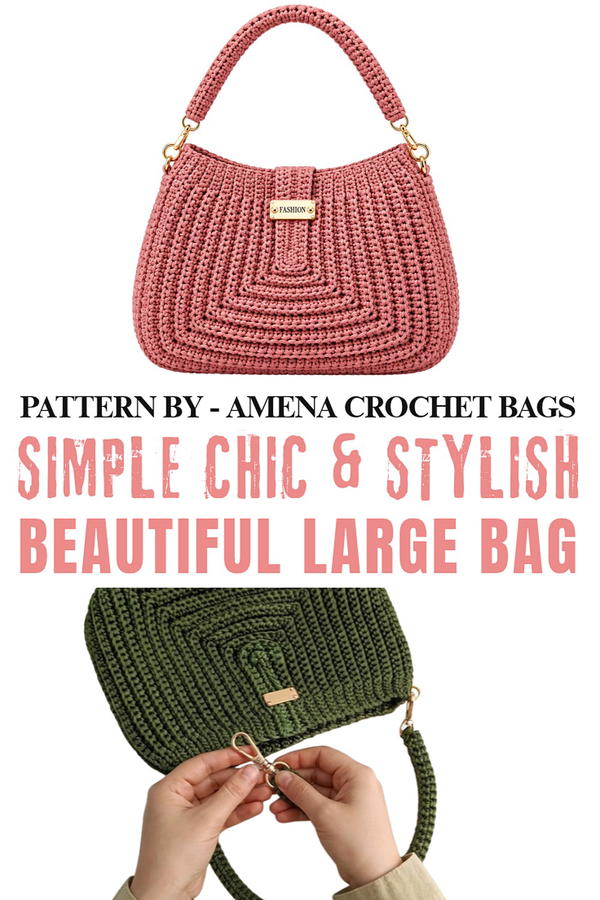
Inside the Channel
From bags to clothing, magic knots features a range of crochet projects linked to practical fashion. Someone interested in larger accessories can also browse the channel for other wearable ideas. Its selection offers inspiration for turning yarn into items that feel useful at home, during outings, or as thoughtful gifts.
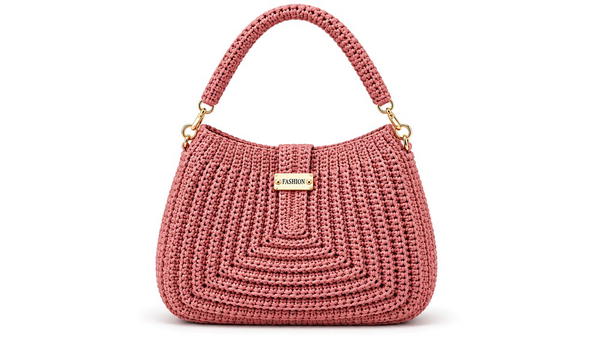
With extra space comes the need for a little care in the construction. A steady base helps support the shape, and well joined handles matter when the bag is used often. It is sensible to think about the weight of what you plan to carry, because a crocheted bag may stretch with heavier belongings. Keeping everyday loads comfortable will help it remain useful.
Depending on the finished measurements, a roomy design might suit a light sweater, small notebook, wallet, and other daily items. It is handy for a day away from home or a casual shopping trip. This is the sort of piece someone may reach for regularly because it offers both space and an easy, familiar look.
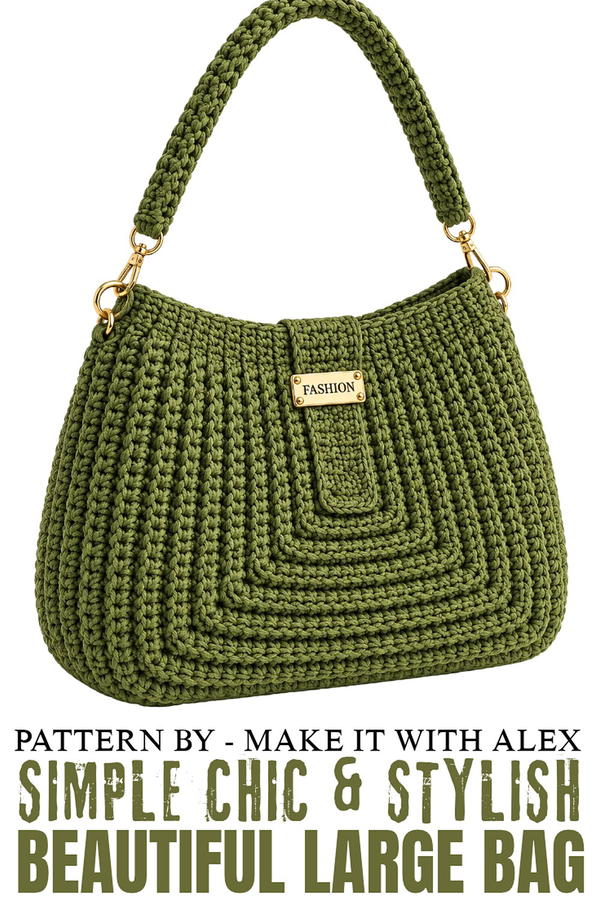
Large Crochet Bag Pattern
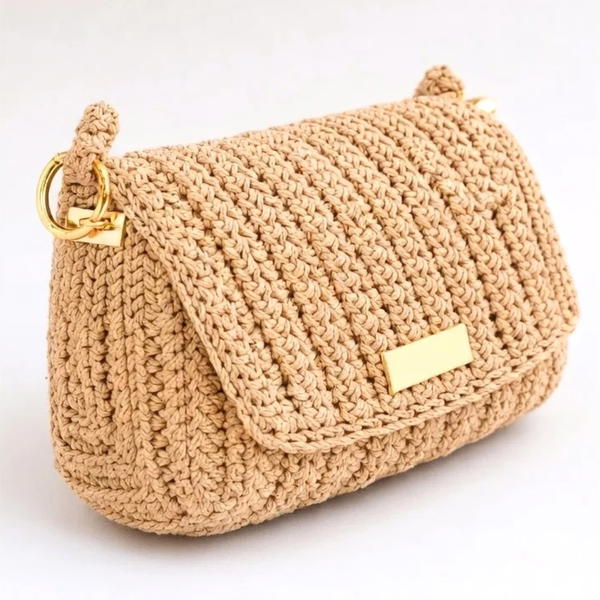
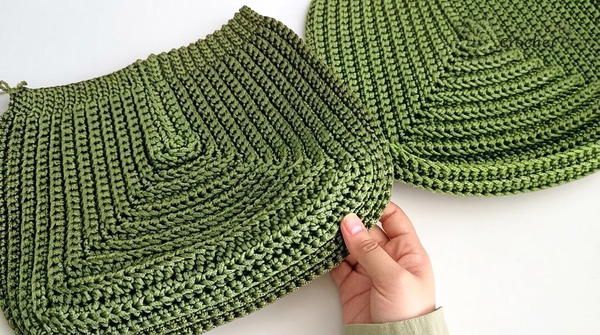
This elegant and durable crochet bag features a textured, sturdy design that adapts a medium-sized version into a larger and more spacious accessory. It employs slip stitches, single crochets, and half double crochets, while corner shaping and consistent increases give the bag its rounded structure. This design is ideal for everyday use and makes a great project for intermediate-level crocheters.
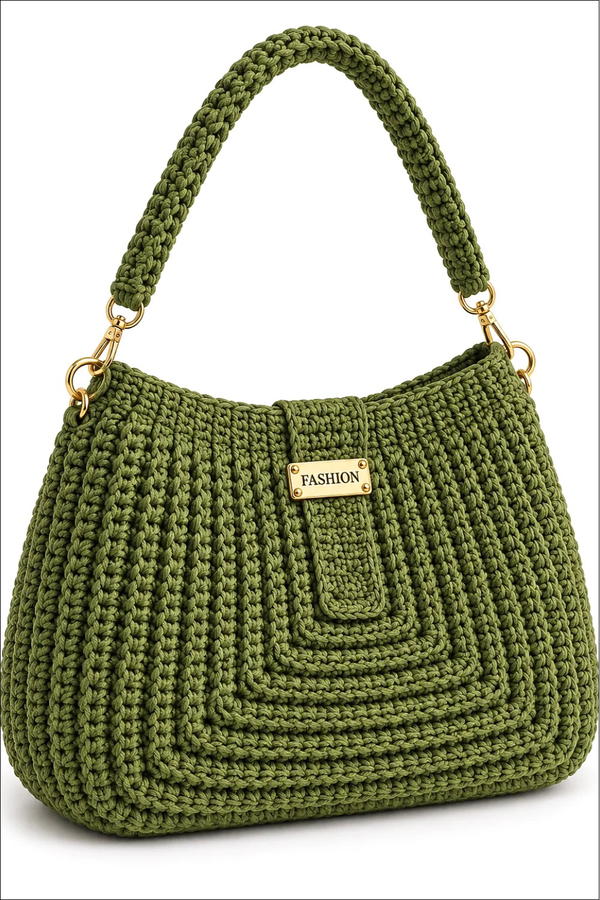
Skill Level
Intermediate
While the stitches themselves are easy, this pattern requires careful counting, shaping through increases, back-loop-only work, and precise sewing. It’s best suited for those with prior experience in creating structured crochet items.
Materials
- Yarn: Approximately 800 grams (300 meters) of 3 mm chain yarn.
- Hook: 5 mm crochet hook.
- Tools:
- Yarn needle for sewing and weaving in ends.
- Scissors.
Abbreviations
- ch – Chain
- sl st – Slip Stitch
- sc – Single Crochet
- hdc – Half Double Crochet
Helpful Tips
- Track Increases: Use stitch markers for corner stitches to easily locate where increases must occur.
- Seaming: Be precise when sewing the two pieces together; stitch-to-stitch alignment creates a clean and polished finish. Ensure you sew in one consistent direction.
- Handle Strength: Work each row of the handle tightly to ensure durability.
- Dimensions: This bag design can be customized for a larger or smaller size by adjusting the foundation chain count and increasing or reducing the number of rows.
- Leave Yarn Tails: Make sure to leave long yarn tails when cutting for sewing later.
Pattern Instructions
The bag consists of two large panels, joined together, and completed with a sturdy four-row handle.
Step 1: Create the Bag Panels
You will create two identical panels for the body of the bag.
Round 1: Foundation Chain and First Row
- Create a slip knot and chain 16.
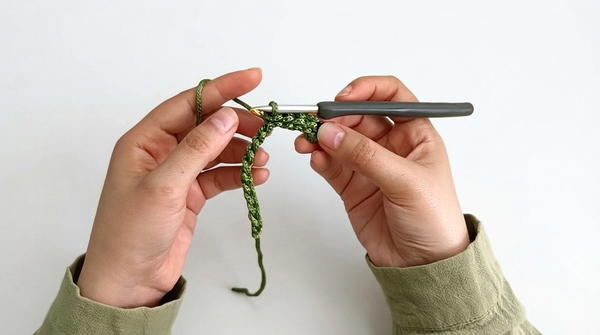
- From the second chain, work as follows:
- Work 5 sl st in the first 5 chains.
- Work 9 sc in the next 9 chains.
- In the last chain, work 3 hdc into the same stitch.
- Turn to work along the opposite side of the foundation chain:
- Work 9 sc in the next 9 chains.
- Work 5 sl st in the remaining 5 chains.
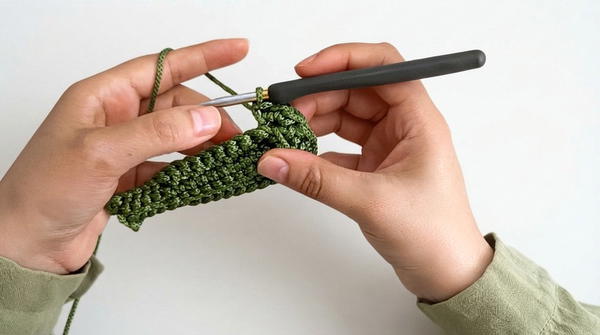
Round 2: Starting the Back-Loop Rows
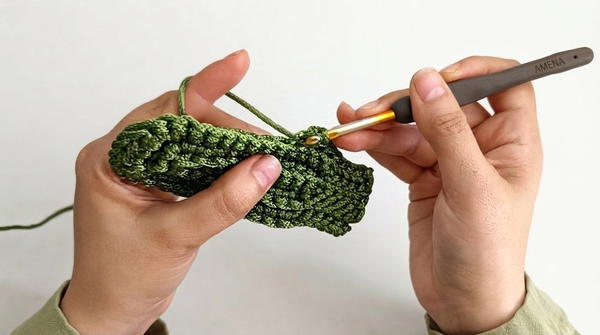
- Chain 1, turn the work, and begin the second row.
- Working in the back loops only:
- Work 5 sl st in the first 5 stitches.
- Work 9 sc in the next section.
- In the corner section (3 hdc from the previous row):
- Work 3 sc in the first hdc stitch, then 1 hdc in the middle stitch, and finally 3 sc in the last hdc stitch.
- Continue with 9 sc on the other side and finish with 5 sl st.
Round 3: Increasing the Panel
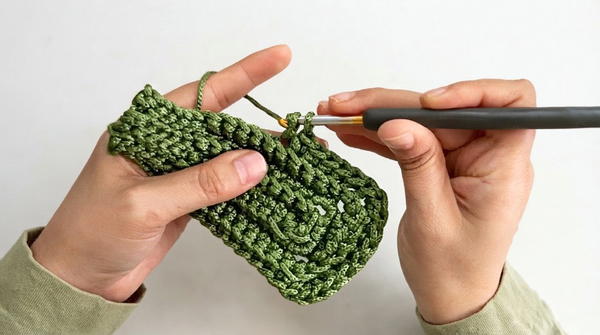
- Chain 5, turn the work.
- Begin the row with 5 sl st, then work 10 sc.
- At the corner stitch (the middle stitch of the 3 sc in the previous row):
- Work 3 sc into the same stitch as an increase.
- Continue with 3 hdc in the next section, then 3 sc into one corner stitch to increase again.
- Finish the row with 10 sc and 5 sl st.
Rounds 4–19: Gradual Increases
For each subsequent row, increase by 1 sc on each side and increase the hdc section (bottom section) by 2 stitches in every row.
- Row 19:
- 5 sl st.
- 26 sc, 3 sc in the first corner, 35 hdc, 3 sc in the second corner, 26 sc, 5 sl st.
At this point, you have reached the desired width and height, completing the increase rows. With 19 rows, your foundation panel is ready.
2. Holding Rows
Holding rows are worked to add structure and finalize the shape once the increases are complete.
- Begin and end each row with 5 sl st.
- Work 93 sc evenly across (1 sc per stitch, no corner increases).
- Repeat these holding rows for a total of 24 rows.
3. Make the Second Panel
Repeat steps 1 and 2 to create a second identical panel for the other side of the bag. Ensure that both panels match in stitch count and row number for consistent sewing.
4. Assemble the Bag
After completing both panels, sew them together:
- Place the two panels with the wrong sides facing outward.
- Sew each side carefully stitch by stitch, matching one loop from each panel and ensuring the stitches align perfectly.
5. Create the Handle
Foundation Chain
- Secure the yarn in the hook and chain 50.
Handle Construction
- Row 1:
- Secure the other end in the second hook using 1 sc from the center of the hook, followed by 50 sc across the chain.
- Row 2:
- Work 50 sc in the back loop only.
- Rows 3–4:
- Repeat the previous row for two additional rows, for a total of 4 rows.
Leave enough length of yarn for sewing before cutting.
Attach the Handle to the Bag
- Align the handle with the top edge of the bag.
- Sew the final row of the handle to the beginning chains of the handle and to the bag panel using loop-to-loop stitches, in one direction.
Conclusion
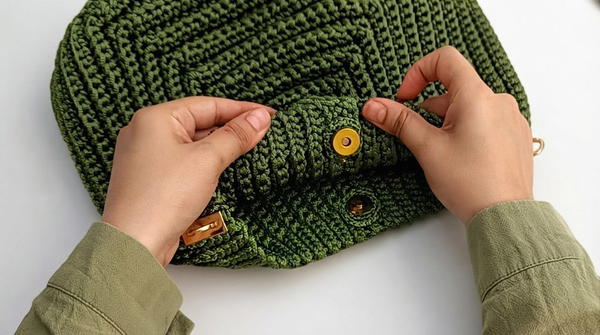
This beautiful large crochet bag is functional, stylish, and adaptable for various uses. The thoughtful increases in the panels create a smooth, rounded shape, while the holding rows provide structural stability for everyday use. The Roman lace handle adds a touch of durability and enhances the overall aesthetic, making this bag both practical and visually appealing. This project allows room for size adjustments, making it perfect for crocheters who want to create larger variations for their needs.