Mint Design Blog


Stitch elegant piece with this free Lily Flower crochet pattern designed to add a touch of nature’s grace to your home decor or accessories.
Delicate, timeless, and full of charm, lily flowers have a captivating beauty that makes them a favorite in both natural and decorative displays. The Free crochet Lily Flower Pattern allows you to recreate this elegance using simple materials, resulting in lifelike blooms that never lose their appeal. Shared by Gülşah Özcan Filiz, this pattern guides you through creating stunning crochet lilies that are perfect for gifting, decorating, or personal keepsakes. The possibilities are endless with this lovely floral project.
Free Crochet Lily Flower Pattern for Beginners and Experts
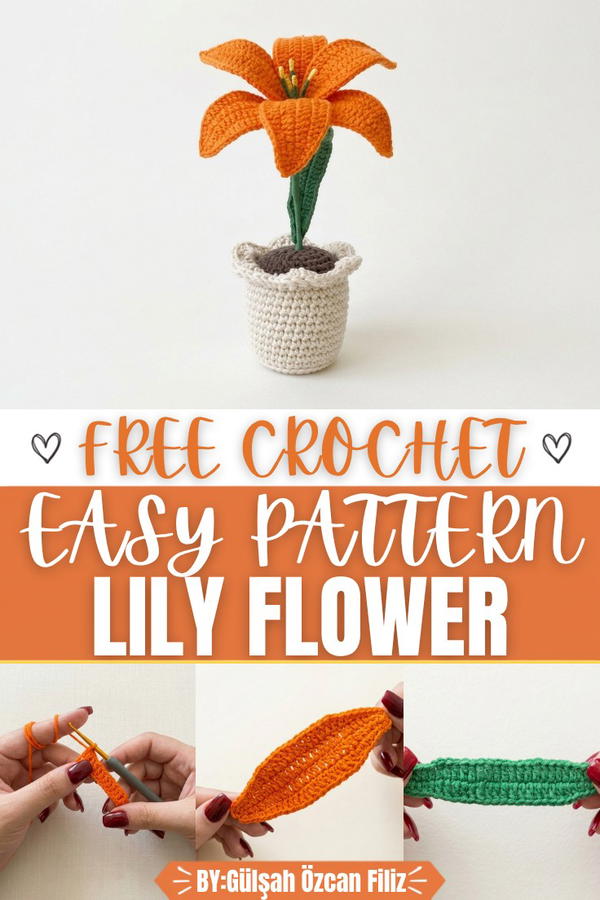
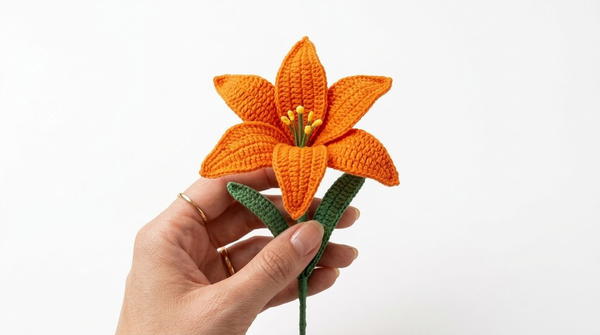
Each lily flower in this design is thoughtfully crafted to reflect the grace and beauty of real blossoms. The petals, with their gentle curves and layered arrangement, mimic the soft, natural shape of a lily. Textured stamens and finely shaped leaves enhance their lifelike appearance, while customizable color options let you design flowers that match your style. Be it vibrant and bold or light and delicate tones, these crochet lilies are sure to impress.
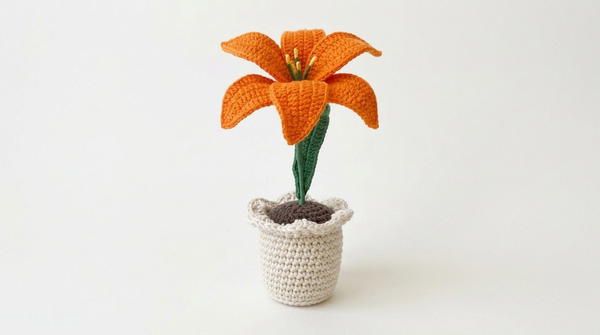
These handmade lilies offer versatility beyond their beauty. They make striking table centerpieces, mix seamlessly into event decorations, and work perfectly as heartfelt gifts that symbolize care and effort. Whether displayed alone or woven into wreaths or bouquets, their charm is undeniable. With clear instructions provided in the video tutorial, this project is a delightful way to turn simple materials into elegant blooms that brighten any space or occasion.
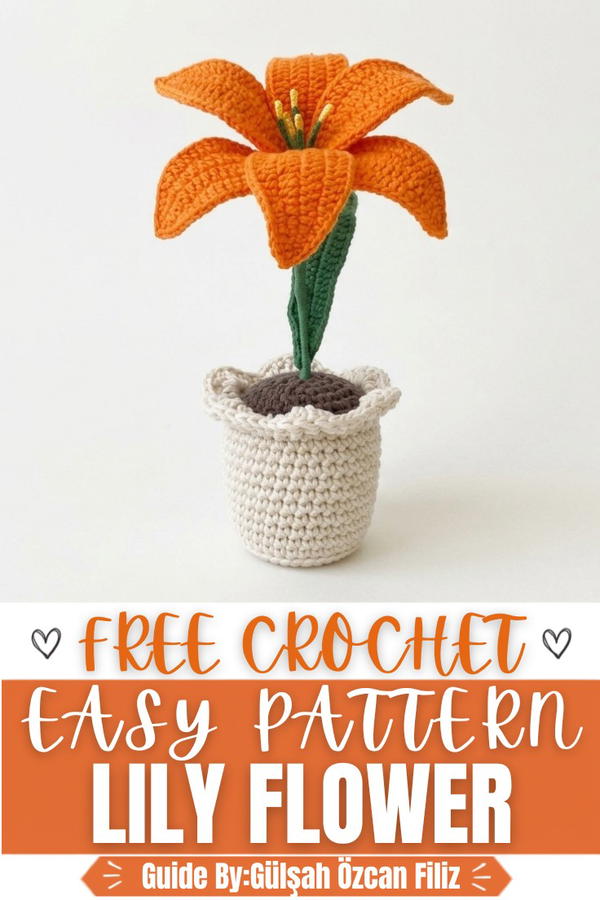
Crochet Lily and Flowerpot Pattern
This tutorial provides detailed instructions for crocheting enchanting lilies and a coordinating flowerpot. These handmade flowers can serve not only as decorative pieces but also as versatile accents fitting for any interior. Whether you choose to display the lilies in a vase or as part of a potted arrangement, this pattern allows creative customization in both size and color.
Skill Level
Intermediate: This pattern incorporates fundamental as well as advanced crochet techniques, such as working around wire, shaping, and decorating. Some knowledge of crochet is recommended, but beginners can attempt it with patience and practice.
Materials
To create the crochet lilies and flowerpot, you will need:
- Yarn:
- Cotton yarn for the lily petals and leaves.
- Macrame cord for the flowerpot.
- Wool yarn for the "earthy" look of the soil.
- Yellow yarn for flower buds.
- Green yarn for wrapping the wire stems and detailing.
- Crochet Hooks:
- 2.20 mm for the flowers and leaves.
- 4 mm for the macrame pot and soil base.
- Florist Wire: To give structure and allow shaping for the petals, leaves, and stems.
- Hot Glue or Silicone: For securing components.
- Fiberfill: For stuffing the soil base.
- Scissors: For cutting yarns.
- Large Sewing Needle: For threading yarn and assembling pieces.
- Wooden Skewers (Optional): To stabilize the flowers in a pot.
Special Stitches
- Single Crochet (SC): Insert the hook, yarn over, pull up a loop, yarn over again, and pull through both loops.
- Half Double Crochet (HDC): Yarn over, insert the hook, yarn over, pull up a loop (three loops are now on the hook), yarn over, and pull through all three loops.
- Double Crochet (DC): Yarn over, insert the hook, yarn over and pull through the stitch (three loops on the hook), yarn over, pull through two loops, yarn over again, and pull through the last two loops.
- Slip Stitch (Slst): Insert the hook, yarn over, and pull through both loops on the hook in one motion.
Stitch Abbreviations
- Ch: Chain
- SC: Single Crochet
- HDC: Half Double Crochet
- DC: Double Crochet
- Slst: Slip Stitch
Useful Tips
- Work Smoothly with Wire: Using wire for shaping petals and leaves requires gentle handling; avoid bending it too often to prevent breakage.
- Hide Excess Wire Carefully: Ensure wire ends are covered with yarn to avoid any sharp edges.
- Gauge Customization: Adjust the size of flowers and leaves by increasing or reducing the number of chains and rows, depending on your project needs.
- Glue Management: Be cautious when using hot glue or silicone to avoid spills, especially on visible parts of the crochet design.
- Plan Placement: Before assembly, plan the arrangement of petals, buds, and leaves, pinning them into position to confirm balance and symmetry before securing them.
Detailed Pattern
1. Lily Petals (Make 6 for Each Flower)
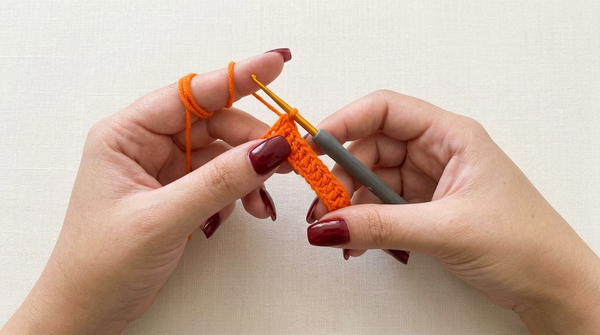
- Step 1 (Base Chains):
- Ch 27. (27 chains)
- Skip the first chain from the hook and work the following pattern into the remaining chains:
- Step 2 (First Row):
- SC into the second chain from the hook and into the next two chains. (3 SCs)
- HDC into the next three chains. (3 HDCs)
- DC into the next 14 chains. (14 DCs)
- HDC into the next three chains. (3 HDCs)
- SC into the last three chains. (3 SCs)
- Step 3 (Continuing on the Other Side):
- Turn to the opposite side of the starting chain:
- SC into each of the first three stitches. (3 SCs)
- HDC into the next three stitches. (3 HDCs)
- DC into the next 14 stitches. (14 DCs)
- HDC into the next three stitches. (3 HDCs)
- SC into the last three stitches. (3 SCs)
- Turn to the opposite side of the starting chain:
- Finishing the Petal Edge: Slst into the starting stitch to complete the first row.
Step 4 (Wire Integration)
- Cut a piece of wire slightly longer than the petal's length.
- Place the wire along the edge of the petal and hold it in place by crocheting around it with SCs.
- Work SCs evenly around the edge, adding increases (2 SCs in the same stitch) at the rounded tip of the petal to allow for a smooth curve.
- Finish with a slst, fasten off, and weave in the ends.

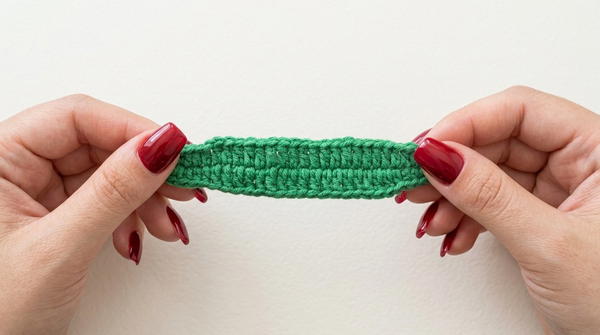
2. Lily Leaves (Make 6 for Each Flower)
- Step 1 (Base Chains):
- Ch 30. (30 chains)
- Step 2 (Shaping the Leaf):
- SC into the second chain from the hook and into the next two chains. (3 SCs)
- HDC into the next three chains. (3 HDCs)
- DC into the next 17 chains. (17 DCs)
- HDC into the next three chains. (3 HDCs)
- SC into the last two chains. (2 SCs)
- Step 3 (Turn and Work the Other Side):
- Work the same pattern down the opposite side of the starting chain as in Step 2.
- Step 4 (Wire Integration):
- As with the petals, repeat the process of attaching wire to the edges of the leaf by crocheting SCs around.
3. Buds (Make 5 for Each Flower)
- Cut a piece of wire to approximately 10 cm.
- Take yellow yarn, leave a long tail, and wrap it around one end of the wire several times to create a rounded bud shape.
- Bend the end of the wire into a loop to prevent unraveling, and trim excess yarn.
- Use green yarn to wrap downwards along the wire, covering the yellow section slightly. Secure the end with hot glue or a knot.
4. Flowerpot (Base)
- Rnd 1: Begin with an MR. Work 6 SC into the ring. (6 sts)
- Rnd 2: Work 2 SC in each stitch around. (12 sts)
- Rnd 3: (1 SC, 1 Inc). Repeat around. (18 sts)
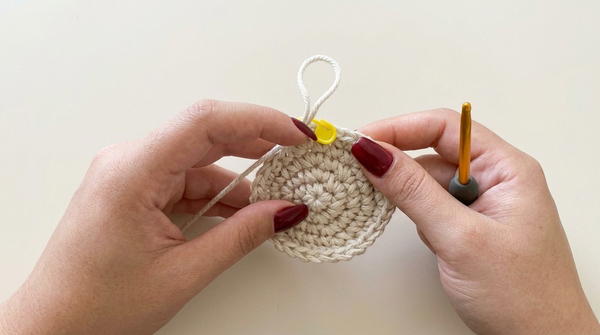
- Rnd 4: (2 SC, 1 Inc). Repeat around. (24 sts)
- Rnds 5-10: Continue increasing by 6 stitches per round, following the sequence 3 SC, 4 SC, 5 SC, etc., between increases. Adjust the base size as needed.
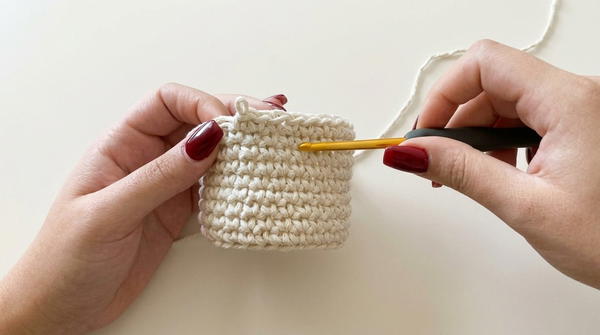
- Forming the Sides:
- After completing the base size, crochet one round in the back loops only, working one SC into each stitch. (No increases)
- Continue crocheting SCs into both loops until the height is approximately 9 rows.
- "Soil" Layer (Optional):
- Switch to wool yarn and crochet SCs into the top of the last row to create a custom "earth" layer.
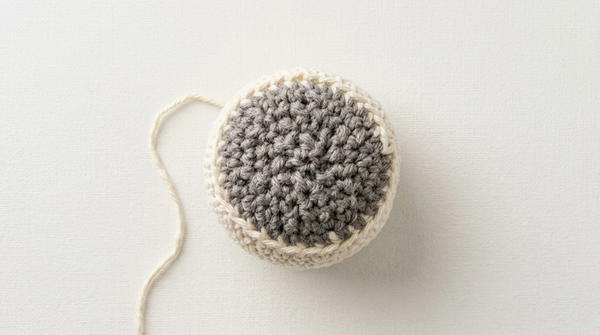
- Switch to wool yarn and crochet SCs into the top of the last row to create a custom "earth" layer.
Assembly and Sizing
- Prepare Petals and Leaves: Shape the petals and leaves by bending the wire to your desired form. Ensure that all wire ends are tucked and secured.
- Arrange and Tie Buds & Petals: Gather the five buds and tie them together at their bases using yarn or tape. Gradually add the petals around the buds, securing them tightly with yarn or wrapped wire. Space them evenly.
- Attach Leaves: Position the leaves around the assembled flower. Place one leaf at a time, tying or wrapping them to the wire stem beneath the petals. Adjust their arrangement for symmetry.
- Prepare the Stem: Wrap green yarn around the stem from the base of the petals, covering the ends of the yarn and securely attaching the components.
- Insert into the Pot: Add fiberfill to the flowerpot as needed, then insert the flower stem into the pot. Use hot glue or silicone to secure it if required.
Conclusion
This crocheted lily and flowerpot project combines artistry and functionality, offering a delightful way to create everlasting flowers. By following the detailed instructions, you can customize sizes, colors, and materials to suit your preferences. These versatile lilies make for stunning stand-alone flowers or arrangements in pots and vases, helping you create hand-crafted beauty for any occasion or space.