Protect your favorite frames with this Crochet Case for Glasses Free Pattern featuring a soft texture and practical shape for everyday use.
We’re grateful to Olga Dyvinets of Crochet with Olga Dyvinets!!! for the clear and creative tutorial behind this stylish crochet glasses case. This handy creation is a soft, protective pouch designed to keep your eyeglasses safe from scratches and damage while adding a personal touch with handmade charm.
Handy Crochet Case for Glasses Free Pattern To Keep In Your Bag
The Crochet Case for Glasses features a simple rectangular shape with a flap that folds over and closes, often with a button or a loop. It’s made using basic crochet stitches like single crochet and half double crochet, making it accessible for beginners and enjoyable for more experienced crocheters. Its compact size perfectly fits most eyeglasses or sunglasses, making it an ideal accessory to carry in your bag or keep on your bedside table.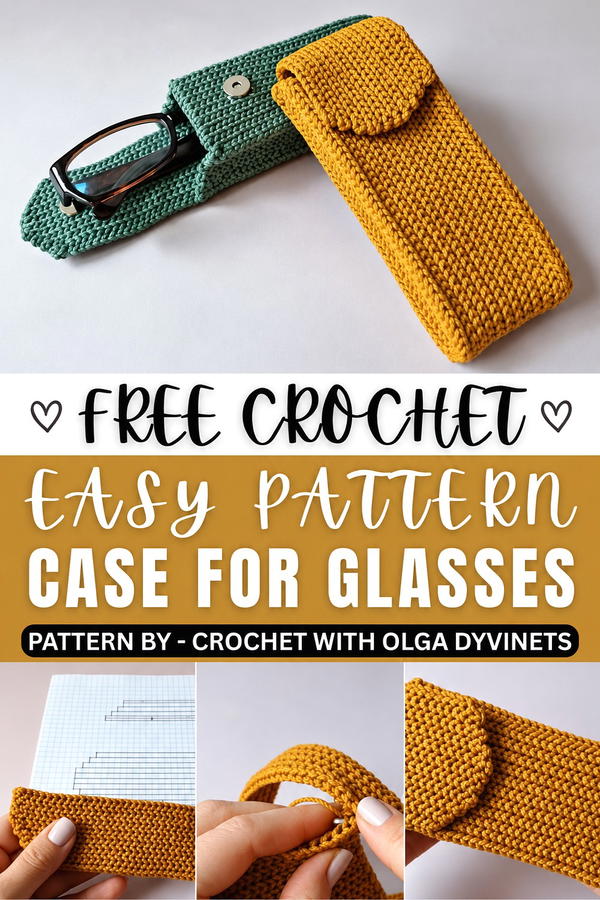 What makes this project special is the chance to customize it. You can choose your favorite yarn colors, add decorative buttons, or even stitch initials or small patterns to make it uniquely yours. This adds both style and personality to a very useful item.
The step-by-step tutorial guides you through creating a sturdy yet soft fabric, working in rows to build the pouch, and finishing it with a flap closure. It’s a simple but satisfying project that results in a beautiful and functional piece.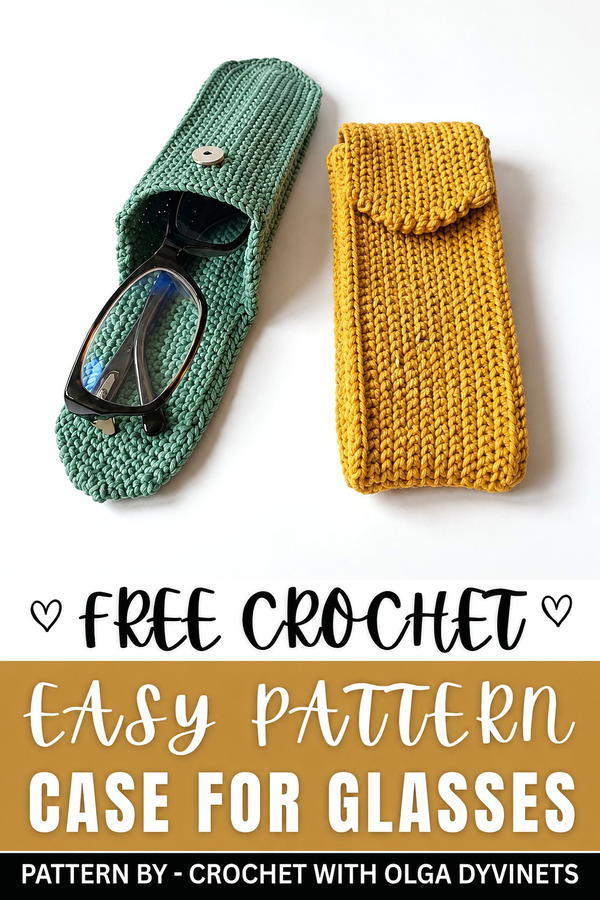 If you’ve been looking for a quick, practical crochet project that’s perfect as a gift or for yourself, this Crochet Case for Glasses is definitely worth trying!
Crochet Eyeglass Case Pattern
This crochet eyeglass case features a sturdy, textured slip stitch construction with a unique jagged edge detail and practical buttoned flap. It’s designed to protect your glasses while adding a touch of handmade elegance to your daily accessories. The pattern builds the main body in one piece, shapes a functional flap, and adds angled side panels for a custom fit—joined with a seamless slip stitch assembly.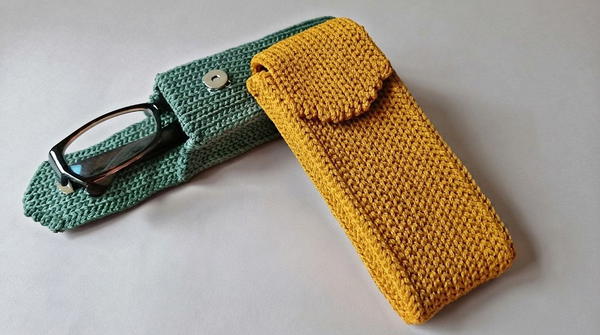
Key Pattern Details
- Construction: Worked flat in slip stitches for dense, protective fabric
- Design Feature: “Teeth” or jagged edge created by chaining at the edges every other row
- Functional Elements: Narrowed closing flap, angled side panels for form-fitting closure
- Assembly: All pieces joined with slip stitching for durable seams
- Finishing: Flap secured with press studs or buttons
Important Notes
- Use slip stitch in the back loop only for a flexible yet structured texture.
- Maintain even tension; slip stitch can be dense and inelastic if worked too tightly.
- "Teeth" edges are formed by adding 2 chain stitches at the turn of every other row.
- Rows for flap narrowing are worked short, not completing the full row, to taper.
- Always attach side panels with the main body’s back loops facing out for a seamless look.
- Do not cut the working yarn after completing the main body, as it is used for assembly.
Difficulty Level
This project suits advanced beginners or intermediate crocheters familiar with slip stitches, working in the back loop only, and basic seaming techniques. Some shaping and finishing skills are required.
Supplies Needed
- Medium weight/comparable yarn of your choice
- Appropriately sized crochet hook for your yarn (ensure your tension is not too tight, as slip stitch fabric can become stiff)
- Scissors
- Yarn needle for seaming and weaving in ends
- Two press studs or decorative buttons for closure
- Stitch markers (optional, for tracking row ends)
Size & Measurements
The eyeglass case, as constructed, is intended to fit standard-sized eyeglasses. For custom sizing, adjust the initial chain length for width and the number of side panel chains for depth.
- Main body: Chain 103 (approx. standard glasses width + extra for seam allowance)
- Side panels: Chain 41 (approx. standard glasses depth)
- Finished measurements depend on yarn, hook size, and personal tension
Gauge & Stitch Details
Gauge is not critical but denser fabric is preferred. Final project should comfortably fit and protect eyeglasses.
Stitch Details:
- Slip Stitch (sl st): Insert hook, yarn over, pull through both loops on hook.
- Back Loop Only (BLO): Work stitch through the back loop of the indicated stitch only.
Crochet Abbreviations
- ch – Chain
- sl st – Slip Stitch
- BLO – Back Loop Only
- st(s) – Stitch(es)
Special Stitch Guide
Slip Stitch in Back Loop Only (sl st BLO)
Insert hook into the back loop of the designated stitch, yarn over, pull through the stitch and through the loop on the hook.
Complete Crochet Pattern
Main Body
Starting
- ch 103, plus 1 turning chain.
Row 1
- Work 103 sl st into the back bumps of the starting chain.
Rows 2–7
- Repeat 7 rows back and forth:
- Turn at the end of each row.
- Work slip stitches in the back loop only (sl st BLO) across each row.
- On every other row, at the end of the row, add 2 chain stitches. This forms the characteristic “teeth” or jagged edge.
- Continue alternating as established, making sure to create 14 total rows (7 rows there-and-back).
- Keep count to ensure evenness and maintain the edge pattern.
Rows 8–10
- Begin the narrowed flap shaping:
- For these short rows, do not finish the last few stitches at the end of each row, shortening the row each time to create a tapered effect for the flap.
- Turn as usual, working slip stitches in the back loop only.
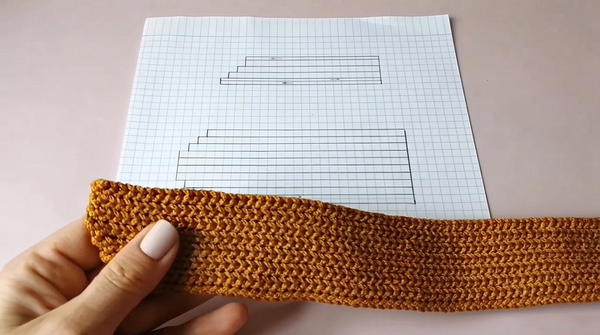
- At the end of Row 10, do not cut the yarn.
Side Panels
(Make 2 identical pieces)
Starting
- ch 41, plus 1 turning chain.
Rows 1–4.5
- Begin working slip stitches across:
- For each row, work slip stitches (sl st) to the end, using back loops only if desired for consistency.
- At the end of each row, decrease by one stitch (do not work the last stitch), which will create a slanted, angled edge. This forms the side’s ergonomic shape.
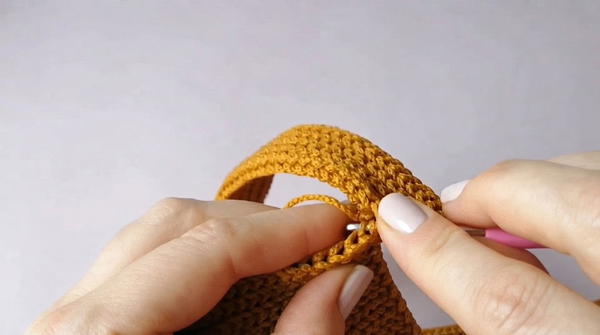
- Work for a total of 4.5 rows, ensuring the final edge has the desired diagonal/slope.
Assembly
Joining Side Panels to Main Body
- With the yarn tail left at the end of the main body:
- Align the flat edge of a side panel against the edge of the main body’s corresponding side.
- Insert the hook through the back loop of the main body’s stitches and the corresponding stitch on the side panel.
- Using slip stitch, join the two pieces together along the edge, aligning rows and stitches as you go for a smooth seam.
- Continue this slip stitch join for the full length of the side panel.
- Repeat the process to attach the other side panel to the opposite edge of the main body.
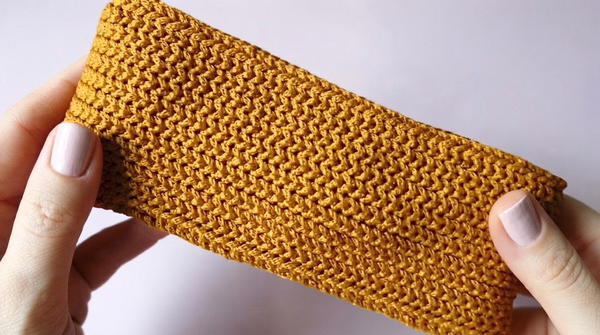
Finishing
- Fold the case so that the flap sits above the case opening.
- Weave in any yarn ends securely.
- Attach press studs (or decorative buttons) onto the flap and aligning front for secure closure and easy opening.
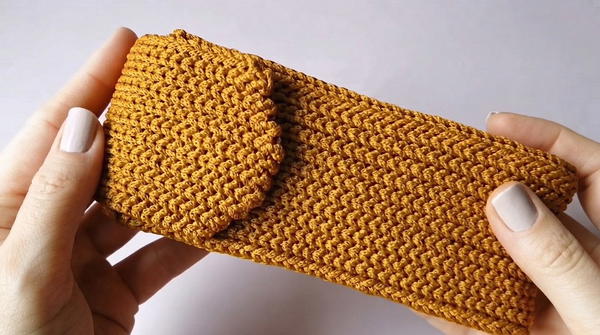
Joining & Final Size
Joining is accomplished entirely with slip stitches, providing both a decorative and structural seam. The dimensions of the finished case accommodate most standard eyeglasses, but slight adjustments can be easily made by modifying initial chain and side chain counts. The unique jagged edge detail is both visually appealing and serves as a distinctive design feature.
Final Words
This crochet eyeglass case combines practical slip stitch construction with a unique jagged-edge effect and tailored shaping for a functional, protective, and attractive accessory. Seamless assembly enhances durability, while a tapered flap and secure button or press-stud closure provide both style and function. The finished project is adaptable for any color or fiber preference, with details allowing confident makers to personalize sizing as desired.