Upgrade your accessory game with a free crochet handbag pattern featuring beautiful texture that’s fun to stitch and perfect for everyday use.
A beautiful and practical bag made with textured stitches offers both style and durability for everyday use. This project is perfect for carrying your essentials, whether you head to the market, a casual outing, or a special event. Many thanks to Gülşah Özcan Filiz for sharing detailed and easy-to-follow instructions that allow everyone to create this bag with simple tools and basic stitches, making the process quick and enjoyable.
Crochet a Gorgeous Free Textured Handbag – Step-by-Step Guide
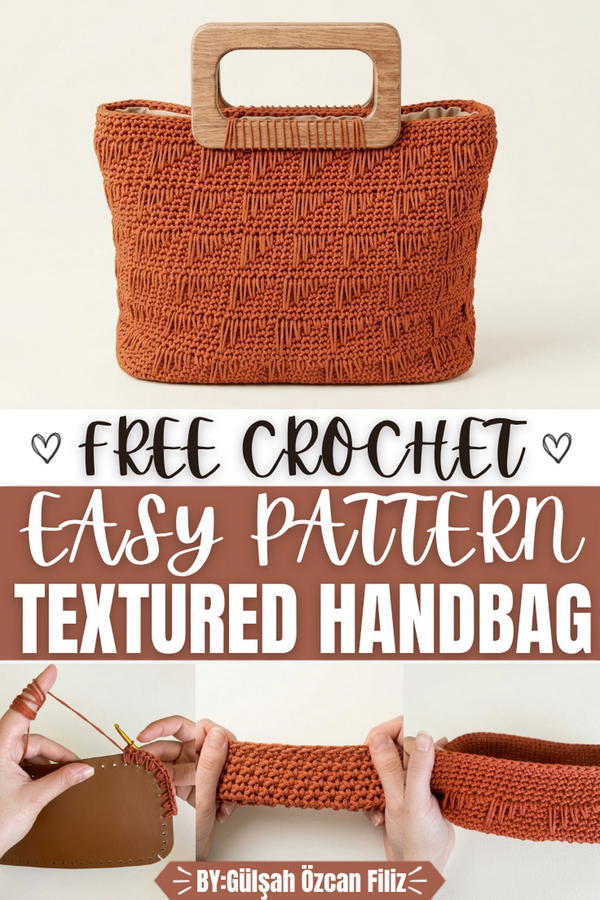
The bag is worked mostly with single crochet stitches, starting on a ready-made base that helps shape the bottom, creating a sturdy foundation. The design includes carefully placed increases that form smooth, curved corners giving the bag a soft square shape that stands upright effortlessly. By using polyester or cotton macrame yarn, the bag becomes strong yet flexible, and the textured pattern adds visual interest and extra strength. The stitches are made tightly but comfortably to provide good structure while maintaining a lovely hand feel.
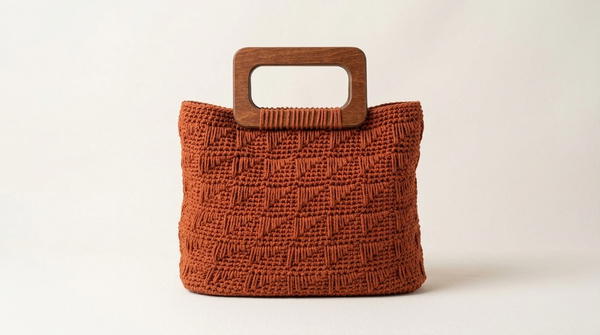
One of the most attractive aspects of this bag is its subtly raised pattern that repeats evenly across the surface, offering a rich texture that catches the eye without being overwhelming. The bag’s rectangular shape is practical and roomy, with a spacious interior suitable for many items. Its ability to be folded inward or used with added straps makes it versatile in style and purpose, perfect for anyone wanting a handmade handbag that combines beauty and function.
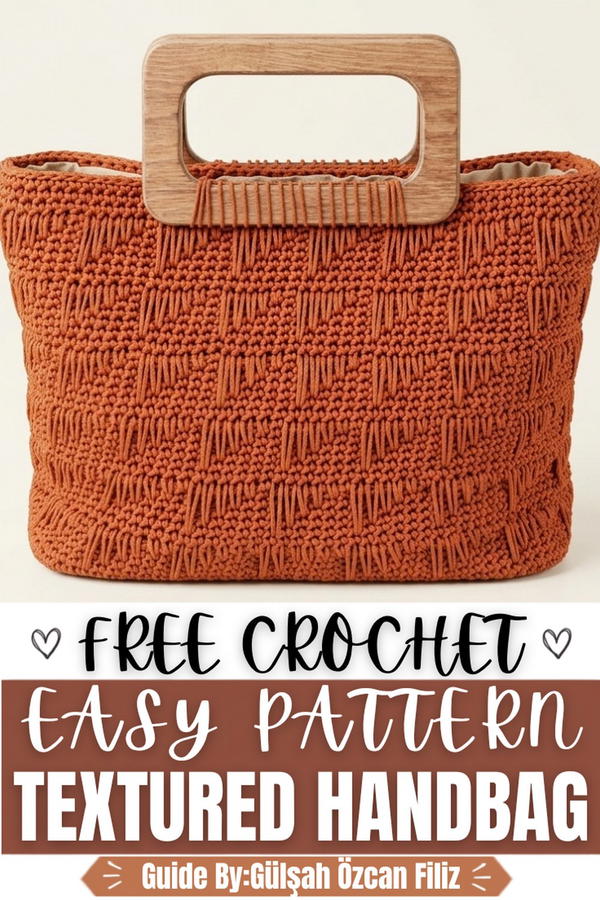
Crochet Bag Pattern with Macrame Yarn
This bag features a sturdy structure made primarily with the single crochet stitch, using polyester or cotton macrame yarn. Its design is simple yet functional, ideal for everyday use. The base can be either crocheted or a ready-made piece, speeding up construction and providing stability. This pattern is quick to make, suitable for beginners and intermediate crocheters.
Skill Level
Beginner to Intermediate – Mainly uses single crochet (sc) stitches, with basic increases for shaping and straightforward assembly techniques.
Materials
- Polyester or cotton macrame yarn (approx. 3.5 balls, ~100g each)
- Crochet hook size 4 mm (adjust as needed)
- Ready-made bag base approx. 31 cm x 15.5 cm (optional)
- Two bag straps (optional)
- Yarn needle and scissors
- Iron (for lining finishing)
- Optional: lighter for sealing yarn ends
Special Stitches
- Single crochet (sc)
- Increase (two single crochets in one stitch/space)
- Slip stitch (sl st)
Stitch Abbreviations
- ch = chain
- sc = single crochet
- sl st = slip stitch
- inc = increase (2 sc in 1 stitch or space)
Useful Tips
- Keep tension moderate, especially when working the base to prevent stiffness.
- Mark corners on the base for accurate increases.
- Iron lining gently using a cloth barrier to avoid burning.
- Secure ends tightly when attaching straps or finishing seams.
- The bag will stretch slightly with use; plan dimensions accordingly.
- Folding or tucking edges inward can help neat finishing without straps.
Pattern Instructions
Foundation and Base Setup
- Use a ready-made base measuring about 31 cm wide x 15.5 cm length or crochet a rectangular base of similar dimensions with increases at corners for shaping.
- If using a ready-made base, slightly enlarge holes with your crochet hook for smoother yarn insertion.
- Mark the four corner points on the base with knots or markers.
Round 1: Joining Base and Corner Increases
- Starting at the midpoint of one base side, insert hook and yarn through base hole to attach yarn securely.
- Make 3 single crochet (sc) stitches at each corner to create neat corner shaping.
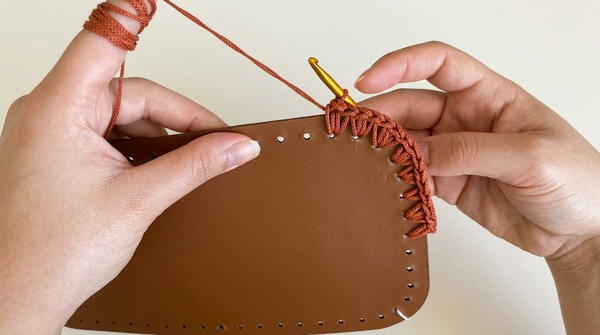
- After each corner, make 2 single crochet (sc) stitches in each adjacent base hole to increase and maintain shape.
- In straight areas (between corners), make 1 single crochet (sc) stitch per base hole.
- Continue around the entire base following this pattern:
- • Attach yarn in hole at midpoint.
- • 3 sc in each corner hole.
- • 2 sc in holes adjacent to corners.
- • 1 sc in each other hole.
- Ensure a neat circle that fits tightly around the base and that corners are well defined.
Rounds 2 – 7: Building the Base Wall
- For each round:
- • Start with chain 1 (ch 1) to turn (does not count as a stitch).
- • Work 1 single crochet (sc) in each stitch evenly, without increases or decreases to form straight sides.
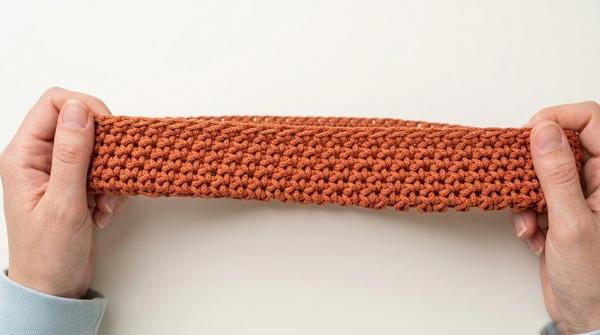
- • Join round with a slip stitch (sl st) to first sc.
- Repeat this for a total of 6 rounds, building the height of the base up around 6 cm or desired height.
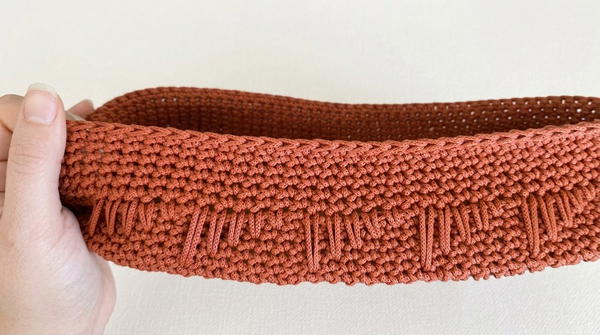
Round 8: Creating Textured Body of the Bag
- Work into the back loop only or lower loop of each stitch to create texture:
- • Chain 1 (ch 1) to start the round.
- • Crochet 1 single crochet (sc) into the lower loop of each stitch across.
- • Join with slip stitch (sl st).
- This round begins to create a dense and textured fabric ideal for bag walls.
Rounds 9 – 14: Continuing Body Texture and Height
- Repeat Round 8’s textured single crochet for 6 rounds total.
- Maintain tension evenly and adjust the fabric with hands to avoid twisting.
- Join each round with slip stitch (sl st) and chain 1 for next round start.
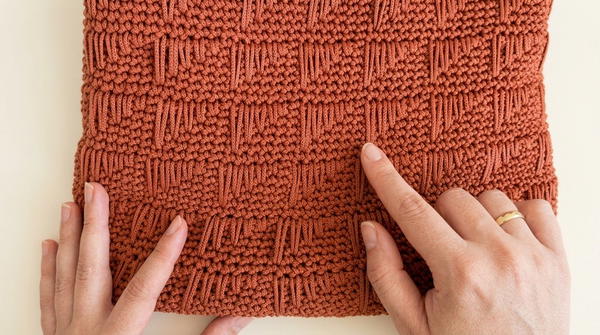
Rounds 15 – 20: Stabilizing and Shaping Bag Opening
- Switch back to working through both loops for a firmer edge:
- • Chain 1 (ch 1), then crochet 1 sc in each stitch evenly, no increases or decreases.
- • Join each round with sl st.
- Continue for 6 rounds to form a neat and stable bag opening edge.
Assembly and Finishing
Attaching Straps (Optional)
- Position two bag straps evenly along the opening edges on each side.
- Using a yarn needle and matching yarn or thread, sew straps securely by stitching back and forth multiple times, ensuring durability.
Adding Lining (Optional)
- Cut fabric lining to match bag interior dimensions.
- Sew fabric lining edges neatly and secure inside the bag.
- Iron lining gently using a cheesecloth or thin cloth to avoid direct heat.
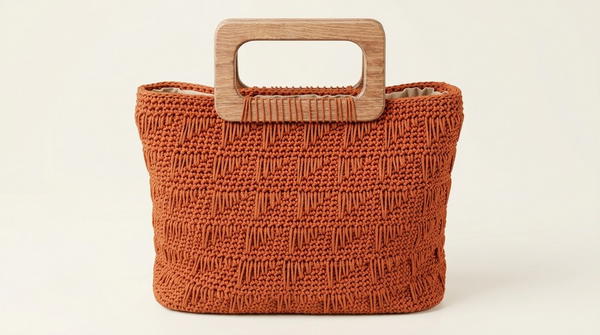
Final Touches
- Weave in all loose ends securely using a yarn needle.
- Use a lighter to carefully seal cut yarn ends where needed.
- Fold edges inward if you want a softer edge or no straps.
- Adjust bag shape by gentle hand shaping, especially after ironing lining.
Sizing
- Finished measurements approximately:
- Width: 31 cm
- Height: 22.5 cm
- Base: 31 cm x 15.5 cm
- Adjust width/height by adding/removing chain stitches on base and changing number of rounds in body section.
- Yarn weight and hook size will affect the drape and sturdiness.
Conclusion
This crochet bag pattern blends simplicity and functionality using basic stitches and construction techniques. The option of a ready-made or crocheted base allows for versatile crafting experiences. Its tight stitch fabric ensures durability for everyday use, while the textured body adds visual interest and stability. Adjustable sizing and optional features like lining and straps personalize the bag to your liking. Whether as a beginner or intermediate project, the bag offers practical experience in shaping, joining, and seaming with a satisfying finished object.