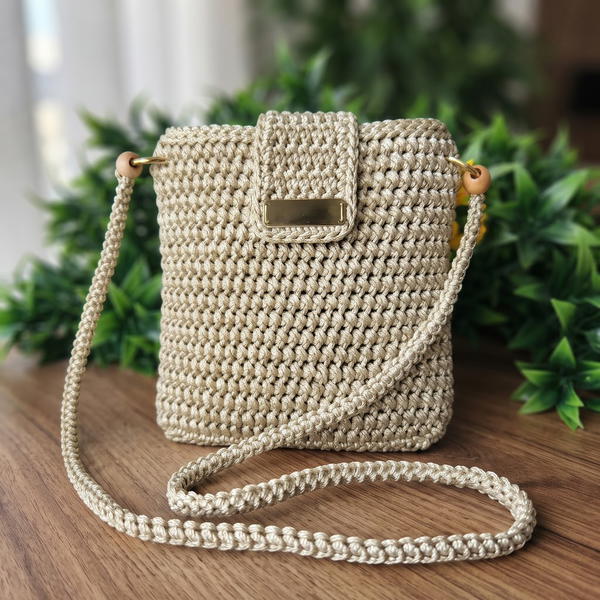
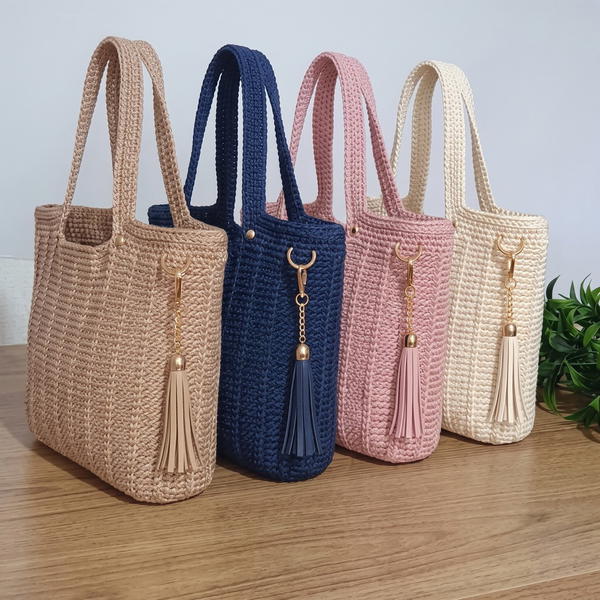
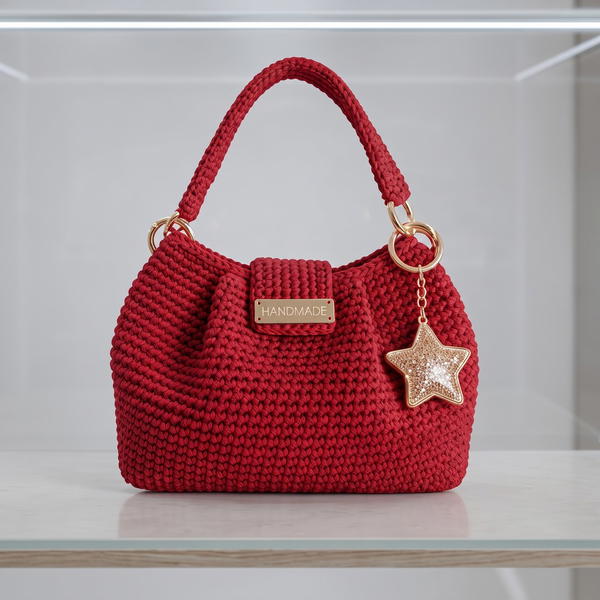
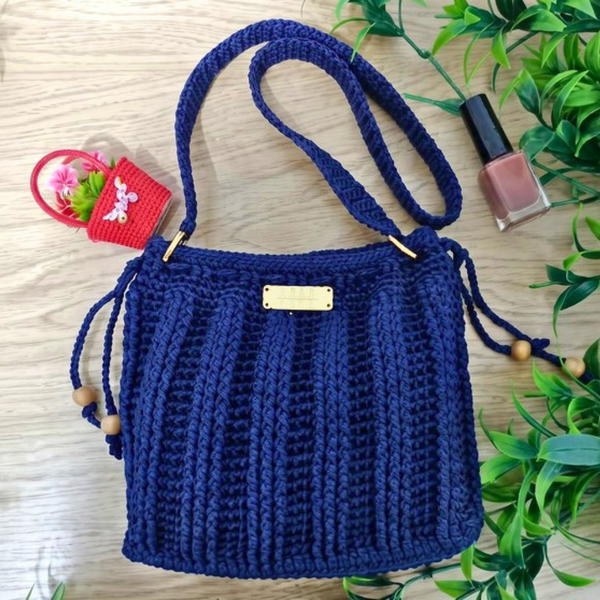
Upgrade your bag collection with the Free Crochet Mesh Bag Pattern ideal for hands-on creators wanting a practical and fashionable carryall solution.
A stylish and practical bag is an ideal companion for all purposes, whether you're heading to the market, the park, or just need something lightweight to carry your daily essentials. A wonderful pattern shared on the Örgü ütopyası YouTube channel makes it possible to create a bag that is as functional as it is beautiful. This pattern is perfect for beginners and experienced makers alike and provides simple instructions to bring the design to life.
Free Crochet Mesh Bag Pattern – Easy Design to Try
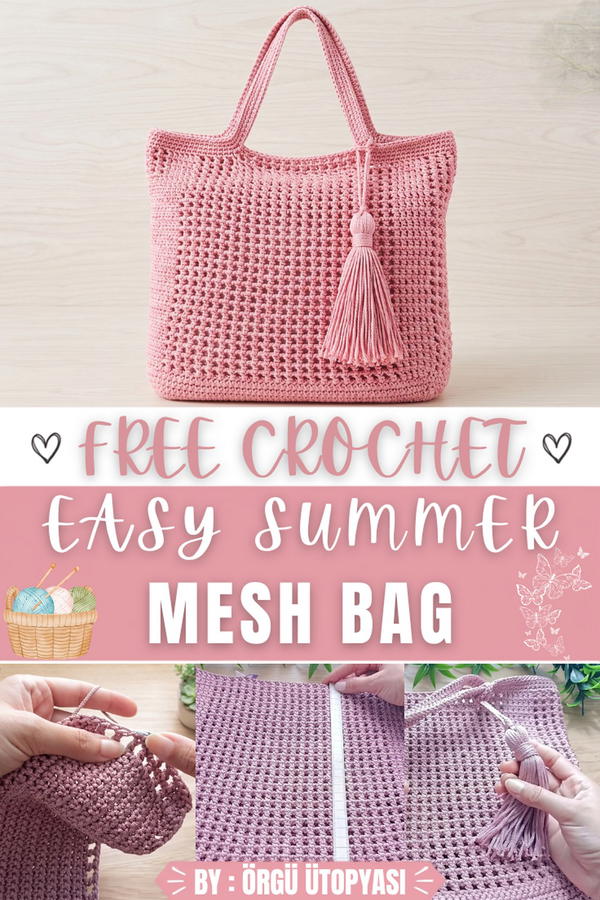
What makes this bag special is its airy and expandable design, making it both lightweight and spacious. Its unique mesh-like structure allows it to stretch and adjust depending on what you carry. Whether you're packing groceries, beach essentials, or personal items, it adapts with ease. It has a comfortable shape that fits well in everyday use, and the wide straps are gentle on the shoulders, ensuring a stress-free experience.
The most noticeable feature of this design is its flexibility with color and size. Depending on your preferences, you can create something subtle and minimalist or bright and eye-catching. It’s practical, durable, and incredibly versatile, making it stand out for regular use or as a personal gift for someone special.
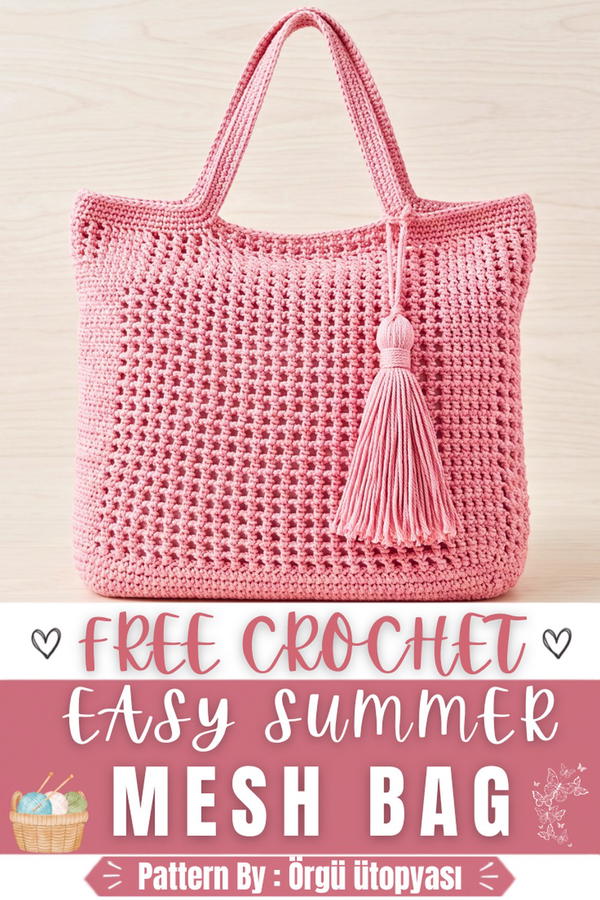
Summer Mesh Bag Crochet Pattern
This summer mesh bag is practical, lightweight, and ideal for everyday use. Made with durable polyester macrame cord, it features a sturdy base, a breathable mesh body, and comfortable handles. The clean, structured build makes it both stylish and functional for shopping, beach trips, or casual outings.
Skill Level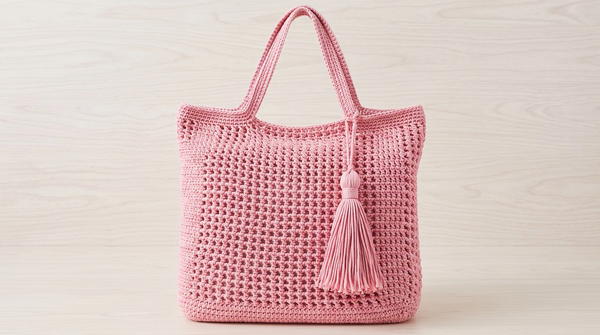
Intermediate: Some experience with working in rows and rounds, handling tension for mesh patterns, and assembling parts (e.g., handles) will be beneficial for this project.
Materials
To make the summer mesh bag, you will need:
- Yarn: Mine brand, No. 4 Polyester Macrame cord.
- Hook: Tulip brand, 3.5 mm crochet hook.
- Stitch Markers: For marking handle positions.
- Scissors: For trimming yarn or cord ends.
- Lighter/Heat Source: To carefully melt the ends of the polyester cord and prevent fraying.
Special Stitches
- Mesh Pattern:
- This is created with alternating double crochet (DC) and chains, skipping stitches in between, to give the bag its airy and open structure.
Stitch Abbreviations
- ch: Chain
- SC: Single Crochet
- DC: Double Crochet
- SS: Slip Stitch
Useful Tips
- Tension Management: Use consistent yarn tension when working the mesh pattern to maintain an even, polished look without sagging.
- Marker Placement: Accurately mark handle positions so the bag remains symmetrical.
- Burn Ends Carefully: Melt the polyester cord ends over a flame lightly and press closed for a finished look, but take caution as macrame cords can burn quickly.
Detailed Pattern
Base Construction
Step 1:
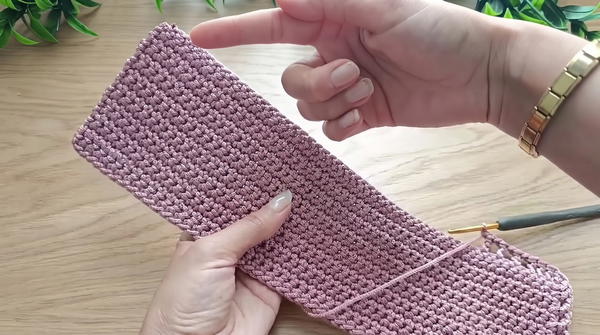
- Begin by chaining 52 chains to create the foundation.
Step 2:
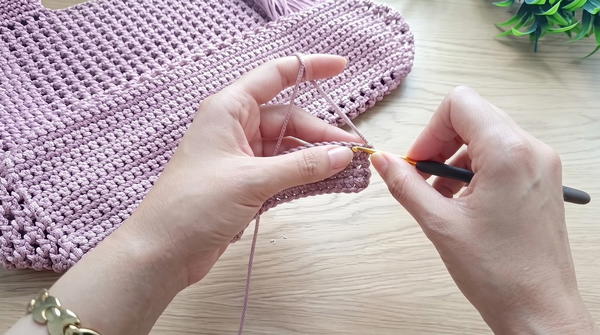
- Work 51 SC into the chain, starting from the second chain from the hook.
Step 3:
- Continue working in rows: chain 1 at the start of each row, turn, and work 51 SC per row.
- Repeat this for a total of 16 rows to form the rectangular base.
Model Setup
Step 1:
- Once the base is complete, transition to the body by working corner setups as follows:
- At each corner, chain 2 and work 6 DC to round out the corners smoothly.
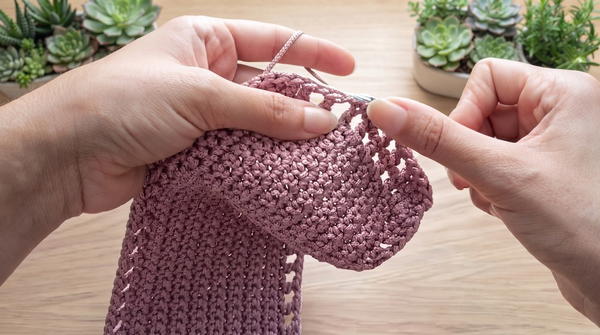
- At each corner, chain 2 and work 6 DC to round out the corners smoothly.
Step 2:
- Begin the mesh pattern:
- Work 1 DC, chain 1, skip the next stitch, then repeat.
- This pattern creates the open, breathable mesh appearance of the bag's body.
Body Progression
Step 1:
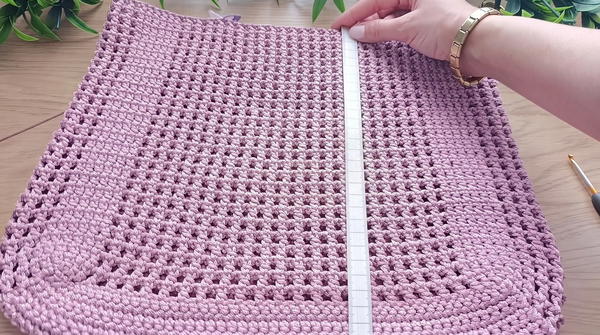
- Continue the DC, chain-1, skip-stitch mesh pattern for each row.
- When working into the following rows, always work the DC into the previous row's DC, not into the chain gaps.
- Maintaining this alignment ensures an even, tidy mesh design.
Step 2:
- Keep the corner structure by working 6 DCs at each corner on every round. This helps retain the bag's shape as it grows vertically.
Step 3:
- Continue working rows of the mesh pattern in this manner until the body reaches your desired height (approximately 30 cm).
Handle Preparation
Step 1:
- Use stitch markers to mark the 4 DC points on each side where the bag handles will attach. Ensure the placements are symmetrical for balanced handles.
Step 2:
- Work a row of SC stitches along the top opening of the bag. At each marked section, chain 85 chains for the handles.
- Attach the chains to the next marker with an SC stitch, effectively forming the handle loops.
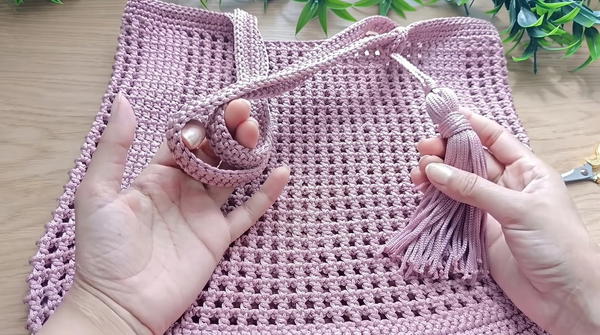
- Attach the chains to the next marker with an SC stitch, effectively forming the handle loops.
Finishing the Handles
Step 1:
- Work 2 rows of SC over the handles, stitching around the chain loops to thicken and strengthen them.
Step 2:
- At the connection points where the handles meet the bag, skip one stitch on each round to prevent bulging or misshaping.
Step 3:
- Finish the bag with a final round of SS into the back loops only (BLO). This creates a neat and professional edge around the top of the bag and handles.
Securing Ends
Step 1:
- Weave in all loose yarn or cord ends securely along the stitch lines using a needle or your hook.
Step 2:
- Use a lighter or heat source to melt the ends of the polyester cord. Once melted, press the ends gently to seal them and prevent fraying.
Assembly and Sizing
The completed summer mesh bag measures approximately 30 cm in height with a spacious interior perfect for carrying groceries, beach items, or everyday essentials. The handles, looped at 85 chains each, provide a comfortable over-the-shoulder hold, while the reinforced base ensures durability.
Conclusion
This summer mesh bag is a perfect blend of style and functionality. The sturdy macrame cord and easy-to-follow mesh design make it a durable and lightweight accessory for warm weather. Chic yet practical, the bag’s spacious interior, seamless assembly, and professional finish make it an excellent project for intermediate crocheters looking to create something useful and stylish.
To explore this beautiful and useful pattern, check out the detailed video tutorial on Örgü ütopyası's YouTube channel. It’s a project that’s simple, fun, and guaranteed to create something you’ll love using daily.