Create a charming Crochet Puffy Daisy Bandana with this free pattern that guides you step by step to make a stylish and fun accessory easily.
Design By :
Pretty hair accessories can give your everyday outfit a new look without much effort. The Crochet Puffy Daisy Bandana is a cute head covering with raised daisy details and a lovely shape. Its light fabric and sweet appearance make it a nice choice for girls and women who love wearing colorful hair accessories.
Simple Crochet Puffy Daisy Bandana Free Pattern For Casual Outfits
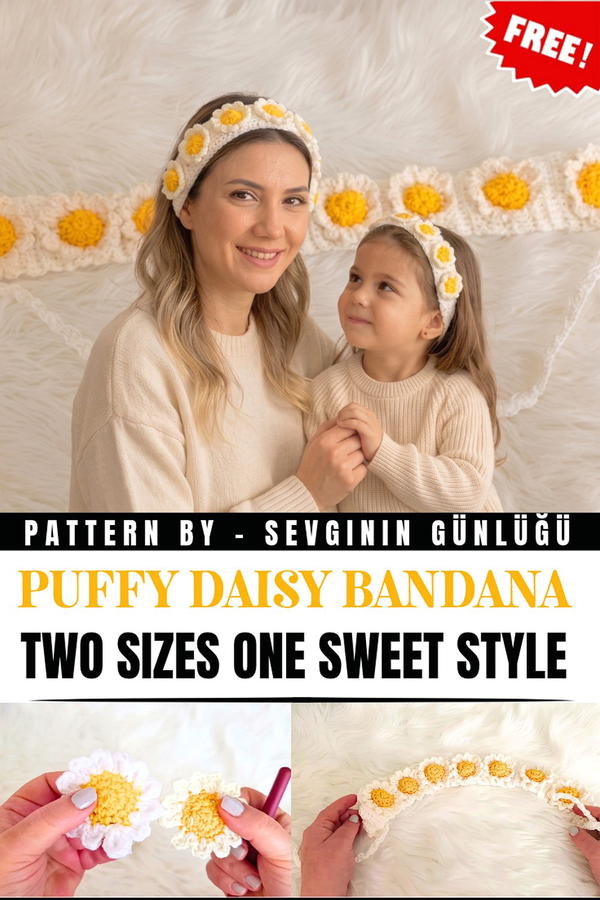 The bandana has small daisies with thick, rounded petals that stand out from the fabric. The flowers are joined together to form a triangle that rests over the head. The open spaces between the stitches allow air to pass through, making it comfortable for warmer days. You can try soft pink, white, or pale green yarn for a gentle color combination.
This design comes in two sizes, so you can select one according to your needs. The smaller version gives a sweet and playful style, while the larger one covers more hair. Both options have the same daisy theme. 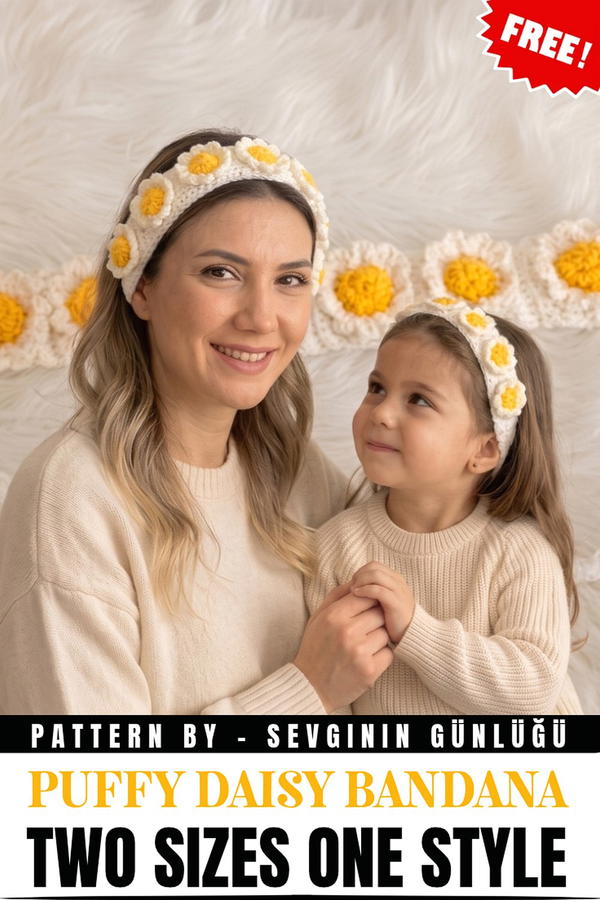 The bandana can be crocheted by working the flower motifs and connecting them to form its shape. Long ties at the corners can help secure it behind the head.
You can wear it with a short denim dress, a plain top, or loose summer trousers. It also works well for a picnic, a daytime family visit, or a casual photo session.
With its two size choices and raised daisy details, this bandana offers a cute way to keep your hair in place while adding color to your outfit.
About the Pattern
This crochet project creates a stylish hair bandana decorated with 3D fiber-filled daisy motifs. The piece blends structured shaping with playful detailing, resulting in an appealing wearable accessory. The bandana base offers comfort and flexibility, while whimsical, puffy daisies add dimension and charm. Step-by-step guidance ensures each bandana element—the daisy motifs, the sculpted base, and the finishing details—comes together for a polished, cozy finish.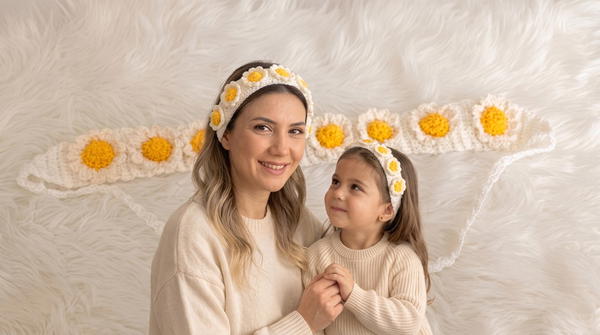
Pattern at a Glance
- Focus: 3D crochet motifs on a classic bandana shape
- Techniques Highlighted: Magic ring, single crochet, triple crochet, increases and decreases, slip stitch, chain, stuffing, easy assembly
- Finished Effect: Textural hair accessory adorned with dimensional flowers
Important Notes
- Work daisies and the bandana base separately, then assemble.
- Color selection for contrasting daisies and base is recommended for visual impact.
- Stuff lightly for plump but not overfilled petals.
- Increases and decreases use the back loops for extra definition.
Difficulty Level
Confident beginner to intermediate. Some amigurumi/motif experience aids in smooth pattern following.
Supplies Needed
- Worsted weight cotton yarn (two colors; one for bandana, one for daisies)
- 3.5mm crochet hook (or size to meet gauge)
- Tapestry needle
- Polyester fiberfill
- Scissors
- Stitch marker (optional)
Size & Measurements
- Bandana Base: Approx. 15" (38 cm) length x 4" (10 cm) at widest
- Daisies: Each about 1.5-2" (4–5 cm) in diameter
- Ties: 8–10" (20–25 cm) each; customizable
Gauge & Stitch Details
Gauge: 20 stitches and 24 rows = 4" x 4" (10 x 10 cm) in single crochet
Main Stitches:
- Single Crochet (sc)
- Triple Crochet (tr)
- Chain (ch)
- Slip Stitch (sl st)
- (Optional for ties) Double Crochet (dc)
Crochet Abbreviations
- ch: chain
- sc: single crochet
- tr: triple crochet
- sl st: slip stitch
- st(s): stitch(es)
- inc: increase
- dec: decrease
- MR: magic ring
Special Stitch Guide
- Magic Ring (MR): Loop through which stitches are worked for a closed center.
- Triple Crochet (tr): Yarn over twice, insert hook, pull through, then yarn over and pull through 2 loops three times.
- Back Loop Only: Insert hook into the back loop for increases/decreases to add shaping.
Complete Crochet Pattern
1. Making Daisies
1 Round
- Start with a Magic Ring (MR).
- Work 6 single crochet (sc) into the ring. Pull closed.
- Join with a slip stitch (sl st). [6 sc]
2 Round
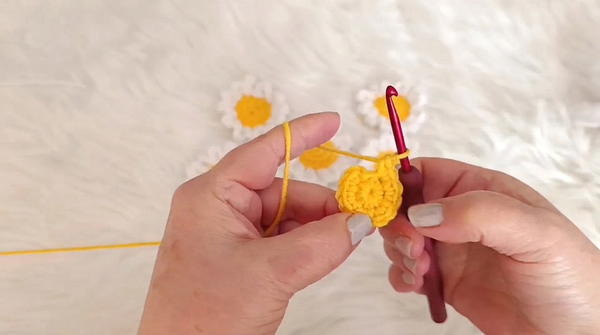
- In each stitch around, work 2 single crochet (sc) in the same stitch (increase/inc). [12 sc]
3 Round
- Work 1 single crochet (sc) in each stitch around. [12 sc]
Petals (Worked Individually)
- Repeat the following for every stitch of Round 3 (12 petals total):
- Chain (ch) 2
- Yarn over twice, work 1 triple crochet (tr) in next sc
- Chain (ch) 2, secure with slip stitch (sl st) at petal base
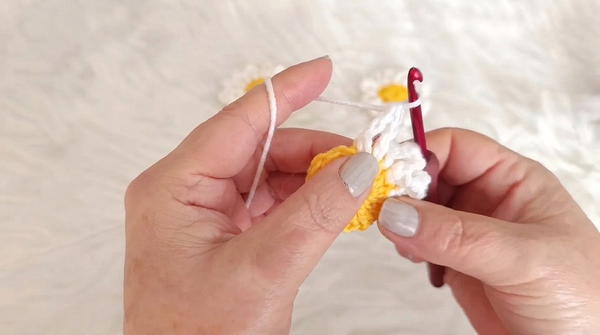
- Continue to next stitch and repeat for all petals
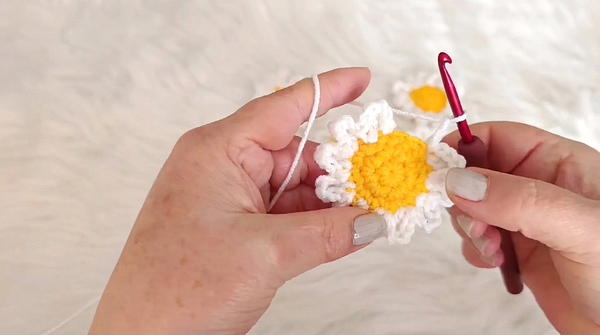
Finishing Daisies
- Fasten off, leaving a tail for sewing.
- Lightly stuff with fiberfill before closing to ac
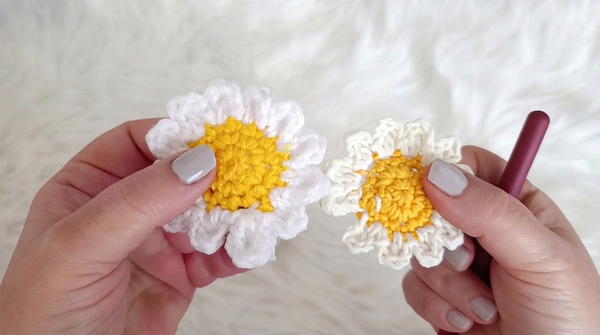 hieve puffiness.
Repeat steps above for each daisy (make 5–7, or preferred amount).
2. Bandana Base
Foundation
- Chain (ch) 3
- Work single crochet (sc) in second chain from hook and in next chain (2 sc total).
Increasing Phase
- Continue as follows until you reach 11 stitches:
- Turn, chain (ch) 1
- Working in back loop only:
- Increase at start and end of row—2 single crochet (sc) in first stitch, single crochet (sc) across to last stitch, 2 single crochet (sc) in last stitch
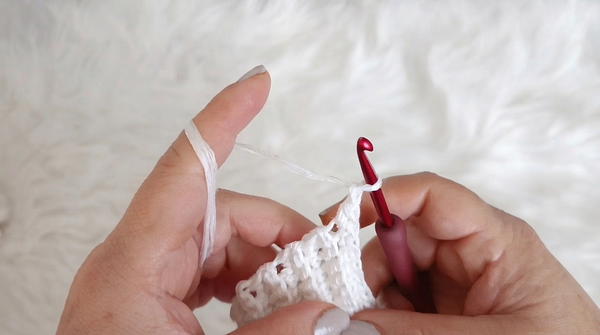
- Increase at start and end of row—2 single crochet (sc) in first stitch, single crochet (sc) across to last stitch, 2 single crochet (sc) in last stitch
- Repeat this increase row until you have 11 single crochet (sc) across the row.
Body
- For length (approximately 15"):
- Turn, chain (ch) 1
- Work 1 single crochet (sc) in back loop only of each stitch across (no increases or decreases)
- Repeat until bandana is the desired length.
Decreasing Phase
- Begin tapering:
- Turn, chain (ch) 1
- Work single crochet two together (sc2tog/dec) in first two stitches, single crochet (sc) in back loop only across, single crochet two together (sc2tog/dec) in last two stitches
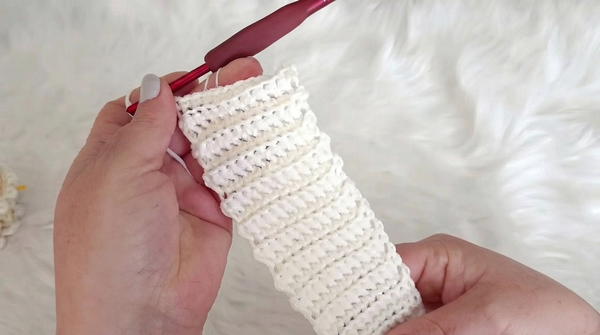
- Repeat until only 3 stitches remain.
Fasten off and weave ends neatly.
3. Assembly and Final Touches
Daisy Placement
- Pin daisies as desired along bandana base
- Lightly stuff centers before sewing if not done already
- Sew daisies securely to the bandana using a yarn needle and tails
Ties/Laces
- At each narrow end of the bandana, join yarn
- Chain (ch) for tie length (suggest 30–40 ch)
- (Optional for sturdier ties:) Work double crochet (dc) back along the chain to end
- Fasten off and weave in ends
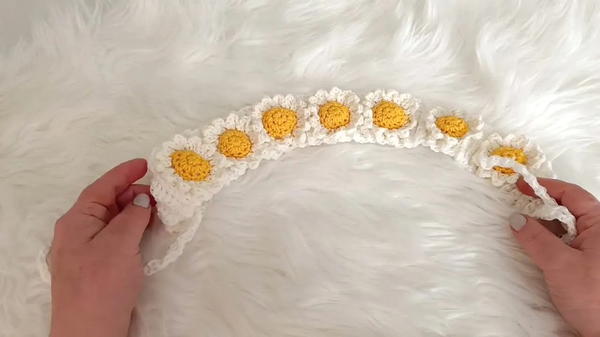
Assembly & Finished Size
Once assembled, the bandana covers the crown with adjustable, secure ties, and puffy daisies add lively dimensional detail. Adjust base and motif count for a personalized fit and styling.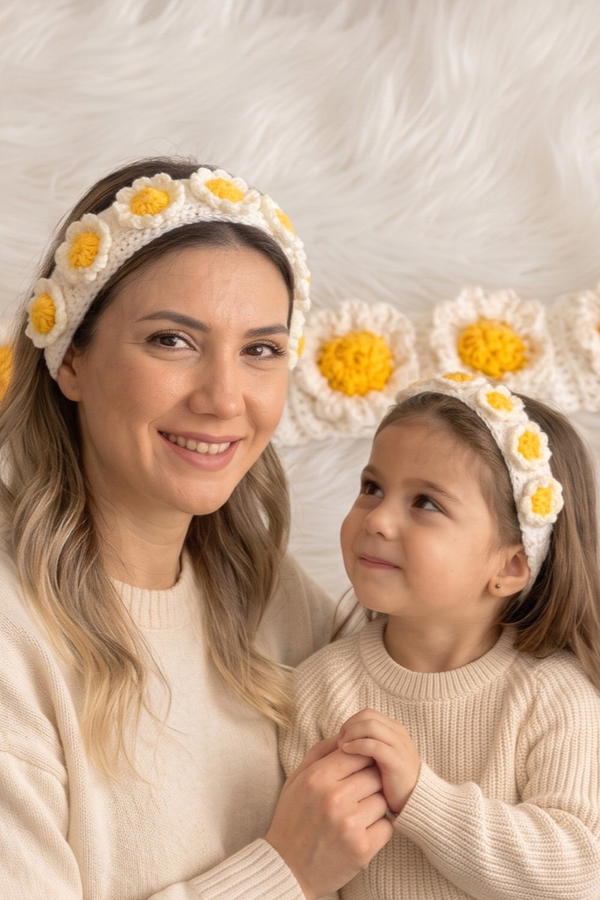
Conclusion and Ending Words
This pattern combines structural shaping with playful 3D motifs to create a striking hair bandana. The project’s clear construction and stepwise motif addition make it manageable for advanced beginners and rewarding for more experienced makers seeking texture and visual interest in a practical accessory. The blend of function and decoration results in a versatile piece suited to many styles and occasions.