Try the Crochet Cinnamoroll A Taiyaki Free Pattern for a cheerful little toy that pairs a Sanrio character with a fun snack-inspired look.
Japanese food has many interesting shapes, and some of them can inspire fun ideas for crochet toys. The Crochet Cinnamoroll A Taiyaki is a cute project that mixes a popular Japanese snack with a well-known Sanrio character. Its unusual design is a nice choice for anyone who likes small food-themed toys with a funny twist.
Fairycrochett shares this interesting idea, giving crochet lovers something different to try.
Fun Crochet Cinnamoroll A Taiyaki Free Pattern With Fish-Shaped Look
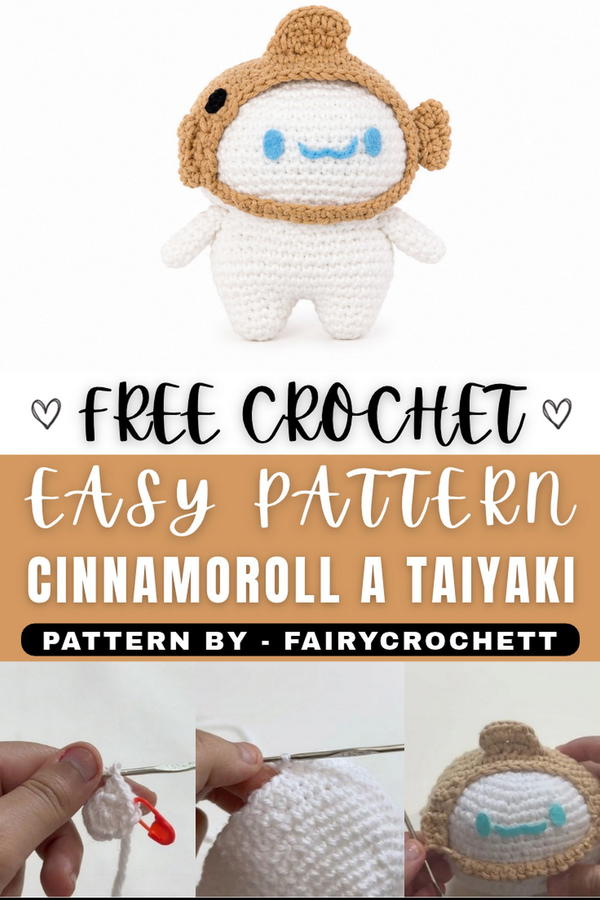 Taiyaki is a Japanese fish-shaped cake that often has a sweet filling inside. This yarn version takes inspiration from that familiar snack and gives it a playful cartoon style. The golden outer section resembles baked pastry, while the white details provide a clear contrast. The fish outline, including its tail and fins, is an important part of the design.
For this project, the different sections can be worked with basic crochet stitches. Brown yarn can be used for the pastry-inspired part, while smaller amounts of white and blue help complete the details. Keeping the edges neatly shaped helps the finished piece resemble the original Japanese treat.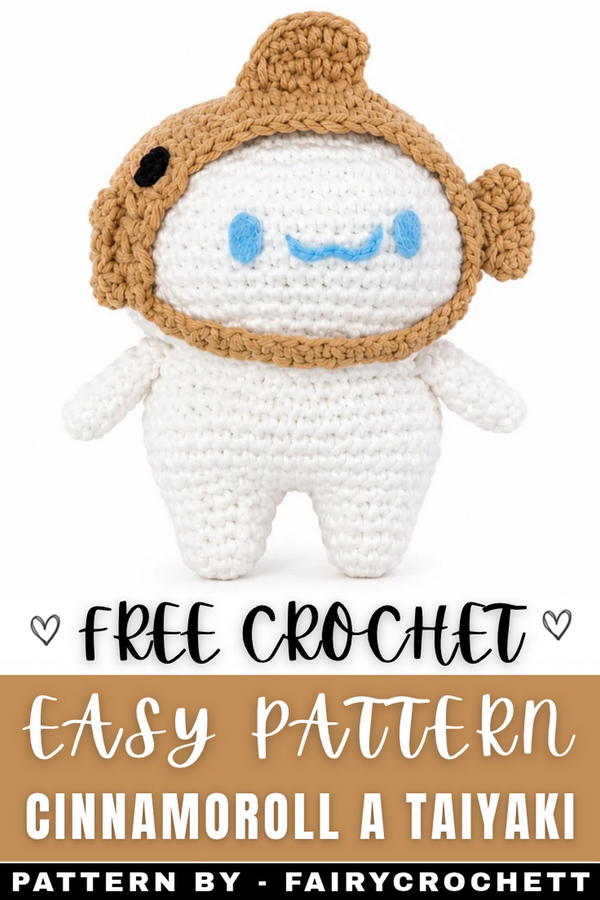 You can place this amigurumi near your manga books, include it in a Japanese food collection, or display it with other Sanrio items. It is also a thoughtful present for someone interested in Japanese culture. Another idea is to use it as a decoration for an anime-themed birthday celebration.
This project offers a fun way to combine two popular Japanese favorites. Its snack-inspired appearance and small crochet details give it an interesting style without needing too many decorations.
About the Pattern
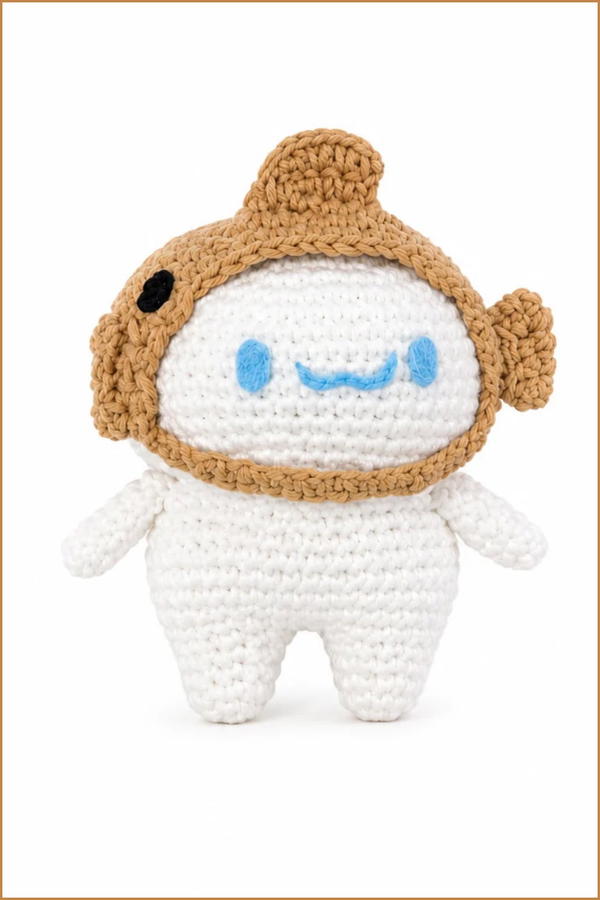
This amigurumi pattern captures the beloved character Cinnamoroll dressed in a cozy Taiyaki (fish-shaped cake) hood. The project is thoughtfully designed to blend playful charm with structural detail, highlighting Cinnamoroll’s signature features while offering delightful textural elements through the Taiyaki costume. Each component is crocheted separately then joined with seamless assembly instructions, resulting in a soft toy that radiates both character and craftsmanship.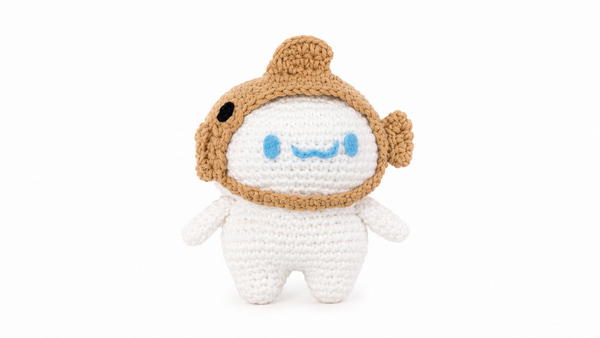
Pattern at a Glance
- Construction Method: Pieces worked separately and sewn together
- Character: Cinnamoroll in Taiyaki hood
- Skills Focus: Working in the round, increases and decreases, simple shaping, joining techniques
- Ideal for: Gifting, collectibles, or personal enjoyment
Important Notes
- This pattern is written in US crochet terminology.
- Maintain consistent tension to ensure parts fit together neatly.
- Lightly stuff pieces as you go to avoid bulges or gaps.
- Safety eyes or embroidered facial features can be used depending on recipient’s age and preferences.
- Mark the first stitch of each round with a stitch marker for accuracy.
Difficulty Level
Intermediate: Familiarity with working in the round, basic stitches, increases/decreases, and basic amigurumi assembly is recommended.
Supplies Needed
- Yarn:
- Main Color (White for Cinnamoroll’s body)
- Accent Color (Tan or light brown for Taiyaki hood)
- Hook: Size suitable for amigurumi (typically 2.25 mm–2.75 mm/US B–C)
- Stuffing: Polyester fiberfill
- Stitch Marker
- Yarn Needle
- Scissors
- Optional: Safety eyes, small amount of black and blue yarn for face, pins for assembly
Size & Measurements
- Finished Size: Approximately 4–5 inches (10–13 cm) tall, depending on yarn and tension
- Gauge: Not critical for this project, though tight stitches are essential to prevent stuffing from showing
Gauge & Stitch Details
- Stitch Gauge: Approximately 7 SC stitches x 7 rows = 1" (2.5 cm)
- Stitch Style: Amigurumi rounds (spiral method), joined rounds for assembly
Crochet Abbreviations
- MR: Magic Ring
- SC: Single Crochet
- HDC: Half Double Crochet
- DC: Double Crochet
- INC: Increase (2 SC in one stitch)
- DEC: Decrease (single crochet 2 together)
- CH: Chain
- SL ST: Slip Stitch
- ST(S): Stitch(es)
- FO: Fasten Off
Special Stitch Guide
- Magic Ring (MR): Form a loop, work stitches into the loop, then pull tight to close.
- Increase (INC): Work 2 SC into the same stitch.
- Decrease (DEC): Insert hook into front loop of next 2 stitches, yarn over and pull through all three loops.
Complete Crochet Pattern
Head & Body Construction
Round 1:
- Make a magic ring (MR), work 8 SC into the ring.
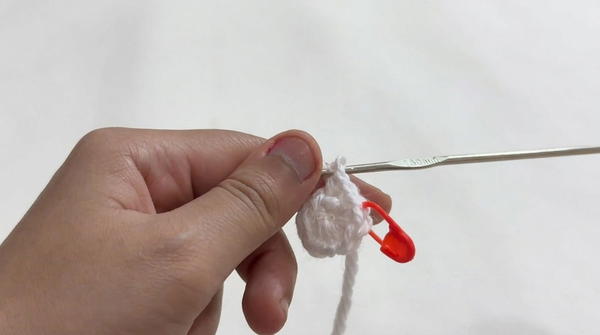
- (Total: 8 STS)
Round 2:
- 1 INC in each ST around.
- (Total: 16 STS)
Round 3:
- [1 SC, 1 INC] – repeat around.
- (Total: 24 STS)
Round 4:
- [2 SC, 1 INC] – repeat around.
- (Total: 32 STS)
Round 5:
- [3 SC, 1 INC] – repeat around.
- (Total: 40 STS)
Round 6:
- [4 SC, 1 INC] – repeat around.
- (Total: 48 STS)
Round 7:
- [5 SC, 1 INC] – repeat around.
- (Total: 56 STS)
Rounds 8-16 (9 rounds):
- SC evenly around.
- (Total: 56 STS per round)
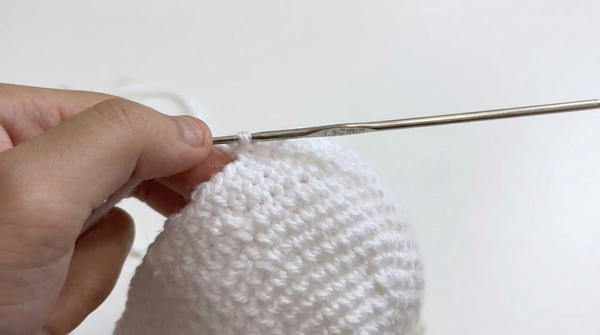
Round 17:
- [5 SC, 1 DEC] – repeat around.
- (Total: 48 STS)
Round 18:
- [4 SC, 1 DEC] – repeat around.
- (Total: 40 STS)
Round 19:
- [3 SC, 1 DEC] – repeat around.
- (Total: 32 STS)
Round 20:
- [2 SC, 1 DEC] – repeat around.
- (Total: 24 STS)
Round 21:
- [1 SC, 1 DEC] – repeat around.
- (Total: 16 STS)
Round 22:
- 8 DEC.
- Stuff firmly as you decrease and FO, sew closed.
Taiyaki Hood
Rounds 1–7:
- Repeat head pattern from MR up to [5 SC, 1 INC] (Round 7, 56 STS).
Rounds 8–10:
- SC evenly around for 3 rounds.
- (Total: 56 STS per round)
Row 1:
- 31 SC, CH 1, turn.
Row 2:
- 49 SC across edge, CH 1, turn.
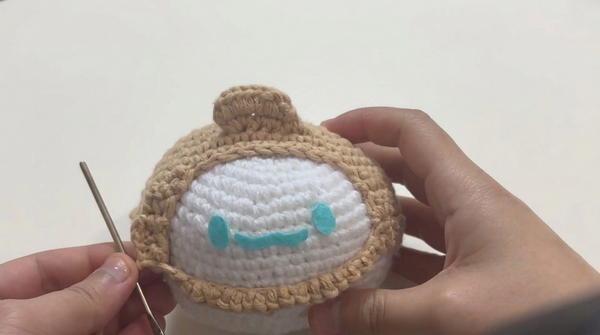
Edge Detailing:
- Row: [2 SC, 1 DEC] – repeat along edge.
- Work 2 rows of even SC.
- Final row: [1 SC, 1 DEC] – repeat to end.
- CH 14 to connect open edges, join with a SL ST.
- Proceed to work 1 round of SC around entire perimeter for neatness.
Fins, Legs, and Arms
Side Fin:
- CH 6, work 5 SC back to starting CH.
- Repeat for desired length; fold piece, join with SC to secure and shape.
Top Fin:
- Attach yarn to hood top.
- 6 SC across selected edge, CH 1, turn.
- Next row: 1 SC, 2 HDC in next ST (increase), 2 HDC in next ST, 1 HDC, 1 SC, 1 SL ST to finish.
Mouth:
- Create slip knot.
- Work as follows: 1 DC, 1 SL ST, 1 HDC, 1 SL ST.
- FO, sew or embroider into position.
Legs & Body:
- Make 2 Legs (work separately):
- 6 SC in MR
- 6 INC (Total: 12 STS)
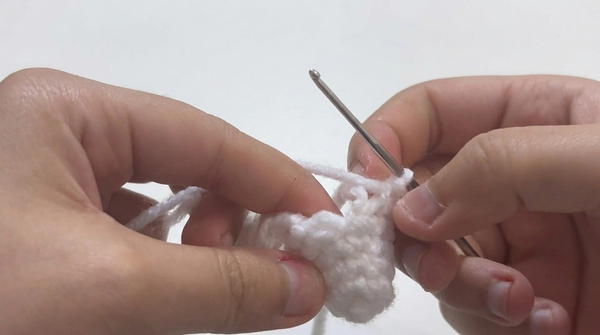
- 2 rounds even SC
- Connect Legs to Begin Body:
- CH 2 between legs, SC around both pieces to form a joined round.
- Continue working rounds as for the body pattern until desired height is reached, matching head size.
Arms (Make 2):
- 8 SC in MR
- 7 rounds of even SC
- FO, stuff lightly if desired.
Assembly & Finished Size
- Align head and body, sew together by picking up each corresponding stitch and pulling tightly to minimize visible seams.
- Attach arms at sides, ensuring symmetry.
- Affix side and top fins to Taiyaki hood, secure through both hood and fin, add mouth to face.
- Weave in all ends, shape toy with fingers if necessary.
- Finished toy measures approximately 4–5 inches tall when made with recommended materials.
Conclusion
The Cinnamoroll in Taiyaki crochet pattern offers a harmonious blend of classic amigurumi techniques and playful design elements, resulting in a collectible plush that balances structure with personality. By combining steady increases and careful shaping, this project creates smooth, seamless contours for both the character and its hood. The thoughtfully integrated details and straightforward assembly make this an ideal piece for honing construction skills while producing a charming and unique creation. This piece lends itself well to customization and display, making it a delightful addition to any collection or a heartfelt handmade gift.