Stitch a colorful sea friend with this Crochet Fish Free Pattern and finish a cute little fish for summer decorations, kids, and small gifts.
Colorful fish swimming through the ocean are always a pleasure to watch, and their bright shades can inspire many fun yarn projects. Fairycrochett shares an interesting tutorial that turns this underwater animal into a cheerful toy.
Quick Crochet Fish Free Pattern For Summer Decorations
This Crochet Fish is a small figure with an oval body, pointed tail, and pretty fins. Its round eyes and tiny mouth give it a friendly expression, while the curved body creates a natural fish shape. The closely worked yarn stitches form a smooth texture, helping the colorful details stand out.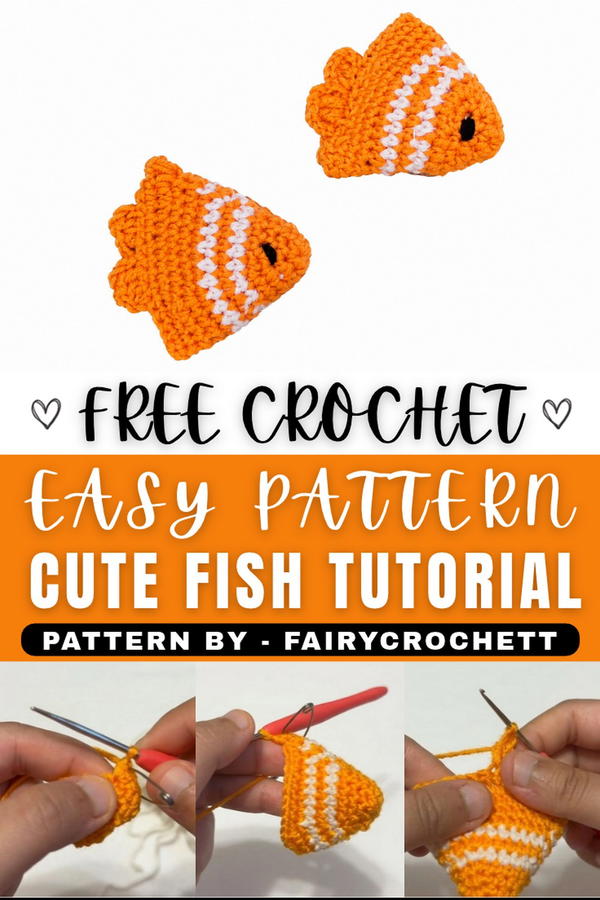 One of the most enjoyable parts of this project is choosing the colors. Orange and yellow can give the fish a tropical appearance, while blue, green, or pink offer other attractive choices. A contrasting shade for the fins and tail can highlight its shape without adding too many details.
This fish is a nice choice for decorating a child's bedroom, nursery, or living room shelf. It can also become a handmade gift for friends, family members, or children who love sea animals. Several fish in different shades can form a playful ocean collection.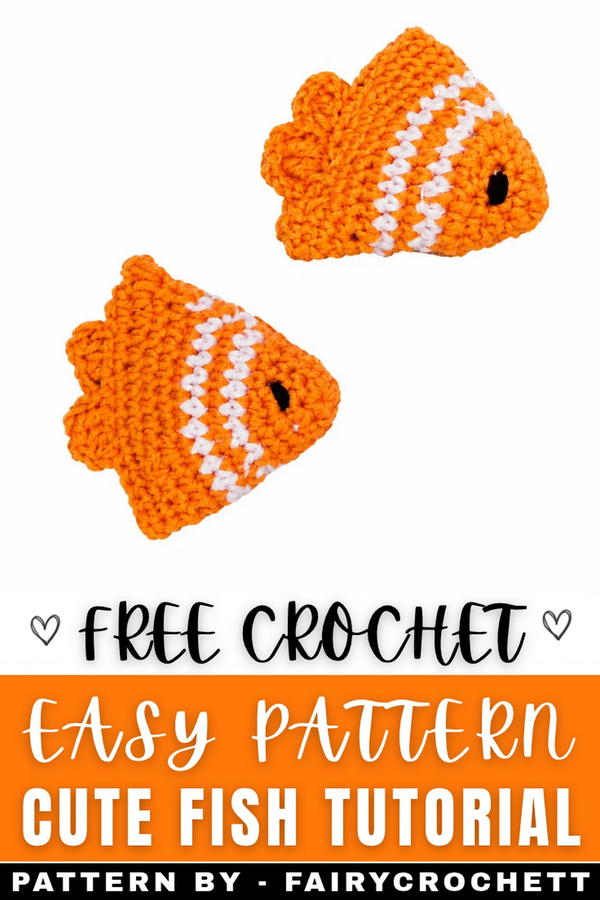 The fish takes shape by crocheting its body in rounds and gently adding stuffing. Smaller sections, including the tail and fins, are prepared and attached to finish the design.
This free crochet fish pattern offers a simple way to turn colorful yarn into a happy sea animal for your home or someone special.
About the Pattern
The crochet fish project is a lively, striped creation that merges seamless color changes and classic amigurumi shaping. This charming fish features alternating bands of orange and white, yielding a visually appealing design while demonstrating foundational skills essential for character crochet. The project is constructed in closed rounds, transitioning easily between colors and finishing with a folded body and sculpted tail fin. Embroidered eyes and careful finishing techniques complete the distinctive aquatic silhouette, making the fish an ideal project for decorative use or as a soft toy.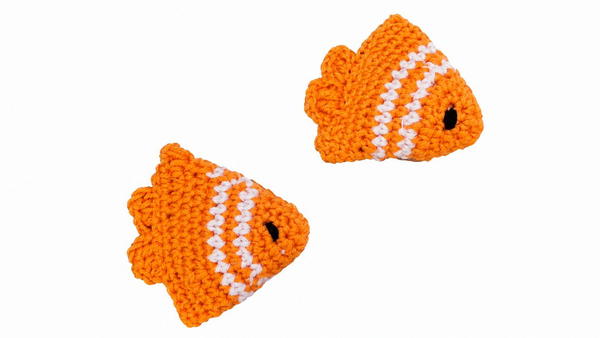
Pattern at a Glance
- Project Type: Amigurumi fish with color changes and a sculpted tail
- Construction: Body worked in spiraled rounds; tail created with half double crochet and chains, attached seamlessly
- Main Features: Alternating color bands, bold striping, and carefully placed embroidery for expressive eyes
Important Notes
- Maintain even tension throughout all rounds to keep the body shape consistent.
- When switching yarn colors, draw through the last loop of the previous stitch with the new color for smooth transitions.
- Stuff the fish lightly for a plump, squeezable finish, but ensure the body is not overfilled before closing.
- All rounds are worked continuously; use a stitch marker to mark the first stitch of each round.
Difficulty Level
Adventurous Beginner to Intermediate: This pattern employs standard amigurumi techniques (magic ring, single crochet in the round, color changes) as well as some sculpting skills for the tail fin and basic embroidery for the eyes. Prior experience with increasing, decreasing, and working into both sides of a foundation chain is helpful.
Supplies Needed
- Medium-weight (worsted) yarn in:
- Orange (main color)
- White (contrast)
- Black (for eyes/embroidery)
- Crochet hook size 3.0–3.5 mm or size that gives a dense fabric
- Fiberfill stuffing
- Yarn needle for sewing and embroidery
- Scissors
- Stitch marker
Size & Measurements
- Finished length: Approximately 4–5 inches (10–13 cm) from mouth to tail tip
- Body width: 2 inches (5 cm)
- Tail width: 1.5 inches (4 cm)
Gauge & Stitch Details
- Gauge is not critical; aim for a firm fabric with no visible stuffing
- Main stitch: single crochet in the round
- Half double crochet used in tail for fin shaping
- Chains used for foundation and tail structuring
Crochet Abbreviations
- ch – chain
- sc – single crochet
- inc – increase (2 sc in one stitch)
- sl st – slip stitch
- hdc – half double crochet
- MR – magic ring
Special Stitch Guide
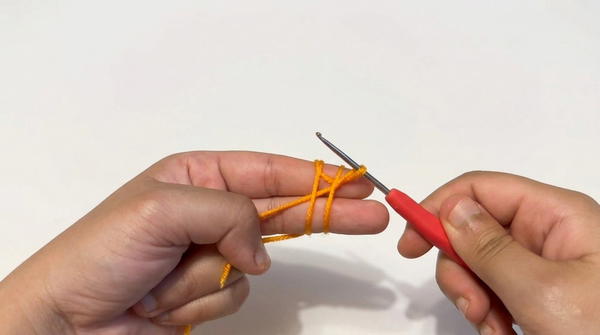
- Magic Ring (MR): Create an adjustable loop into which the first round of stitches is worked, closed tightly for a seamless base.
- Increase (inc): Work two single crochets into one stitch to increase stitch count.
- Color Change: To change color, insert hook into final stitch, yarn over with new color and pull through, continue with new color.
- Working Tail: Chains and hdc stitches are combined to form sculpted, flexible tail fins.
Complete Crochet Pattern
Magic Ring & Base
- Round 1: Using orange yarn, create a magic ring. Work 6 sc into the ring. Pull tightly to close.
Shaping the Body
- Round 2: (1 sc, 1 inc) around (repeat 3 times, total 9 sts).
- Round 3: (2 sc, 1 inc) around (repeat 3 times, total 12 sts).
- Round 4: (3 sc, 1 inc) around (repeat 3 times, total 15 sts).
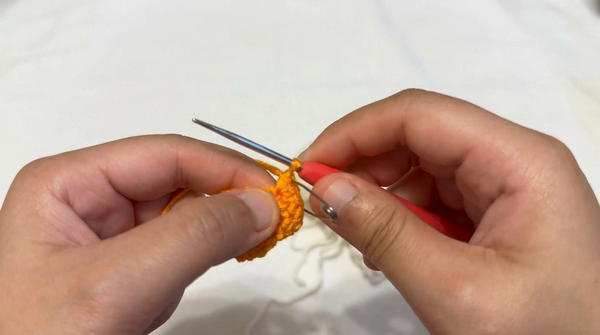
- Round 5: (4 sc, 1 inc) around (repeat 3 times, total 18 sts).
- Round 6: Switch to white yarn. (5 sc, 1 inc) around (repeat 3 times, total 21 sts).
- Round 7: Switch to orange. (6 sc, 1 inc) around (repeat 3 times, total 24 sts).
- Round 8: Switch to white. 1 sc in each stitch around (24 sts; no increases).
- Round 9: Switch to orange. (7 sc, 1 inc) around (repeat 3 times, total 27 sts).
- Round 10: (8 sc, 1 inc) around (repeat 3 times, total 30 sts).
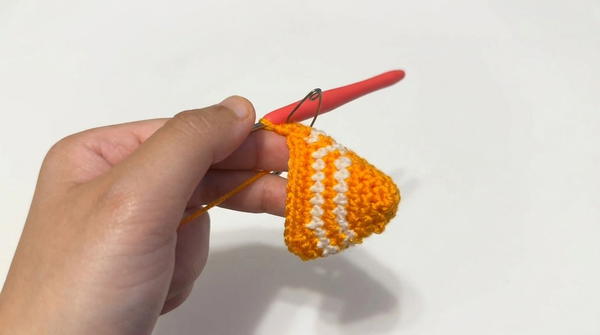
- Round 11: (9 sc, 1 inc) around (repeat 3 times, total 33 sts).
- Pause at the end of round 11 and lightly stuff the fish to desired firmness before closing.
Closing the Body
- Fold the open end of the body flat. Align stitches on each side for a neat edge.
- Row 1: Work 15 sc evenly through both layers to close the body.
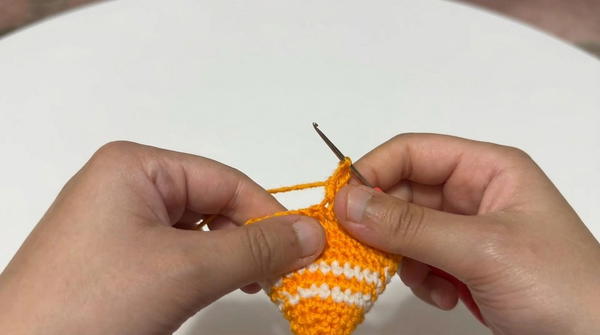
- Row 2: ch 1, turn, 15 sc across the closed end.
- ch 1 and fasten off, leaving a long tail if needed.
Creating the Tail
- Count 4 stitches from the edge of the closed body and rejoin orange yarn.
- ch 3, work 2 hdc in the next stitch,
- ch 3, then sl st into the next stitch.
- Repeat the sequence:
- ch 3, 2 hdc in the following stitch,
- ch 3, sl st in the next stitch.
- This forms two points of the fish tail. Fasten off and weave in ends.
Finishing Touches
- Weaving: Thread a yarn needle with any remaining yarn tails and insert them into the body to hide, shaping as you go.
- Embroidery: Using black yarn, embroider an eye on each side of the head. Pull the thread through the stuffed body several times to add thickness and create the characteristic eye spot. Secure yarn and weave in ends.
Assembly & Finished Size
Assembly in this project is minimal due to the seamless construction. The fish's body and tail are worked in a continuous process, and all finishing focuses on neat closure, secure tail attachment, and careful embroidery of eye spots. The completed fish is approximately 4–5 inches long and about 2 inches at its widest point. The bold stripes and distinct tail contribute to the dynamic aquatic appearance.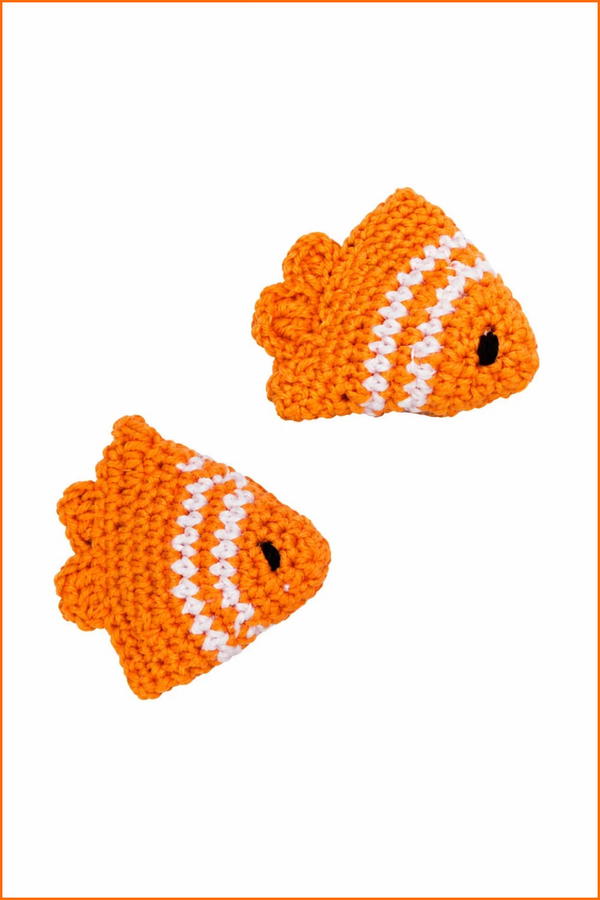
Conclusion and Ending Words
This striped crochet fish combines basic amigurumi shaping, bold colorwork, and simple embroidery into a playful finished piece. Each stage, from the magic ring base through color changes and tail sculpting, adds dimension and character, while the sturdy, tightly stitched form ensures durability. The result is a cheerful, whimsical fish, crafted with attention to texture and detail, suitable for decoration or imaginative play. The techniques applied make this project both instructive and rewarding for those building their three-dimensional crochet skills.