Mint Design Blog


Create your perfect accessory with this free crochet bag pattern that’s simple to follow and ideal for adding a handmade touch to any outfit.
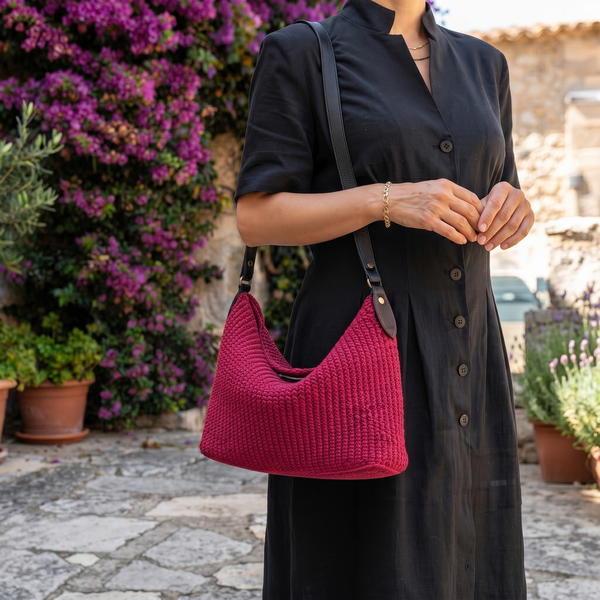
A stylish and multi-purpose bag can be made effortlessly with the help of the tutorial on the Örgü Ütopyası YouTube channel. This bag is not only elegant in design but also practical for daily use, whether carrying essentials, shopping, or even offering it as a thoughtful gift to someone special. The straightforward step-by-step guidance makes the process simple and enjoyable, regardless of your experience.
Free Crochet Bag Pattern Perfect for Gifting or Keeping
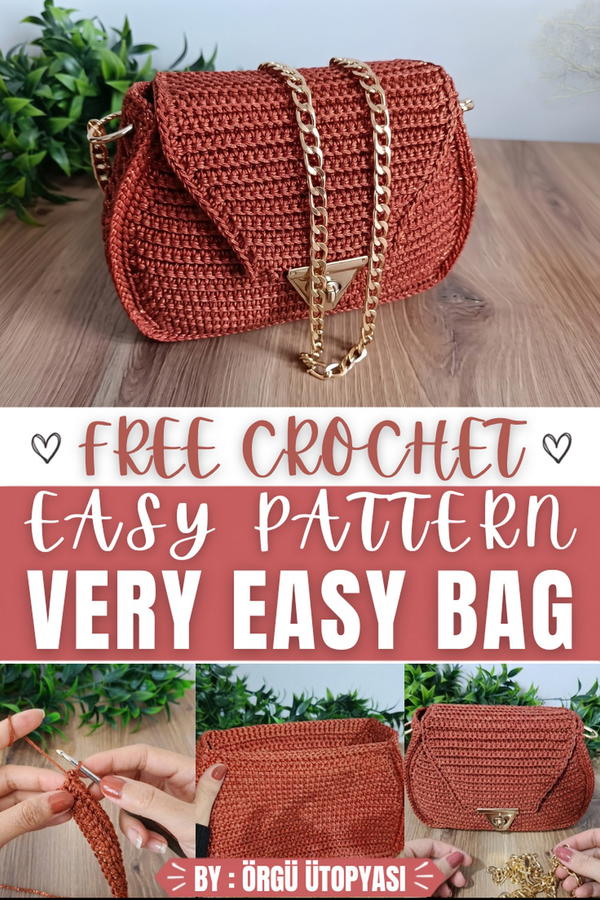
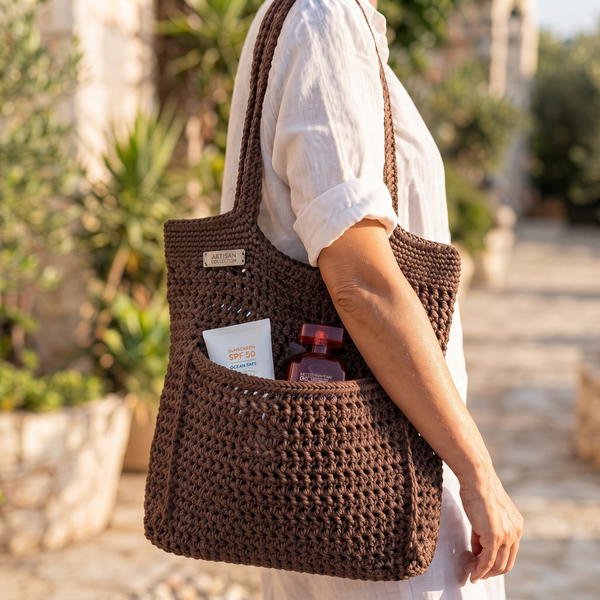
The standout feature of this bag is its beautiful texture and symmetrical design. Its rectangular structure provides ample space while maintaining a modern and neat appearance that suits any outfit or occasion. The standout pattern lends it a unique and sophisticated charm, and the sturdy handles make it comfortable to carry, combining practicality with style. Its attractive form ensures that it is both functional and eye-catching.
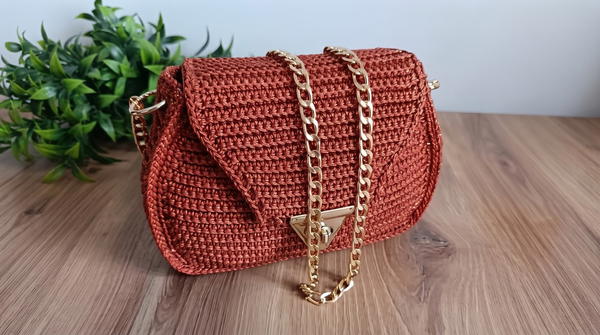
The method used to assemble this bag is easy to follow, with repetitive techniques that give a sense of progress and satisfaction. Neat stitches and clear instructions guide the way without complications, making it accessible to beginners and enjoyable for those with experience. Watching the process unfold step by step makes the work relaxing and rewarding.
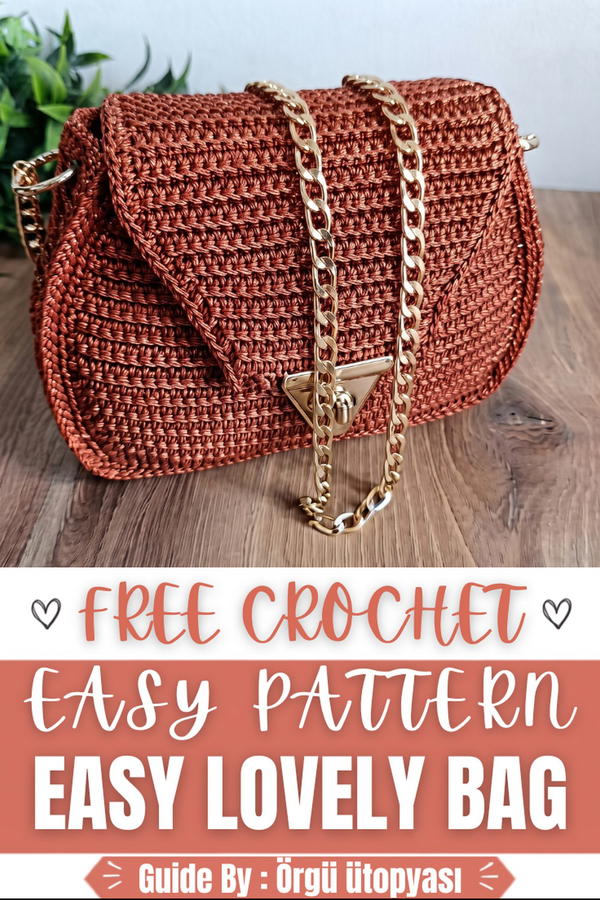
Glitter Macrame Box Bag Pattern
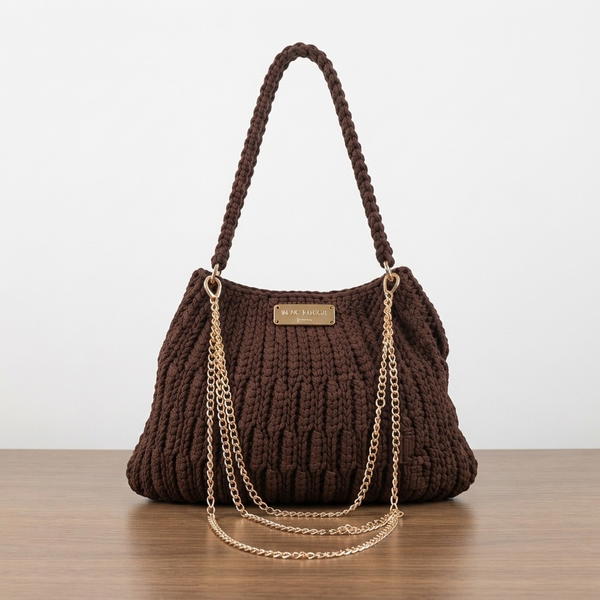
This glitter macrame box bag is a structured, elegant accessory that combines simple stitches with thoughtful shaping and finishing. Worked in durable 1.5 mm macrame yarn, the bag features a rectangular body, gusset (bellows), lid, and neat slip-stitch joins. Hardware, lining, and chain strap turn the piece into a polished, wearable bag suitable for everyday or occasion use.
Skill Level
Intermediate
This pattern is suitable for intermediate crocheters who are comfortable with:
- Working single crochet in rows and in the back loop only
- Regular increases and decreases
- Crocheting evenly along raw edges
- Slip-stitch seaming and attaching separate pieces
- Adding a lid, hardware, and interfacing/lining
Confident beginners may attempt this pattern with careful counting and attention to stitch placement.
Materials
- Yarn / Cord
- Glitter macrame yarn (1.5 mm thickness)
- Any similar macrame yarn can be used
- Hook
- 3.0 mm crochet hook
- Bag Hardware and Notions
- Magnetic clasp or on/off closure (for front flap)
- Rings or D-rings (for chain attachment)
- Metal chain (for shoulder or crossbody strap)
- Optional decorative studs or small accessories
- Lining and Structure
- Adhesive interfacing or stiff lining material (for box shape)
- Sewing needle and thread (to secure interfacing/lining)
- Tools
- Scissors
- Yarn needle (for weaving in ends and some sewing)
Special Stitches Used
- Single Crochet in Back Loop Only (sc BLO)
Used in most rows to create a neat ribbed texture and subtle stretch while maintaining structure. - End-of-Row Increase (2 sc in same back loop)
At specified rows, increases are made at both the beginning and end of the row by working two single crochets into the same back loop. - Simple Decrease by Skipping First or Last Stitch
When decreasing, the first stitch of the row may be skipped (starting directly in the second stitch), and similarly the last stitch is omitted, effectively narrowing the work by one stitch at each end. - Slip-Stitch Seaming (sl st seam)
Used to sew pieces together by working slip stitches through selected loops from both pieces, forming a strong, flat seam.
Stitch Abbreviations
- ch – chain
- sc – single crochet
- sc BLO – single crochet in back loop only
- sl st – slip stitch
- inc – increase (2 sc in same stitch or loop)
- dec – decrease (skipping a stitch at the beginning or end, or working 2 sc together)
Useful Tips
- Maintain Tight Tension: Macrame and glitter yarn can be slippery; firm tension helps keep edges clean and the bag structured.
- Count Rows and Stitches Carefully: Increases are done on even-numbered rows and skipped on odd rows during the shaping section. Accurate counting maintains symmetry.
- Do Not Skip Hidden Stitches: The last back-loop stitch at row ends can hide; open the “V” with your fingers to avoid missing it.
- Form Clean Corners: When going around edges, use 3 sc or 2 sc at corners as instructed to keep the shape crisp.
- Flatten and Shape by Hand: After finishing panels, gently stretch and straighten with your hands to even out the fabric before assembly.
Detailed Pattern
Bag Body Panels (Make 2)
Each panel begins as a flat rectangle with gradual width increases, then continues straight.
Foundation
- Row 1
- Tie a knot and make a tight chain.
- Chain 31.
- Use 1 chain for turning, so you will work into 30 chains.
- Insert hook into the second chain from the hook and make 1 sc.
- Continue to work 1 sc in each chain across.
- You should have 30 sc at the end of Row 1.
- Ch 1, turn.
Shaping with Increases
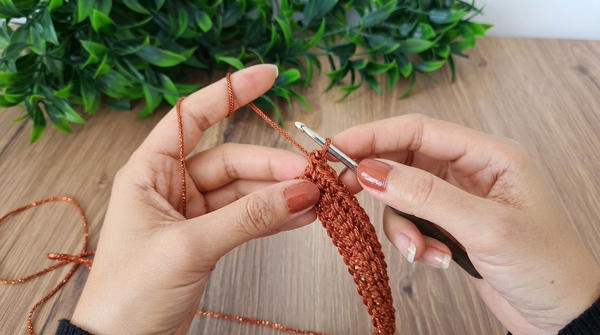
From now on, you work using the back loop only of each sc.
- Row 2 (Increase Row – Even)
- Hold your work sideways and identify the first sc “V”.
- Insert hook into the back loop of the first sc and work 2 sc BLO in that loop (this is the first increase).
- Then work 1 sc BLO in each back loop across to the end.
- At the last sc, insert hook into the same back loop again and work 2 sc BLO (second increase).
- You have increased by 2 stitches in this row.
- Ch 1, turn.
- Row 3 (No Increase – Odd)
- Work 1 sc BLO in each stitch across, no increases.
- Remember to find and work into the last hidden “V” at the end.
- Ch 1, turn.
- Row 4 (Increase Row – Even)
- At the first sc of the row, work 2 sc BLO into the back loop (increase).
- Work 1 sc BLO across.
- At the last sc, work 2 sc BLO into its back loop.
- Ch 1, turn.
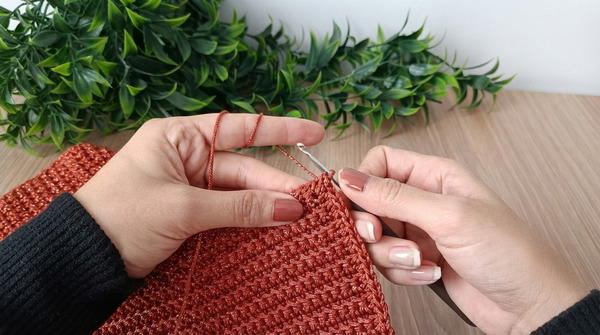
- Rows 5–12
- Follow the same principle:
- Odd rows (5, 7, 9, 11) – work 1 sc BLO in each stitch, no increases.
- Even rows (6, 8, 10, 12) – work 2 sc BLO at first stitch, then 1 sc BLO in each stitch, and 2 sc BLO at last stitch.
- After completing 6 rows of increases, you should have 42 sc and be on Row 12.
- Follow the same principle:
Straight Section
- Rows 13–28
- Work 1 sc BLO in each stitch across every row, no increases.
- At each row end, carefully open and work the last back-loop “V”.
- Continue until you have a total of 28 rows (including the increase rows and straight rows).
Decrease Row
- Row 29 (Decreasing Width)
- Ch 1, turn.
- Do not insert the hook into the first stitch.
- Insert the hook into the second stitch, work 1 sc BLO.
- Continue 1 sc BLO across to near the end of the row.
- At the end, instead of working into the last stitch, insert hook into the second-from-last stitch only, thus effectively decreasing one stitch at the end as well.
- You have decreased by 1 stitch at each end.
At this point the panel is complete for the main body of the bag.
Edging Around Panel
- Round 1 (sc Around, Right Side)
- Identify the right side (front) of the panel; the textured side that faces outward.
- Attach yarn at one side edge.
- Work sc around the entire panel, using both loops at every point (no BLO here).
- Along the long edges: place 1 sc into each row edge or bump, alternating between gaps and raised bumps (one in gap, one in bump).
- At corners:
- Work 3 sc into the same corner stitch or space to turn smoothly.
- Continue around all four sides until you return to the starting point.
- Round 2 (Second Edging Row in BLO)
- Join and ch 1.
- Work 1 sc BLO around the entire panel, no increases, even at corners (for a more oval, smooth edge).
- At the end of the round, join with sl st to the first sc.
- Ch 1, cut yarn, weave in ends.
Make two identical panels following all steps above.
Gusset (Bellows) Strip
The gusset forms the sides and bottom of the bag.
- Foundation
- Chain 8.
- Use 1 chain for turning.
- Row 1
- Insert hook into the second chain from the hook and work 1 sc.
- Work 1 sc in each chain across – total 7 sc.
- Ch 1, turn.
- Row 2
- Work 7 sc BLO across.
- Ch 1, turn.
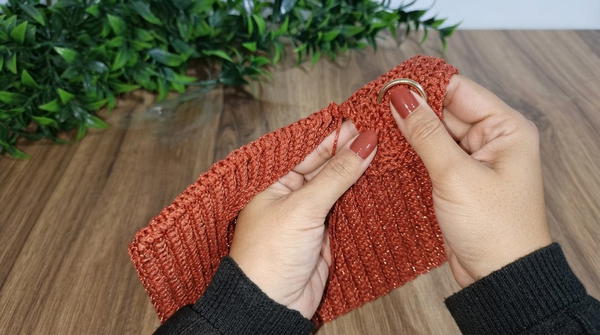
- Rows 3–102
- Continue working 7 sc BLO in each row, turning with ch 1.
- You will create a long strip of 102 rows.
- This length is based on counting the edge stitches/rows on three sides of your panels. If your bag size changes, adjust row count accordingly.
When the strip reaches approximately 102 rows, fasten off and weave in ends lightly, leaving enough yarn for joining or additional border if needed.
Joining Gusset Around Panels
The gusset is first edged with sc (as indicated in the transcript) and then sewn to the panels.
- At the gusset edges and panel edges, position the gusset along three sides of one panel (bottom and two sides).
- Work sc around the gusset edges if not already done, making 3 sc at corners and 1 sc per row along edges, filling gaps and bumps.
Seaming Panels and Gusset (Slip-Stitch Method)
- Align the gusset strip with the edge of the first panel, right sides facing outward.
- Insert the hook through the back loop of the gusset edge and the back loop of the panel edge stitch opposite it.
- Pull up a loop and work sl st.
- Continue:
- Take one back loop from the gusset and one back loop from the panel each time, working sl st to join.
- Sew all the way along three sides of the first panel.
- Then align the remaining gusset edge with the second panel and repeat the same slip-stitch seaming process, ensuring the right side of the bag is outside and seams are neat.
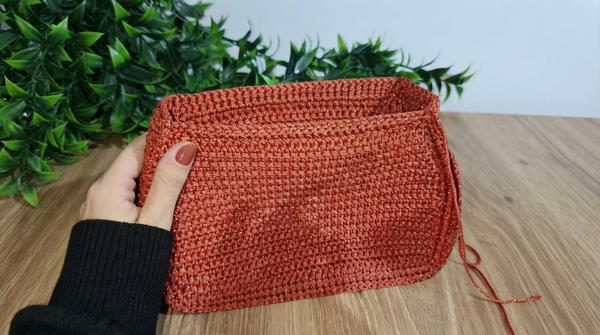
- When finished, the bag will form a box-like pouch.
Mouth Slip-Stitch Border
- Attach yarn at the mouth edge.
- Work sl st into back loop of each stitch around the entire opening.
- Do not work too tightly; allow a little ease to prevent puckering.
- At corners, simply continue with 1 sl st per stitch, forming a continuous smooth edge.
- Join at the end with sl st to the first sl st, ch 1, and cut a slightly long tail for later sewing to the lid if needed.
Lid (Flap)
- Foundation
- Chain 30.
- Chain 1 more for turning.
- Row 1
- Insert hook into the second chain from the hook.
- Work 1 sc in each chain across – total 30 sc.
- Ch 1, turn.
- Rows 2–15 (Main Lid Section)
- Work sc BLO in each stitch across.
- Ch 1, turn after each row.
- After Row 15, begin decreases.
- Decrease Rows
- Decrease can be done in two ways as described:
- Insert into both first and second stitches and work them together as one sc (dec), or
- Skip the first stitch and begin in the second stitch.
- At the beginning and end of the decrease rows, work such a decrease to narrow the lid gradually.
- You alternate: one row with decreases, one row without decreases.
- Continue until the total lid length reaches 30 rows, with about 16 stitches remaining in width (as counted in the transcript).
- Decrease can be done in two ways as described:
- Lid Border
- After completing shaping:
- Work 1 round of sc around the lid, making 2 sc in each corner to ease turns, and 1 sc per stitch or row along edges.
- At the end, join with sl st to the first sc and cut yarn.
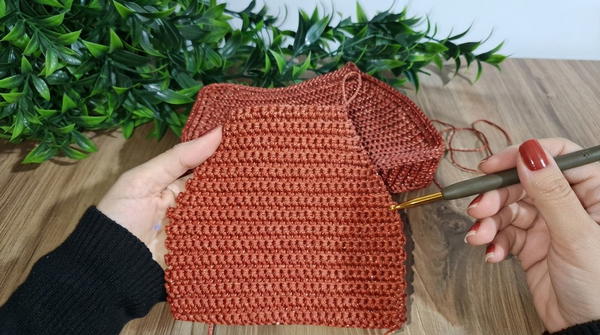
- After completing shaping:
Sewing Lid to Bag
- Place the lid on the back side of the bag, aligned with the mouth.
- Using the long yarn tail left from the mouth border or a new strand:
- Insert hook into the first stitch on the bag back and the corresponding stitch on the lid edge.
- Work sl st through both loops (top loop of each piece) across the width of the lid, joining it securely to the bag.
- Fasten off and weave in ends, carrying yarn to the inside to hide it.
Hardware, Lining, and Finishing
- Attach the magnetic clasp/on-off closure:
- One part centered on the front panel.
- The corresponding part centered on the lid, ensuring proper alignment.
- Attach rings or D-rings to the sides for the chain strap.
- Turn the bag inside out and prepare adhesive interfacing or stiff lining:
- Cut pieces to match the back, front, and possibly bottom of the bag.
- Stick them in place and then sew them down with needle and thread, as adhesive alone may not be durable.
- Add a central strip of interfacing if desired to maintain the box shape.
- Attach the chain to the rings so the bag can be used as a shoulder or crossbody bag.
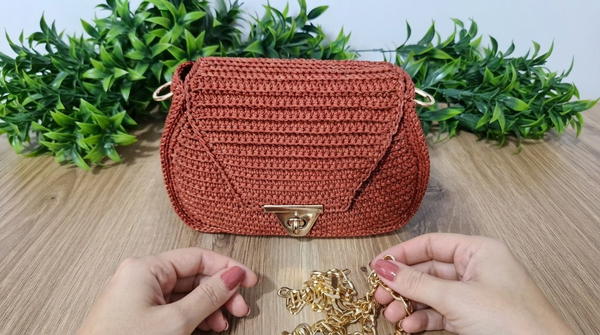
Assembly and Sizing
- The body panels start at 30 sc wide and increase to 42 sc, with 28 total rows, forming a rectangular box shape.
- Final approximate dimensions (depending on tension and yarn):
- Width: around 15–18 cm
- Height: around 10–12 cm
- Depth: defined by the gusset (approx. 2–3 cm wide strip).
- With interfacing and chain, the bag holds its box shape and functions as a compact but structured accessory.
Conclusion
This glitter macrame box bag pattern blends foundational crochet techniques with structured bag construction. The back-loop single crochet fabric produces an attractive ribbed texture, while carefully planned increases, decreases, and edging shape the panels into a refined rectangular form. The gusset, lid, hardware, and lining elements elevate the finished bag into a functional and stylish accessory suitable for daily use or special occasions. By following each step and keeping a close eye on stitch placement and row counts, the result is a neatly finished, durable bag with a modern, polished appearance.