Bring snowy charm to your festive decorations with this Crochet Christmas Tree Snowflake Free Pattern for beautiful ornaments and lovely holiday gifts.
Homemade decorations add a special touch to the holiday season. The Christmas Tree Snowflake Design By Anastasiya is a unique design that combines the charm of a Christmas tree with the delicate beauty of a snowflake. This piece can be made in various sizes, from tiny accents perfect for gift tags to larger decorations suitable for hanging on walls or Christmas trees.
Crochet Christmas Tree Snowflake Free Pattern For Holiday Fun
Choosing the colors is part of the fun — traditional whites and blues give a wintry effect, while reds, greens, and golds create a vibrant and festive look. Mixing these colors allows you to customize the piece to match your holiday décor perfectly.
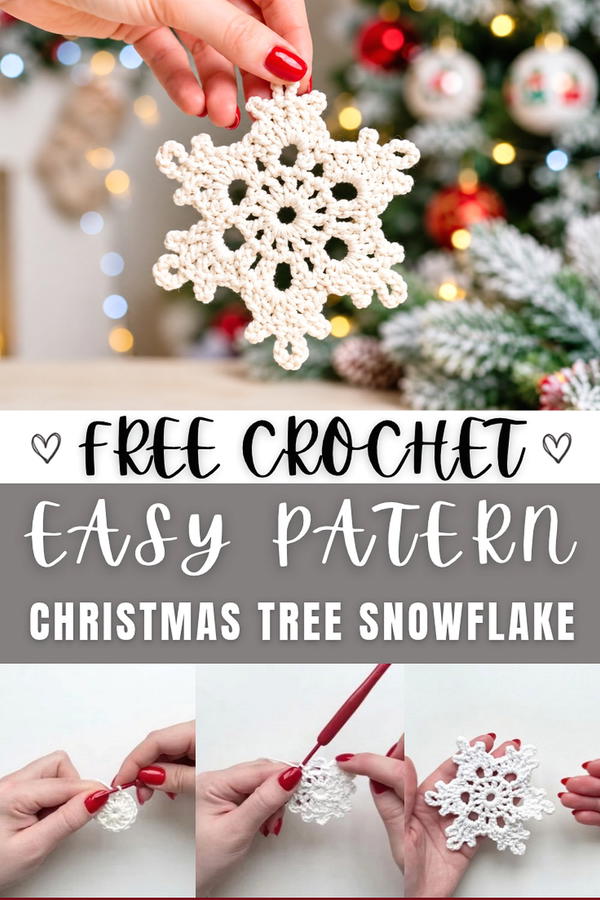 The beauty of this item lies in the airy and intricate look created by the lace stitch, which forms light and open patterns. Edges finished with the picot stitch add crisp points that resemble snowy branches or frosty tips.
This versatile creation serves many purposes. It can be used as gift toppers, ornaments, coasters, or even decorative wall hangings. Because you can easily change its size and color, it fits into any holiday setting with ease.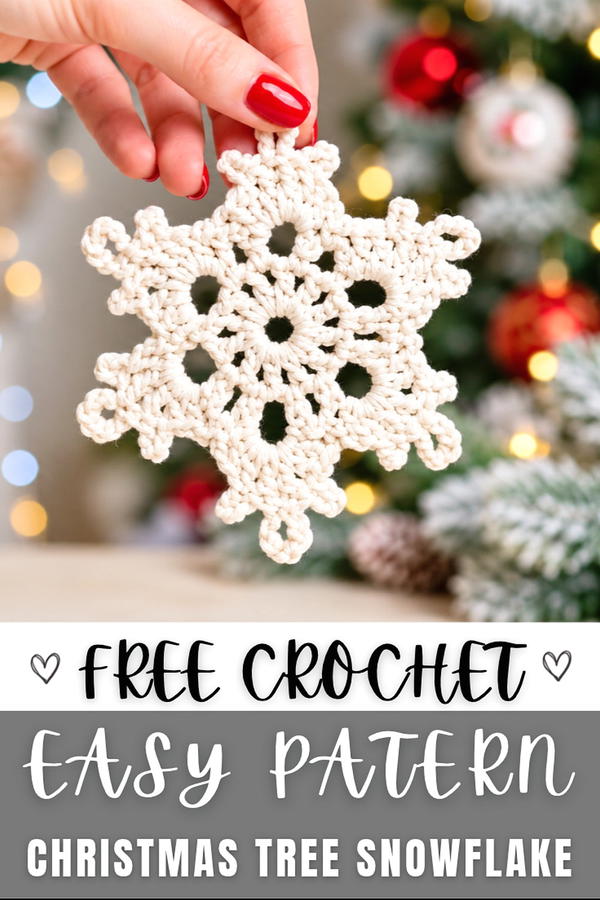 Ideal for beginners and children, this project encourages practice of basic crochet stitches while resulting in a handmade piece full of holiday spirit. Making a Christmas Tree Snowflake offers a rewarding way to celebrate the season with a touch of creativity and warmth.
About the Pattern
This crochet snowflake motif is constructed in four distinct stages, blending beautiful geometric symmetry with textural variety. Crafted from cord (1-2 mm thick) using a 2.5 mm hook, the result is a crisp, dimensional snowflake that serves as an elegant ornament or centerpiece. The pattern features a ring-based foundation, alternating arches that define the points, ornate petals with picots, and finishing touches to provide long-lasting shape and stability.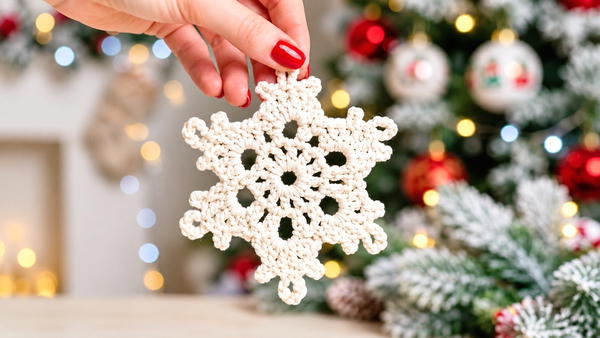
Key Pattern Details
The snowflake is made in the round and transitions smoothly through foundational stitches, builds delicate arching petal bases, and constructs classic, detailed snowflake points with picot accents. Its design is scalable by adjusting cord thickness, though for best results, sticking to a 1-2 mm cord provides both sturdiness and delicate finish. Wet-thermal treatment is recommended to finalize the motif's appearance and maintain crispness.
Important Notes
- Use consistent tension in your stitches to keep motif size uniform and to ensure symmetrical points.
- The starting chains for double crochet rows count as the first double crochet unless stated otherwise.
- Each picot and petal is crafted separately, so take care to follow stitch placement precisely.
- Fastening off securely and hiding ends cleanly on the reverse will maintain both appearance and durability.
- Blocking or steaming after completion helps the motif retain its structure and prevents curling or distortion.
Difficulty Level
This pattern is recommended for intermediate crocheters, as it requires working in the round, using varied stitch heights and picots, and maintaining a clear understanding of placement within prior rounds.
Supplies Needed
- Cord: Approximately 20 meters of 1-2 mm thick cord
- Crochet Hook: 2.5 mm
- Notions: Yarn needle for weaving in ends, small scissors
- Blocking Tools: Pins and a suitable blocking surface if you wish for a flat, crisp finish, or a steam iron for wet-thermal treatment
Size & Measurements
Using a 2.5 mm hook and 1-2 mm cord, the finished snowflake motif generally measures between 10 and 15 cm across from point to point, depending on stitch tension and blocking.
Gauge & Stitch Details
- Gauge: Not critical for this motif as it is a decorative item rather than a fitted piece.
- Maintain moderate tension throughout, taking care to keep petals and arches even for visual balance.
Crochet Abbreviations
- ch – chain
- sl st – slip stitch
- sc – single crochet
- dc – double crochet
- tr – treble crochet (see special stitch; worked as double crochet with two yarn-overs)
- st(s) – stitch(es)
- sp – space
Special Stitch Guide
- Double Crochet (dc): Yarn over, insert hook into indicated stitch, yarn over and pull through (3 loops on hook), yarn over and pull through 2 loops (2 loops remain), yarn over and pull through last 2 loops.
- Double Crochet with 2 Yarn-Overs (counts as 'tr' in some terminologies): Yarn over twice, insert hook, yarn over and pull through (4 loops on hook), yarn over and pull through 2 loops (3 loops remain), yarn over and pull through 2 loops (2 remain), yarn over and pull through final 2 loops.
- Picot: Chain the stated number, insert hook into the base of this chain group (the starting chain or stitch immediately below), yarn over, pull through both loops on hook to close the picot.
Complete Crochet Pattern
Foundation
1: Foundation
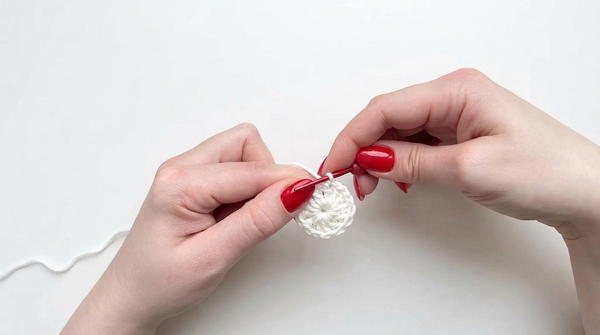
- Ch 6, then sl st into first ch to form a ring.
- Round 1:
- Ch 3 (counts as first dc).
- [Dc, ch 1] into the ring, repeat 9 more times for a total of 10 spaces.
- You should have the initial ch-3 (counts as dc), followed by 9 additional sets of [dc, ch 1], creating 10 spokes with ch-1 spaces.
- Sl st into the 3rd chain of the first ch-3 to close the round.
2: Petal Bases
- Sl st into the first chain-1 sp.
- Round 2:
- In the first ch-1 space, ch 6, sc in the next ch-1 space (large arch).
- Ch 5, sc in the following ch-1 space (small arch).
- Continue alternating: ch 6, sc in next space; ch 5, sc in next space around the ring.
- Repeat the entire pattern (6, 5, 6, 5…) around until you reach the start.
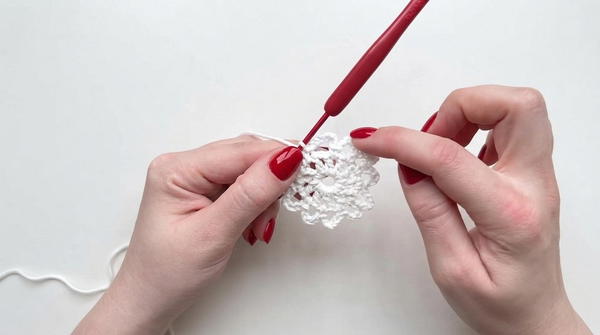
- Join the final stitch to the base of the first arch.
3: Snowflake Points
- Sl st into the first large arch (ch-6 space).
- Begin Large Petal Pattern in each large arch as follows:
- Ch 3 (counts as dc), dc in same space (total 2 dc).
- Picot 1: Ch 4, sl st into the base of the ch-4 to form a picot.
- Dc with 2 yarn-overs (into the same arch).
- Picot 2 (Center): Ch 7, sl st into the base of the ch-7 to form a picot.
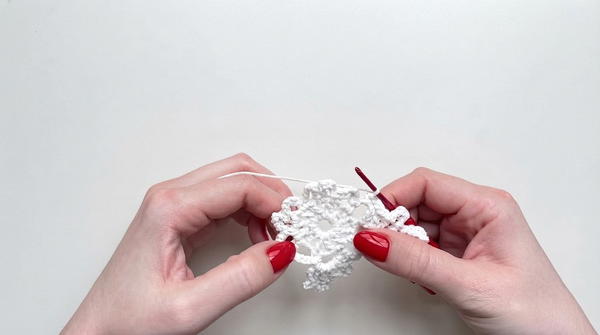
- Dc with 2 yarn-overs (again, same arch).
- Picot 3: Ch 4, sl st into the base to form a second side picot.
- 2 dc in the same arch.
- Ch 2, sc into the adjacent small arch, ch 2 before proceeding to the next large petal.
- Repeat the Large Petal Pattern in every large arch, always connecting between petals by working ch 2, sc into small arch, ch 2 as you go.
4: Finishing
- After final petal, sl st to join your work to the starting point of the round.
- Trim the cord and use a yarn needle to weave in the tail on the reverse side for a clean finish.
- For best shape and crispness, subject the finished motif to a wet-thermal treatment: either steam block the piece or pin it out on a surface and mist with water or steam, allowing to thoroughly dry and set.
Joining & Final Size
As the final round is completed and all ends are secured, the snowflake will reveal its geometric beauty, accentuated by pointed petals and picot accents. After finishing, gentle steaming or wet blocking will hold the sharp points and arches in place, resulting in a symmetrical, polished snowflake ideal for hanging or display.
Final Words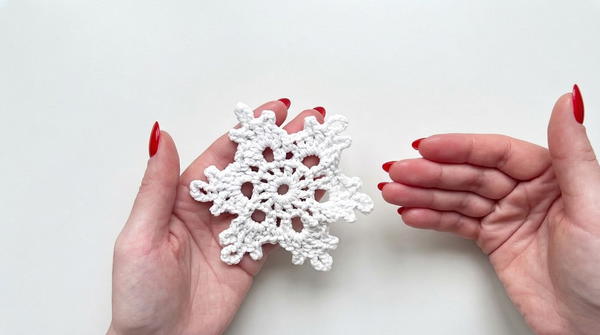
This crochet snowflake motif utilizes foundational stitches, arching rounds, decorative picots, and deliberate structuring for visual balance and elegance. Its detailed circular architecture and pointed petals express both intricacy and clarity. With precise work and finishing, this motif stands as a testament to classic crochet artistry and versatility for seasonal décor or year-round embellishment.