Mint Design Blog


Fill your seasonal display with warmth using this Crochet Elegant Fall Decor Pumpkin Free Pattern featuring a lovely autumn inspired look.
Fall decorations come alive with the lovely charm of a handmade pumpkin. his cozy project, known as the Crochet Fall Decor Pumpkin, is not just any decoration—it’s a soft, textured treasure perfect for adding warmth to your home or gifting to loved ones. The detailed tutorial from Crochet with Olga Dyvinets!!! showcases how to crochet this seasonal favorite using cozy baby wool yarn and rustic jute, combining softness with natural elements
Stylish Crochet Fall Decor Pumpkin Free Pattern For Mantel Decorations
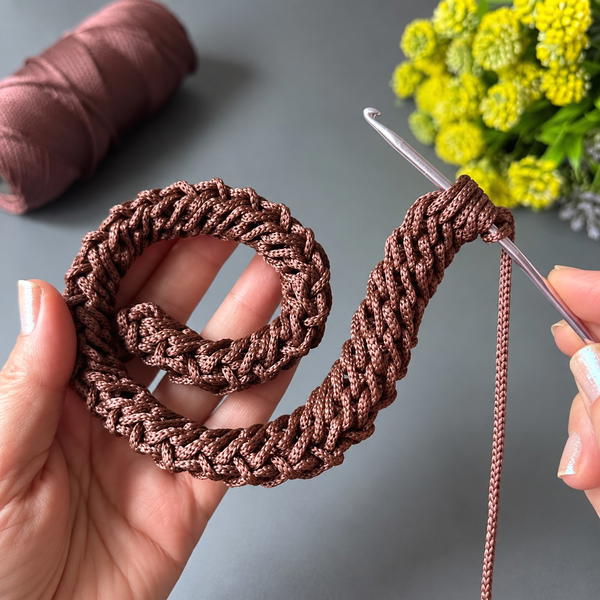
The design includes a jute stem with a curly tendril, adding a textured, organic touch that contrasts with the smooth body of the pumpkin. This simple combination captures the look of fall harvest decorations without excessive complexity.
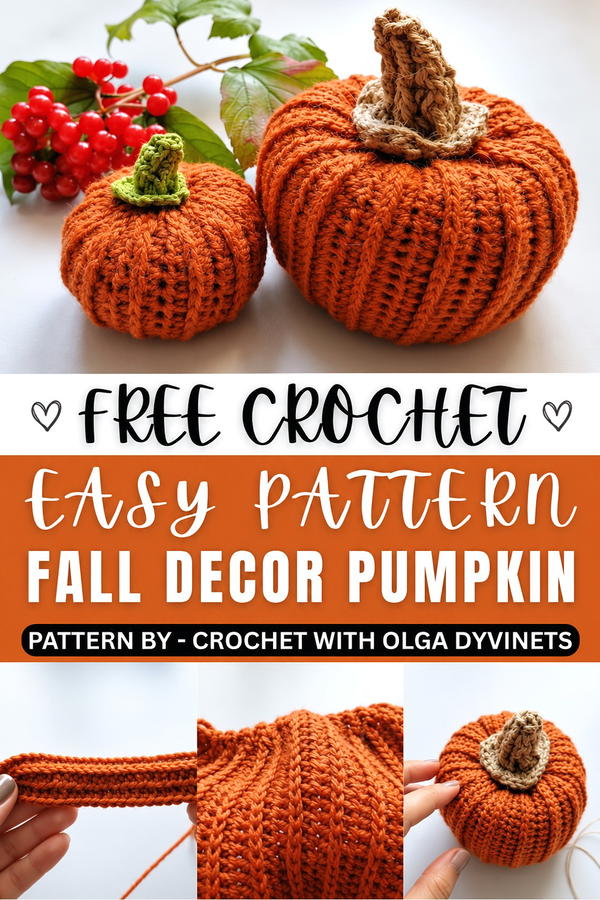
This pumpkin functions well as a decorative piece for dining tables, shelves, or mantels. Different sizes and yarn colors can be chosen to suit individual preferences and match various seasonal themes. The instructions provide clear guidance, making the project accessible for crocheters of different experience levels.
Beyond decoration, this soft pumpkin serves as a thoughtful gift item for friends or family during the autumn months. Its presence in any room contributes to a sense of warmth and seasonal comfort. Due to its straightforward construction and durable materials, it can be used year after year without losing its charm.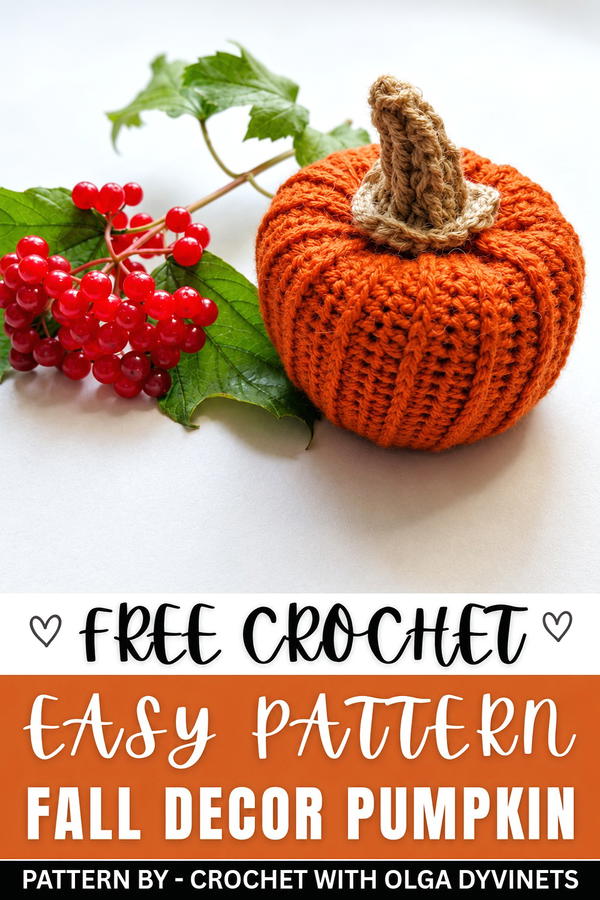 The Free Pattern gives concise, easy-to-follow steps that allow users to complete the pumpkin efficiently. The resulting piece offers a modest yet appealing symbol of fall, combining texture and form in a way that complements a variety of home decor styles.
Crochet Ribbed Pumpkin with Jute Stem
About the Pattern
This ribbed, textural pumpkin is made in panels using Gazzal Baby Wool XL or a similar yarn for the body and finished with a rustic stem crocheted from jute. The pumpkin is shaped with tapered slip stitch edging and structured half-double crochets, then closed at both ends for its classic shape. The sculpted jute stem, with decorative “waves”, adds authentic dimension. The finished piece is perfect for fall décor, centerpieces, or as a charming handmade gift.
Key Pattern Details
- The pumpkin is worked flat in rhythmic rows and features textured “stripes” from alternating slip stitches and half-double crochets.
- Tapering is achieved by working slip stitches at the row edges.
- The top and bottom are cinched shut, then finished with a sturdy jute stem.
- Decorative clusters and post stitches are used for realism and extra detail.
Important Notes
- All rows are constructed with attention to right- and wrong-sides for the distinctive rib pattern.
- Maintain the structure and definition of each “stripe” by following instructions for slip stitches and half-double crochets.
- The closing/gathering process requires even tension for a tight, secure pumpkin shape.
- Stuff the pumpkin with hollofiber or similar fiberfill before final closure.
Difficulty Level
Advanced beginner to intermediate. Some experience with post stitches and working in the round is helpful.
Supplies Needed
- Gazzal Baby Wool XL (or similar worsted weight yarn) for the pumpkin
- Jute yarn or cord for the stem
- 3.5mm crochet hook
- Yarn needle for seaming and sewing
- Scissors
- Hollofiber or similar stuffing
Size & Measurements
- Flat panel width: approximately 30 chains wide
- Height: determined by working 32 rows (and depends on exact yarn, hook, and tension)
- Finished pumpkin: about 10–12 cm diameter, 6–8 cm in height (stuffed)
Gauge & Stitch Details
- 10 stitches x 10 rows = approximately 6 x 6 cm in half-double crochet
- Stitches used: slip stitch (sl st), half-double crochet (hdc), single crochet (sc), double crochet (dc), magic ring
Crochet Abbreviations
- ch: chain
- sl st: slip stitch
- sc: single crochet
- hdc: half-double crochet
- dc: double crochet
- st(s): stitch(es)
- BLO: back loop only
- MR: magic ring
Special Stitch Guide
- Back-loop slip stitch: Insert hook into back loop only of the stitch, complete slip stitch.
- HDC into 3rd loop (behind the braid): Guide hook under the “third loop” (located just below the top front and back loops, toward back) for extra surface texture.
- Front-post (fpdc/fphdc): Yarn over, and insert the hook around the post of the indicated stitch from front to back, finish as normal for extra definition.
Complete Crochet Pattern
Main Pumpkin Body
Foundation
- Ch 30 plus 1 turning ch (total 31).
Rows 1–32: (Each “stripe” is 2 rows — a right- and wrong-side pass.)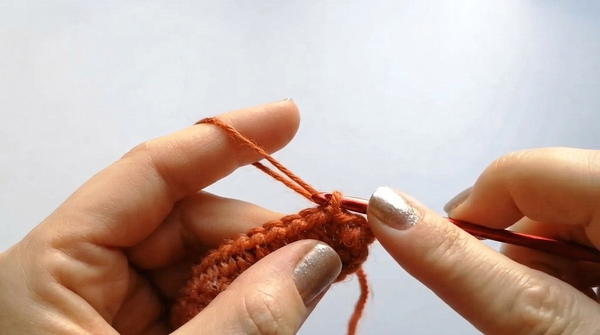
For each stripe, repeat the sequence for right- and wrong-side.
- Right-side row
- Work 2 sl st into the first 2 ch/sts (for taper).
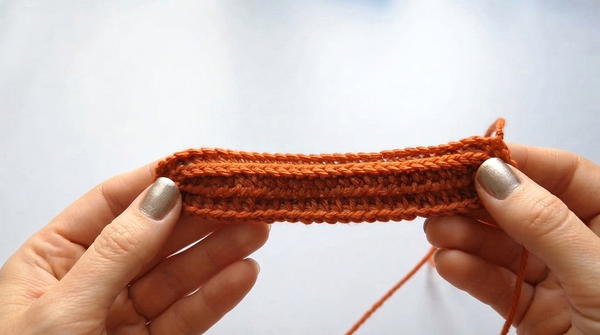
- Work 26 hdc into the next 26 sts.
- Work 2 sl st at the row end for taper.
- Turn.
- Work 2 sl st into the first 2 ch/sts (for taper).
- Wrong-side row
- Work 2 sl st (BLO) in the first 2 sts.
- Work 26 hdc each into the loop behind the braid, leaving the top “braid” on the outside for pumpkin ribs.
- Work 2 sl st (BLO) into last 2 sts.
- Turn.
- Repeat right- and wrong-side rows for a total of 32 rows (ending with a wrong-side row). The piece will have visible textured ridges and slightly tapered ends on each row.
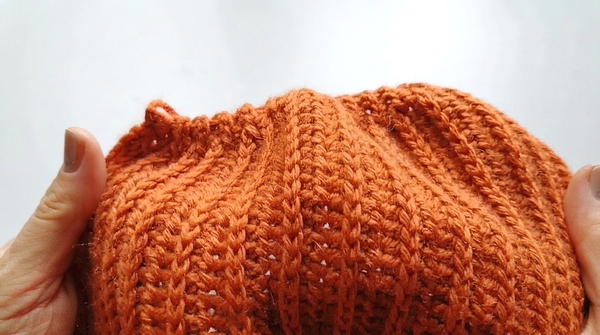
Assembly
- Fold panel in half with right sides facing in.
- Seam using sl st or sc, working through both the starting chain edge and the last row. Ensure you align stripes as you go; this forms a tube.
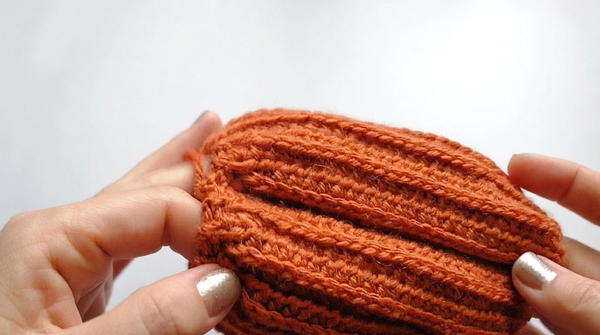
Top and Bottom Closures
Bottom Closure:
- With a long yarn tail, weave needle through the edge of every “stripe”/row, passing from inside to outside the seam in a continuous loop around the base.
- Pull the yarn tail tight to cinch the bottom closed.
- Place and sew on the prepared jute circular base for firmness (if desired), securing it neatly to cover the opening.
Top Closure:
- Stuff pumpkin with hollofiber, shaping gently as you go.
- Repeat the weaving/gathering process at the open top: Pass yarn tail through each row end, pull tight to cinch, and sew edges neatly closed.
Pumpkin Stem/Tail
Base:
- Using jute, make a magic ring (MR).
- Round 1: Work 6 sc into the MR.
- Round 2: Work 12 sc evenly around into the circle (2 sc in each; forms a small disc).
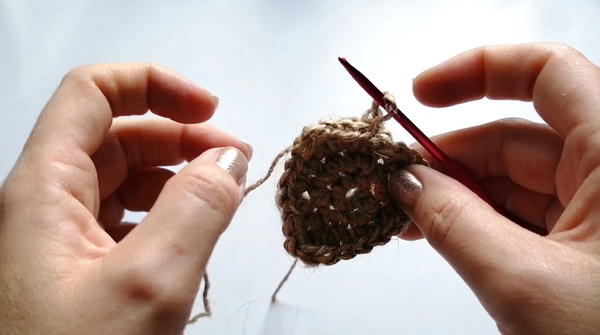
Decorative Edge:
- Work three scalloped “waves” across this disc:
- In one stitch: 2 sc
- Next stitch: 1 hdc
- Next stitch: 1 dc
- Next stitch: 1 dc
- Next stitch: 1 hdc
- Next stitch: 2 sc
- Repeat this sequence two more times for three total “waves” (evenly spaced).
- Slip stitch to complete the round.
Stem Bridge:
- Work behind the decorative edge.
- Create a bridge of 12 loops: Chain 1, sl st to next space, repeating around behind the scallops.
Stem Body:
- Work 3 rounds as follows:
- Into each bridge loop, work 1 dc (12 dc per round).
- For each round, use either front post or front loop only, giving the stem a ribbed, organic texture.
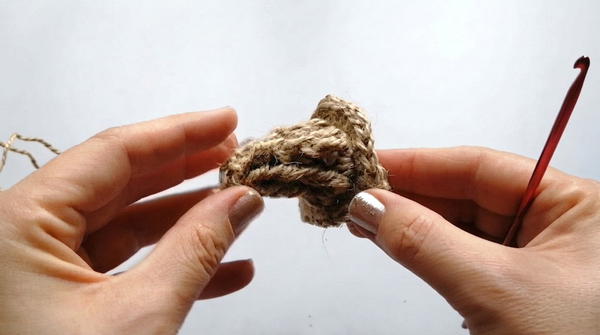
Fasten off, leaving a long tail for sewing.
Final Assembly
- With all body and stem pieces complete, sew the jute stem securely onto the pumpkin’s top center, covering any visible closure gathering.
- Fluff and arrange the pumpkin’s ribs and stem for a natural look.
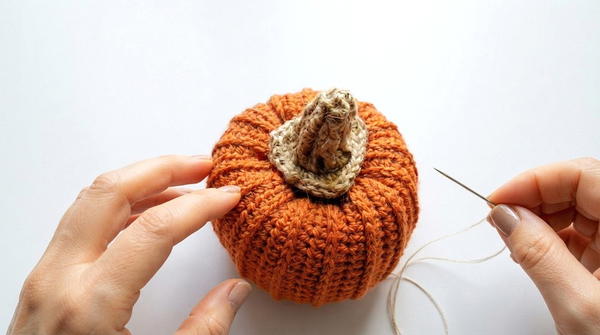
Joining & Final Size
When joined and finished, the pumpkin measures approximately 10–12 cm in diameter. The defined ribs and slightly tapered ends give it an authentic appearance. The thick jute stem with decorative “waves” provides durability, stability, and a realistic look.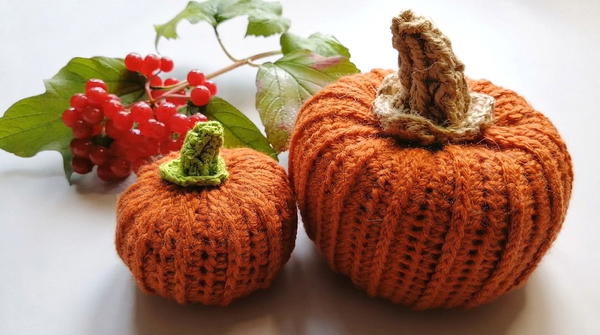
Final Words
Careful placement of stitches, attention to row texture, and a three-dimensional stem distinguish this pumpkin as a seasonal accent. The methodical increases and textural details offer structure, while the jute stem and gathered closures ensure an artisan-crafted feel. Whether used for home decoration or gifted, this project provides a thoughtful exercise in sculptural crochet, utilizing technique for both utility and charm.